1
/
of
7
www.ChineseStandard.us -- Field Test Asia Pte. Ltd.
GB/T 10561-2023 English PDF (GB/T10561-2023)
GB/T 10561-2023 English PDF (GB/T10561-2023)
Regular price
$605.00
Regular price
Sale price
$605.00
Unit price
/
per
Shipping calculated at checkout.
Couldn't load pickup availability
GB/T 10561-2023: Determination of content of nonmetallic inclusions in steel - Micrographic method using standard diagrams
Delivery: 9 seconds. Download (& Email) true-PDF + Invoice.
Get Quotation: Click GB/T 10561-2023 (Self-service in 1-minute)
Historical versions (Master-website): GB/T 10561-2023
Preview True-PDF (Reload/Scroll-down if blank)
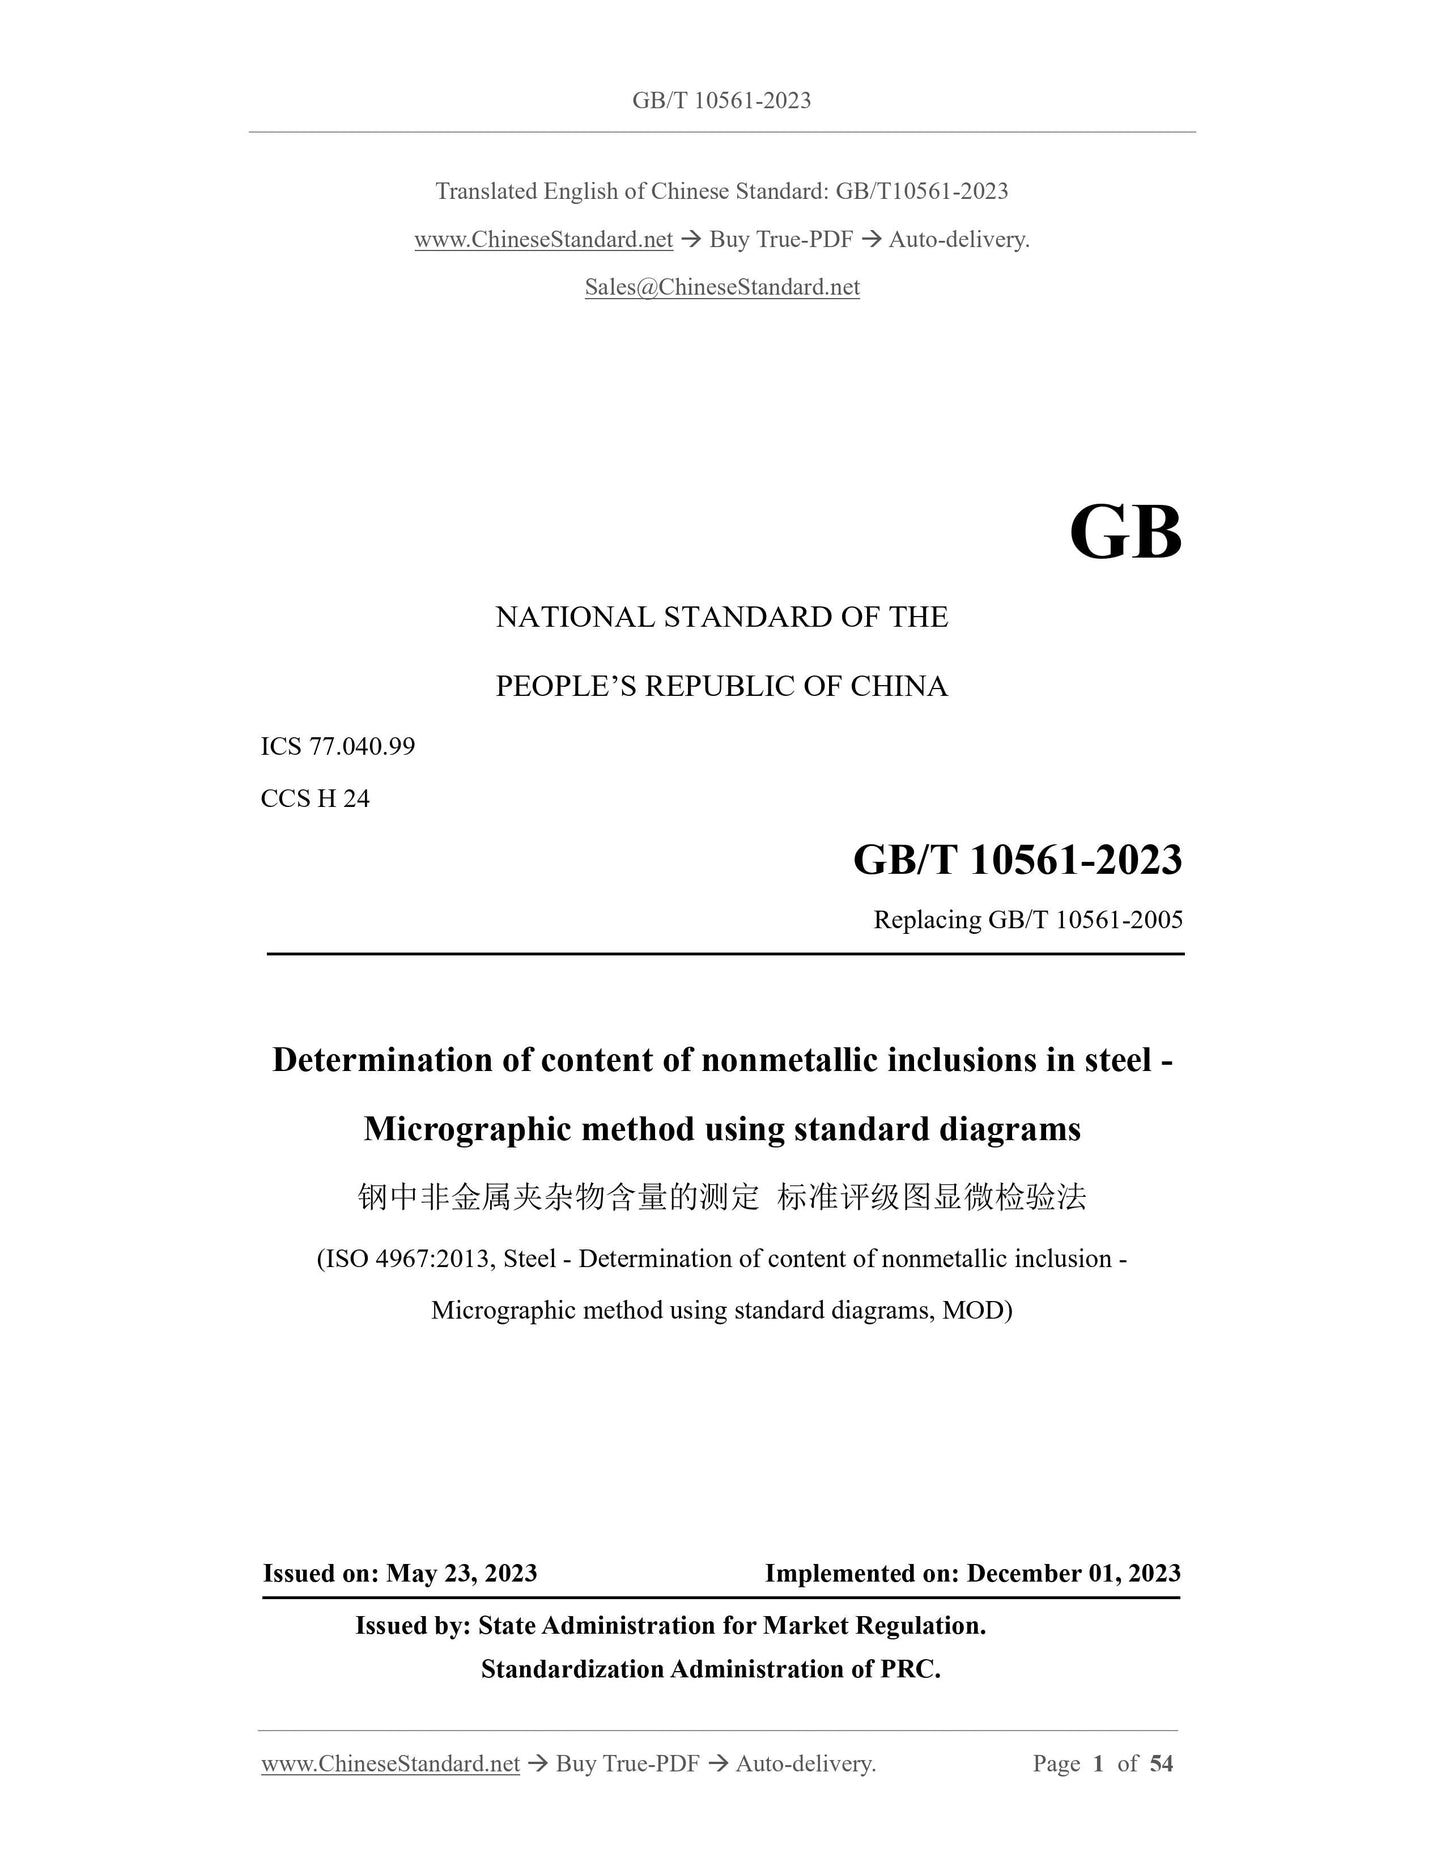
GB/T 10561-2023
GB
NATIONAL STANDARD OF THE
PEOPLE’S REPUBLIC OF CHINA
ICS 77.040.99
CCS H 24
Replacing GB/T 10561-2005
Determination of content of nonmetallic inclusions in steel -
Micrographic method using standard diagrams
(ISO 4967:2013, Steel - Determination of content of nonmetallic inclusion -
Micrographic method using standard diagrams, MOD)
ISSUED ON: MAY 23, 2023
IMPLEMENTED ON: DECEMBER 01, 2023
Issued by: State Administration for Market Regulation.
Standardization Administration of PRC.
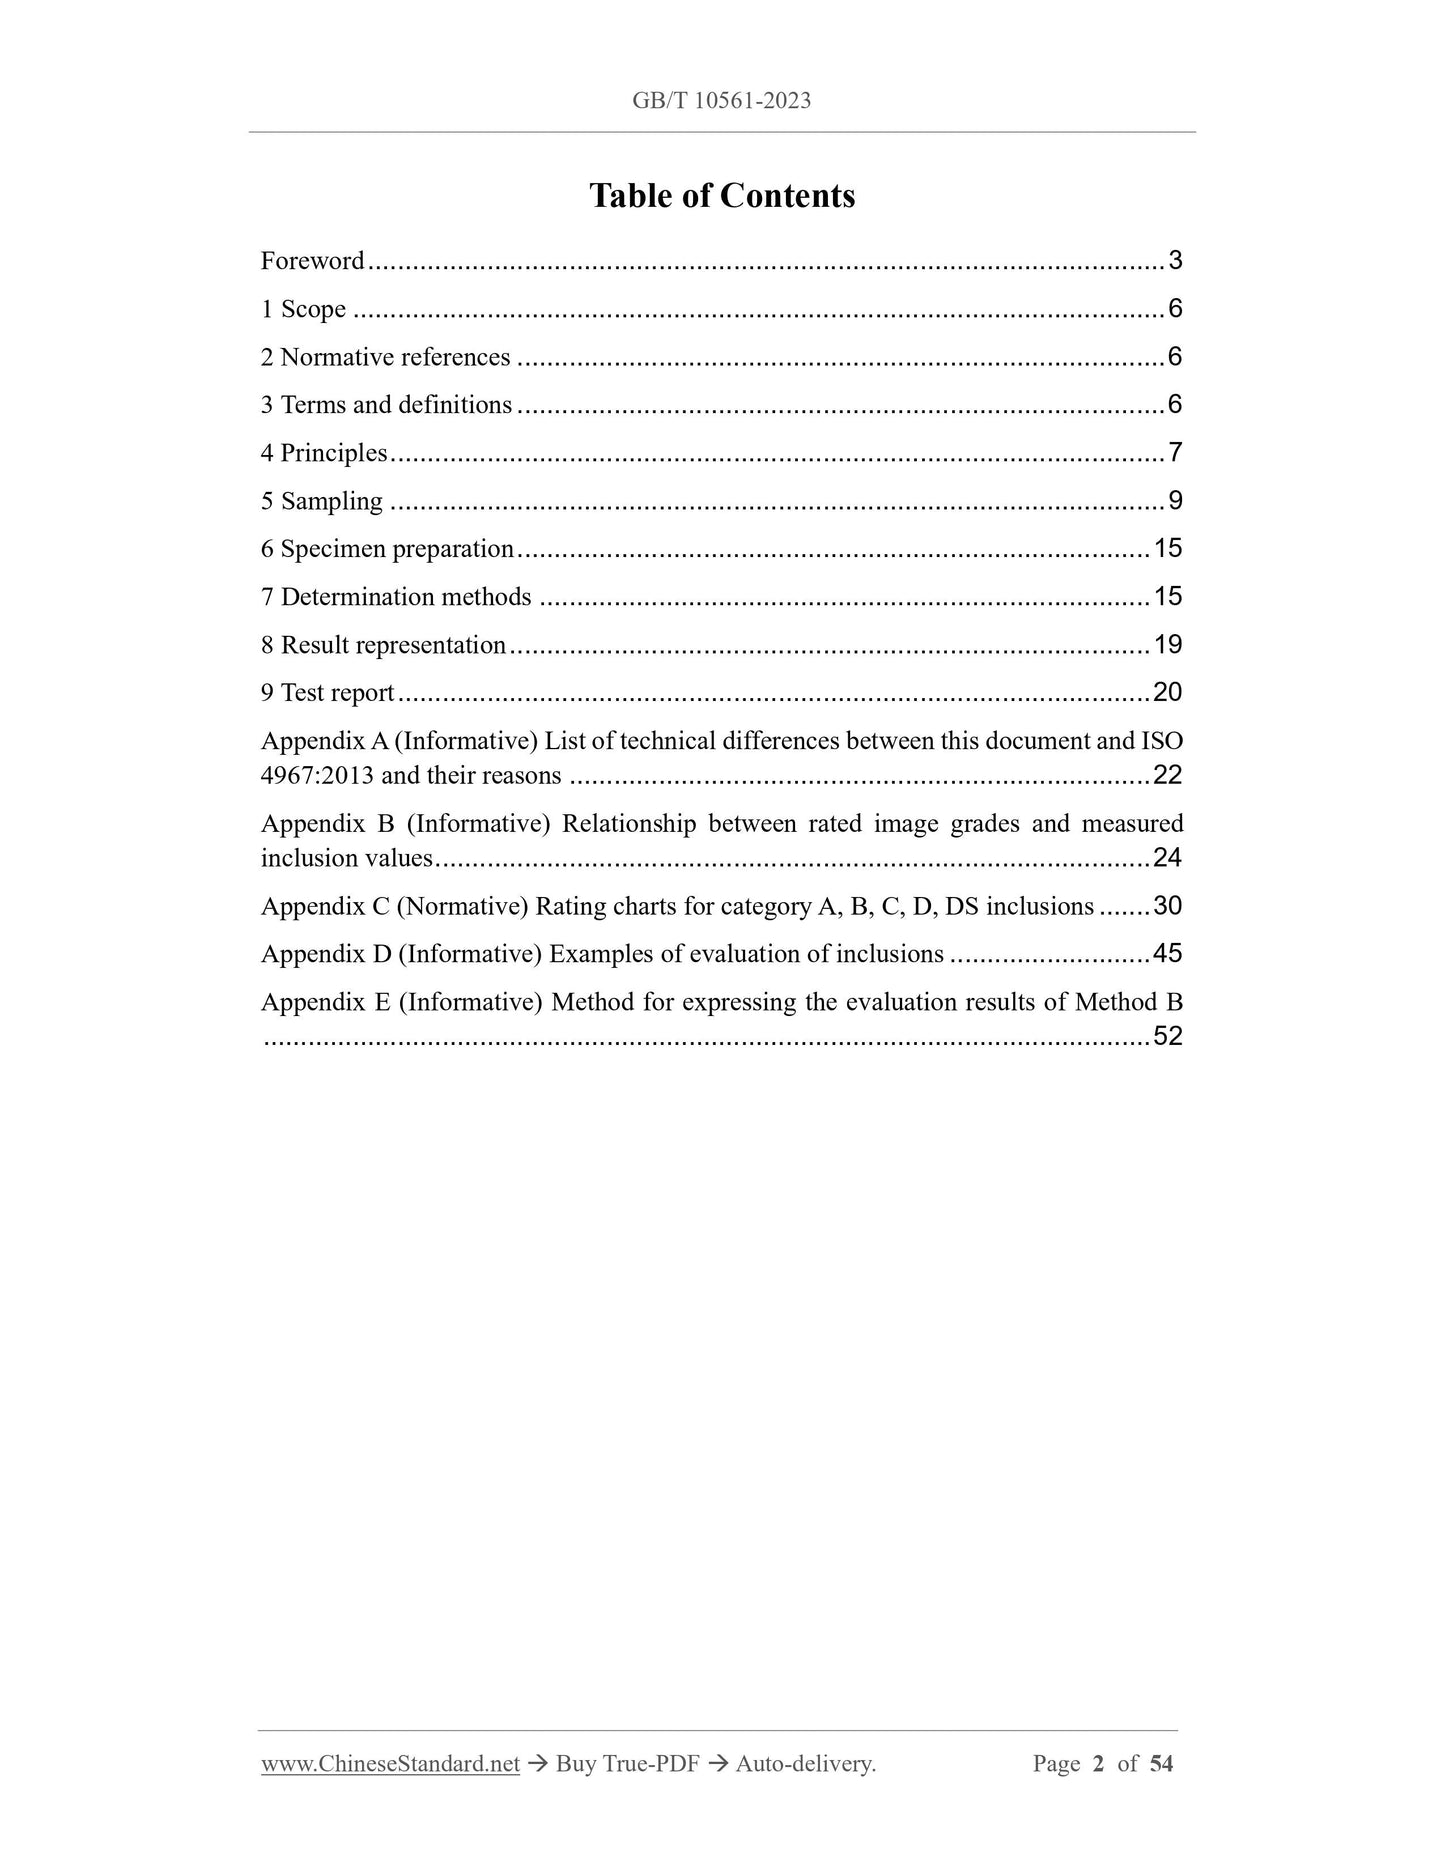
Table of Contents
Foreword ... 3
1 Scope ... 6
2 Normative references ... 6
3 Terms and definitions ... 6
4 Principles ... 7
5 Sampling ... 9
6 Specimen preparation ... 15
7 Determination methods ... 15
8 Result representation ... 19
9 Test report ... 20
Appendix A (Informative) List of technical differences between this document and ISO
4967:2013 and their reasons ... 22
Appendix B (Informative) Relationship between rated image grades and measured
inclusion values ... 24
Appendix C (Normative) Rating charts for category A, B, C, D, DS inclusions ... 30
Appendix D (Informative) Examples of evaluation of inclusions ... 45
Appendix E (Informative) Method for expressing the evaluation results of Method B
... 52
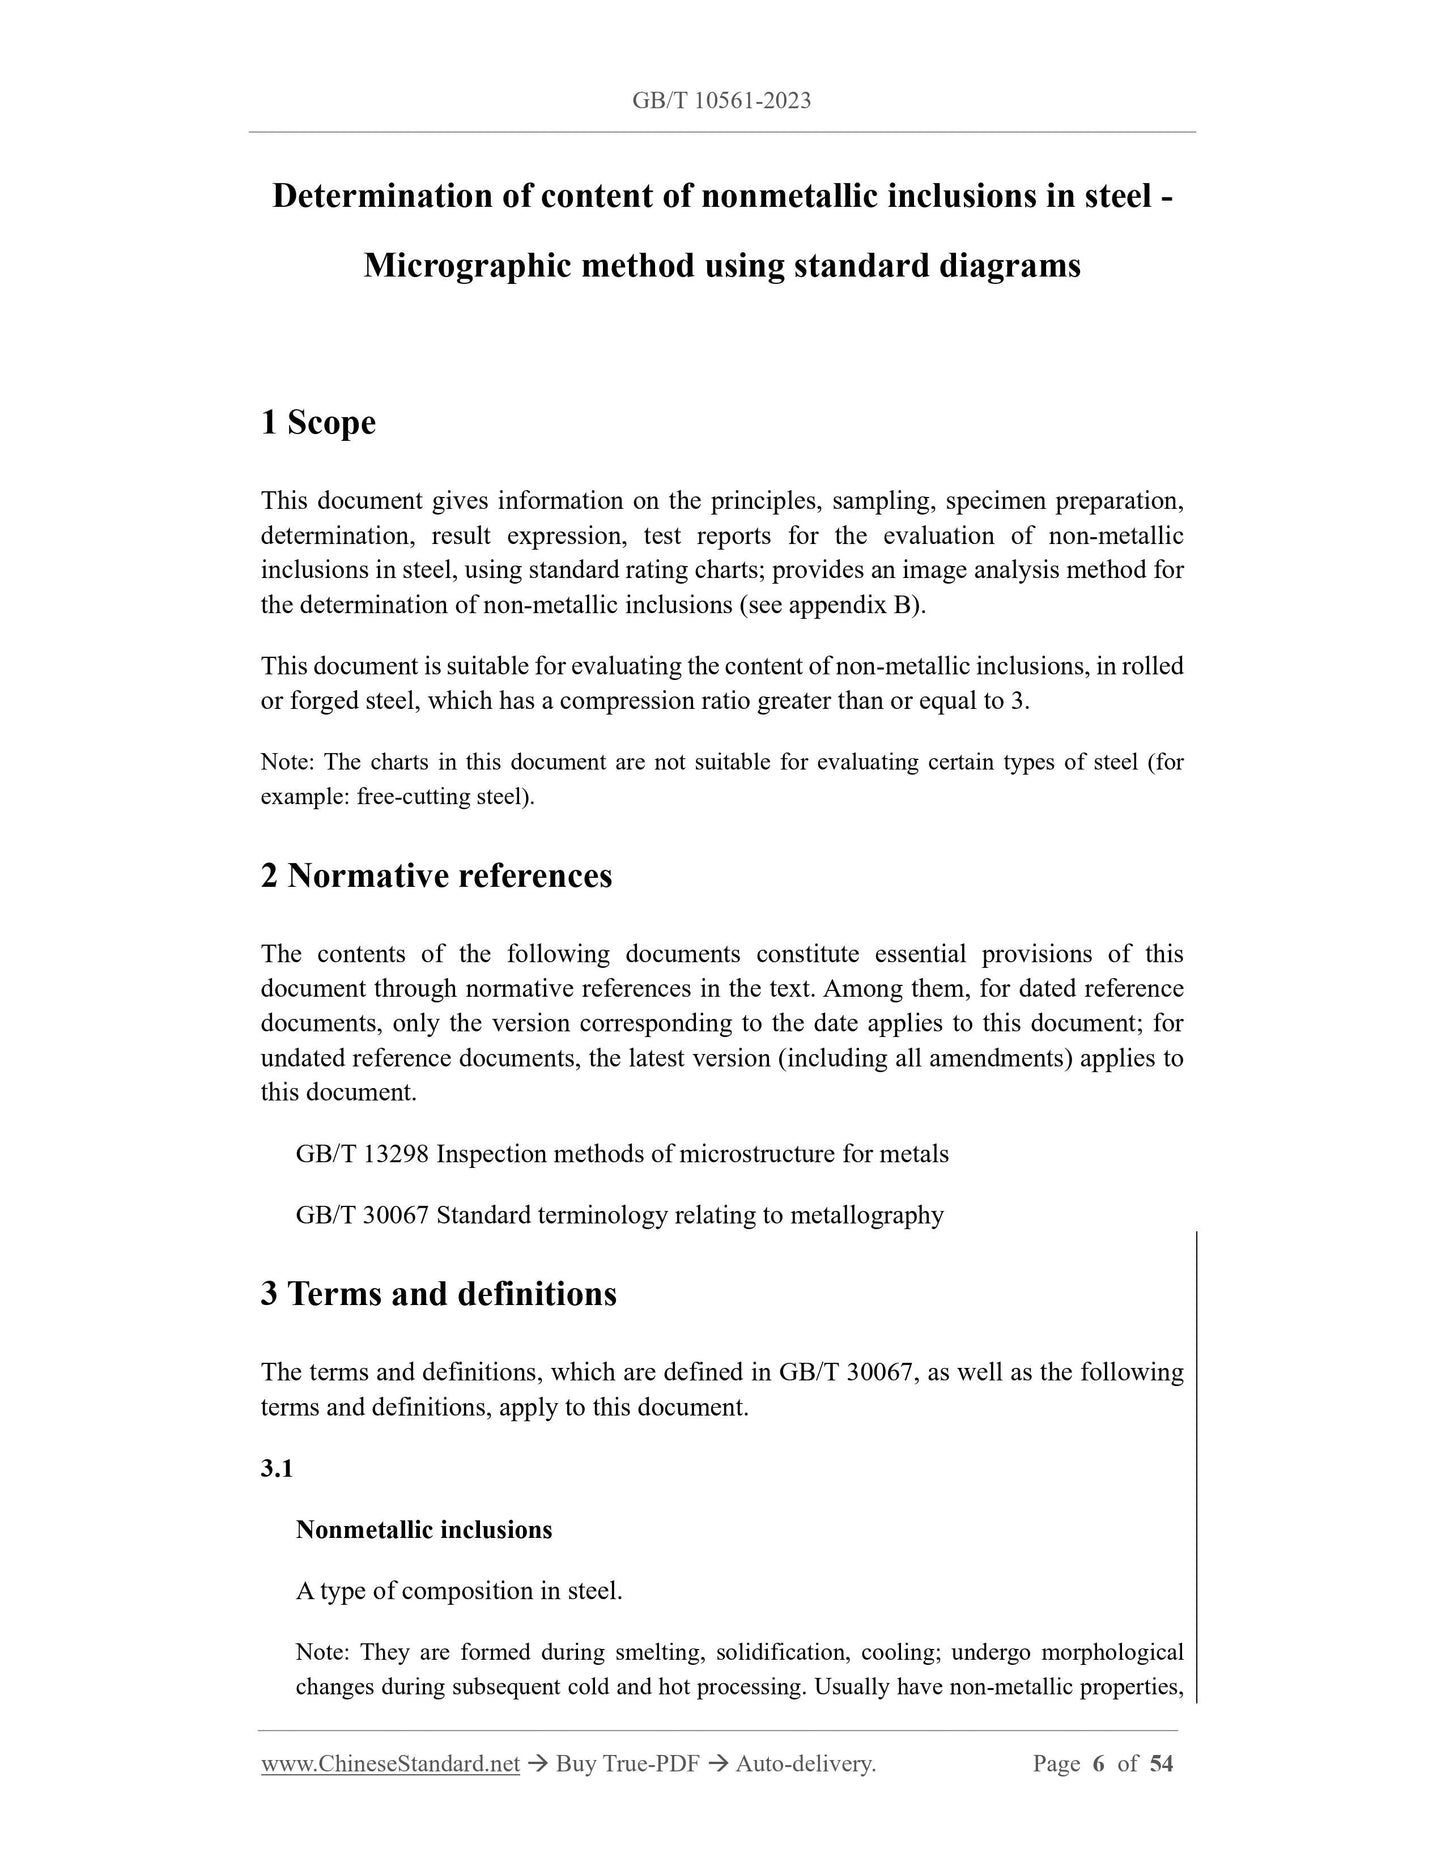
Determination of content of nonmetallic inclusions in steel -
Micrographic method using standard diagrams
1 Scope
This document gives information on the principles, sampling, specimen preparation,
determination, result expression, test reports for the evaluation of non-metallic
inclusions in steel, using standard rating charts; provides an image analysis method for
the determination of non-metallic inclusions (see appendix B).
This document is suitable for evaluating the content of non-metallic inclusions, in rolled
or forged steel, which has a compression ratio greater than or equal to 3.
Note: The charts in this document are not suitable for evaluating certain types of steel (for
example: free-cutting steel).
2 Normative references
The contents of the following documents constitute essential provisions of this
document through normative references in the text. Among them, for dated reference
documents, only the version corresponding to the date applies to this document; for
undated reference documents, the latest version (including all amendments) applies to
this document.
GB/T 13298 Inspection methods of microstructure for metals
GB/T 30067 Standard terminology relating to metallography
3 Terms and definitions
The terms and definitions, which are defined in GB/T 30067, as well as the following
terms and definitions, apply to this document.
3.1
Nonmetallic inclusions
A type of composition in steel.
Note: They are formed during smelting, solidification, cooling; undergo morphological
changes during subsequent cold and hot processing. Usually have non-metallic properties,
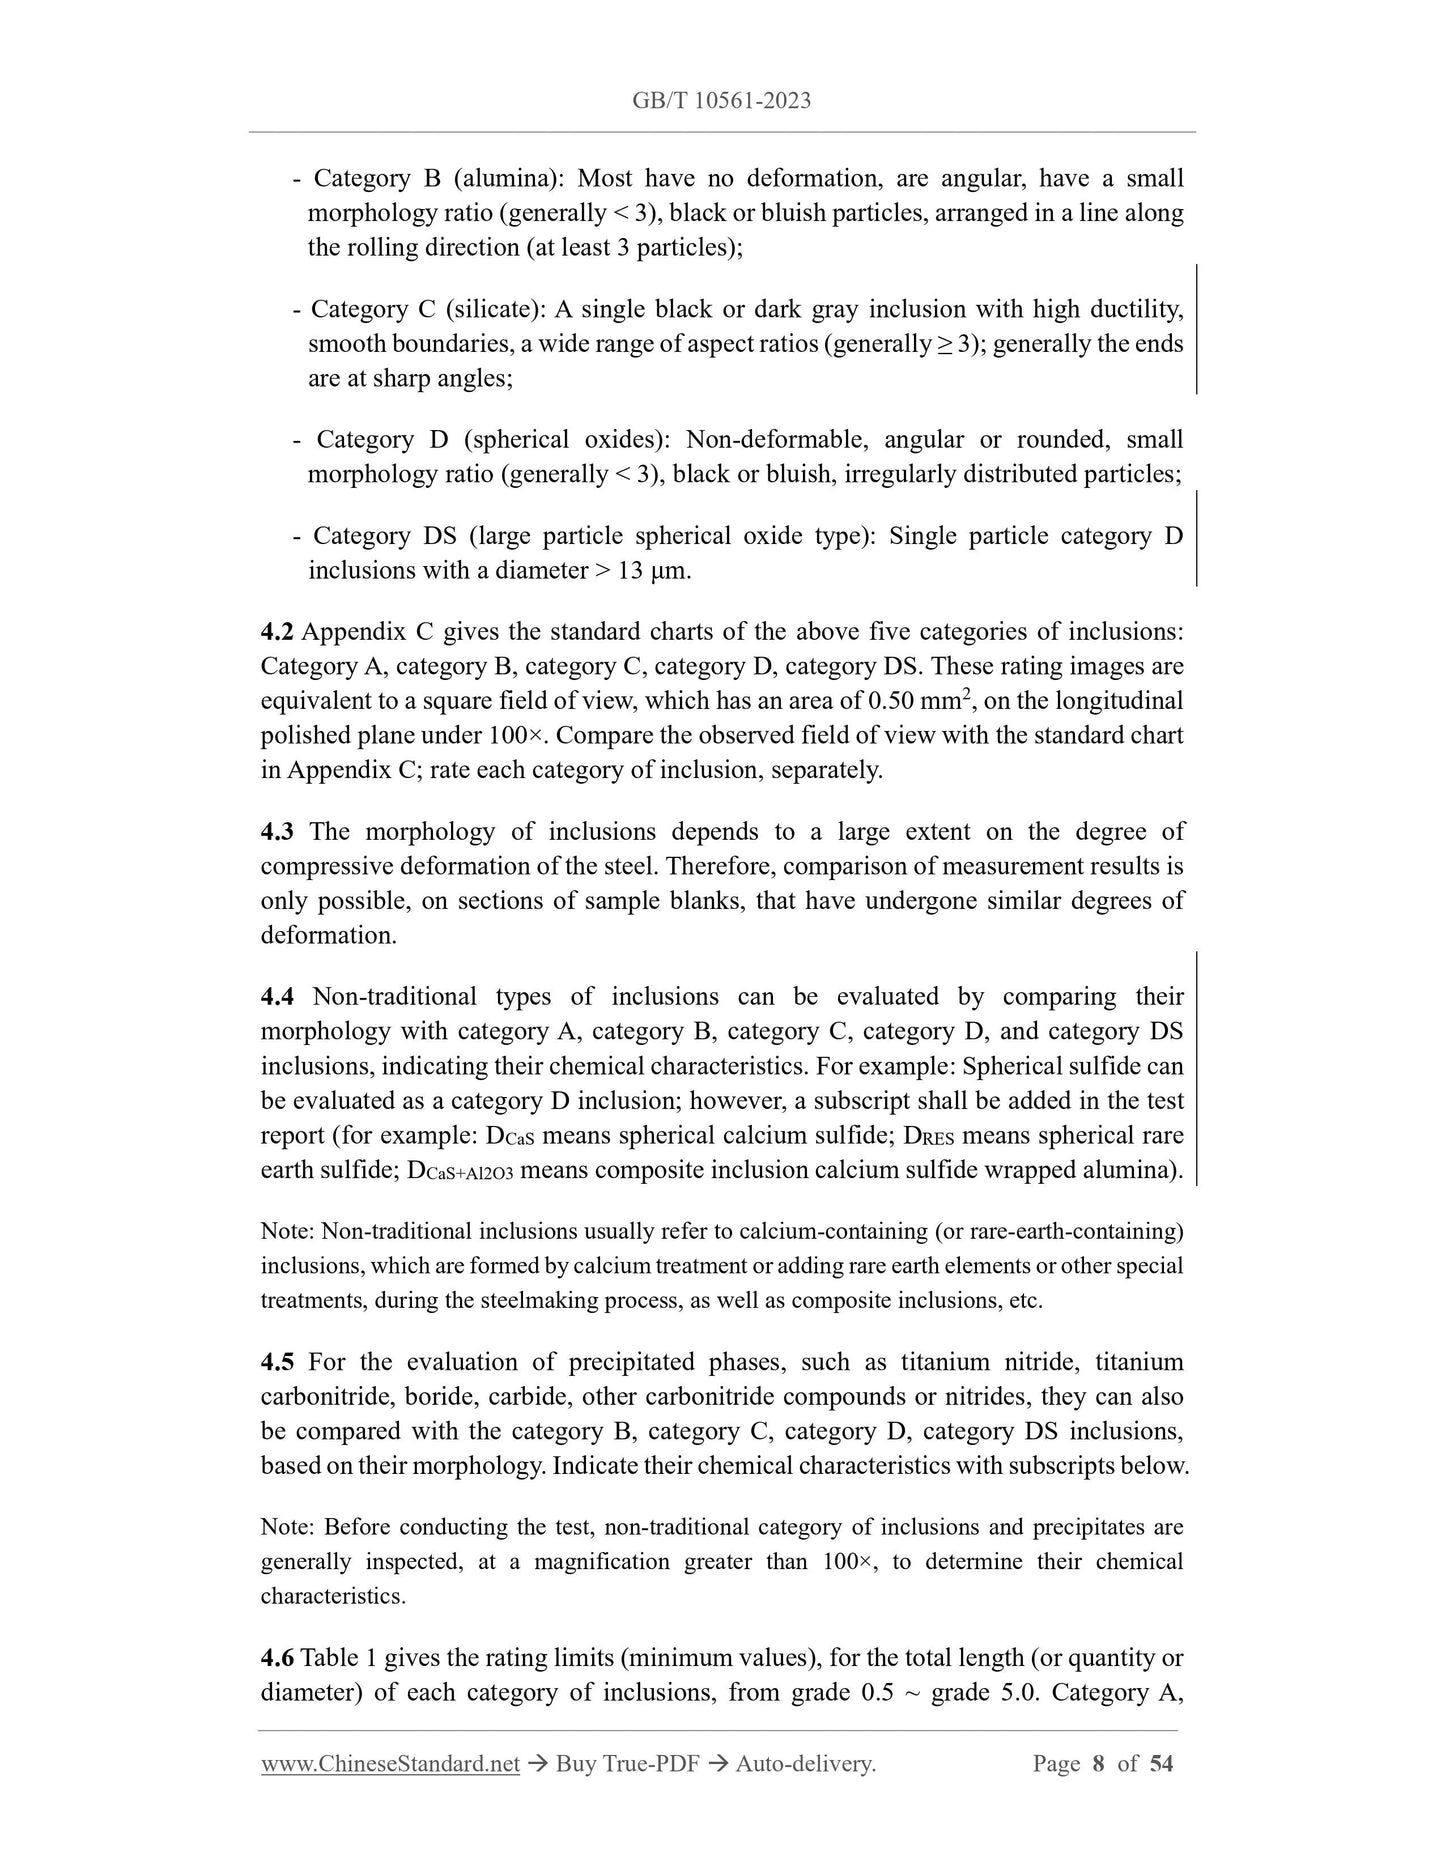
- Category B (alumina): Most have no deformation, are angular, have a small
morphology ratio (generally < 3), black or bluish particles, arranged in a line along
the rolling direction (at least 3 particles);
- Category C (silicate): A single black or dark gray inclusion with high ductility,
smooth boundaries, a wide range of aspect ratios (generally ≥ 3); generally the ends
are at sharp angles;
- Category D (spherical oxides): Non-deformable, angular or rounded, small
morphology ratio (generally < 3), black or bluish, irregularly distributed particles;
- Category DS (large particle spherical oxide type): Single particle category D
inclusions with a diameter > 13 μm.
4.2 Appendix C gives the standard charts of the above five categories of inclusions:
Category A, category B, category C, category D, category DS. These rating images are
equivalent to a square field of view, which has an area of 0.50 mm2, on the longitudinal
polished plane under 100×. Compare the observed field of view with the standard chart
in Appendix C; rate each category of inclusion, separately.
4.3 The morphology of inclusions depends to a large extent on the degree of
compressive deformation of the steel. Therefore, comparison of measurement results is
only possible, on sections of sample blanks, that have undergone similar degrees of
deformation.
4.4 Non-traditional types of inclusions can be evaluated by comparing their
morphology with category A, category B, category C, category D, and category DS
inclusions, indicating their chemical characteristics. For example: Spherical sulfide can
be evaluated as a category D inclusion; however, a subscript shall be added in the test
report (for example: DCaS means spherical calcium sulfide; DRES means spherical rare
earth sulfide; DCaS+Al2O3 means composite inclusion calcium sulfide wrapped alumina).
Note: Non-traditional inclusions usually refer to calcium-containing (or rare-earth-containing)
inclusions, which are formed by calcium treatment or adding rare earth elements or other special
treatments, during the steelmaking process, as well as composite inclusions, etc.
4.5 For the evaluation of precipitated phases, such as titanium nitride, titanium
carbonitride, boride, carbide, other carbonitride compounds or nitrides, they can also
be compared with the category B, category C, category D, category DS inclusions,
based on their morphology. Indicate their chemical characteristics with subscripts below.
Note: Before conducting the test, non-traditional category of inclusions and precipitates are
generally inspected, at a magnification greater than 100×, to determine their chemical
characteristics.
4.6 Table 1 gives the rating limits (minimum values), for the total length (or quantity or
diameter) of each category of inclusions, from grade 0.5 ~ grade 5.0. Category A,
steel to the center. When the thickness, diameter or wall thickness of the product is
small, a sufficient number of specimens shall be taken from the same blank, to ensure
that the total polishing area is 200 mm2; these specimens shall be regarded as one
specimen. When 100 mm of the continuously sampled total length, in the main
deformation direction, is taken as a specimen, the polishing area less than 200 mm2 is
allowed.
5.3 The sampling quantity shall be specified in the product standard or agreement.
5.4 Sampling methods shall be as specified in product standards or agreement. If not
specified in the product standard or agreement, the sampling method shall be as follows:
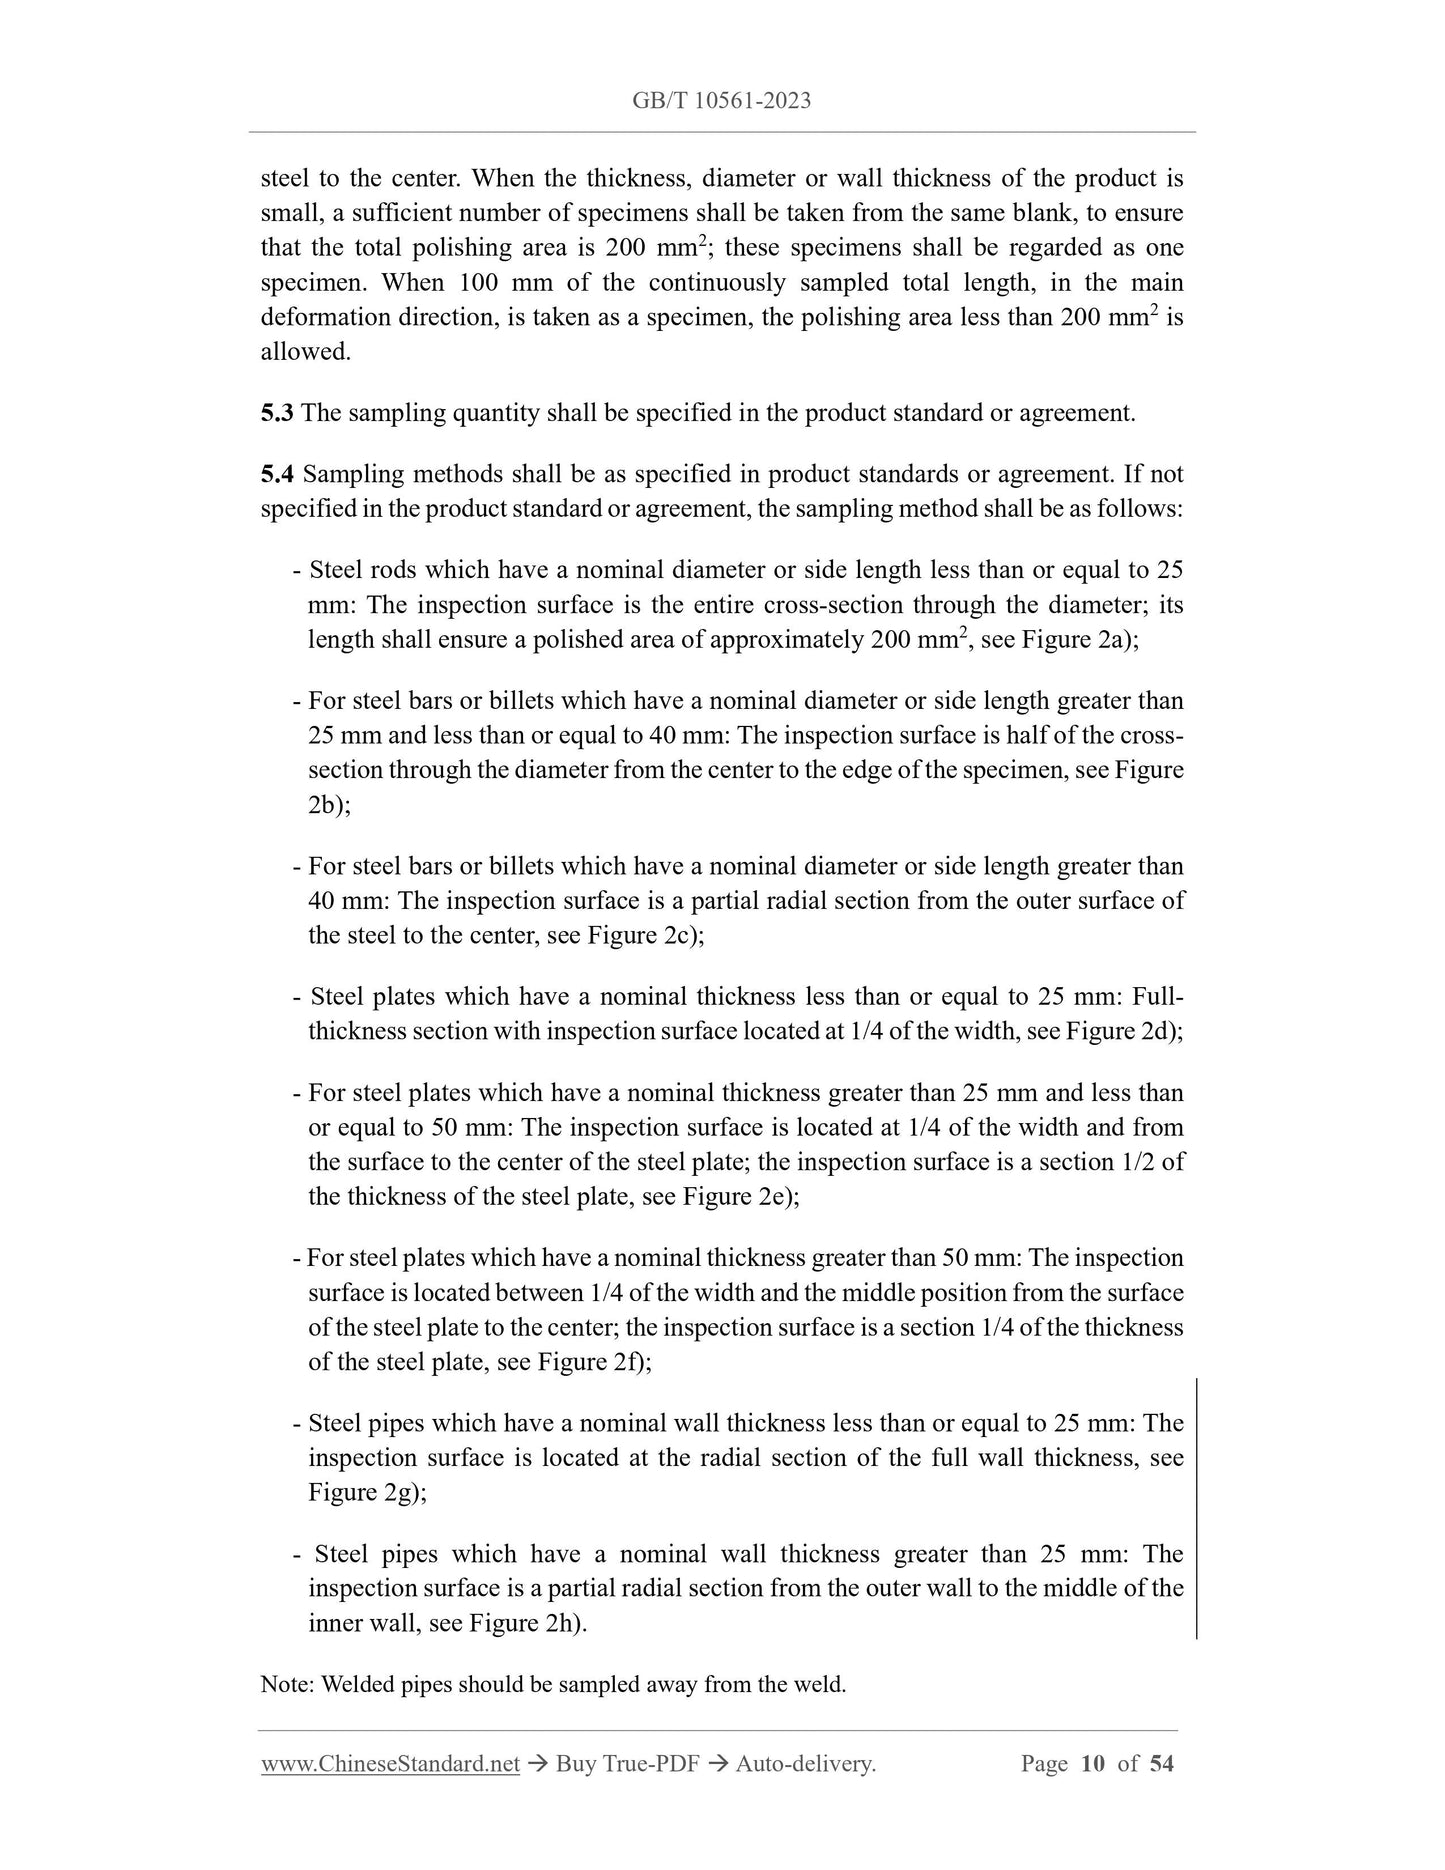
- Steel rods which have a nominal diameter or side length less than or equal to 25
mm: The inspection surface is the entire cross-section through the diameter; its
length shall ensure a polished area of approximately 200 mm2, see Figure 2a);
- For steel bars or billets which have a nominal diameter or side length greater than
25 mm and less than or equal to 40 mm: The inspection surface is half of the cross-
section through the diameter from the center to the edge of the specimen, see Figure
2b);
- For steel bars or billets which have a nominal diameter or side length greater than
40 mm: The inspection surface is a partial radial section from the outer surface of
the steel to the center, see Figure 2c);
- Steel plates which have a nominal thickness less than or equal to 25 mm: Full-
thickness section with inspection surface located at 1/4 of the width, see Figure 2d);
- For steel plates which have a nominal thickness greater than 25 mm and less than
or equal to 50 mm: The inspection surface is located at 1/4 of the width and from
the surface to the center of the steel plate; the inspection surface is a section 1/2 of
the thickness of the steel plate, see Figure 2e);
- For steel plates which have a nominal thickness greater than 50 mm: The inspection
surface is located between 1/4 of the width and the middle position from the surface
of the steel plate to the center; the inspection surface is a section 1/4 of the thickness
of the steel plate, see Figure 2f);
- Steel pipes which have a nominal wall thickness less than or equal to 25 mm: The
inspection surface is located at the radial section of the full wall thickness, see
Figure 2g);
- Steel pipes which have a nominal wall thickness greater than 25 mm: The
inspection surface is a partial radial section from the outer wall to the middle of the
inner wall, see Figure 2h).
Note: Welded pipes should be sampled away from the weld.
D.3.
7.2.2.7 According to the requirements of product standards or agreements, the
precipitated phase can be evaluated, according to its morphology, together with the
closest category B, category C, category D, category DS inclusions. Its chemical
characteristics can be expressed according to the method of 7.2.2.6. For examples of
evaluation of precipitated phases, see D.4.
8 Result representation
8.1 General
8.1.1 The inclusion inspection results are usually expressed by the inclusion category
code (A, B, C, D, DS), series code (fine series T or coarse series H), grade (0.5, 1.0...5.0).
Unless specified in the product standard or agreement, the evaluation results are
expressed, in accordance with 8.2 (Method A) or 8.3 (Method B).
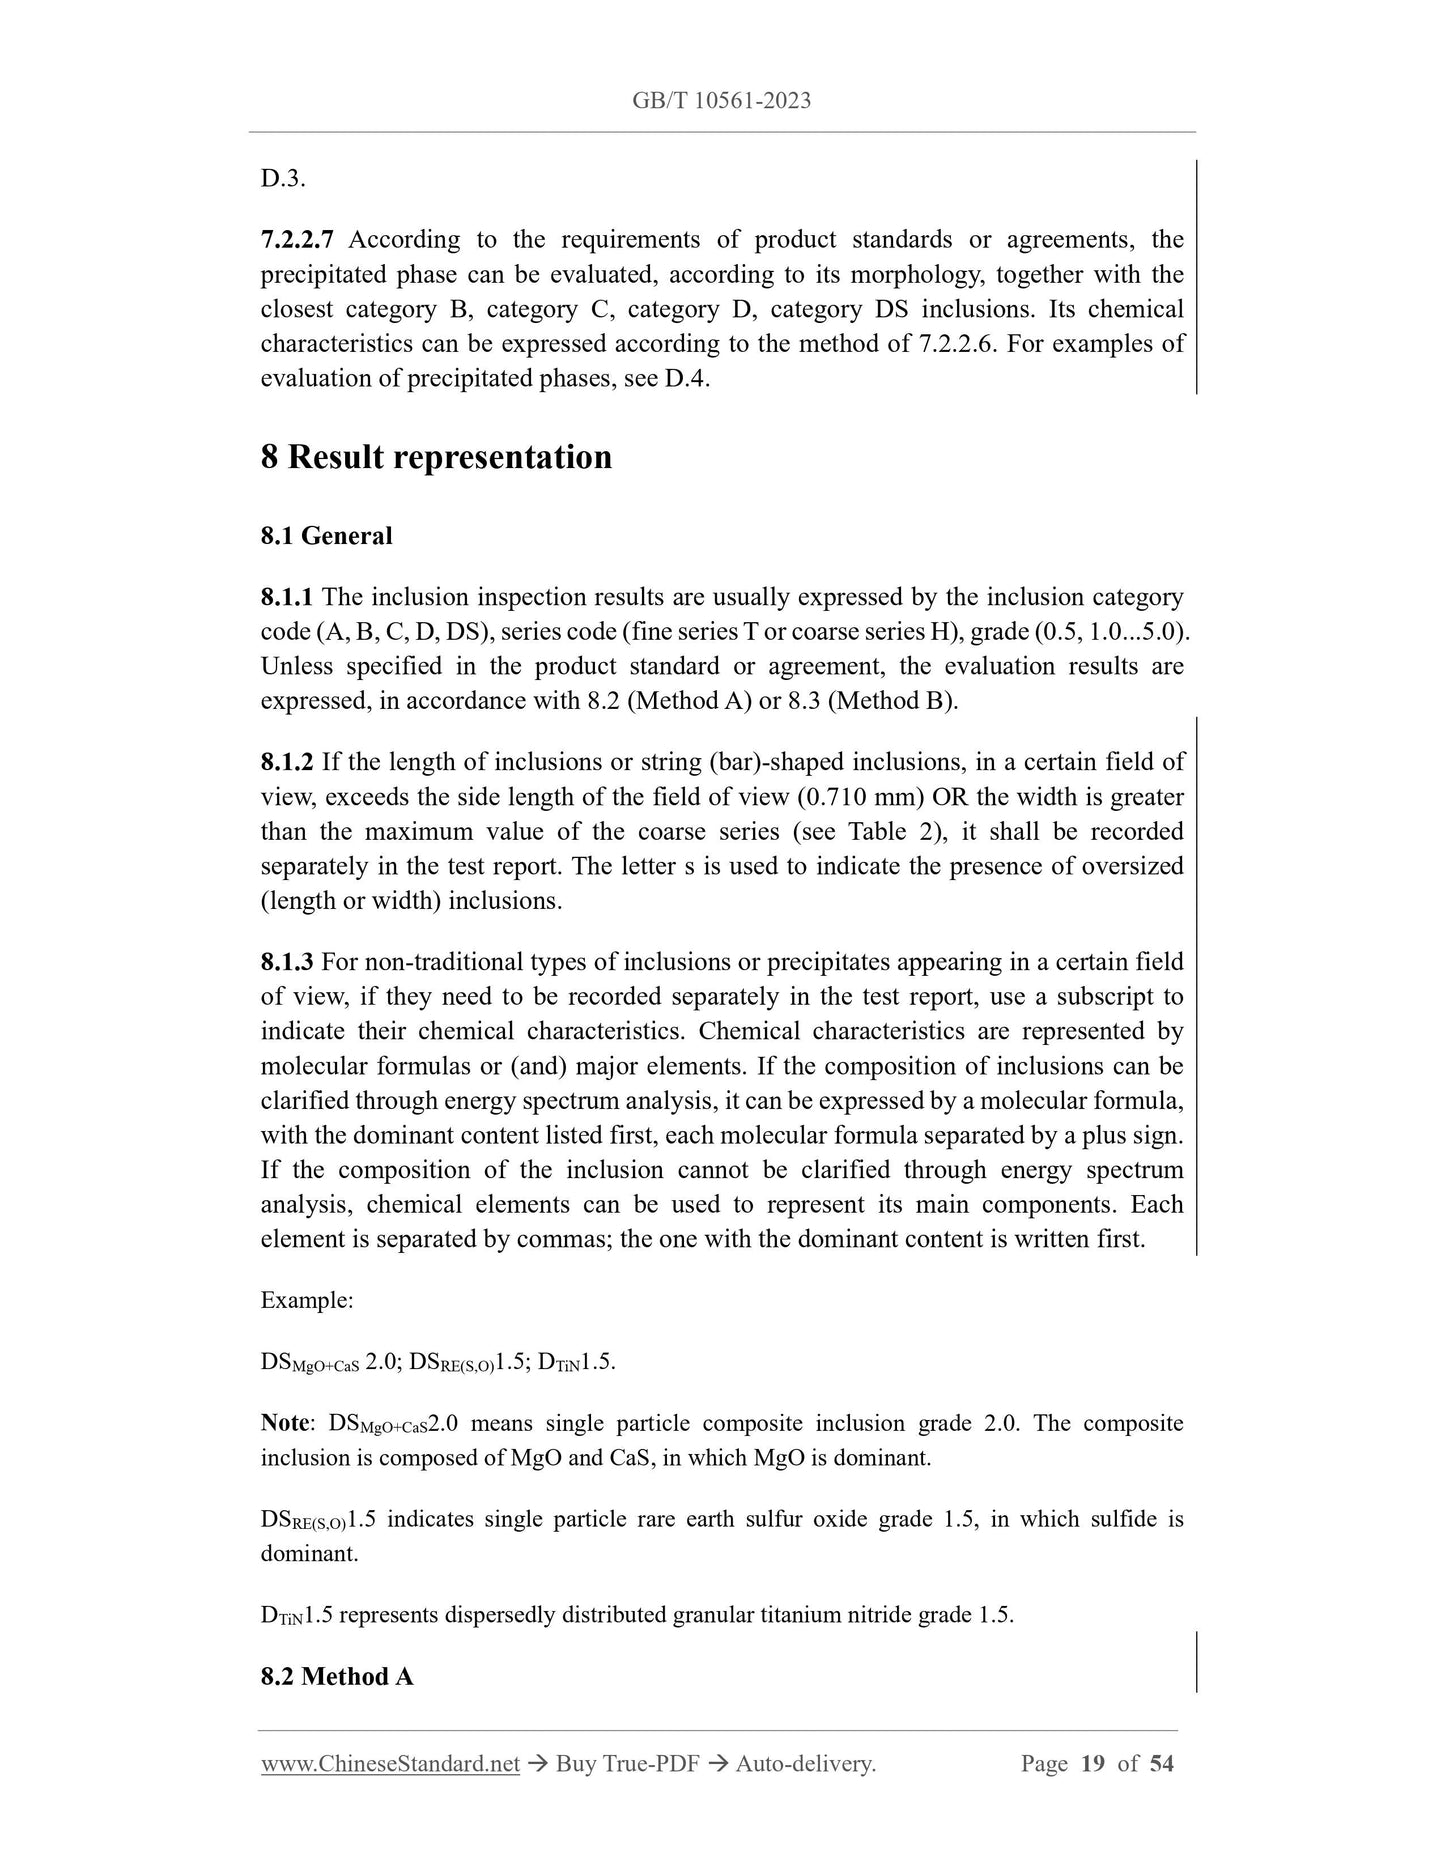
8.1.2 If the length of inclusions or string (bar)-shaped inclusions, in a certain field of
view, exceeds the side length of the field of view (0.710 mm) OR the width is greater
than the maximum value of the coarse series (see Table 2), it shall be recorded
separately in the test report. The letter s is used to indicate the presence of oversized
(length or width) inclusions.
8.1.3 For non-traditional types of inclusions or precipitates appearing in a certain field
of view, if they need to be recorded separately in the test report, use a subscript to
indicate their chemical characteristics. Chemical characteristics are represented by
molecular formulas or (and) major elements. If the composition of inclusions can be
clarified through energy spectrum analysis, it can be expressed by a molecular formula,
with the dominant content listed first, each molecular formula separated by a plus sign.
If the composition of the inclusion cannot be clarified through energy spectrum
analysis, chemical elements can be used to represent its main components. Each
element is separated by commas; the one with the dominant content is written first.
Example:
DSMgO+CaS 2.0; DSRE(S,O)1.5; DTiN1.5.
Note: DSMgO+CaS2.0 means single particle composite inclusion grade 2.0. The composite
inclusion is composed of MgO and CaS, in which MgO is dominant.
DSRE(S,O)1.5 indicates single particle rare earth sulfur oxide grade 1.5, in which sulfide is
dominant.
DTiN1.5 represents dispersedly distributed granular titanium nitride grade 1.5.
8.2 Method A
Appendix B
(Informative)
Relationship between rated image grades and measured inclusion values
B.1 Figures B.1 ~ B.5 respectively represent the relationship -- between the rated image
grade i of category A, category B, category C, category D, category DS inclusions and
the measured value of the inclusion. The length L or diameter d in the Figure is
expressed in microns (μm), OR expressed in the number n of inclusions per field of
view. The formulas listed in B.2 can be used to calculate the inclusion grade i from the
measured values of the inclusions. The formula listed in B.3 can calculate the measured
value of inclusions from the grade of inclusions. For example: When measuring
inclusions, which have a rated image grade of 3.0 or above, it can use the formula in
B.2, to calculate the grade from the inclusion measurement values.
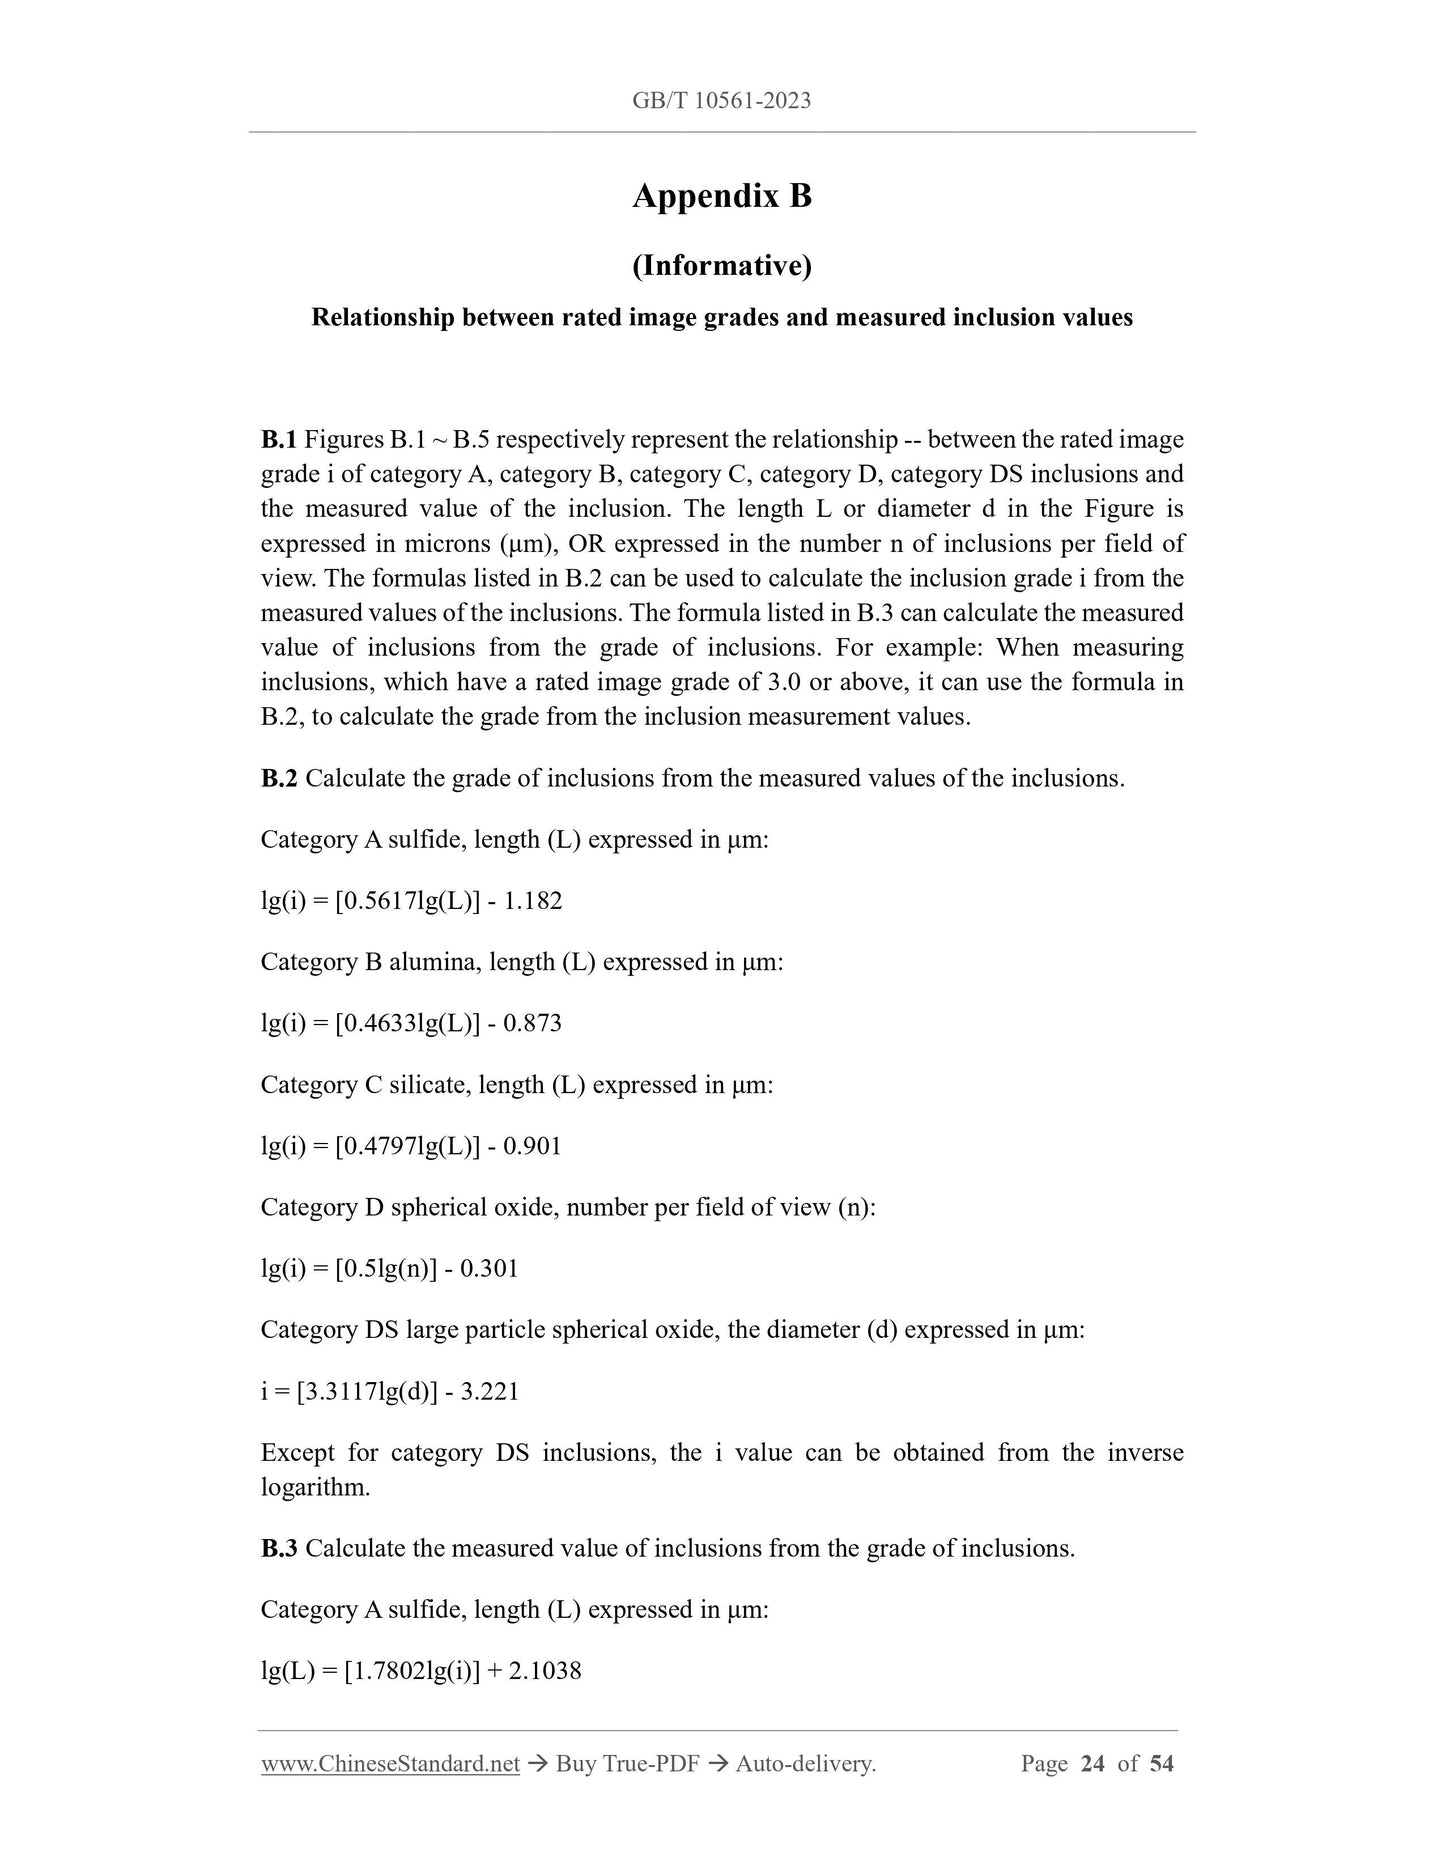
B.2 Calculate the grade of inclusions from the measured values of the inclusions.
Category A sulfide, length (L) expressed in μm:
lg(i) = [0.5617lg(L)] - 1.182
Category B alumina, length (L) expressed in μm:
lg(i) = [0.4633lg(L)] - 0.873
Category C silicate, length (L) expressed in μm:
lg(i) = [0.4797lg(L)] - 0.901
Category D spherical oxide, number per field of view (n):
lg(i) = [0.5lg(n)] - 0.301
Category DS large particle spherical oxide, the diameter (d) expressed in μm:
i = [3.3117lg(d)] - 3.221
Except for category DS inclusions, the i value can be obtained from the inverse
logarithm.
B.3 Calculate the measured value of inclusions from the grade of inclusions.
Category A sulfide, length (L) expressed in μm:
lg(L) = [1.7802lg(i)] + 2.1038
GB/T 10561-2023
GB
NATIONAL STANDARD OF THE
PEOPLE’S REPUBLIC OF CHINA
ICS 77.040.99
CCS H 24
Replacing GB/T 10561-2005
Determination of content of nonmetallic inclusions in steel -
Micrographic method using standard diagrams
(ISO 4967:2013, Steel - Determination of content of nonmetallic inclusion -
Micrographic method using standard diagrams, MOD)
ISSUED ON: MAY 23, 2023
IMPLEMENTED ON: DECEMBER 01, 2023
Issued by: State Administration for Market Regulation.
Standardization Administration of PRC.
Table of Contents
Foreword ... 3
1 Scope ... 6
2 Normative references ... 6
3 Terms and definitions ... 6
4 Principles ... 7
5 Sampling ... 9
6 Specimen preparation ... 15
7 Determination methods ... 15
8 Result representation ... 19
9 Test report ... 20
Appendix A (Informative) List of technical differences between this document and ISO
4967:2013 and their reasons ... 22
Appendix B (Informative) Relationship between rated image grades and measured
inclusion values ... 24
Appendix C (Normative) Rating charts for category A, B, C, D, DS inclusions ... 30
Appendix D (Informative) Examples of evaluation of inclusions ... 45
Appendix E (Informative) Method for expressing the evaluation results of Method B
... 52
Determination of content of nonmetallic inclusions in steel -
Micrographic method using standard diagrams
1 Scope
This document gives information on the principles, sampling, specimen preparation,
determination, result expression, test reports for the evaluation of non-metallic
inclusions in steel, using standard rating charts; provides an image analysis method for
the determination of non-metallic inclusions (see appendix B).
This document is suitable for evaluating the ...
Share
