1
/
of
6
www.ChineseStandard.us -- Field Test Asia Pte. Ltd.
GB/T 10573-2020 English PDF (GB/T10573-2020)
GB/T 10573-2020 English PDF (GB/T10573-2020)
Regular price
$135.00
Regular price
Sale price
$135.00
Unit price
/
per
Shipping calculated at checkout.
Couldn't load pickup availability
GB/T 10573-2020: Tensile testing method for fine wire of nonferrous metals
Delivery: 9 seconds. Download (& Email) true-PDF + Invoice.
Get Quotation: Click GB/T 10573-2020 (Self-service in 1-minute)
Historical versions (Master-website): GB/T 10573-2020
Preview True-PDF (Reload/Scroll-down if blank)
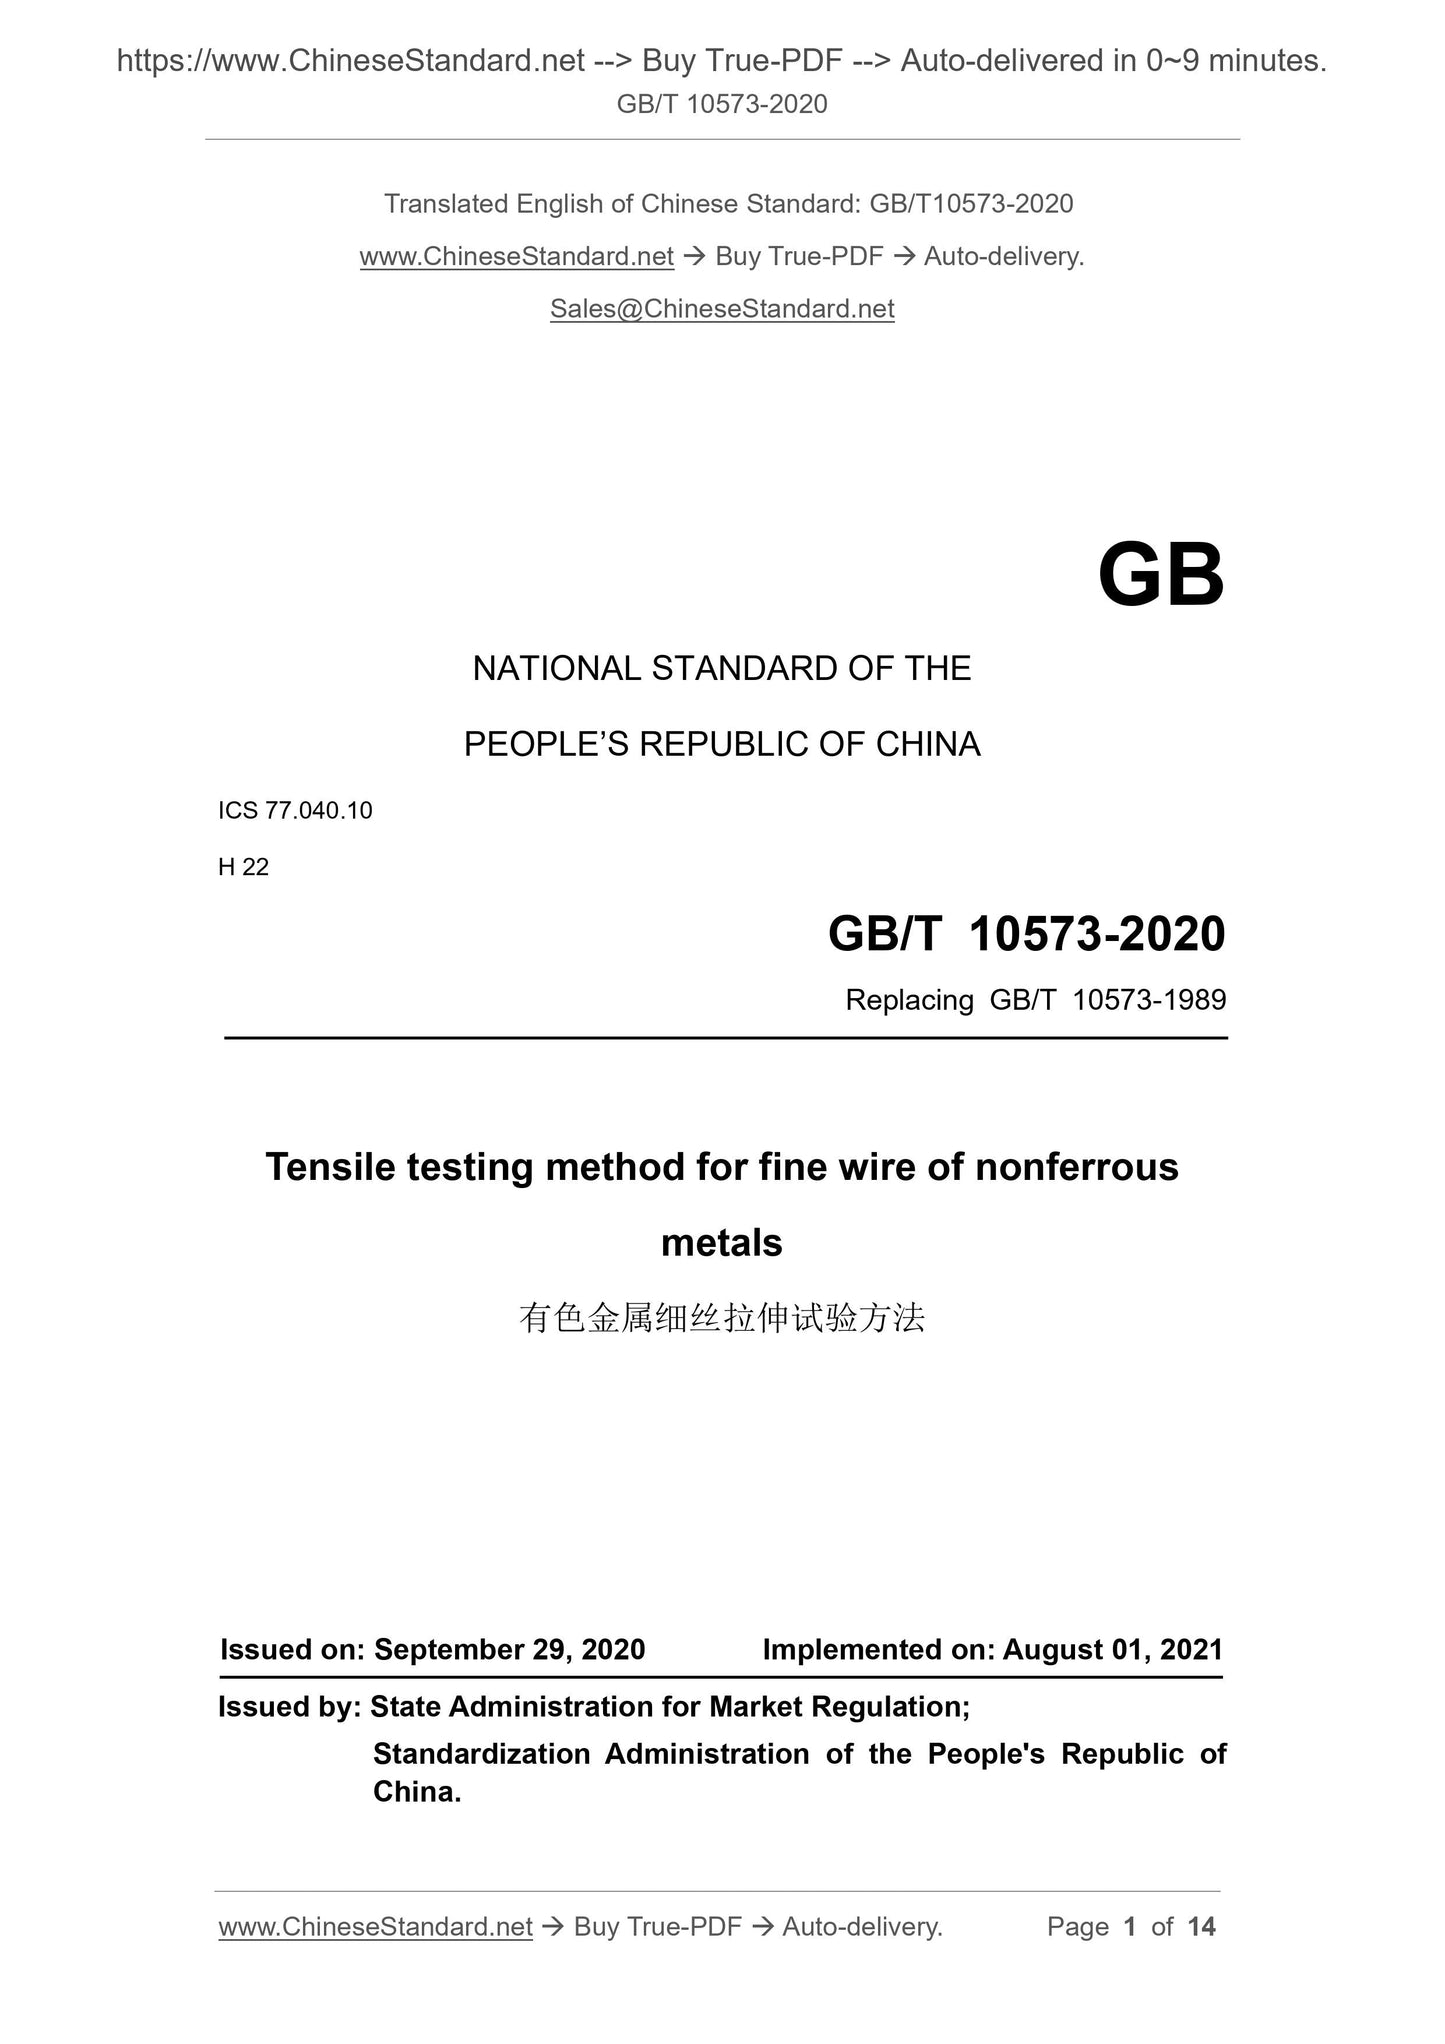
GB/T 10573-2020
GB
NATIONAL STANDARD OF THE
PEOPLE’S REPUBLIC OF CHINA
ICS 77.040.10
H 22
Replacing GB/T 10573-1989
Tensile testing method for fine wire of nonferrous
metals
ISSUED ON: SEPTEMBER 29, 2020
IMPLEMENTED ON: AUGUST 01, 2021
Issued by: State Administration for Market Regulation;
Standardization Administration of the People's Republic of
China.
Table of Contents
Foreword ... 3
1 Scope ... 5
2 Normative references ... 5
3 Terms and definitions ... 5
4 Symbols and descriptions ... 6
5 Method summary ... 6
6 Instruments and equipment... 7
7 Specimen ... 7
8 Test requirements ... 7
9 Test steps ... 8
10 Test data processing ... 12
11 Test report ... 13
Tensile testing method for fine wire of nonferrous
metals
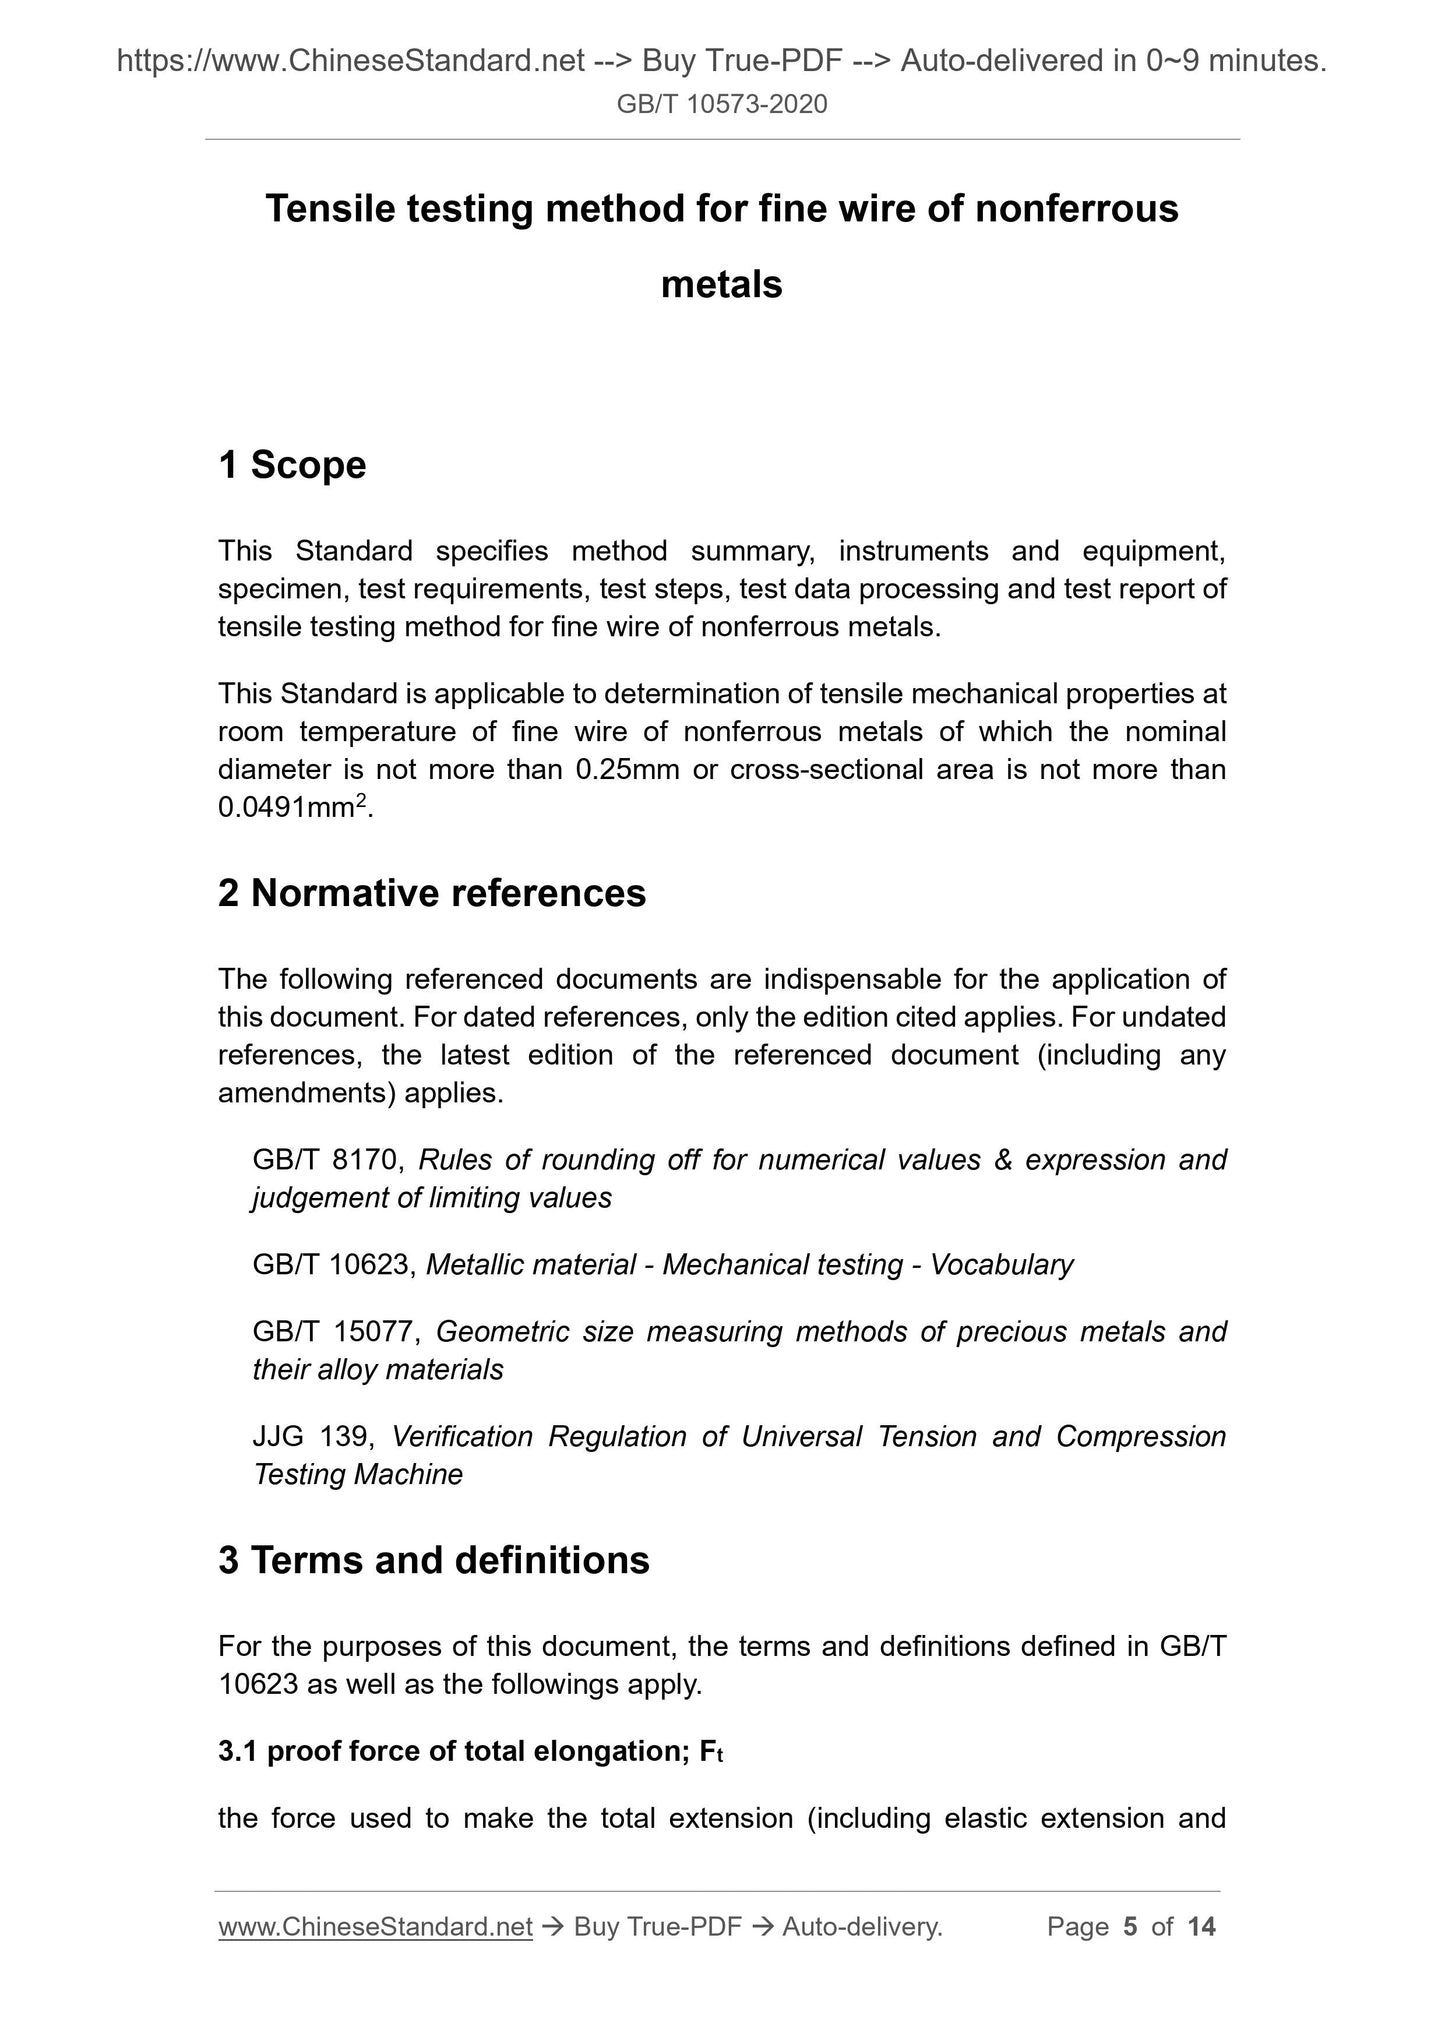
1 Scope
This Standard specifies method summary, instruments and equipment,
specimen, test requirements, test steps, test data processing and test report of
tensile testing method for fine wire of nonferrous metals.
This Standard is applicable to determination of tensile mechanical properties at
room temperature of fine wire of nonferrous metals of which the nominal
diameter is not more than 0.25mm or cross-sectional area is not more than
0.0491mm2.
2 Normative references
The following referenced documents are indispensable for the application of
this document. For dated references, only the edition cited applies. For undated
references, the latest edition of the referenced document (including any
amendments) applies.
GB/T 8170, Rules of rounding off for numerical values and expression and
judgement of limiting values
GB/T 10623, Metallic material - Mechanical testing - Vocabulary
GB/T 15077, Geometric size measuring methods of precious metals and
their alloy materials
JJG 139, Verification Regulation of Universal Tension and Compression
Testing Machine
3 Terms and definitions
For the purposes of this document, the terms and definitions defined in GB/T
10623 as well as the followings apply.
3.1 proof force of total elongation; Ft
the force used to make the total extension (including elastic extension and
6 Instruments and equipment
6.1 The measurement error of the testing machine complies with the relevant
regulations in JJG 139. The accuracy of the force value shall be level 1 or better.
6.2 The testing machine shall be calibrated or verified regularly. The force value
range used in the test shall be within the tested range.
7 Specimen
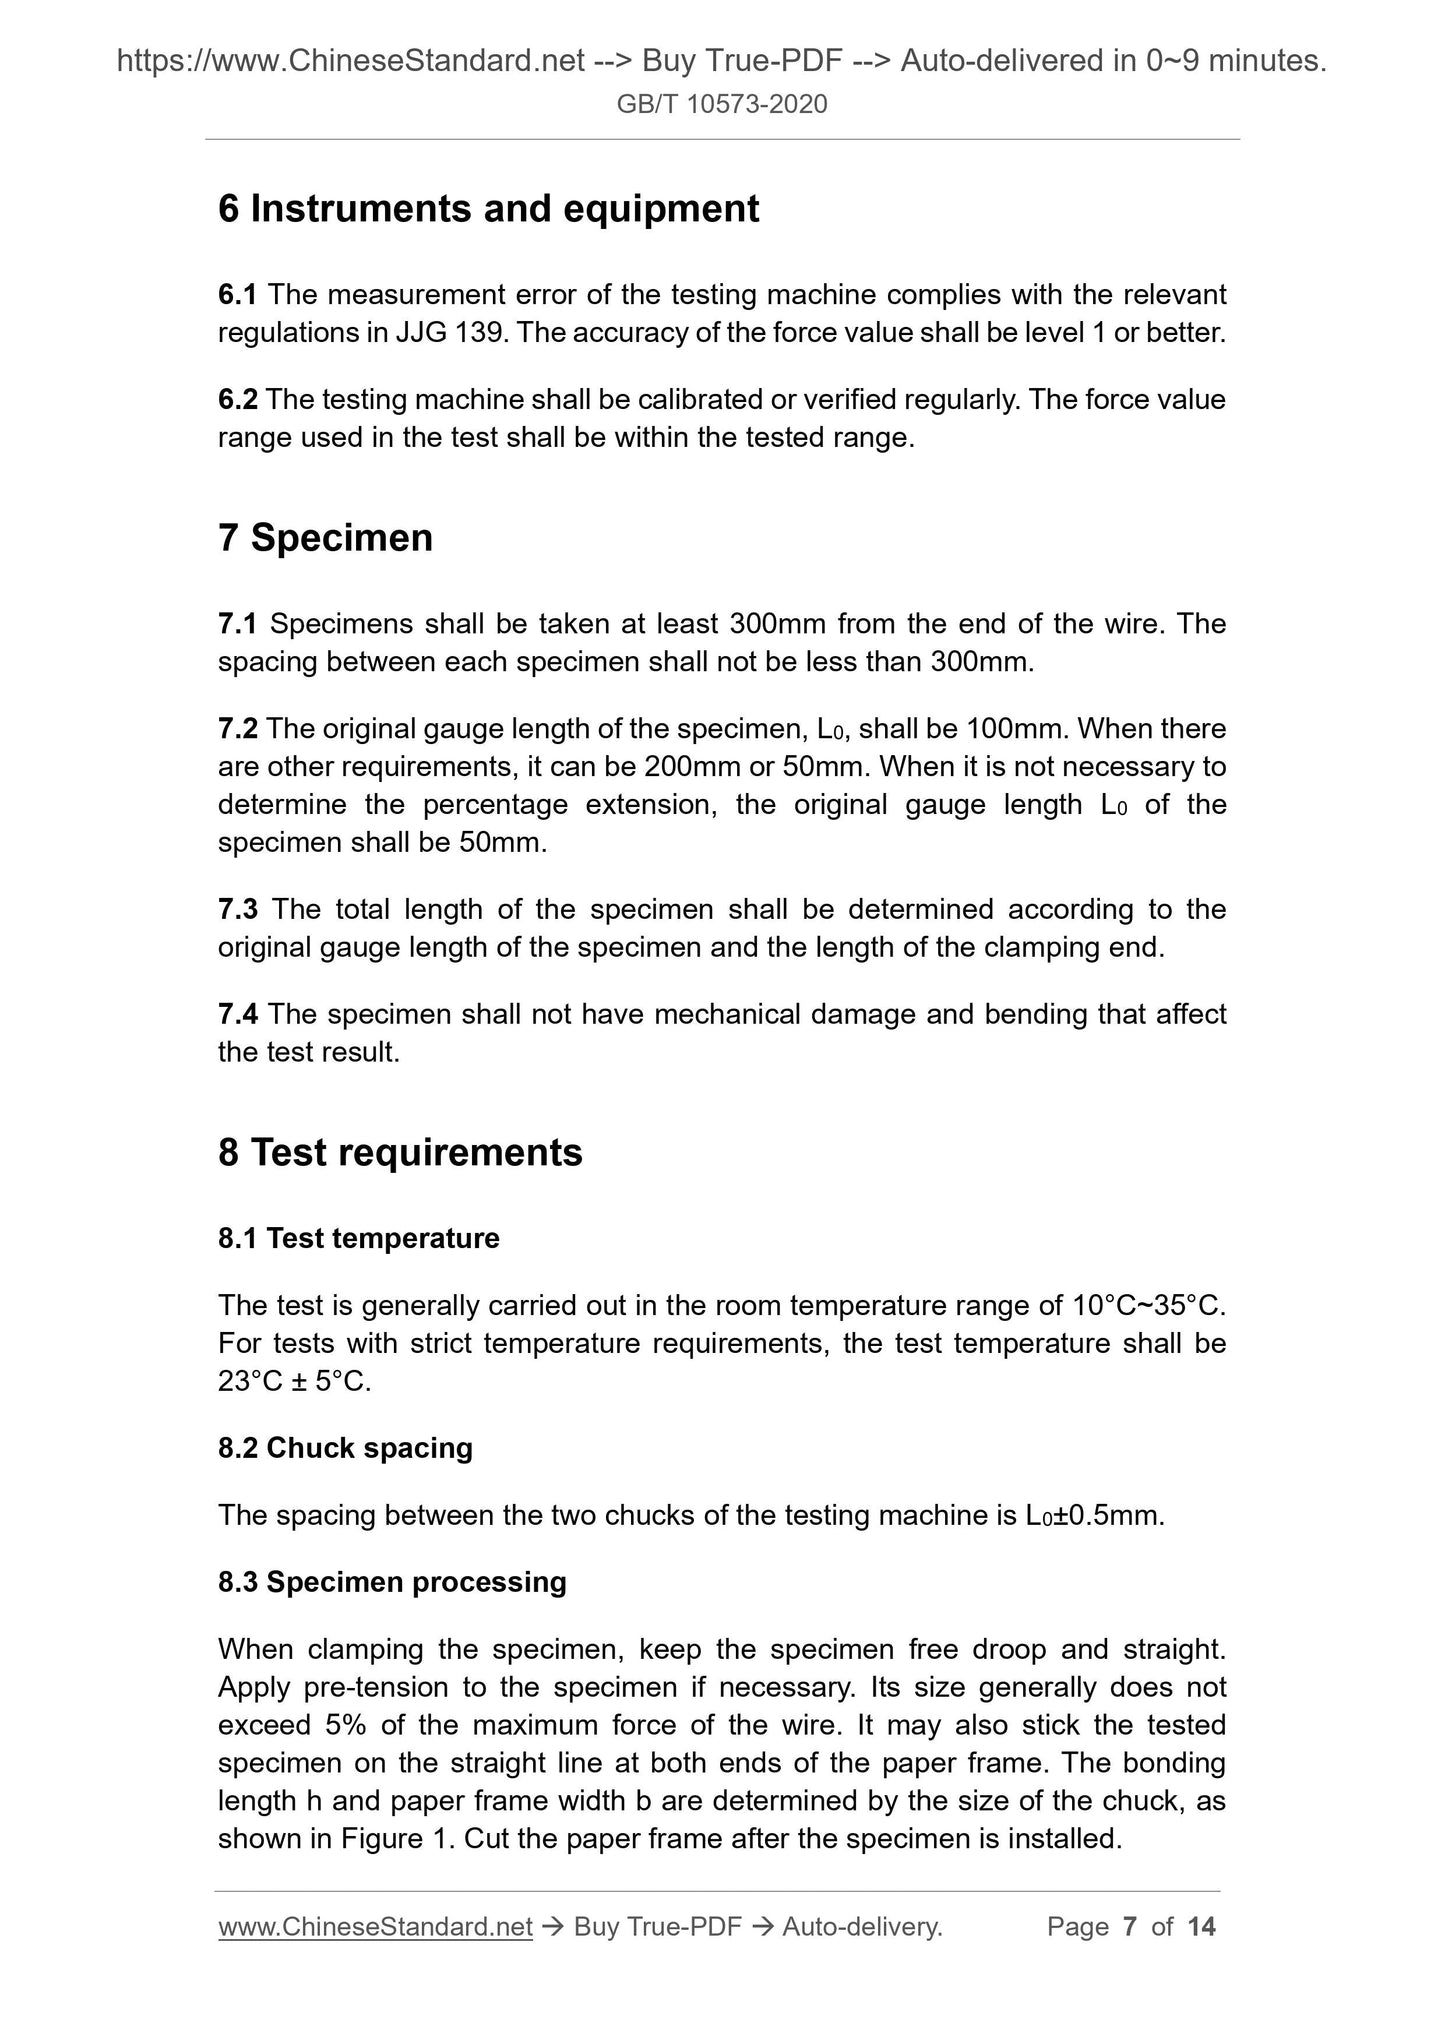
7.1 Specimens shall be taken at least 300mm from the end of the wire. The
spacing between each specimen shall not be less than 300mm.
7.2 The original gauge length of the specimen, L0, shall be 100mm. When there
are other requirements, it can be 200mm or 50mm. When it is not necessary to
determine the percentage extension, the original gauge length L0 of the
specimen shall be 50mm.
7.3 The total length of the specimen shall be determined according to the
original gauge length of the specimen and the length of the clamping end.
7.4 The specimen shall not have mechanical damage and bending that affect
the test result.
8 Test requirements
8.1 Test temperature
The test is generally carried out in the room temperature range of 10°C~35°C.
For tests with strict temperature requirements, the test temperature shall be
23°C ± 5°C.
8.2 Chuck spacing
The spacing between the two chucks of the testing machine is L0±0.5mm.
8.3 Specimen processing
When clamping the specimen, keep the specimen free droop and straight.
Apply pre-tension to the specimen if necessary. Its size generally does not
exceed 5% of the maximum force of the wire. It may also stick the tested
specimen on the straight line at both ends of the paper frame. The bonding
length h and paper frame width b are determined by the size of the chuck, as
shown in Figure 1. Cut the paper frame after the specimen is installed.
Where,
S0 - Original cross-sectional area of the specimen, in square millimeters (mm2);
d0 - Original diameter of the specimen, in millimeters (mm).
9.1.2 For wires with a nominal diameter of not more than 0.1mm, measure the
cross-sectional area of specimen S0 according to the weighing method
specified in GB/T 15077.
9.1.3 If allowed by relevant standards or agreements, the nominal size can also
be used to calculate the original cross-sectional area of the wire specimen.
9.1.4 The calculation of the original cross-sectional area of the specimen is
rounded to three significant figures. The rounding method is carried out
according to GB/T 8170.
9.1.5 Without the need to determine the strength index, the cross-sectional area
of the specimen may not be measured.
9.2 Performance determination
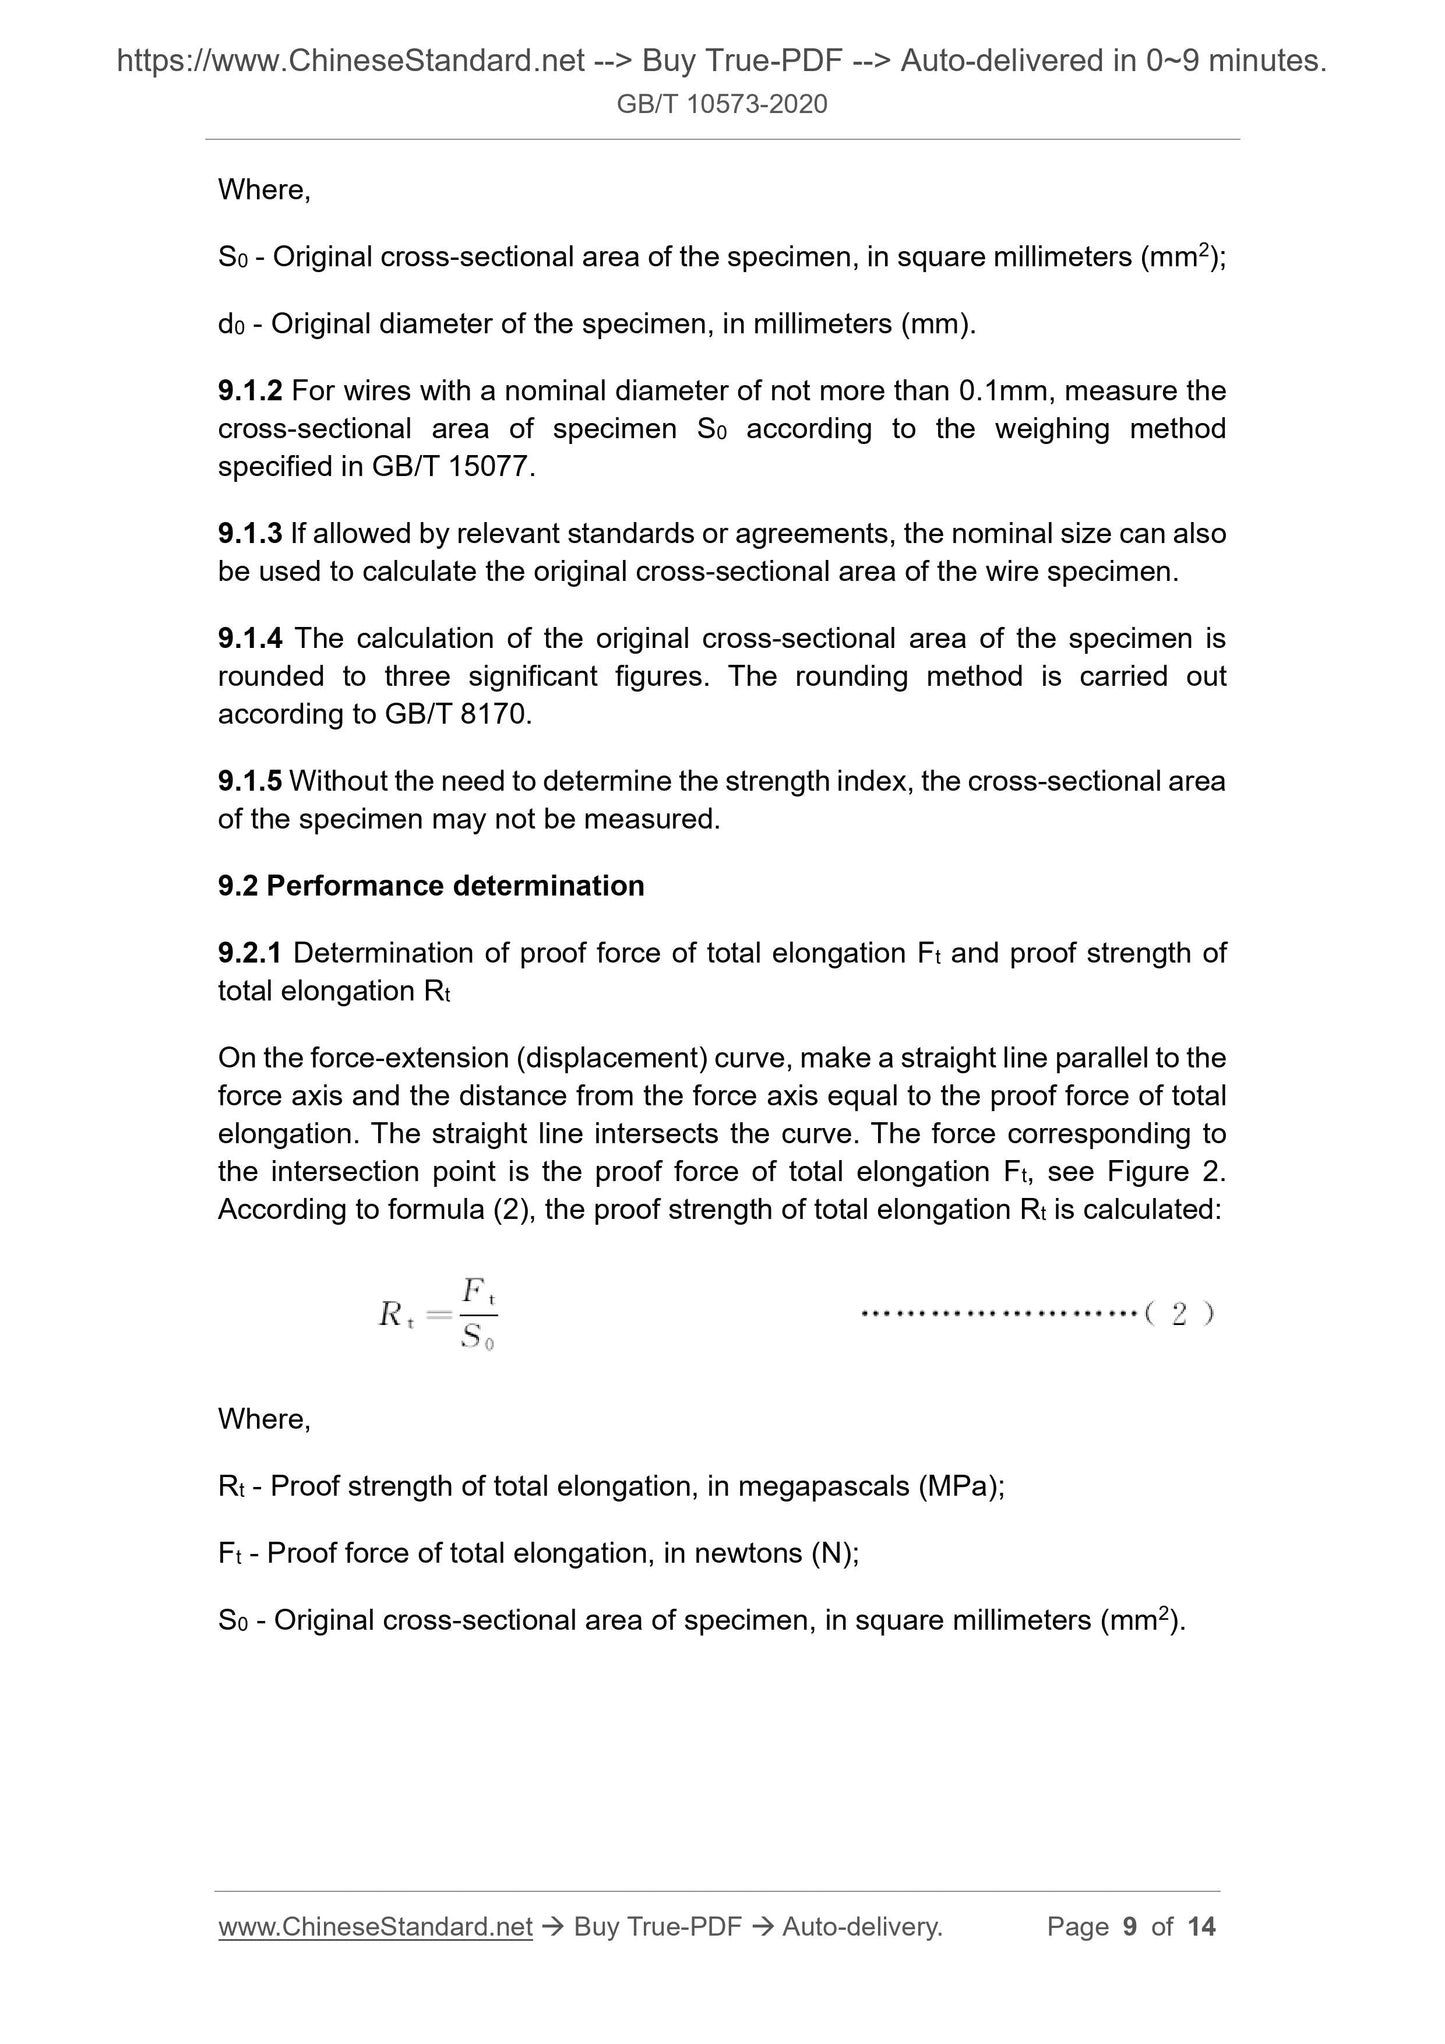
9.2.1 Determination of proof force of total elongation Ft and proof strength of
total elongation Rt
On the force-extension (displacement) curve, make a straight line parallel to the
force axis and the distance from the force axis equal to the proof force of total
elongation. The straight line intersects the curve. The force corresponding to
the intersection point is the proof force of total elongation Ft, see Figure 2.
According to formula (2), the proof strength of total elongation Rt is calculated:
Where,
Rt - Proof strength of total elongation, in megapascals (MPa);
Ft - Proof force of total elongation, in newtons (N);
S0 - Original cross-sectional area of specimen, in square millimeters (mm2).
Table 3 -- Rounding off of value
10.2 The test result shall be invalid if one of the following situations occurs. It
shall retest.
a) The specimen breaks within 5%L0 from the chuck, resulting in
nonconforming performance. If the measured performance meets the
minimum requirements specified, the test may not be retested. But the
location of the fracture shall be indicated;
b) Testing machine or recorder has malfunction;
c) Due to improper operation, the specimen slips or there is mechanical
damage that affect the accuracy of the test result.
10.3 When the original gauge length and cross-sectional area of the specimen
are the same, the elongation can be compared.
10.4 When determining elongation, if there is no specific reference to
determination of elongation after fracture in the product standard, it is regarded
as determining the percentage total extension at fracture.
10.5 The test result is the arithmetic mean of the measured values of at least
three specimens.
11 Test report
The test report shall contain the following information:
a) Reference to this Standard;
b) Requester;
c) Material designation, state, specification and batch number;
d) Specimen identifier;
e) Test rate, original gauge length of specimen;
Share
