1
/
of
7
www.ChineseStandard.us -- Field Test Asia Pte. Ltd.
GB/T 1425-2021 English PDF (GB/T1425-2021)
GB/T 1425-2021 English PDF (GB/T1425-2021)
Regular price
$170.00
Regular price
Sale price
$170.00
Unit price
/
per
Shipping calculated at checkout.
Couldn't load pickup availability
GB/T 1425-2021: Determination of melting temperature range for precious metals and their alloys - Testing method of thermal analysis
Delivery: 9 seconds. Download (& Email) true-PDF + Invoice.
Get Quotation: Click GB/T 1425-2021 (Self-service in 1-minute)
Historical versions (Master-website): GB/T 1425-2021
Preview True-PDF (Reload/Scroll-down if blank)
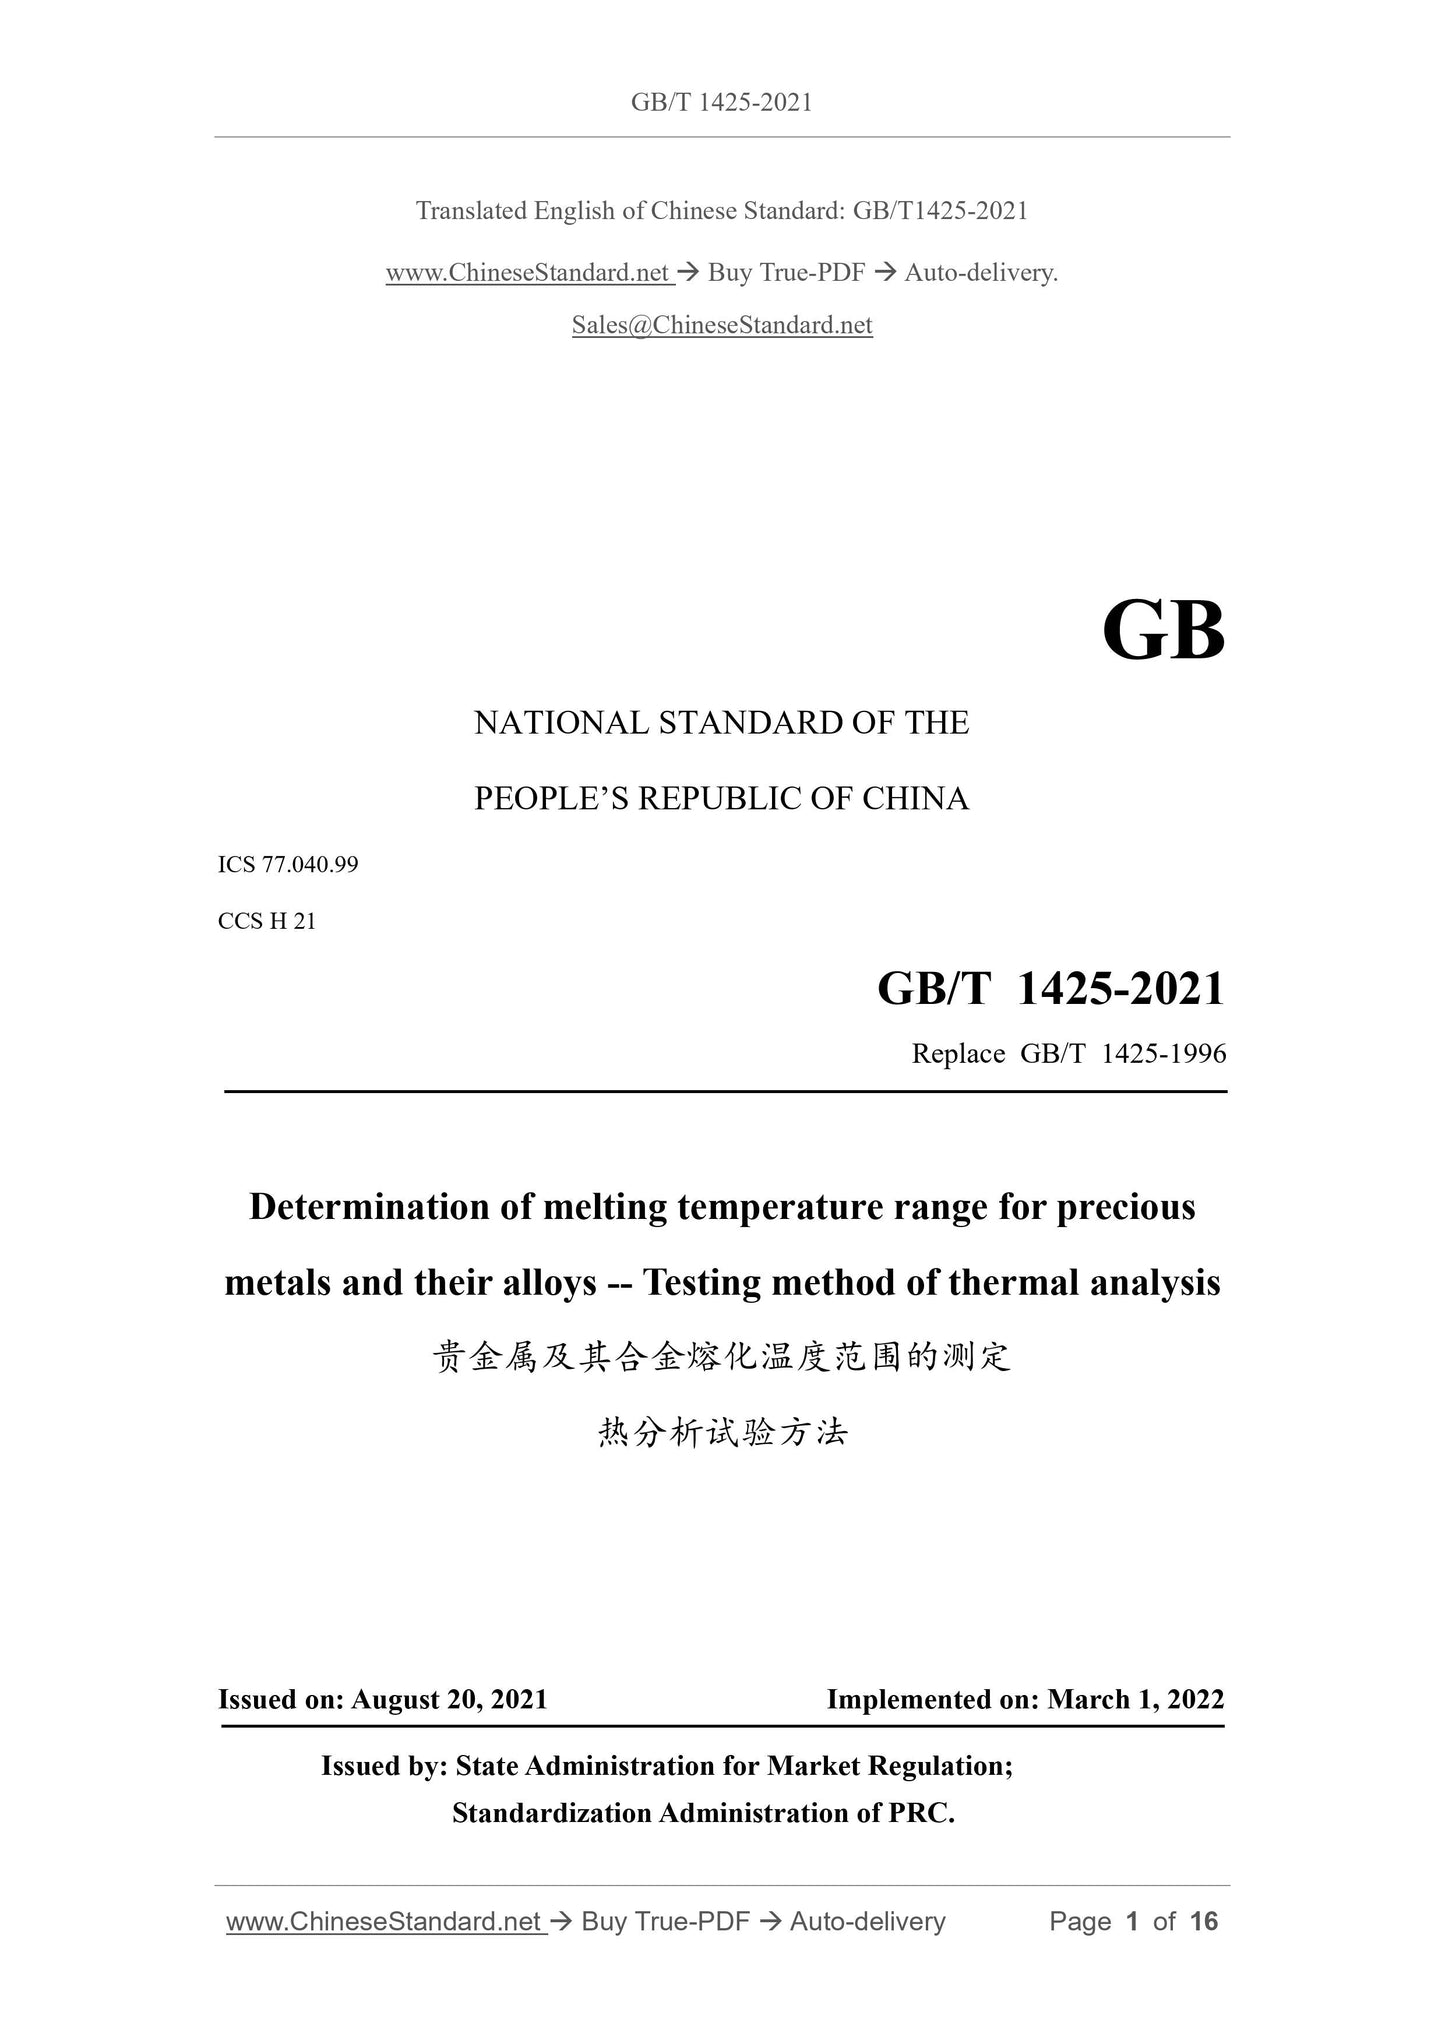
GB/T 1425-2021
NATIONAL STANDARD OF THE
PEOPLE’S REPUBLIC OF CHINA
ICS 77.040.99
CCS H 21
Replace GB/T 1425-1996
Determination of melting temperature range for precious
metals and their alloys -- Testing method of thermal analysis
ISSUED ON: AUGUST 20, 2021
IMPLEMENTED ON: MARCH 1, 2022
Issued by: State Administration for Market Regulation;
Standardization Administration of PRC.
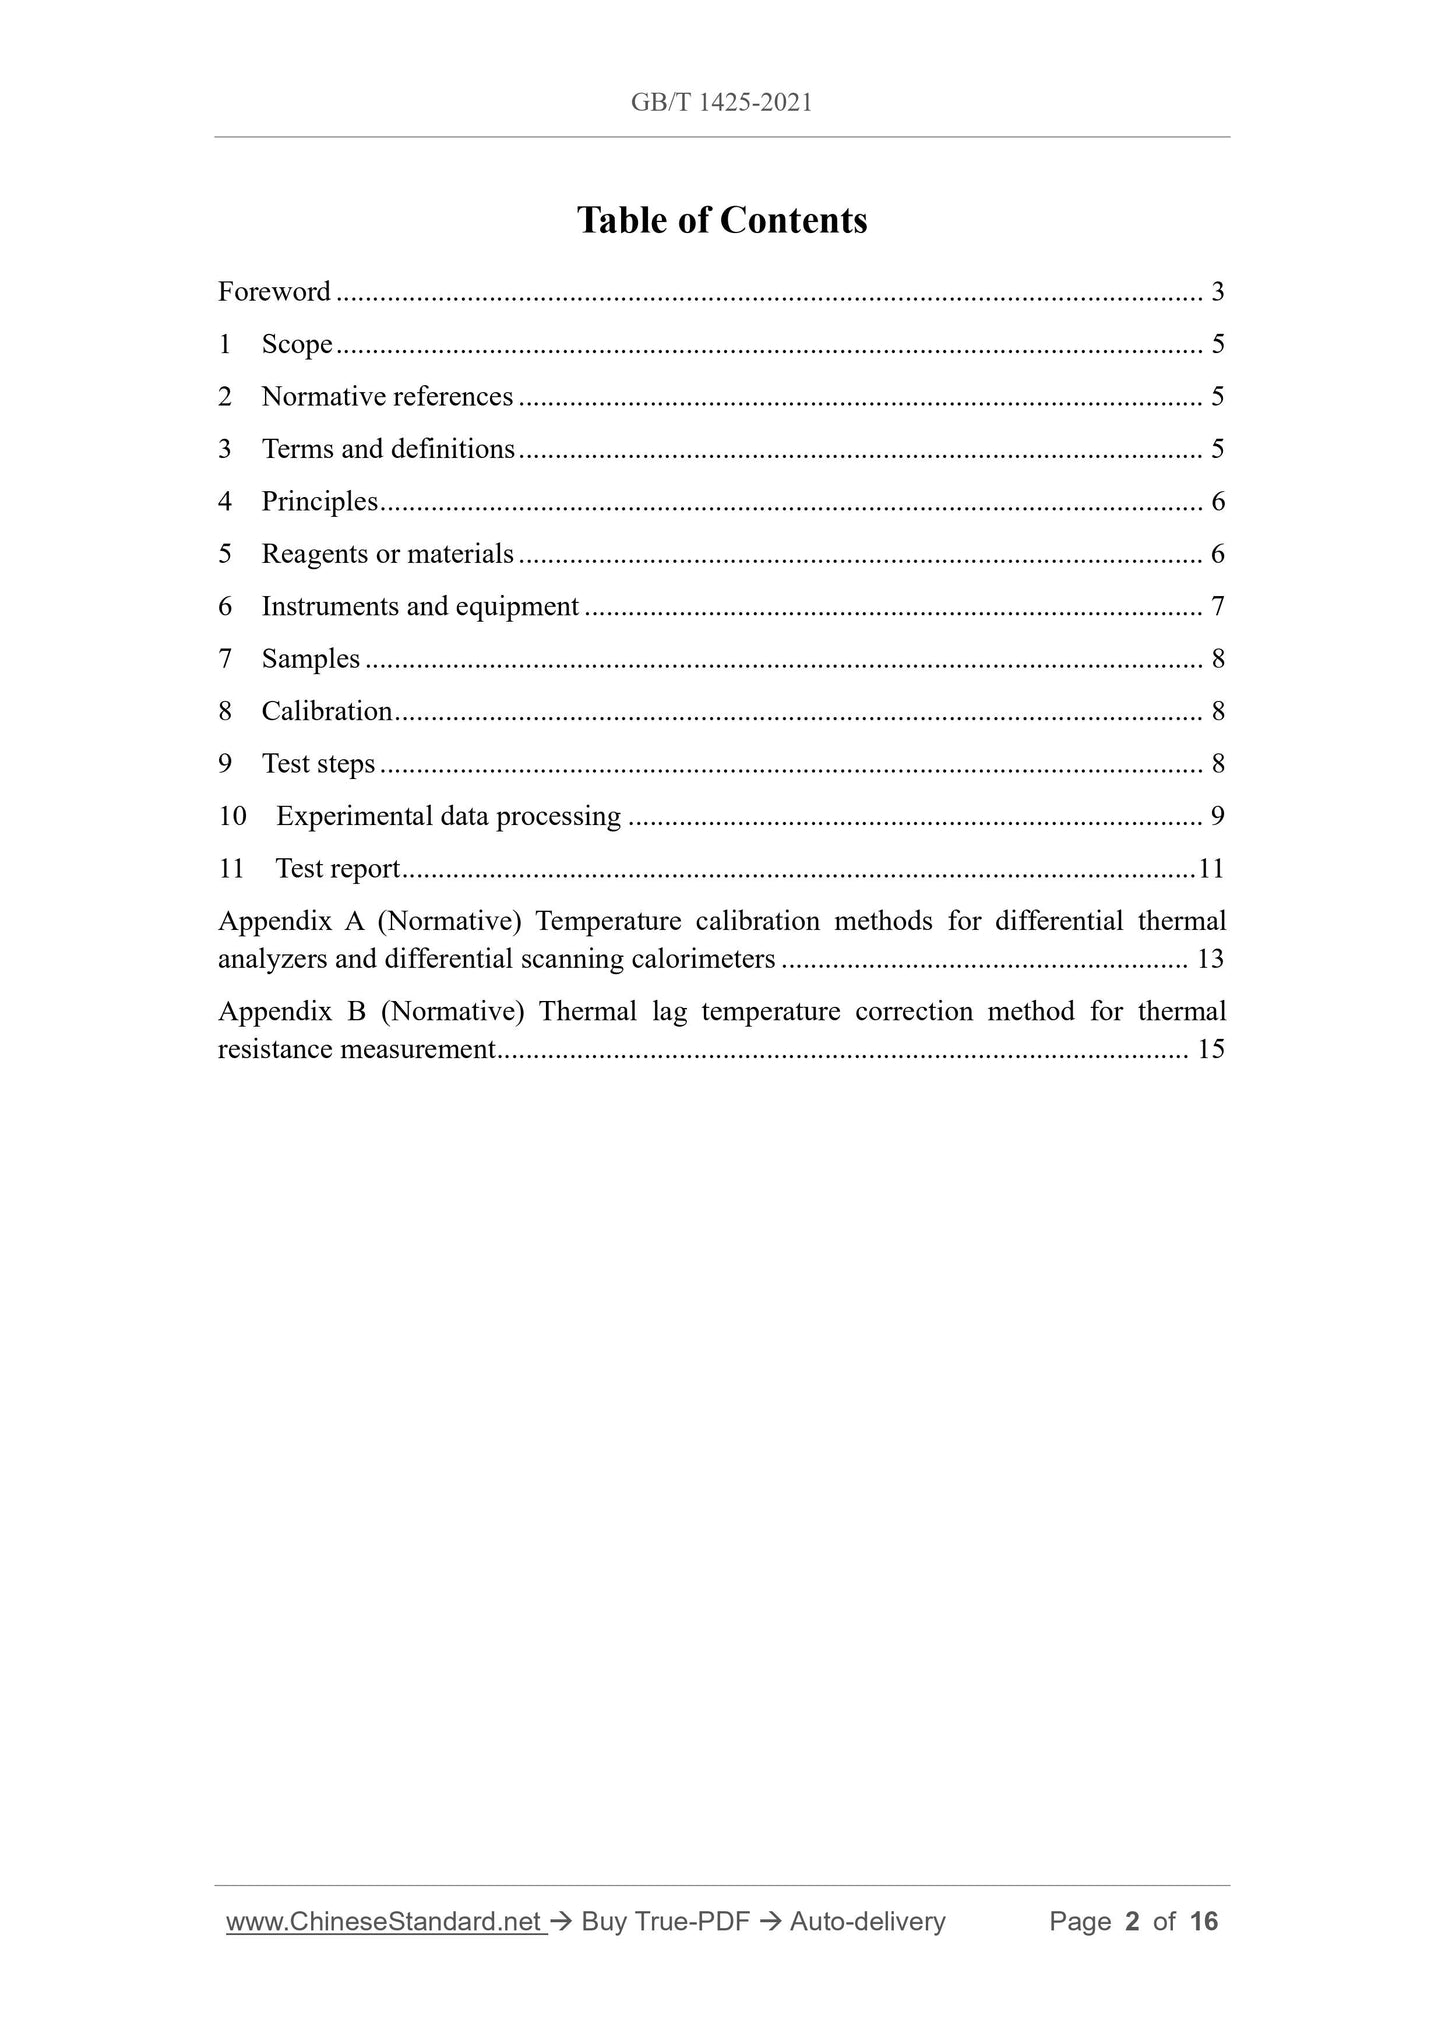
Table of Contents
Foreword ... 3
1 Scope ... 5
2 Normative references ... 5
3 Terms and definitions ... 5
4 Principles ... 6
5 Reagents or materials ... 6
6 Instruments and equipment ... 7
7 Samples ... 8
8 Calibration ... 8
9 Test steps ... 8
10 Experimental data processing ... 9
11 Test report ... 11
Appendix A (Normative) Temperature calibration methods for differential thermal
analyzers and differential scanning calorimeters ... 13
Appendix B (Normative) Thermal lag temperature correction method for thermal
resistance measurement ... 15
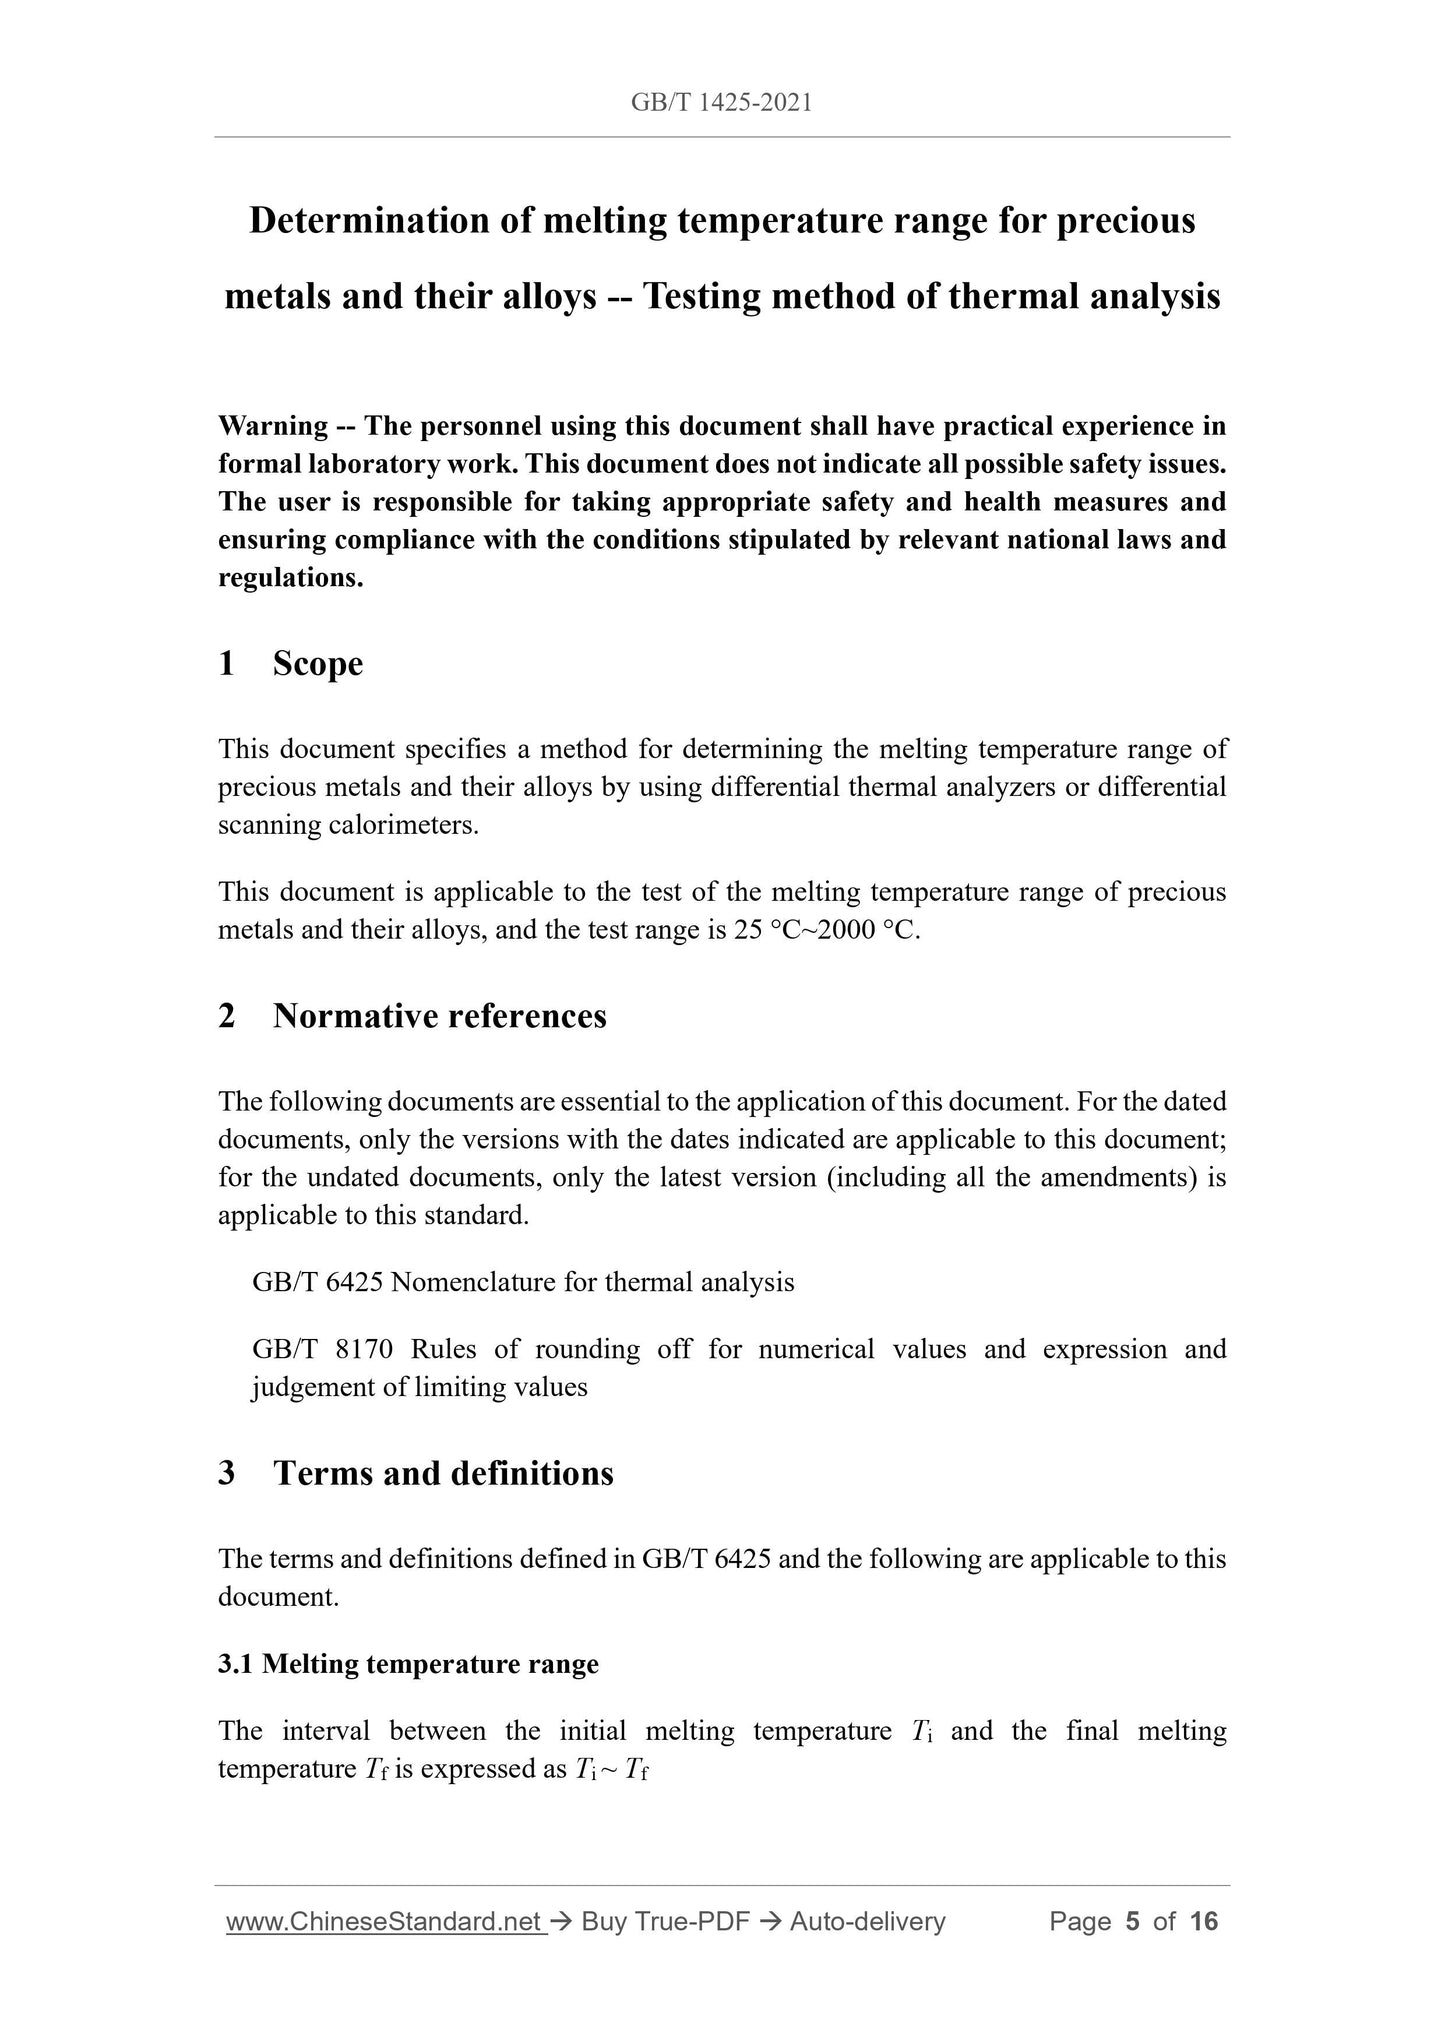
Determination of melting temperature range for precious
metals and their alloys -- Testing method of thermal analysis
Warning -- The personnel using this document shall have practical experience in
formal laboratory work. This document does not indicate all possible safety issues.
The user is responsible for taking appropriate safety and health measures and
ensuring compliance with the conditions stipulated by relevant national laws and
regulations.
1 Scope
This document specifies a method for determining the melting temperature range of
precious metals and their alloys by using differential thermal analyzers or differential
scanning calorimeters.
This document is applicable to the test of the melting temperature range of precious
metals and their alloys, and the test range is 25 °C~2000 °C.
2 Normative references
The following documents are essential to the application of this document. For the dated
documents, only the versions with the dates indicated are applicable to this document;
for the undated documents, only the latest version (including all the amendments) is
applicable to this standard.
GB/T 6425 Nomenclature for thermal analysis
GB/T 8170 Rules of rounding off for numerical values and expression and
judgement of limiting values
3 Terms and definitions
The terms and definitions defined in GB/T 6425 and the following are applicable to this
document.
3.1 Melting temperature range
The interval between the initial melting temperature Ti and the final melting
temperature Tf is expressed as Ti ~ Tf
5.2 Reference material
The reference material shall have no enthalpy change in the test temperature range and
shall be stored in a desiccator for later use. Typical reference materials include calcined
α-Al2O3, platinum sheets, glass beads, silicone oil, sample vessels, etc.
6 Instruments and equipment
6.1 Thermal Analysis Instruments
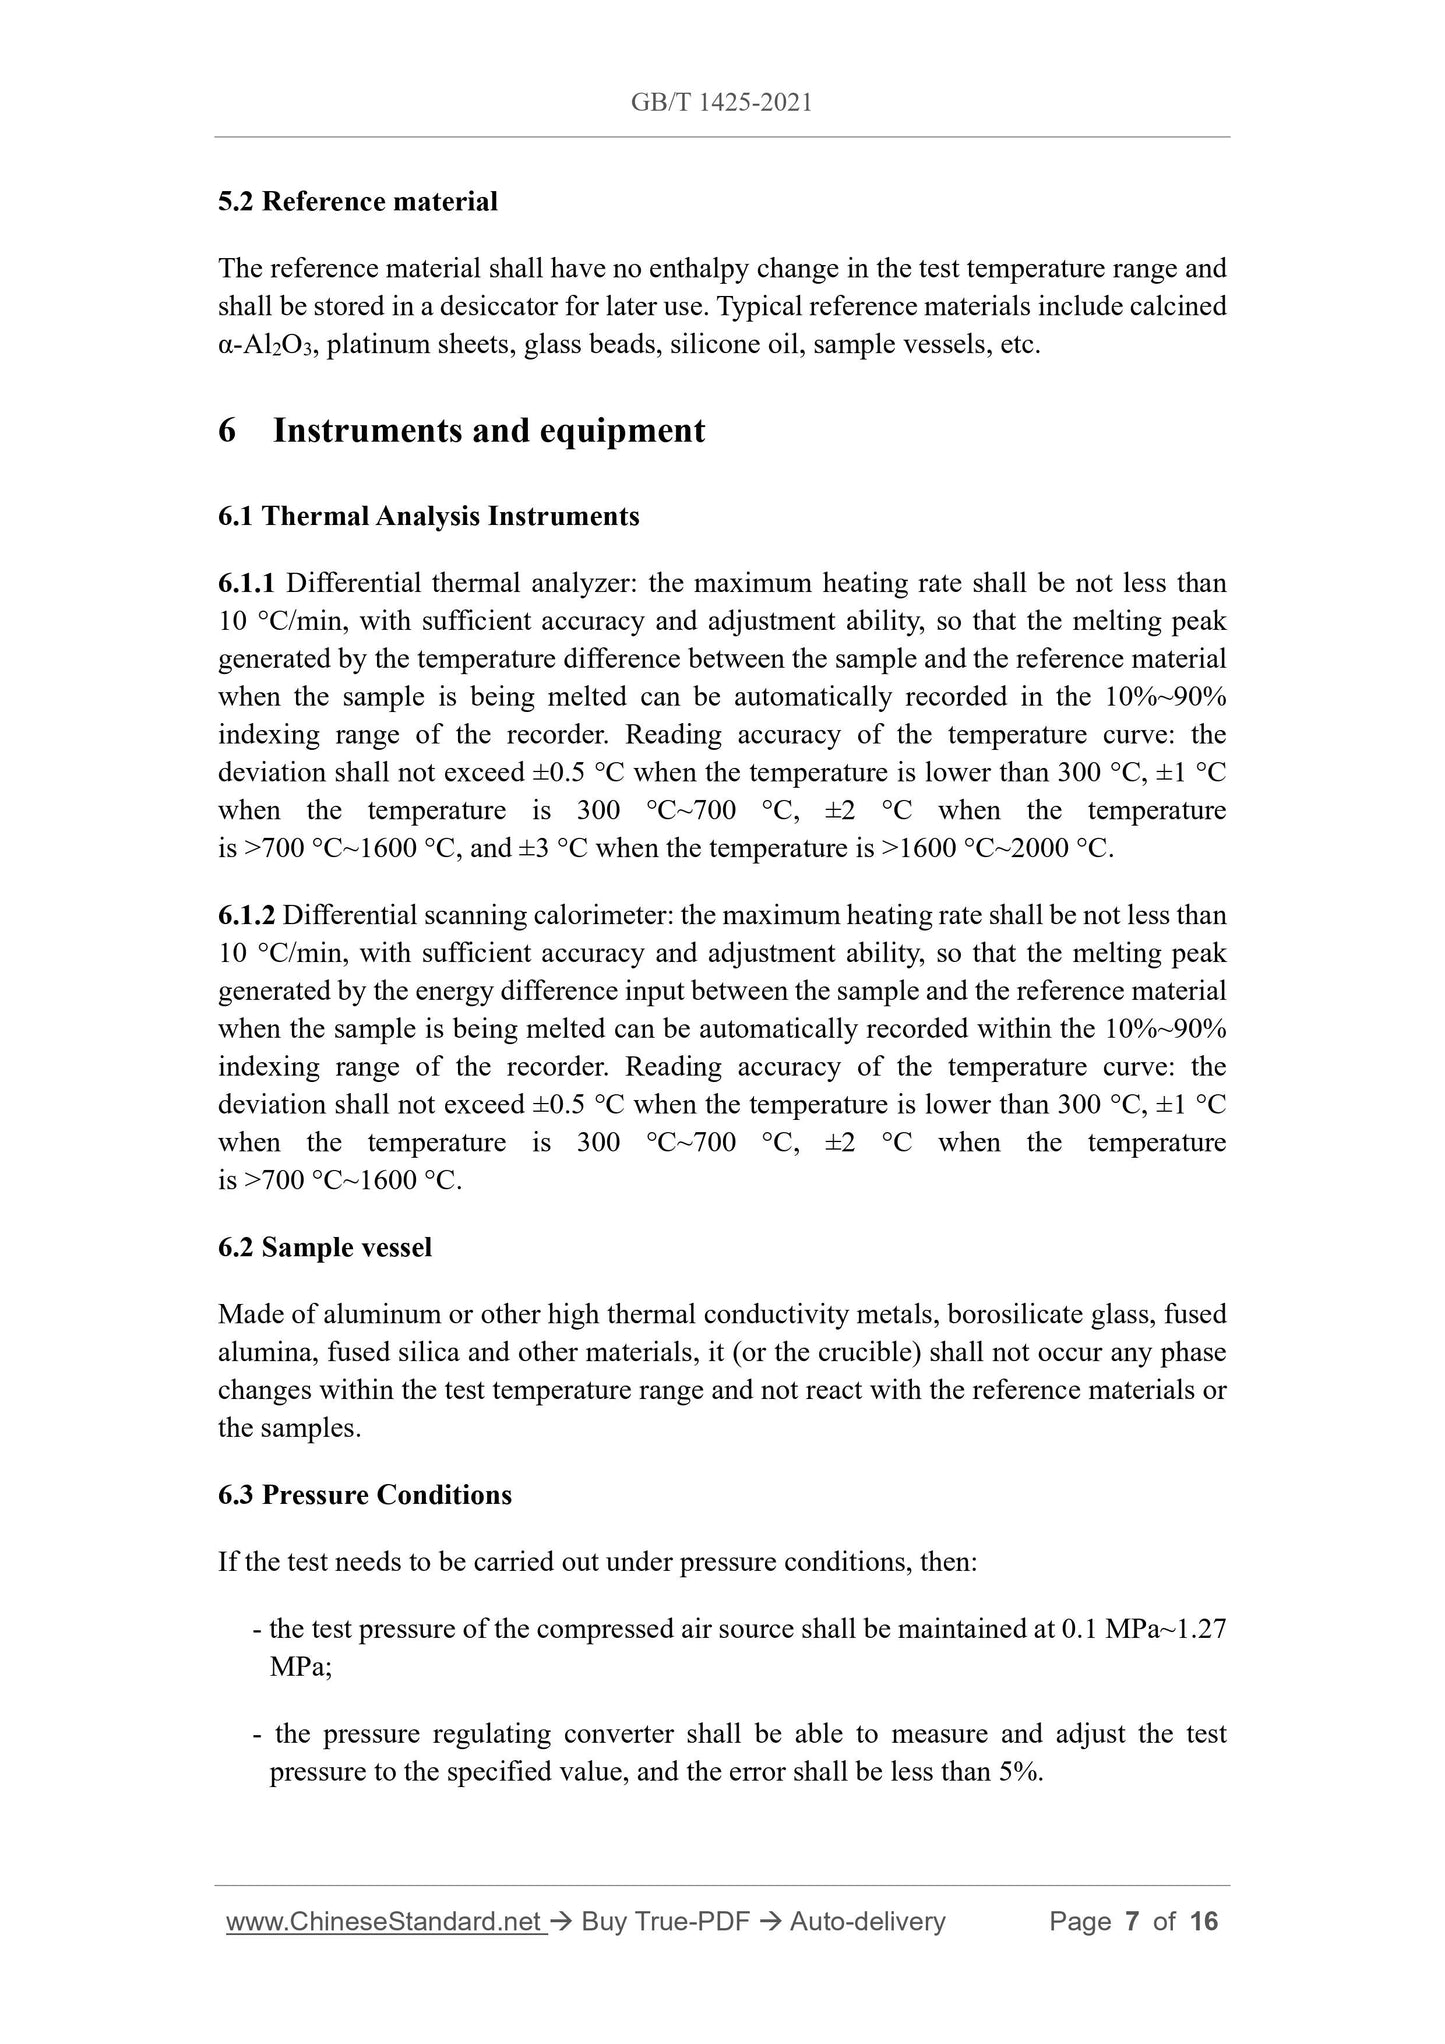
6.1.1 Differential thermal analyzer: the maximum heating rate shall be not less than
10 °C/min, with sufficient accuracy and adjustment ability, so that the melting peak
generated by the temperature difference between the sample and the reference material
when the sample is being melted can be automatically recorded in the 10%~90%
indexing range of the recorder. Reading accuracy of the temperature curve: the
deviation shall not exceed ±0.5 °C when the temperature is lower than 300 °C, ±1 °C
when the temperature is 300 °C~700 °C, ±2 °C when the temperature
is >700 °C~1600 °C, and ±3 °C when the temperature is >1600 °C~2000 °C.
6.1.2 Differential scanning calorimeter: the maximum heating rate shall be not less than
10 °C/min, with sufficient accuracy and adjustment ability, so that the melting peak
generated by the energy difference input between the sample and the reference material
when the sample is being melted can be automatically recorded within the 10%~90%
indexing range of the recorder. Reading accuracy of the temperature curve: the
deviation shall not exceed ±0.5 °C when the temperature is lower than 300 °C, ±1 °C
when the temperature is 300 °C~700 °C, ±2 °C when the temperature
is >700 °C~1600 °C.
6.2 Sample vessel
Made of aluminum or other high thermal conductivity metals, borosilicate glass, fused
alumina, fused silica and other materials, it (or the crucible) shall not occur any phase
changes within the test temperature range and not react with the reference materials or
the samples.
6.3 Pressure Conditions
If the test needs to be carried out under pressure conditions, then:
- the test pressure of the compressed air source shall be maintained at 0.1 MPa~1.27
MPa;
- the pressure regulating converter shall be able to measure and adjust the test
pressure to the specified value, and the error shall be less than 5%.
7 Samples
7.1 For liquid or slurry samples, take samples after mixing; for sheet metal samples,
take samples after shredding.
7.2 On the premise of not affecting the sample, vibration filling, molding, extrusion and
other methods can be used to improve the heat conduction between the sample and the
sample vessel.
7.3 Unless otherwise stated, the samples will be measured as received without any
pretreatment.
7.4 If it is required to perform mechanical processing or heat treatment on the sample
before analysis, the corresponding processing method, process and conditions shall be
indicated in the report; For heat treatment, the mass loss before and after treatment shall
also be recorded.
7.5 Samples shall not be diluted. If the sensitivity of the instrument and the stability of
the baseline allow, it is recommended to use a smaller amount of sample for the test.
The recommended sample volume should be 2 mg~20 mg, or less than 1/3 of the
volume of the sample vessel. If the sample has the potential to suddenly release a large
amount of latent heat, the amount of sample shall be appropriately reduced.
8 Calibration
8.1 In the calibrated temperature range, select the calibration material in Appendix A to
calibrate the temperature indication value of the instrument.
8.2 The instrument sensitivity, heating rate, ambient atmosphere, gas flow rate and other
conditions selected for calibration shall be consistent with the corresponding conditions
during the test.
8.3 Under the fixed-point temperature of a certain calibration material, the correction
value of the instrument temperature indication is determined by the difference between
the corresponding melting temperature in Appendix A and the extrapolated initial point
temperature of the melting peak of the calibration curve.
8.4 The instrument calibration cycle shall be carried out according to the requirements
of the selected equipment.
9 Test steps
9.1 Turn on the power supply of the thermal analysis instrument, and the preheating
time of the instrument shall be not less than 20 min.
9.2 Use an analytical balance to weigh the sample with a mass of 2 mg~20 mg, and
place it in the corresponding sample vessel; the weight shall be accurate to 0.01 mg.
9.3 According to the situation of the sample, select an appropriate reference material.
In order to ensure the thermal neutrality of the reference material, the reference material
used for the first time shall be carried out a calcination treatment at a temperature no
lower than 1000 °C for 2 h.
9.4 Place the crucibles containing the sample and the reference material respectively in
the corresponding positions on the clean support, and record the filling of the sample in
detail.
9.5 During the whole testing process, the ambient atmosphere shall be consistent. If it
is an atmospheric environment, it shall be in an isobaric spontaneous convection state;
if using an inert protective atmosphere, after flushing the sample chamber, the flow rate
of the supplied gas shall not be greater than 50 mL/min (under 1 atmosphere). For
higher precision measurements, the humidity of the atmosphere shall be controlled. If
it is in the atmosphere, magnesium perchlorate and other substances shall be used for
drying; if it is in other atmospheres, a similar drying treatment shall also be done.
9.6 Select the appropriate instrument sensitivity, so that the corresponding melting peak
generated during the melting process of the sample can be recorded in the 10%~90%
indexing range of the recorder.
9.7 Using the rapid heating method, first heat the sample to a temperature of about 50°C
lower than the initial melting temperature, and keep it for 5 minutes; then, heat the
sample at the rate of 10°C/min until the sample is completely melted. For unknown
samples, a heating rate of 10 °C/min is recommended. If the melting temperature range
of the sample is less than 300 °C, the heating rate shall be reduced, and the
recommended heating rate shall be not more than 5 °C/min. If other heating rates are
used, it shall be noted in the report.
9.8 Each sample shall be tested at least twice; take the average value as the result.
9.9 In order to avoid the influence of supercooling on the measurement results, under
normal circumstances, it is specified that the test shall be only carried out under heating
conditions.
10 Experimental data processing
10.1 According to the thermal analysis curve obtained by the test, determine the
extrapolated initial point temperature Tei of the first melting peak; (as shown in Figure
1) measure the corresponding temperature and take it as the solidus temperature Ti
A.2 Test steps
A.2.1 Select at least three calibration materials from Table A.1. It would be better that
the phase transition temperature of the selected calibration material covers the melting
temperature range of the sample to be tested.
A.2.2 Weigh 2 mg~20 mg of the calibration substance.
A.2.3 Put the calibration material and the reference material into their respective sample
vessels, and then put them into the heating device of the instrument together to make
them in close contact with the thermal sensing element.
A.2.4 Connect the gas source, control the gas flow rate within the range of 10
mL/min~50 mL/min, and use inert gas to flush the measuring device (the selection of
the gas shall be consistent with that for the tested sample) until the end of the
measurement.
A.2.5 Start the heating controller, select the heating rate within the range of
5 °C/min~20 °C/min (the heating rate shall be consistent with that for the tested sample),
and record the DTA curve (or DSC curve).
A.2.6 At the end of the test, after the furnace temperature drops to room temperature,
repeat the test steps of A.2.5 twice. Take the average of the last two extrapolated initial
temperatures as the apparent phase transition temperature of the reference material.
A.3 Temperature calibration
It is recommended to do it at least once a year. If the sample holder, the reference
material, the test gas source, the heating rate, or the sample vessel is changed, it is
necessary to re-calibrate the temperature.
GB/T 1425-2021
NATIONAL STANDARD OF THE
PEOPLE’S REPUBLIC OF CHINA
ICS 77.040.99
CCS H 21
Replace GB/T 1425-1996
Determination of melting temperature range for precious
metals and their alloys -- Testing method of thermal analysis
ISSUED ON: AUGUST 20, 2021
IMPLEMENTED ON: MARCH 1, 2022
Issued by: State Administration for Market Regulation;
Standardization Administration of PRC.
Table of Contents
Foreword ... 3
1 Scope ... 5
2 Normative references ... 5
3 Terms and definitions ... 5
4 Principles ... 6
5 Reagents or materials ... 6
6 Instruments and equipment ... 7
7 Samples ... 8
8 Calibration ... 8
9 Test steps ... 8
10 Experimental data processing ... 9
11 Test report ... 11
Appendix A (Normative) Temperature calibration methods for differential thermal
analyzers and differential scanning calorimeters ... 13
Appendix B (Normative) Thermal lag temperature correction method for thermal
resistance measurement ... 15
Determination of melting temperature range for precious
metals and their alloys -- Testing method of thermal analysis
Warning -- The personnel using this document shall have practical experience in
formal laboratory work. This document does not indicate all possible safety issues.
The user is responsible for taking appropriate safety and health measures and
ensuring compliance with the conditions stipulated by relevant national laws and
regulations.
1 Scope
This document specifies a method for determining the melting temperature range of
precious metals and their alloys by using differential thermal analyzers or differential
scanning calorimeters.
This document is applicable to the test of the melting temperature range of precious
metals and their alloys, and the test range is 25 °C~2000 °C.
2 Normative references
The following documents are essential to the application of this document. For the dated
documents, only the versions with the dates indicated are applicable to this document;
for the undated documents, only the latest version (including all the amendments) is
applicable to this standard.
GB/T 6425 Nomenclature for thermal analysis
GB/T 8170 Rules of rounding off for numerical values and expression and
judgement of limiting values
3 Terms and definitions
The terms and definitions defined in GB/T 6425 and the following are applicable to this
document.
3.1 Melting temperature range
The interval between the initial melting temperature Ti and the final melting
temperature Tf is expressed as Ti ~ Tf
5.2 Reference material
The reference material shall have no enthalpy change in the test temperature range and
shall be stored in a desiccator for later use. Typical reference materials include calcined
α-Al2O3, platinum sheets, glass beads, silicone oil, sample vessels, etc.
6 Instruments and equipment
6.1 Thermal Analysis Instruments
6.1.1 Differential thermal analyzer: the maximum heating rate shall be not less than
10 °C/min, with sufficient accuracy and adjustment ability, so that the melting peak
generated by the temperature difference betwe...
Share
