1
/
of
6
PayPal, credit cards. Download editable-PDF and invoice in 1 second!
GB/T 23906-2009 English PDF (GBT23906-2009)
GB/T 23906-2009 English PDF (GBT23906-2009)
Regular price
$190.00 USD
Regular price
Sale price
$190.00 USD
Unit price
/
per
Shipping calculated at checkout.
Couldn't load pickup availability
Delivery: 3 seconds. Download true-PDF + Invoice.
Get QUOTATION in 1-minute: Click GB/T 23906-2009
Historical versions: GB/T 23906-2009
Preview True-PDF (Reload/Scroll if blank)
GB/T 23906-2009: Non-destructive testing -- Rings for magnetic particle testing
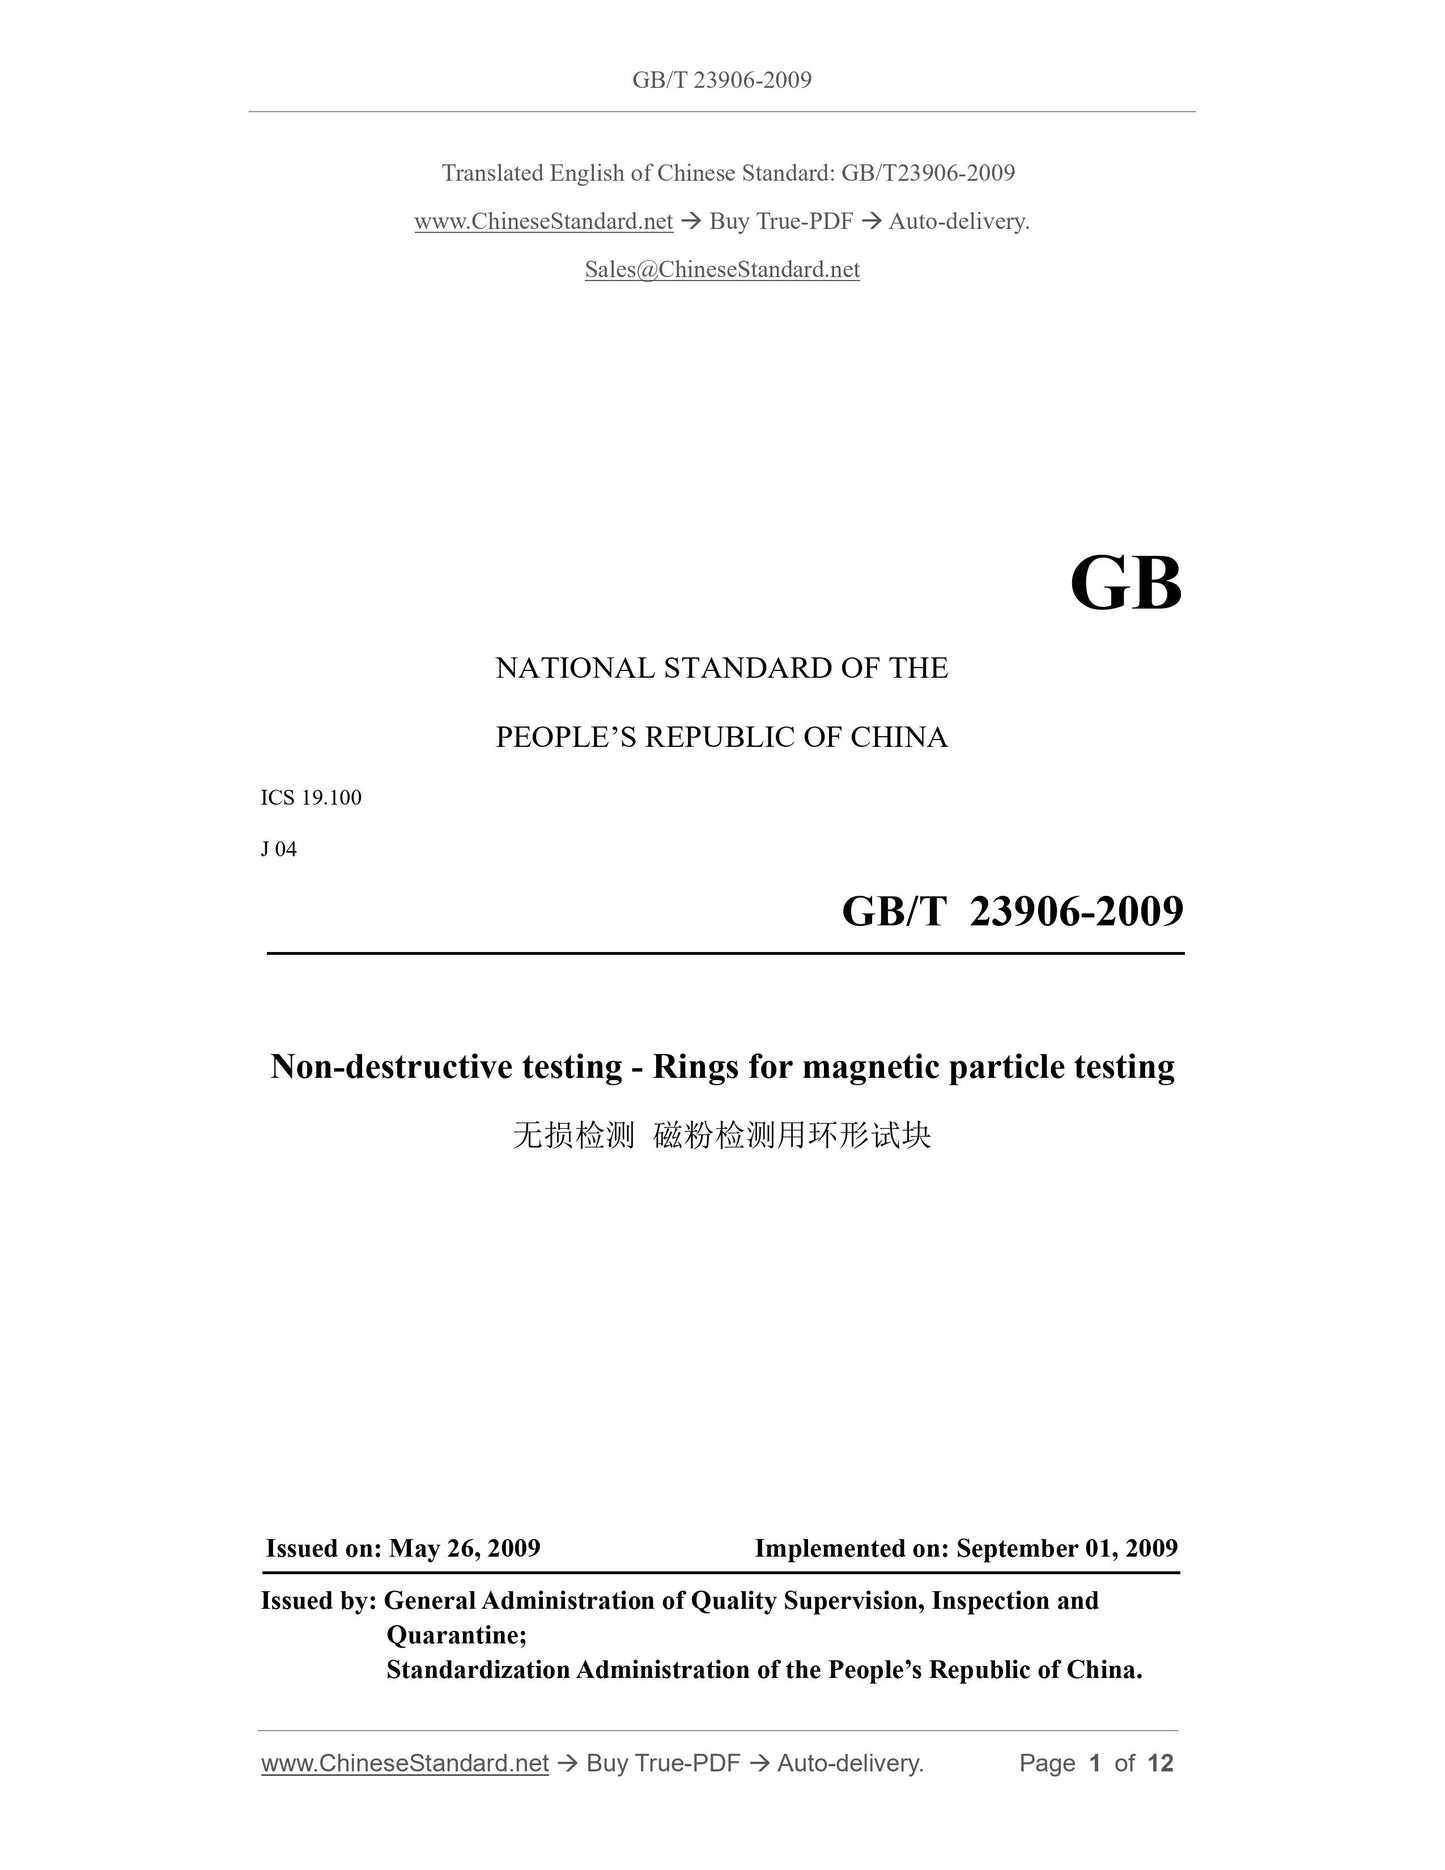
GB/T 23906-2009
GB
NATIONAL STANDARD OF THE
PEOPLE’S REPUBLIC OF CHINA
ICS 19.100
J 04
Non-destructive testing - Rings for magnetic particle testing
ISSUED ON. MAY 26, 2009
IMPLEMENTED ON. SEPTEMBER 01, 2009
Issued by. General Administration of Quality Supervision, Inspection and
Quarantine;
Standardization Administration of the People’s Republic of China.
Table of Contents
Foreword... 3
1 Scope... 4
2 Normative references... 4
3 Terms and definitions... 4
4 Classification... 4
5 Technical requirements... 5
6 Test methods... 7
7 Inspection rules... 8
8 Mark... 10
9 Marking and labeling... 11
10 Packaging, transportation and storage... 11
References... 12
Non-destructive testing - Rings for magnetic particle testing
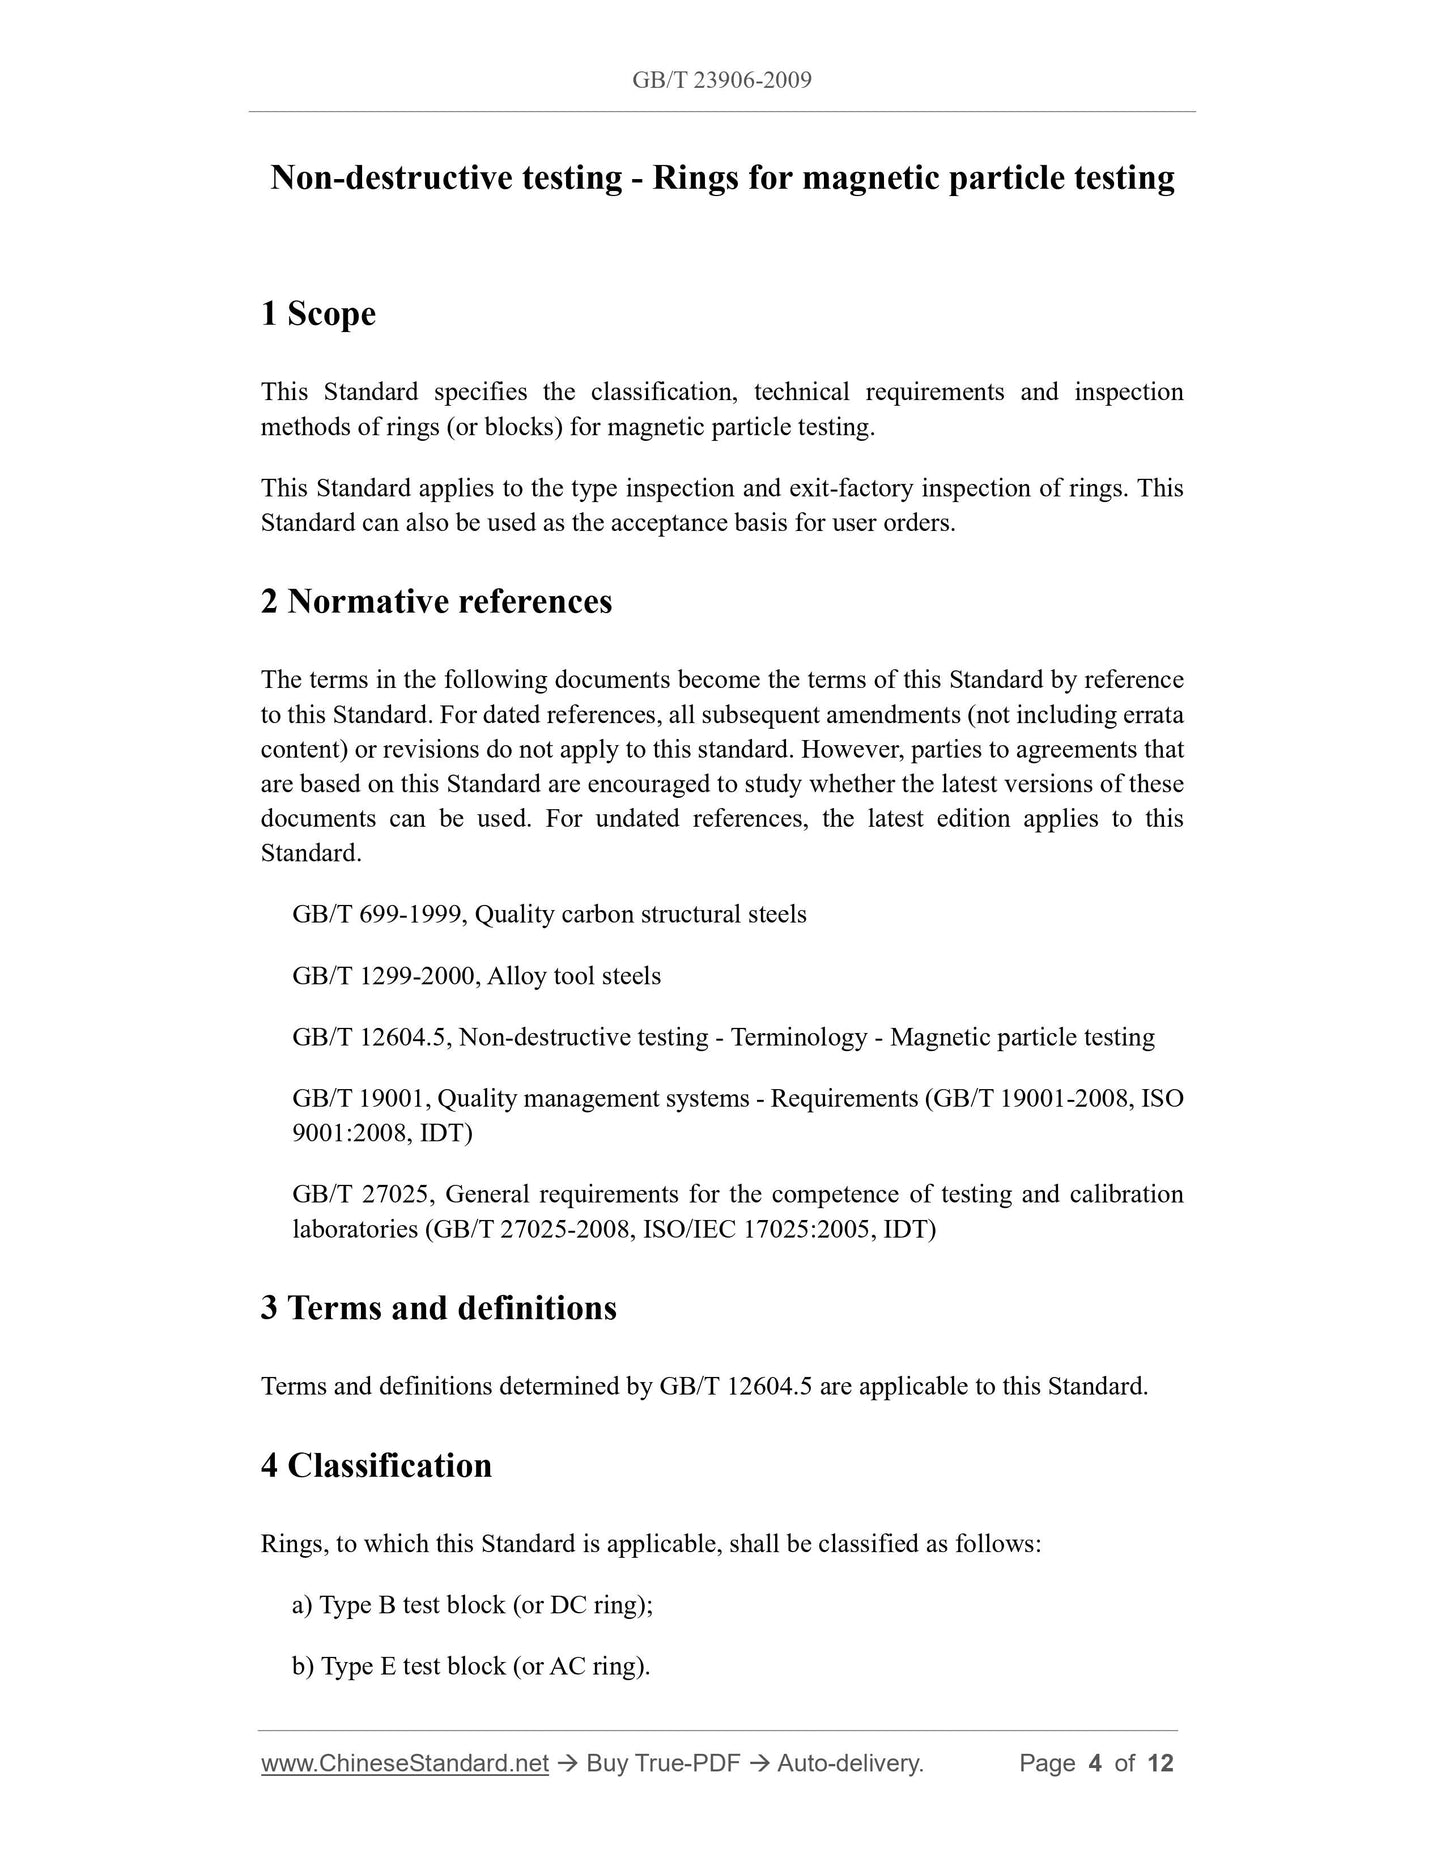
1 Scope
This Standard specifies the classification, technical requirements and inspection
methods of rings (or blocks) for magnetic particle testing.
This Standard applies to the type inspection and exit-factory inspection of rings. This
Standard can also be used as the acceptance basis for user orders.
2 Normative references
The terms in the following documents become the terms of this Standard by reference
to this Standard. For dated references, all subsequent amendments (not including errata
content) or revisions do not apply to this standard. However, parties to agreements that
are based on this Standard are encouraged to study whether the latest versions of these
documents can be used. For undated references, the latest edition applies to this
Standard.
GB/T 699-1999, Quality carbon structural steels
GB/T 1299-2000, Alloy tool steels
GB/T 12604.5, Non-destructive testing - Terminology - Magnetic particle testing
GB/T 19001, Quality management systems - Requirements (GB/T 19001-2008, ISO
9001.2008, IDT)
GB/T 27025, General requirements for the competence of testing and calibration
laboratories (GB/T 27025-2008, ISO/IEC 17025.2005, IDT)
3 Terms and definitions
Terms and definitions determined by GB/T 12604.5 are applicable to this Standard.
4 Classification
Rings, to which this Standard is applicable, shall be classified as follows.
a) Type B test block (or DC ring);
b) Type E test block (or AC ring).
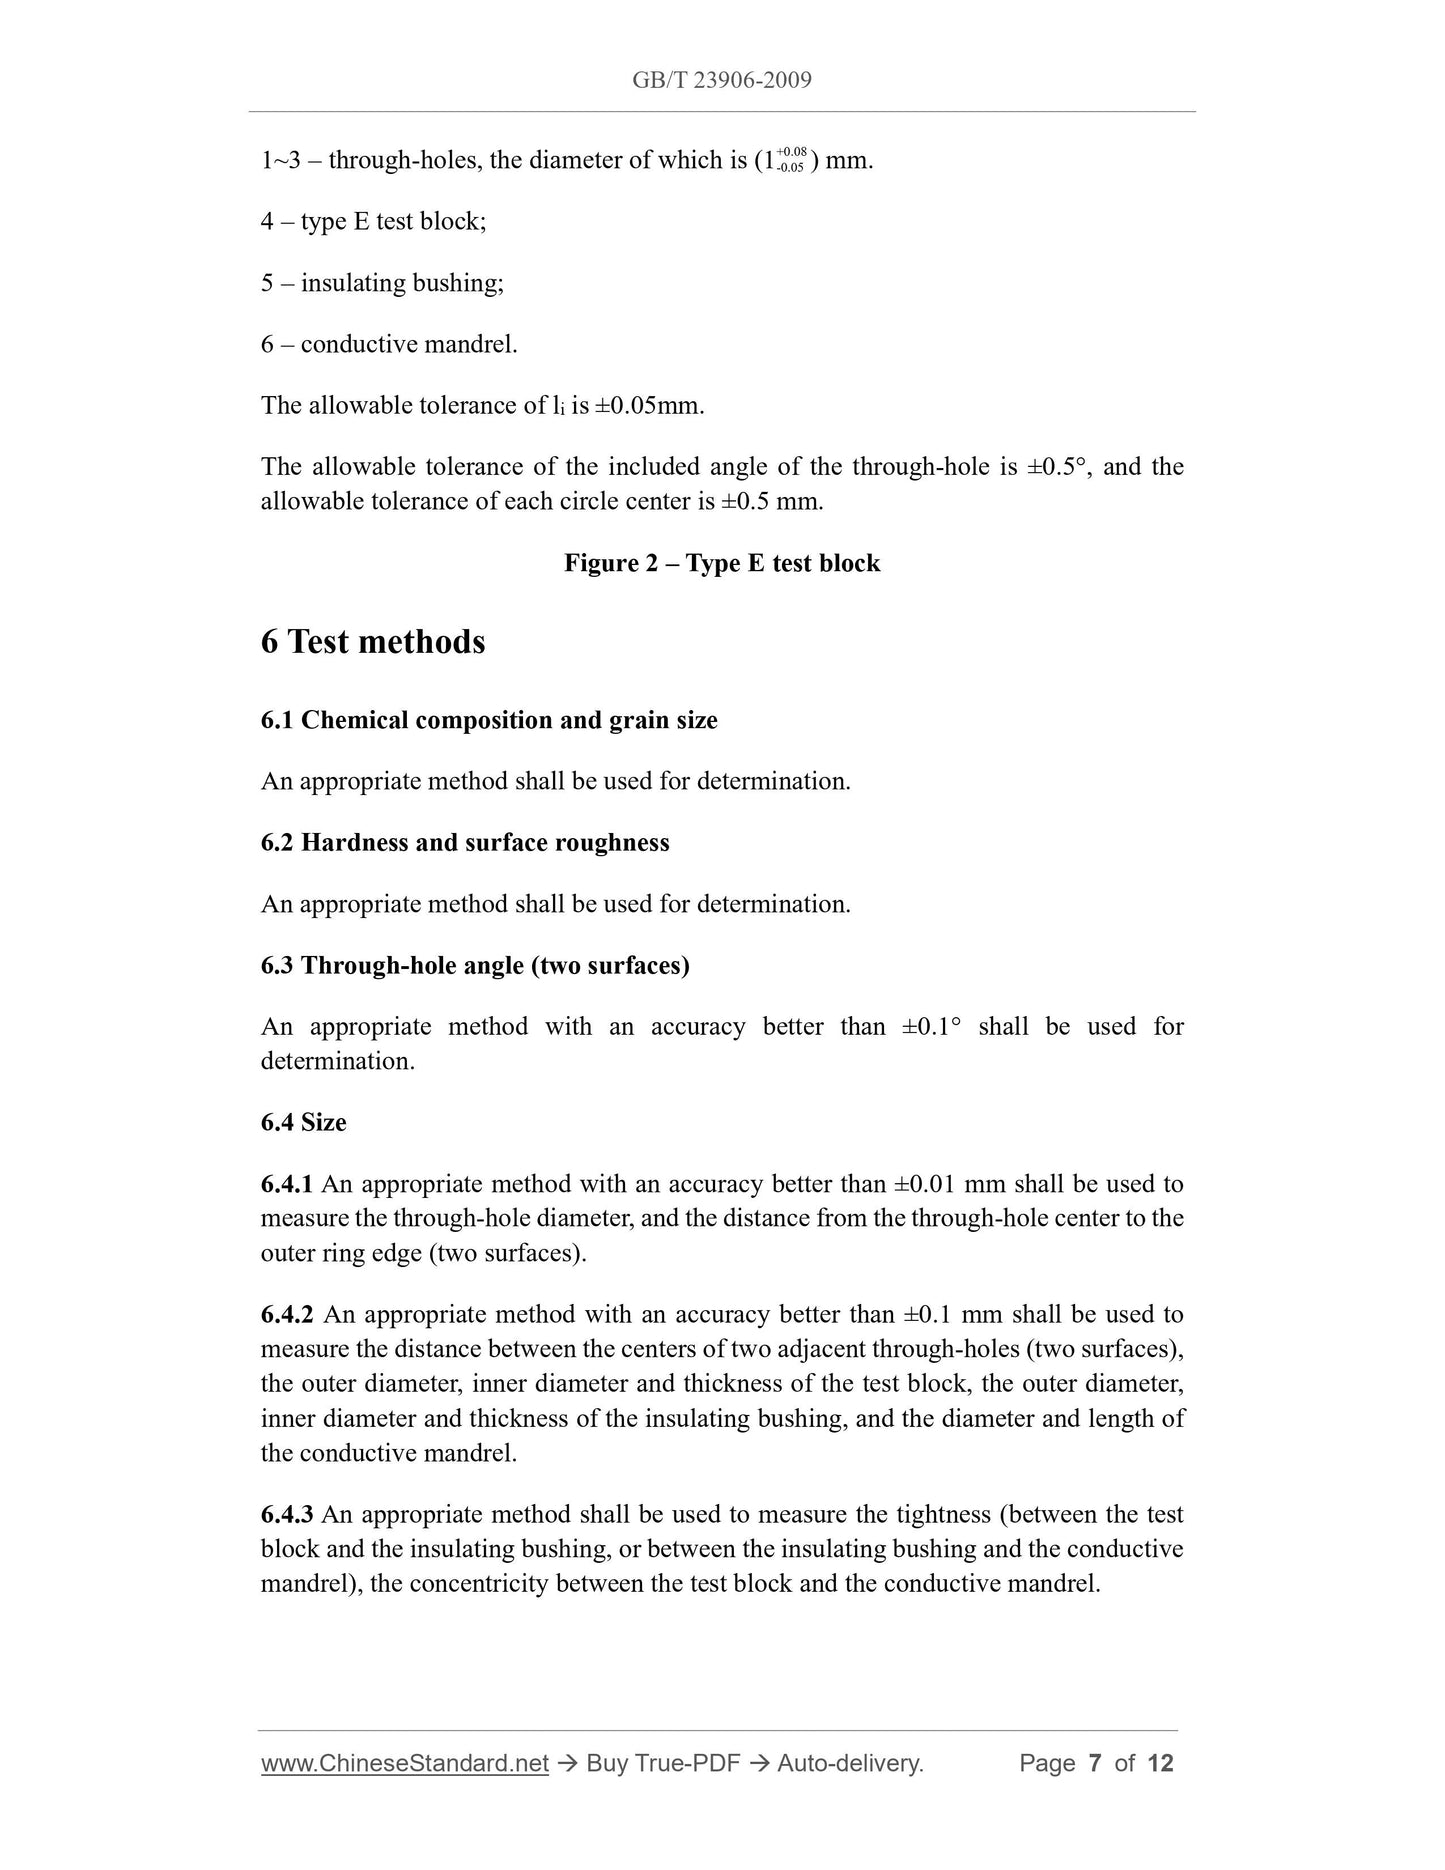
1~3 – through-holes, the diameter of which is (1+0.08 -0.05) mm.
4 – type E test block;
5 – insulating bushing;
6 – conductive mandrel.
The allowable tolerance of li is ±0.05mm.
The allowable tolerance of the included angle of the through-hole is ±0.5°, and the
allowable tolerance of each circle center is ±0.5 mm.
Figure 2 – Type E test block
6 Test methods
6.1 Chemical composition and grain size
An appropriate method shall be used for determination.
6.2 Hardness and surface roughness
An appropriate method shall be used for determination.
6.3 Through-hole angle (two surfaces)
An appropriate method with an accuracy better than ±0.1° shall be used for
determination.
6.4 Size
6.4.1 An appropriate method with an accuracy better than ±0.01 mm shall be used to
measure the through-hole diameter, and the distance from the through-hole center to the
outer ring edge (two surfaces).
6.4.2 An appropriate method with an accuracy better than ±0.1 mm shall be used to
measure the distance between the centers of two adjacent through-holes (two surfaces),
the outer diameter, inner diameter and thickness of the test block, the outer diameter,
inner diameter and thickness of the insulating bushing, and the diameter and length of
the conductive mandrel.
6.4.3 An appropriate method shall be used to measure the tightness (between the test
block and the insulating bushing, or between the insulating bushing and the conductive
mandrel), the concentricity between the test block and the conductive mandrel.
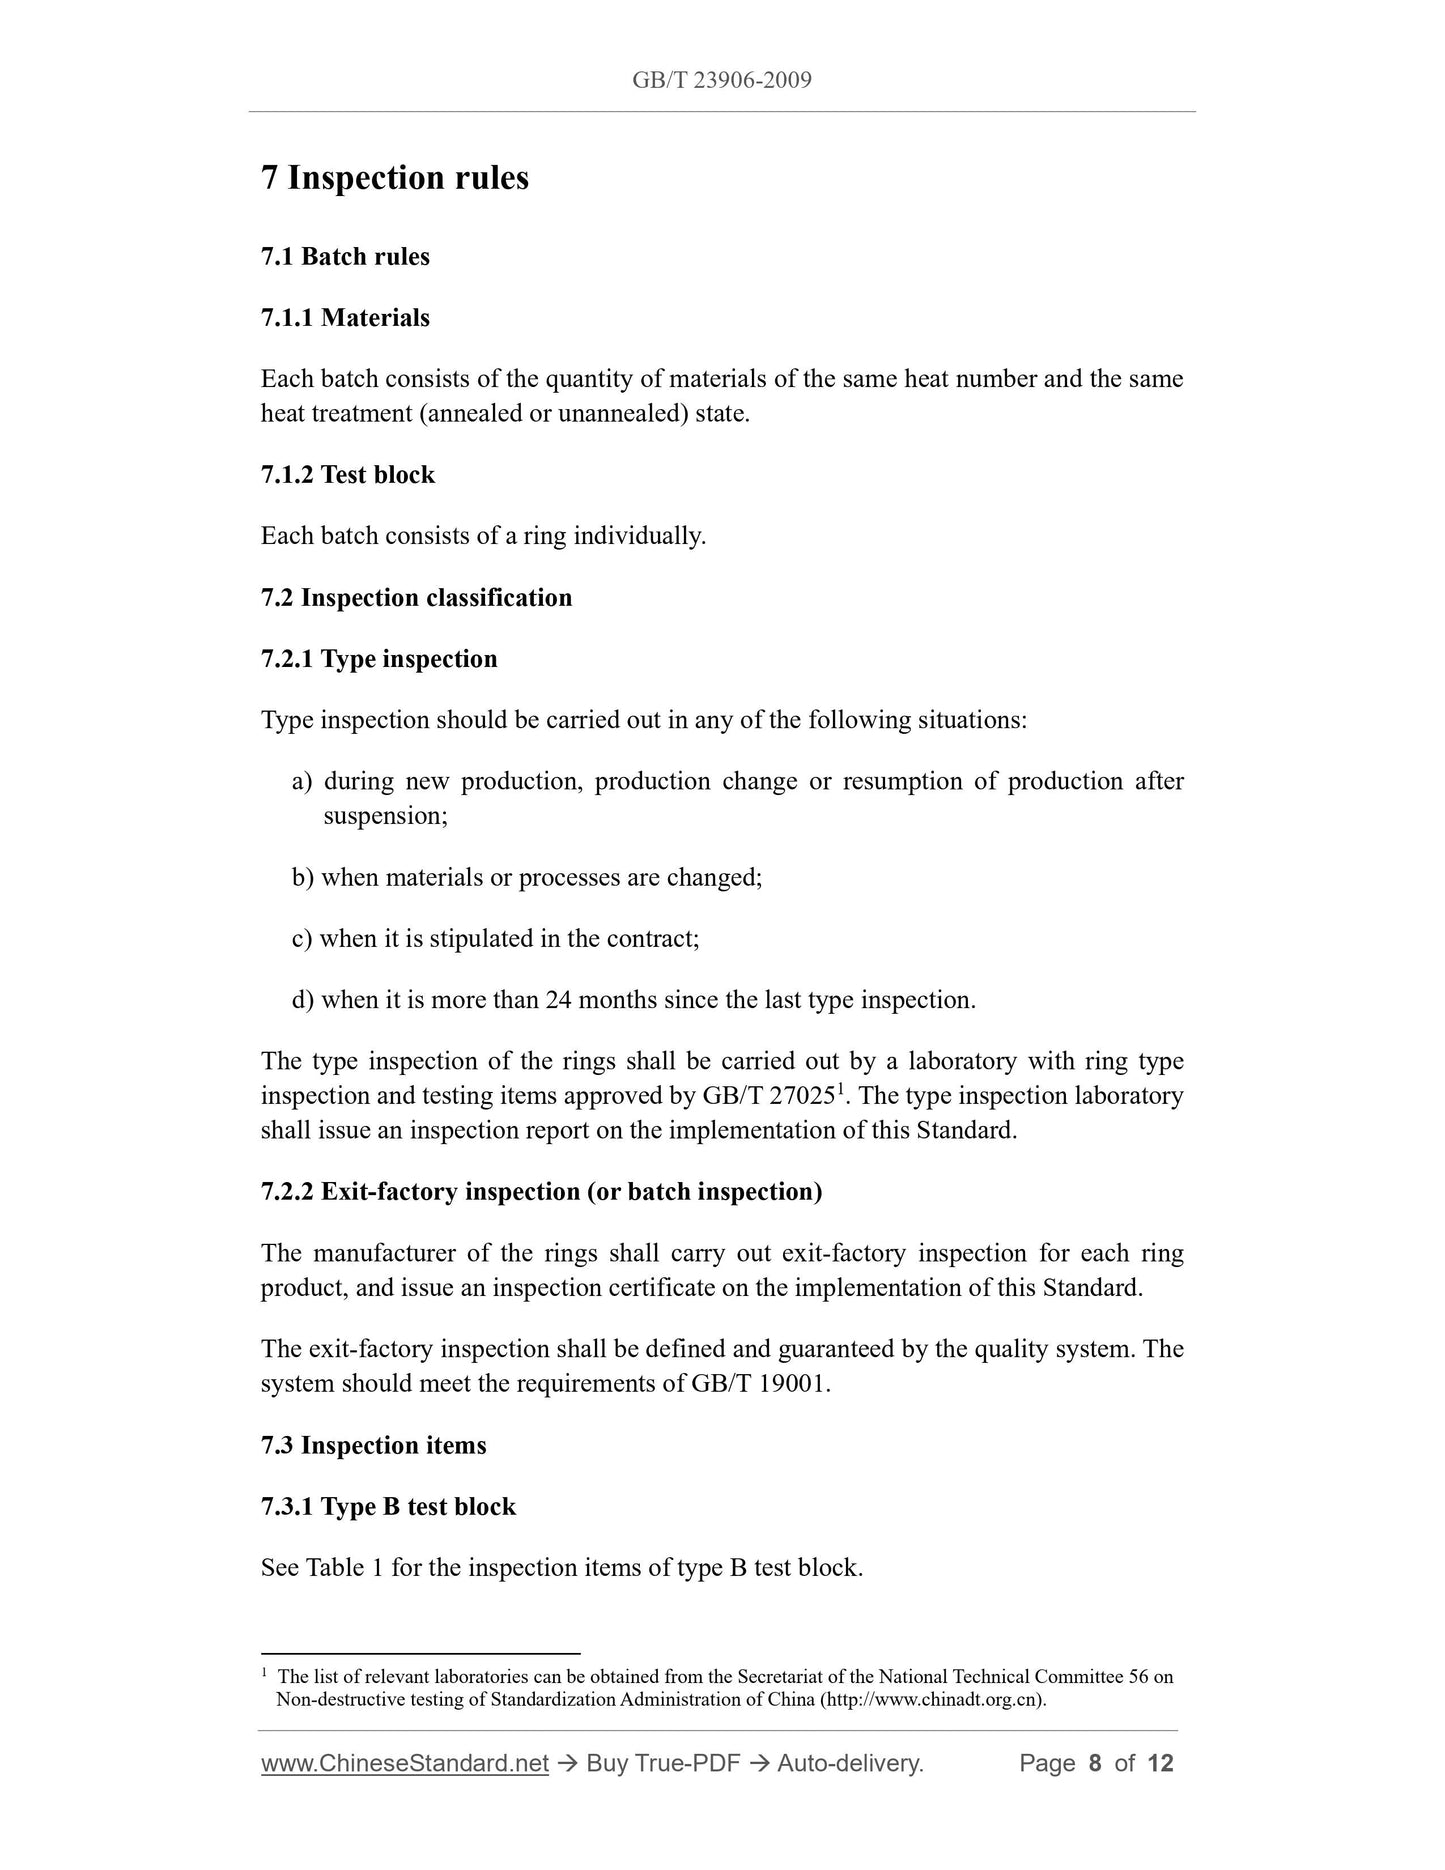
7 Inspection rules
7.1 Batch rules
7.1.1 Materials
Each batch consists of the quantity of materials of the same heat number and the same
heat treatment (annealed or unannealed) state.
7.1.2 Test block
Each batch consists of a ring individually.
7.2 Inspection classification
7.2.1 Type inspection
Type inspection should be carried out in any of the following situations.
a) during new production, production change or resumption of production after
suspension;
b) when materials or processes are changed;
c) when it is stipulated in the contract;
d) when it is more than 24 months since the last type inspection.
The type inspection of the rings shall be carried out by a laboratory with ring type
inspection and testing items approved by GB/T 270251.The type inspection laboratory
shall issue an inspection report on the implementation of this Standard.
7.2.2 Exit-factory inspection (or batch inspection)
The manufacturer of the rings shall carry out exit-factory inspection for each ring
product, and issue an inspection certificate on the implementation of this Standard.
The exit-factory inspection shall be defined and guaranteed by the quality system. The
system should meet the requirements of GB/T 19001.
7.3 Inspection items
7.3.1 Type B test block
See Table 1 for the inspection items of type B test block.
1 The list of relevant laboratories can be obtained from the Secretariat of the National Technical Committee 56 on
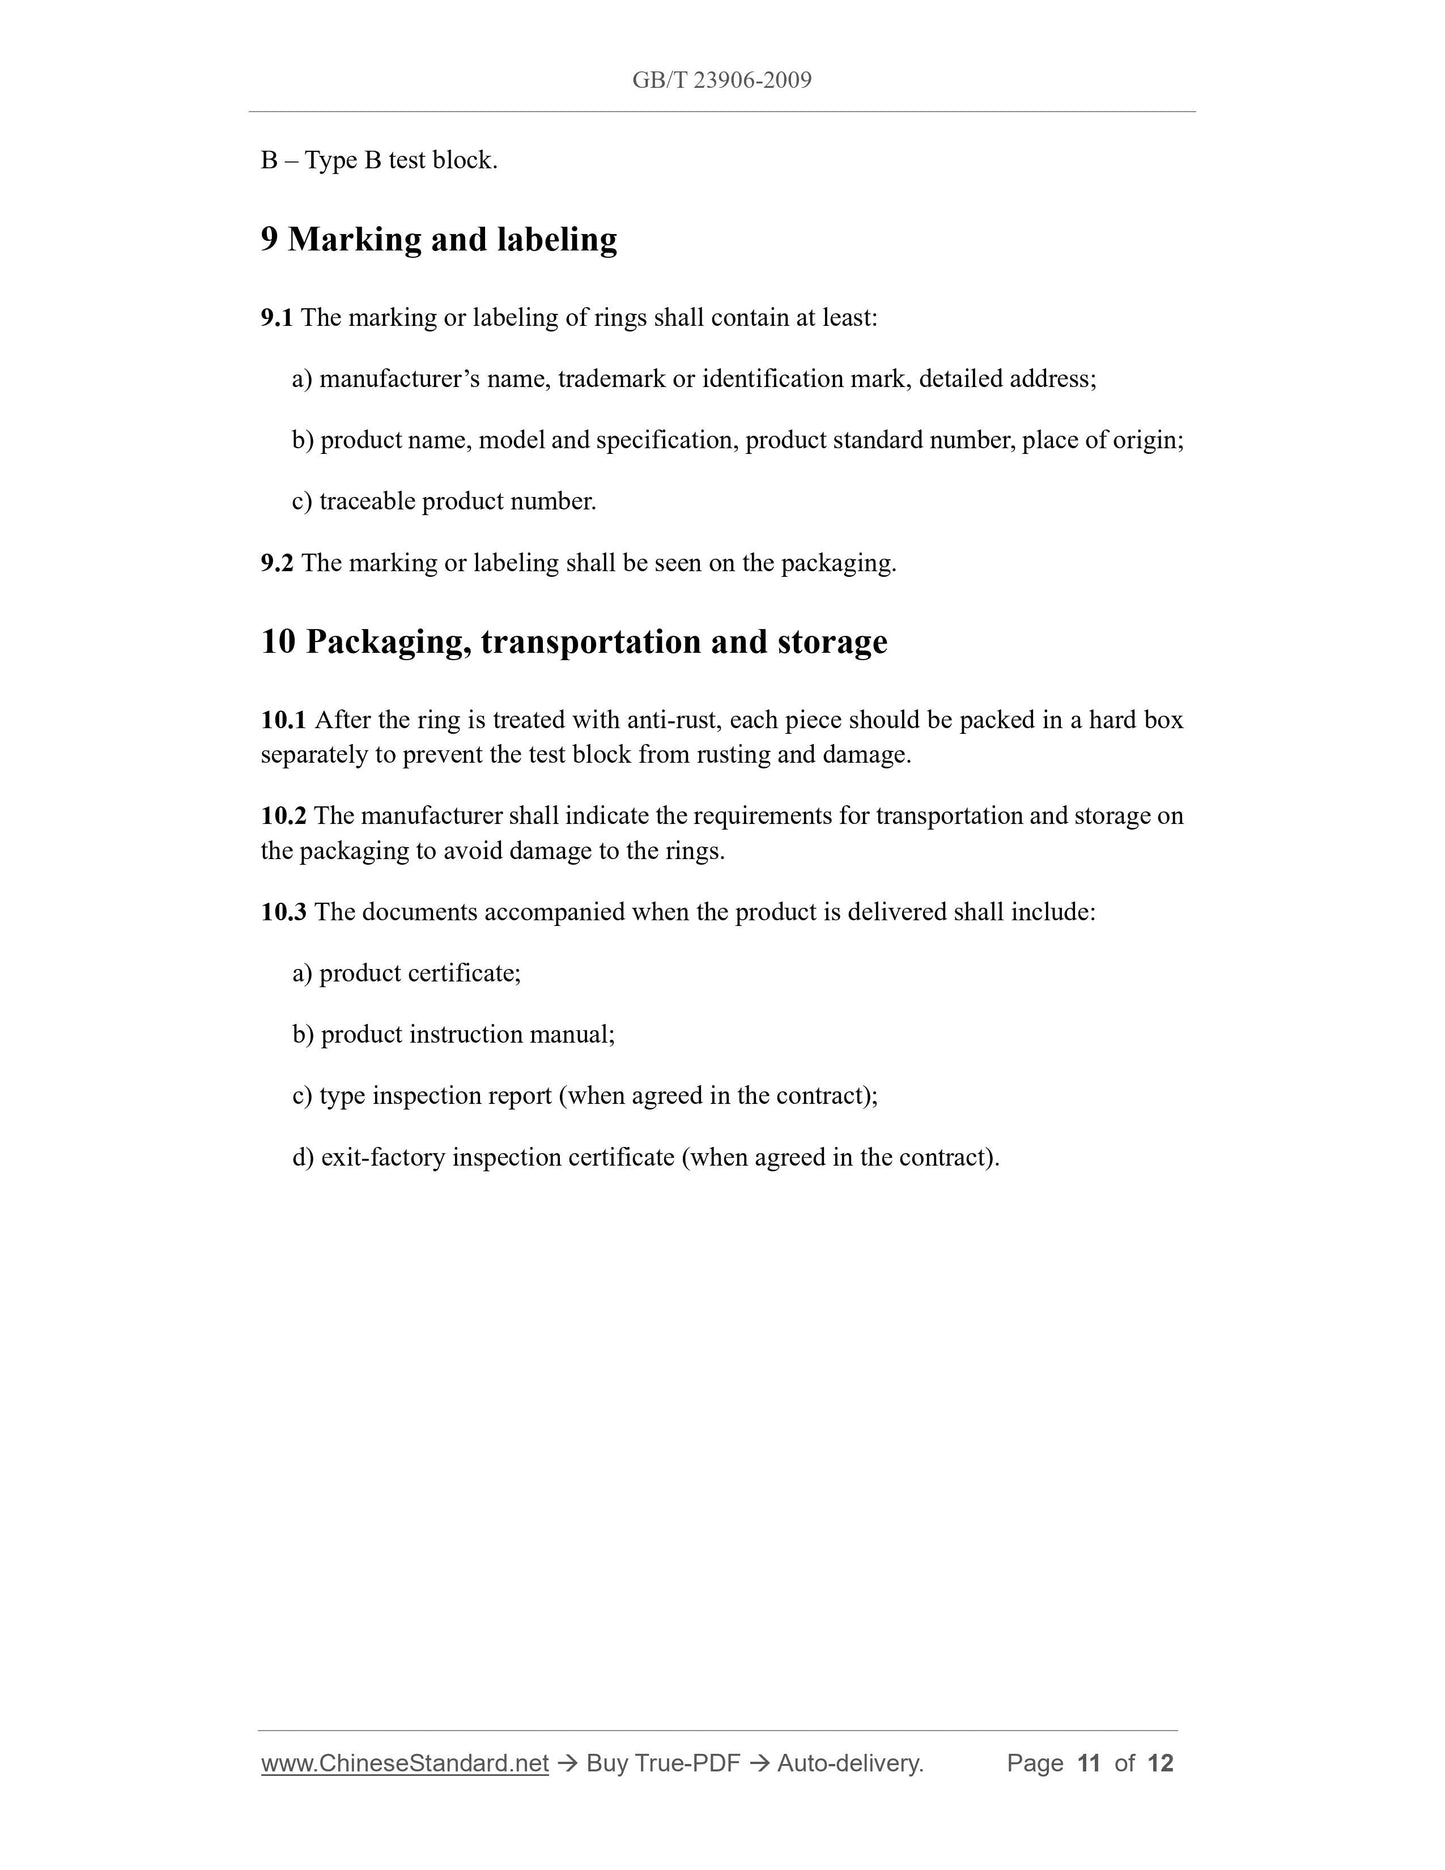
B – Type B test block.
9 Marking and labeling
9.1 The marking or labeling of rings shall contain at least.
a) manufacturer’s name, trademark or identification mark, detailed address;
b) product name, model and specification, product standard number, place of origin;
c) traceable product number.
9.2 The marking or labeling shall be seen on the packaging.
10 Packaging, transportation and storage
10.1 After the ring is treated with anti-rust, each piece should be packed in a hard box
separately to prevent the test block from rusting and damage.
10.2 The manufacturer shall indicate the requirements for transportation and storage on
the packaging to avoid damage to the rings.
10.3 The documents accompanied when the product is delivered shall include.
a) product certificate;
b) product instruction manual;
c) type inspection report (when agreed in the contract);
d) exit-factory inspection certificate (when agreed in the contract).
Share
