1
/
of
5
www.ChineseStandard.us -- Field Test Asia Pte. Ltd.
GB/T 24178-2009 English PDF (GB/T24178-2009)
GB/T 24178-2009 English PDF (GB/T24178-2009)
Regular price
$105.00
Regular price
Sale price
$105.00
Unit price
/
per
Shipping calculated at checkout.
Couldn't load pickup availability
GB/T 24178-2009: Macrostructure assessing method for solidification structure of continuous casting blank
Delivery: 9 seconds. Download (& Email) true-PDF + Invoice.
Get Quotation: Click GB/T 24178-2009 (Self-service in 1-minute)
Historical versions (Master-website): GB/T 24178-2009
Preview True-PDF (Reload/Scroll-down if blank)
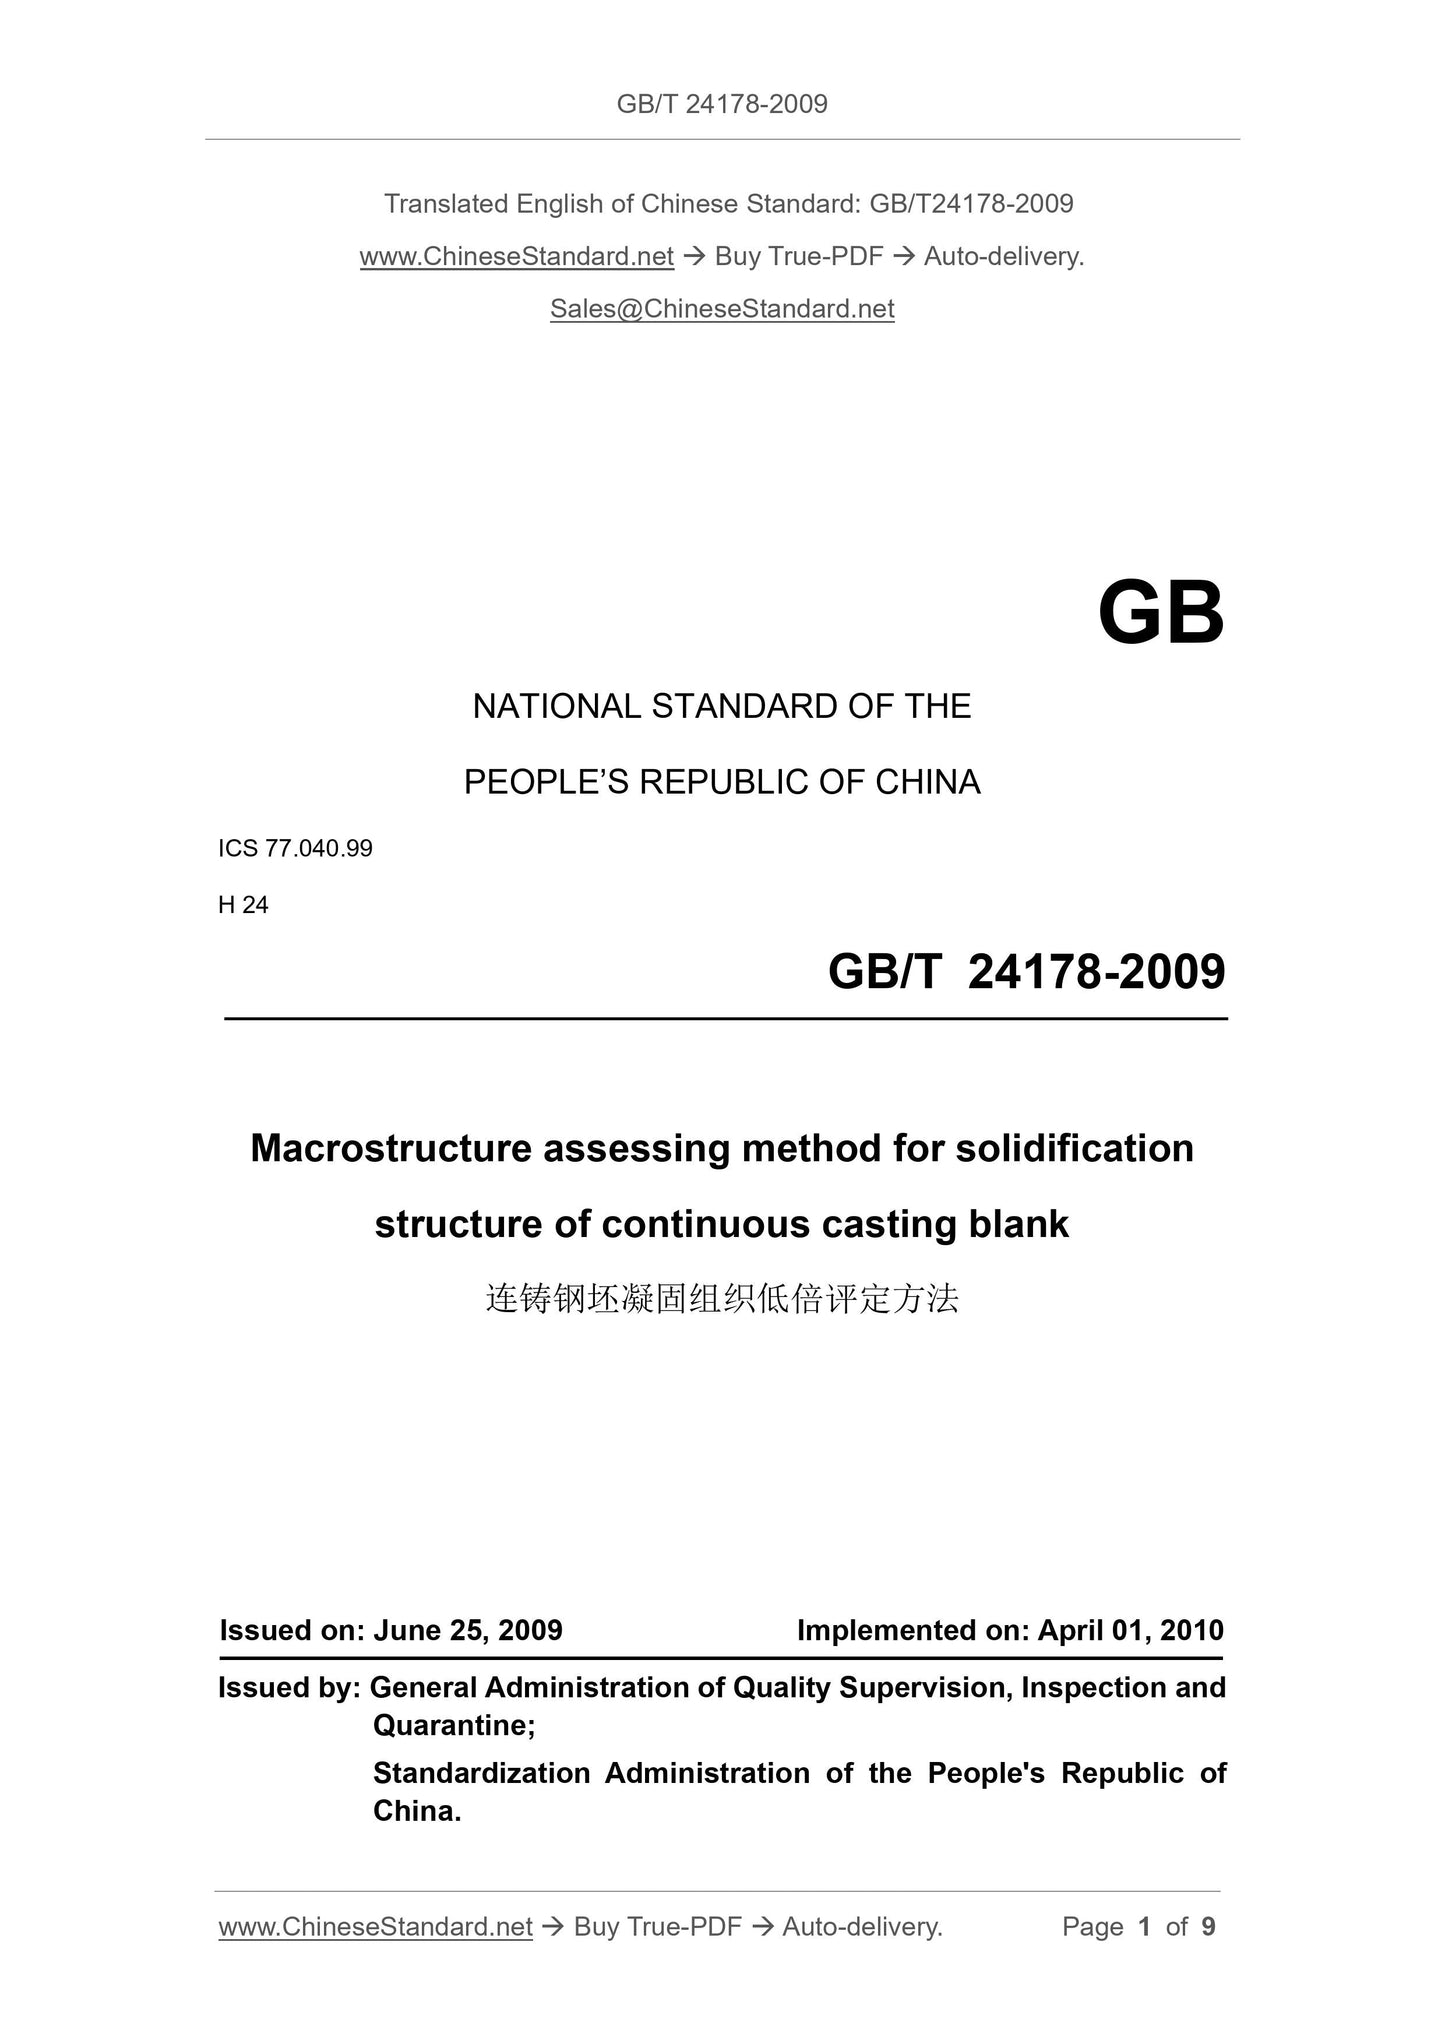
GB/T 24178-2009
GB
NATIONAL STANDARD OF THE
PEOPLE’S REPUBLIC OF CHINA
ICS 77.040.99
H 24
Macrostructure assessing method for solidification
structure of continuous casting blank
ISSUED ON: JUNE 25, 2009
IMPLEMENTED ON: APRIL 01, 2010
Issued by: General Administration of Quality Supervision, Inspection and
Quarantine;
Standardization Administration of the People's Republic of
China.
Table of Contents
Foreword ... 3
1 Scope ... 4
2 Normative references ... 4
3 Specimen preparation ... 4
4 Classification and assessing of solidification structure ... 4
5 Inspection report ... 7
Annex A (normative) Preparation for dendritic corrosion specimen ... 8
Macrostructure assessing method for solidification
structure of continuous casting blank
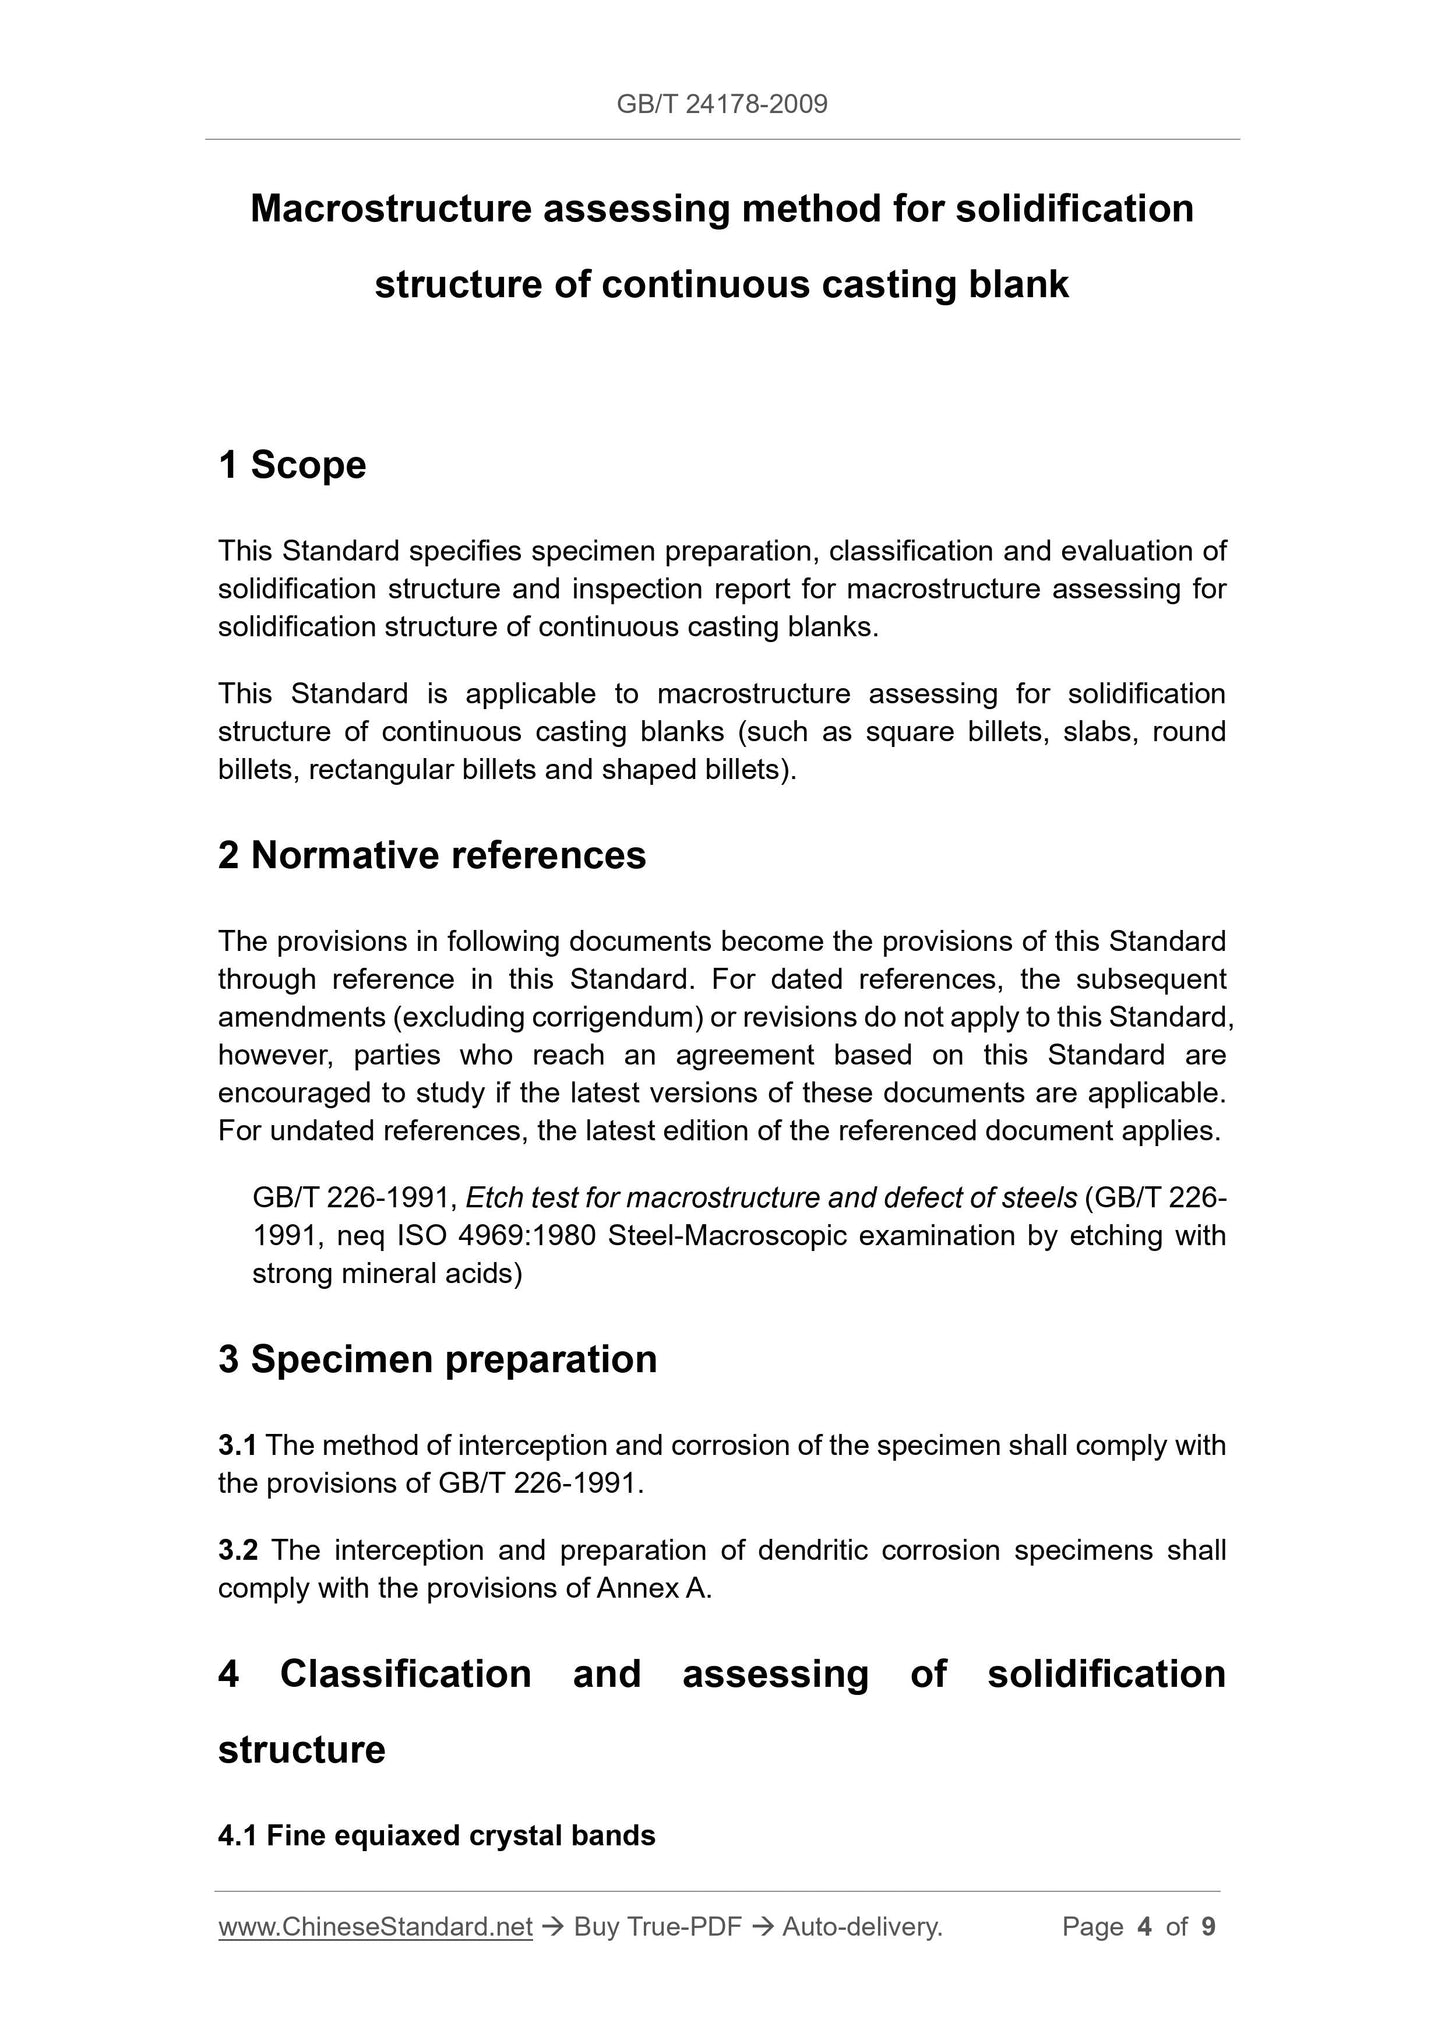
1 Scope
This Standard specifies specimen preparation, classification and evaluation of
solidification structure and inspection report for macrostructure assessing for
solidification structure of continuous casting blanks.
This Standard is applicable to macrostructure assessing for solidification
structure of continuous casting blanks (such as square billets, slabs, round
billets, rectangular billets and shaped billets).
2 Normative references
The provisions in following documents become the provisions of this Standard
through reference in this Standard. For dated references, the subsequent
amendments (excluding corrigendum) or revisions do not apply to this Standard,
however, parties who reach an agreement based on this Standard are
encouraged to study if the latest versions of these documents are applicable.
For undated references, the latest edition of the referenced document applies.
GB/T 226-1991, Etch test for macrostructure and defect of steels (GB/T 226-
1991, neq ISO 4969:1980 Steel-Macroscopic examination by etching with
strong mineral acids)
3 Specimen preparation
3.1 The method of interception and corrosion of the specimen shall comply with
the provisions of GB/T 226-1991.
3.2 The interception and preparation of dendritic corrosion specimens shall
comply with the provisions of Annex A.
4 Classification and assessing of solidification
structure
4.1 Fine equiaxed crystal bands
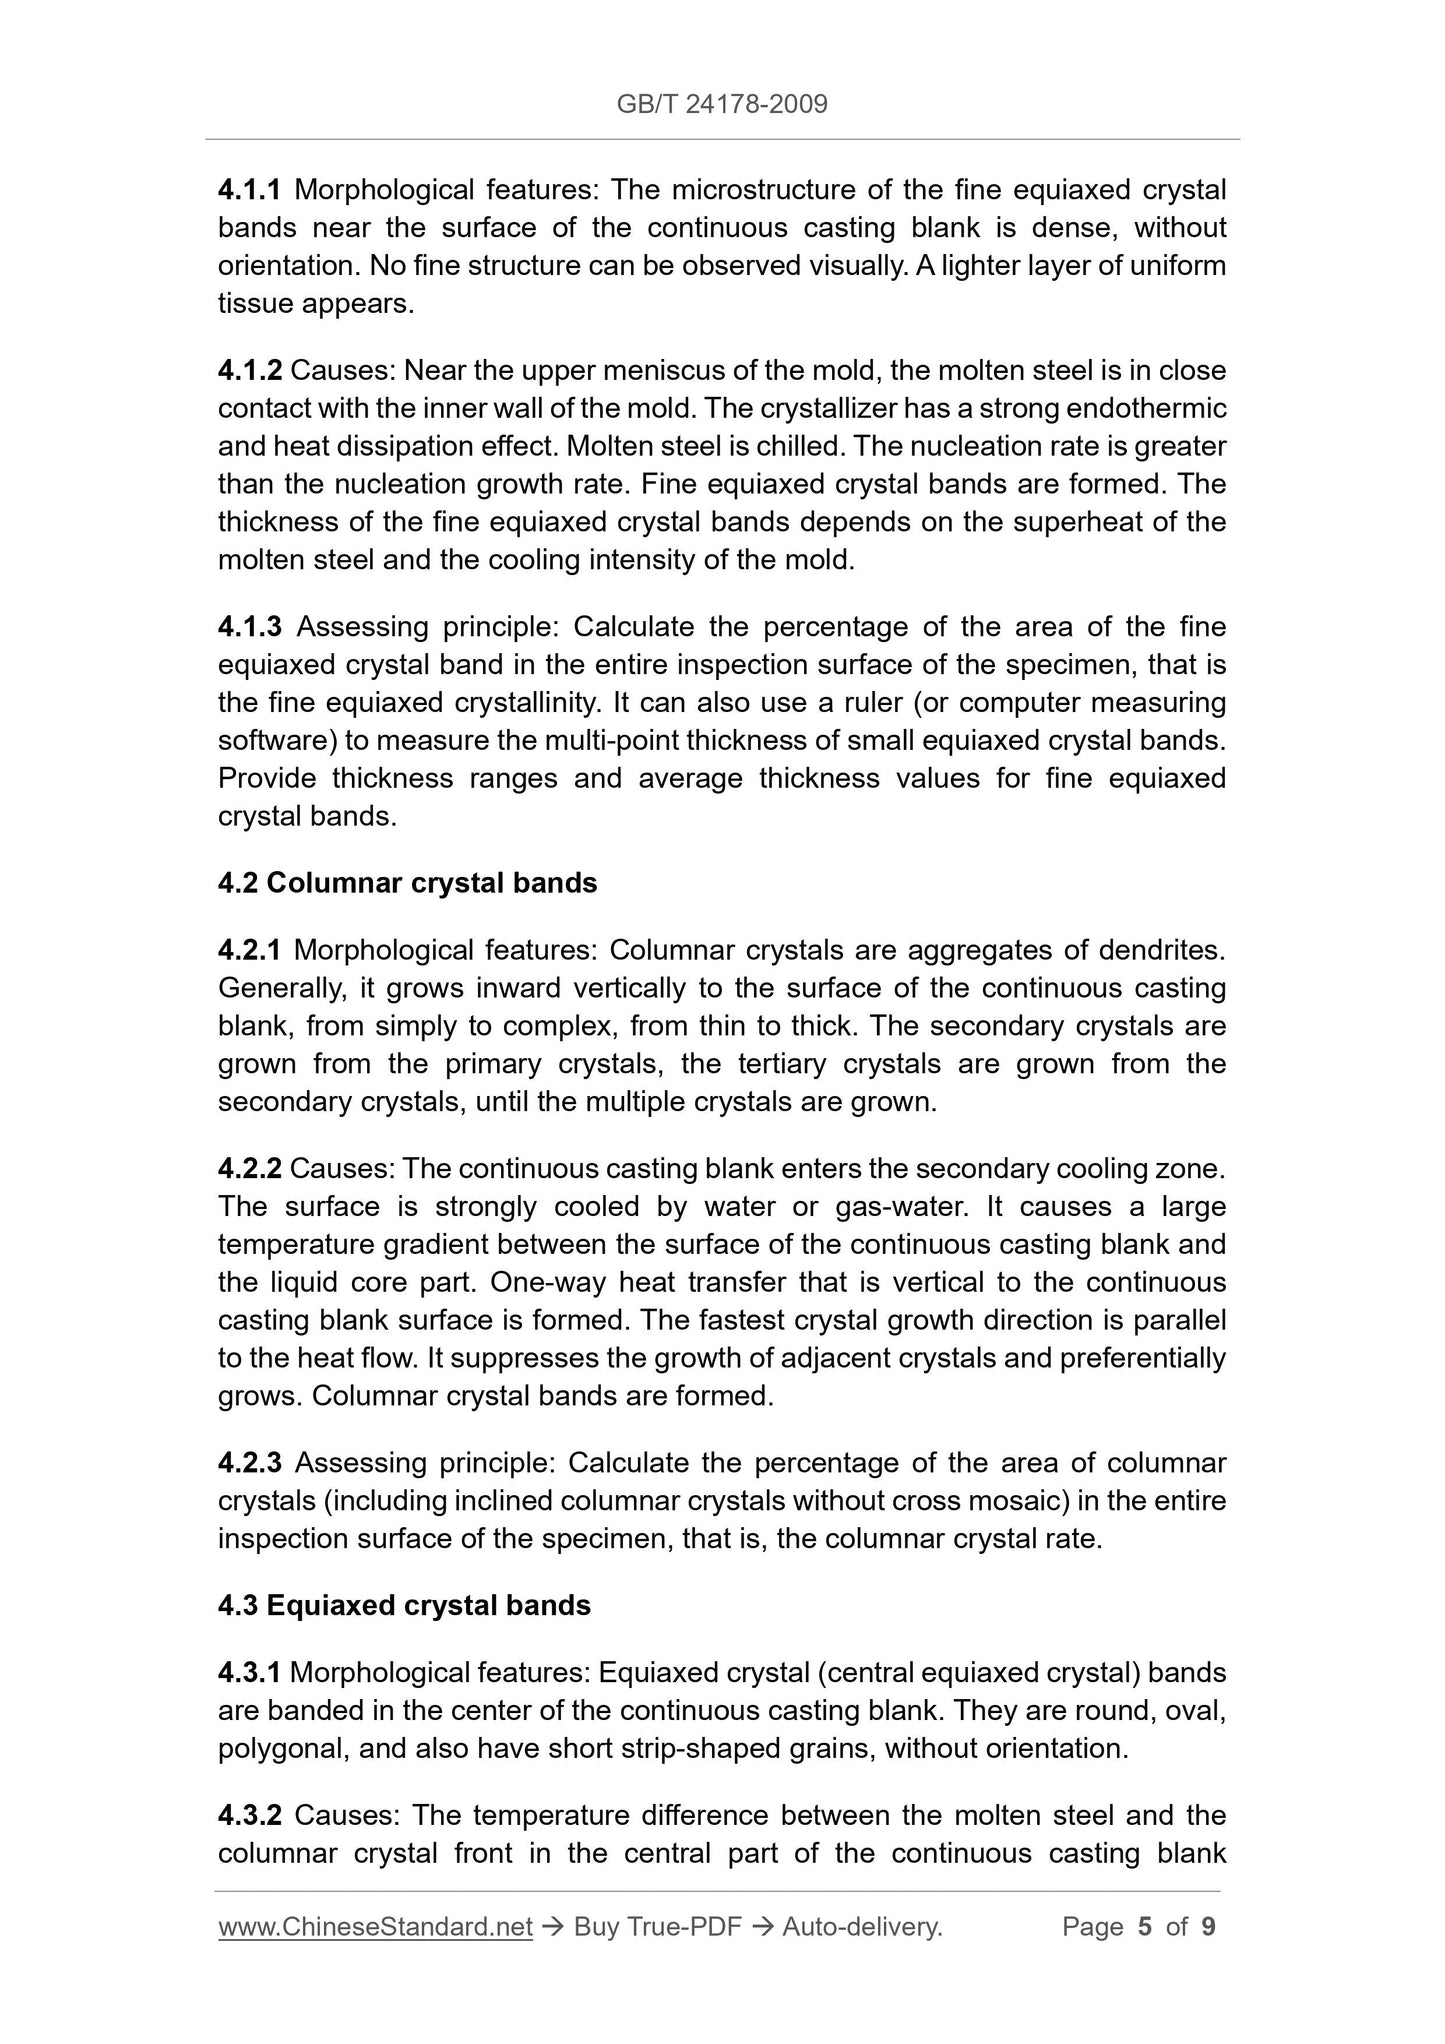
4.1.1 Morphological features: The microstructure of the fine equiaxed crystal
bands near the surface of the continuous casting blank is dense, without
orientation. No fine structure can be observed visually. A lighter layer of uniform
tissue appears.
4.1.2 Causes: Near the upper meniscus of the mold, the molten steel is in close
contact with the inner wall of the mold. The crystallizer has a strong endothermic
and heat dissipation effect. Molten steel is chilled. The nucleation rate is greater
than the nucleation growth rate. Fine equiaxed crystal bands are formed. The
thickness of the fine equiaxed crystal bands depends on the superheat of the
molten steel and the cooling intensity of the mold.
4.1.3 Assessing principle: Calculate the percentage of the area of the fine
equiaxed crystal band in the entire inspection surface of the specimen, that is
the fine equiaxed crystallinity. It can also use a ruler (or computer measuring
software) to measure the multi-point thickness of small equiaxed crystal bands.
Provide thickness ranges and average thickness values for fine equiaxed
crystal bands.
4.2 Columnar crystal bands
4.2.1 Morphological features: Columnar crystals are aggregates of dendrites.
Generally, it grows inward vertically to the surface of the continuous casting
blank, from simply to complex, from thin to thick. The secondary crystals are
grown from the primary crystals, the tertiary crystals are grown from the
secondary crystals, until the multiple crystals are grown.
4.2.2 Causes: The continuous casting blank enters the secondary cooling zone.
The surface is strongly cooled by water or gas-water. It causes a large
temperature gradient between the surface of the continuous casting blank and
the liquid core part. One-way heat transfer that is vertical to the continuous
casting blank surface is formed. The fastest crystal growth direction is parallel
to the heat flow. It suppresses the growth of adjacent crystals and preferentially
grows. Columnar crystal bands are formed.
4.2.3 Assessing principle: Calculate the percentage of the area of columnar
crystals (including inclined columnar crystals without cross mosaic) in the entire
inspection surface of the specimen, that is, the columnar crystal rate.
4.3 Equiaxed crystal bands
4.3.1 Morphological features: Equiaxed crystal (central equiaxed crystal) bands
are banded in the center of the continuous casting blank. They are round, oval,
polygonal, and also have short strip-shaped grains, without orientation.
4.3.2 Causes: The temperature difference between the molten steel and the
columnar crystal front in the central part of the continuous casting blank
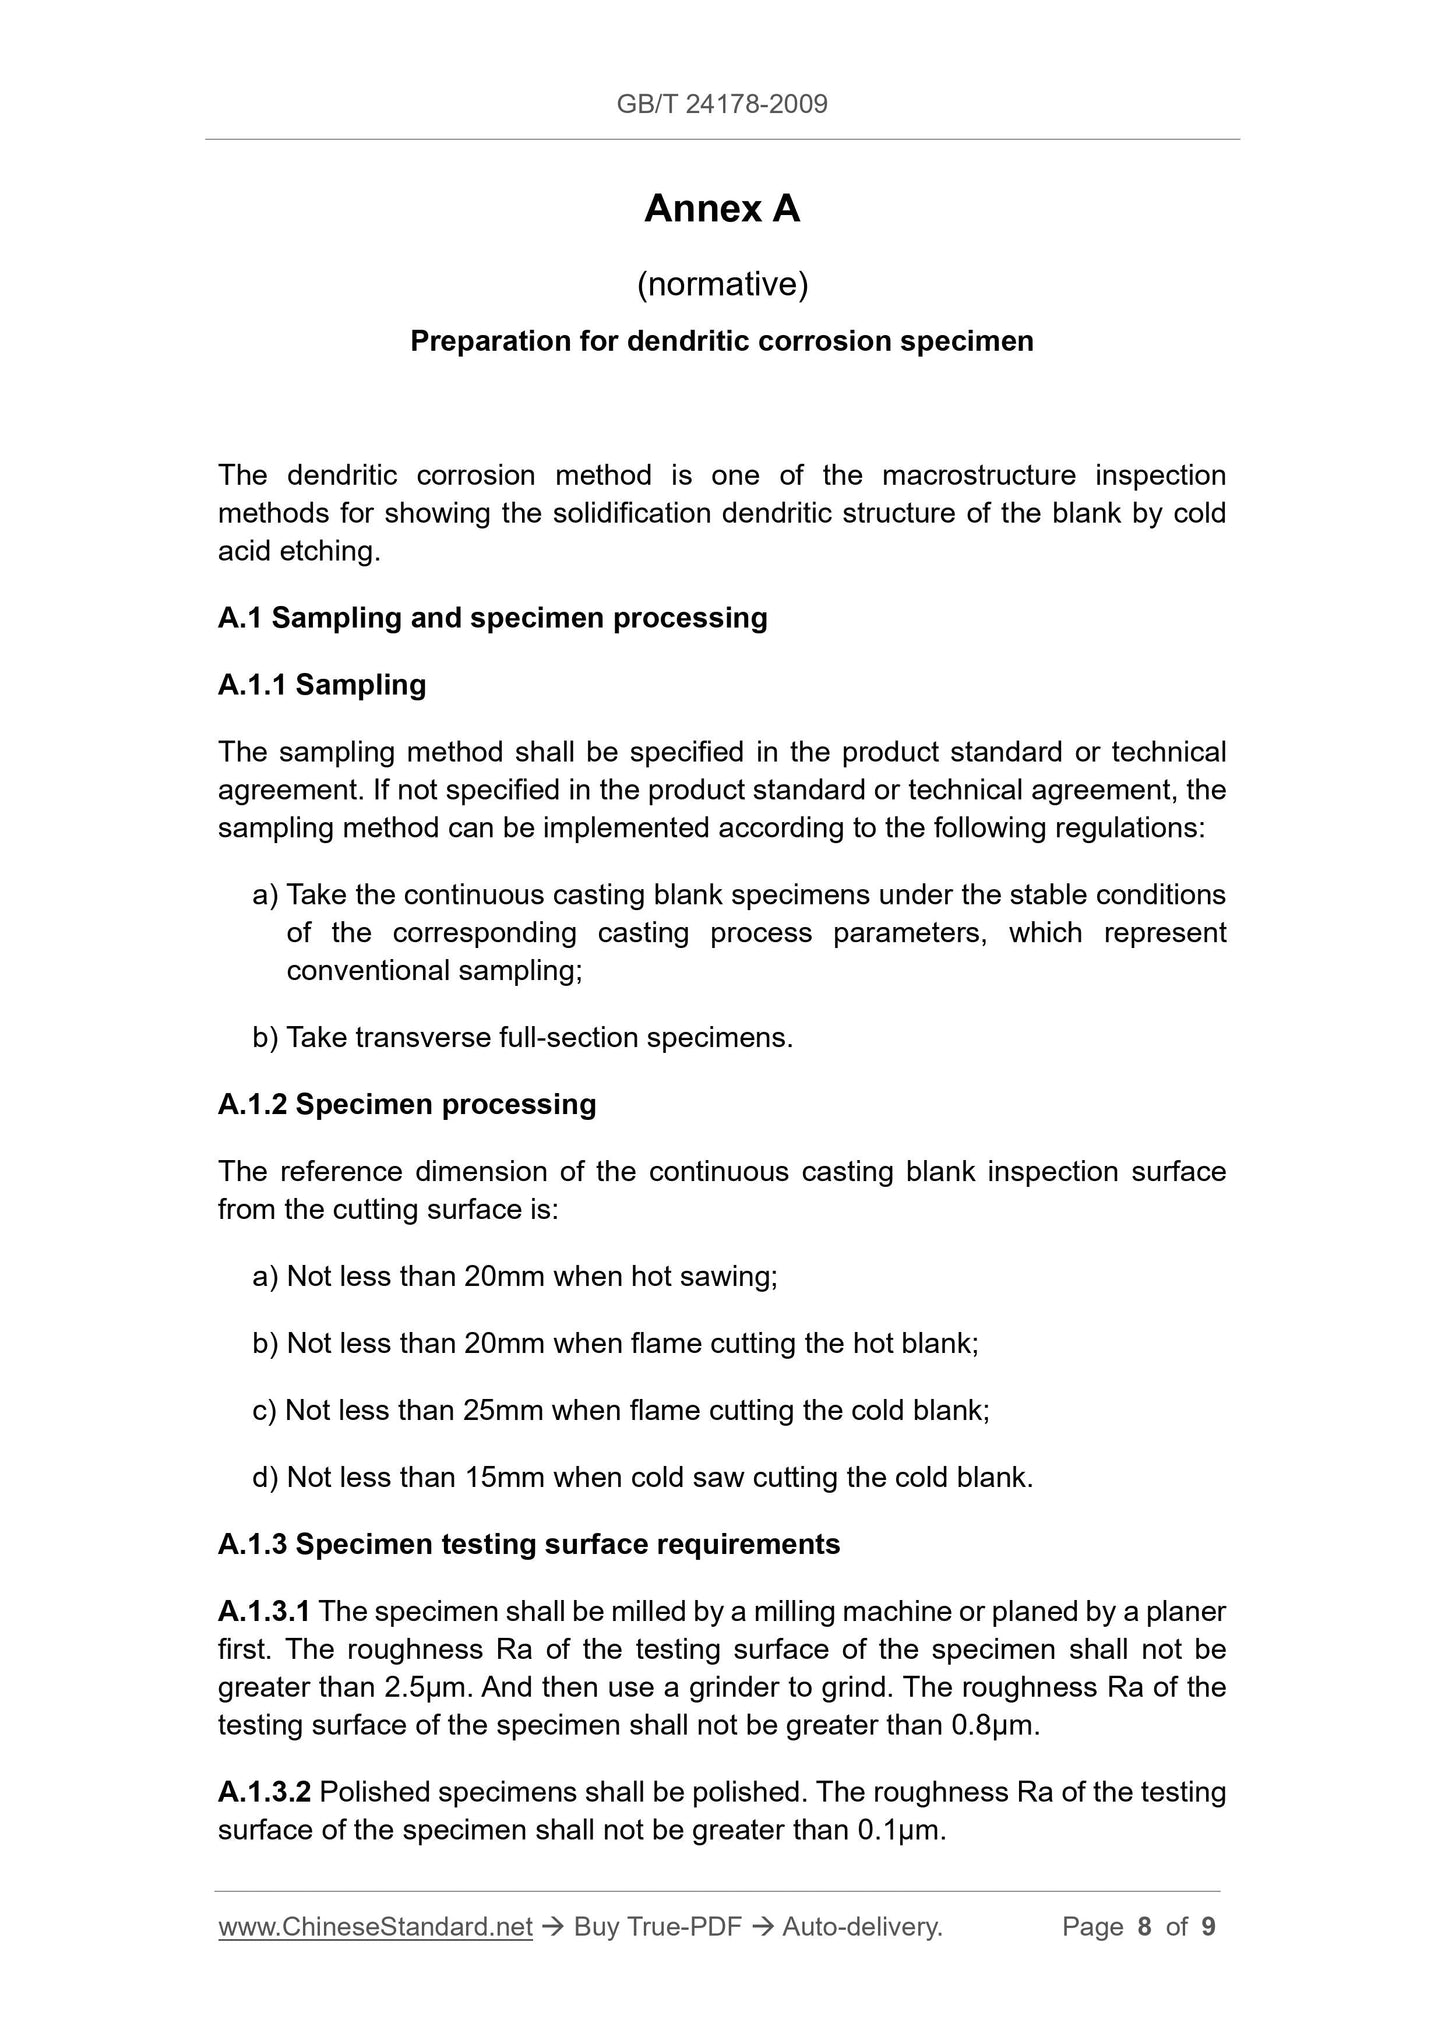
Annex A
(normative)
Preparation for dendritic corrosion specimen
The dendritic corrosion method is one of the macrostructure inspection
methods for showing the solidification dendritic structure of the blank by cold
acid etching.
A.1 Sampling and specimen processing
A.1.1 Sampling
The sampling method shall be specified in the product standard or technical
agreement. If not specified in the product standard or technical agreement, the
sampling method can be implemented according to the following regulations:
a) Take the continuous casting blank specimens under the stable conditions
of the corresponding casting process parameters, which represent
conventional sampling;
b) Take transverse full-section specimens.
A.1.2 Specimen processing
The reference dimension of the continuous casting blank inspection surface
from the cutting surface is:
a) Not less than 20mm when hot sawing;
b) Not less than 20mm when flame cutting the hot blank;
c) Not less than 25mm when flame cutting the cold blank;
d) Not less than 15mm when cold saw cutting the cold blank.
A.1.3 Specimen testing surface requirements
A.1.3.1 The specimen shall be milled by a milling machine or planed by a planer
first. The roughness Ra of the testing surface of the specimen shall not be
greater than 2.5μm. And then use a grinder to grind. The roughness Ra of the
testing surface of the specimen shall not be greater than 0.8μm.
A.1.3.2 Polished specimens shall be polished. The roughness Ra of the testing
surface of the specimen shall not be greater than 0.1μm.
Share


