1
/
of
10
www.ChineseStandard.us -- Field Test Asia Pte. Ltd.
GB/T 2970-2016 English PDF (GB/T2970-2016)
GB/T 2970-2016 English PDF (GB/T2970-2016)
Regular price
$85.00
Regular price
Sale price
$85.00
Unit price
/
per
Shipping calculated at checkout.
Couldn't load pickup availability
GB/T 2970-2016: Method for ultrasonic testing of thicker steel plates
Delivery: 9 seconds. Download (& Email) true-PDF + Invoice.
Get Quotation: Click GB/T 2970-2016 (Self-service in 1-minute)
Historical versions (Master-website): GB/T 2970-2016
Preview True-PDF (Reload/Scroll-down if blank)
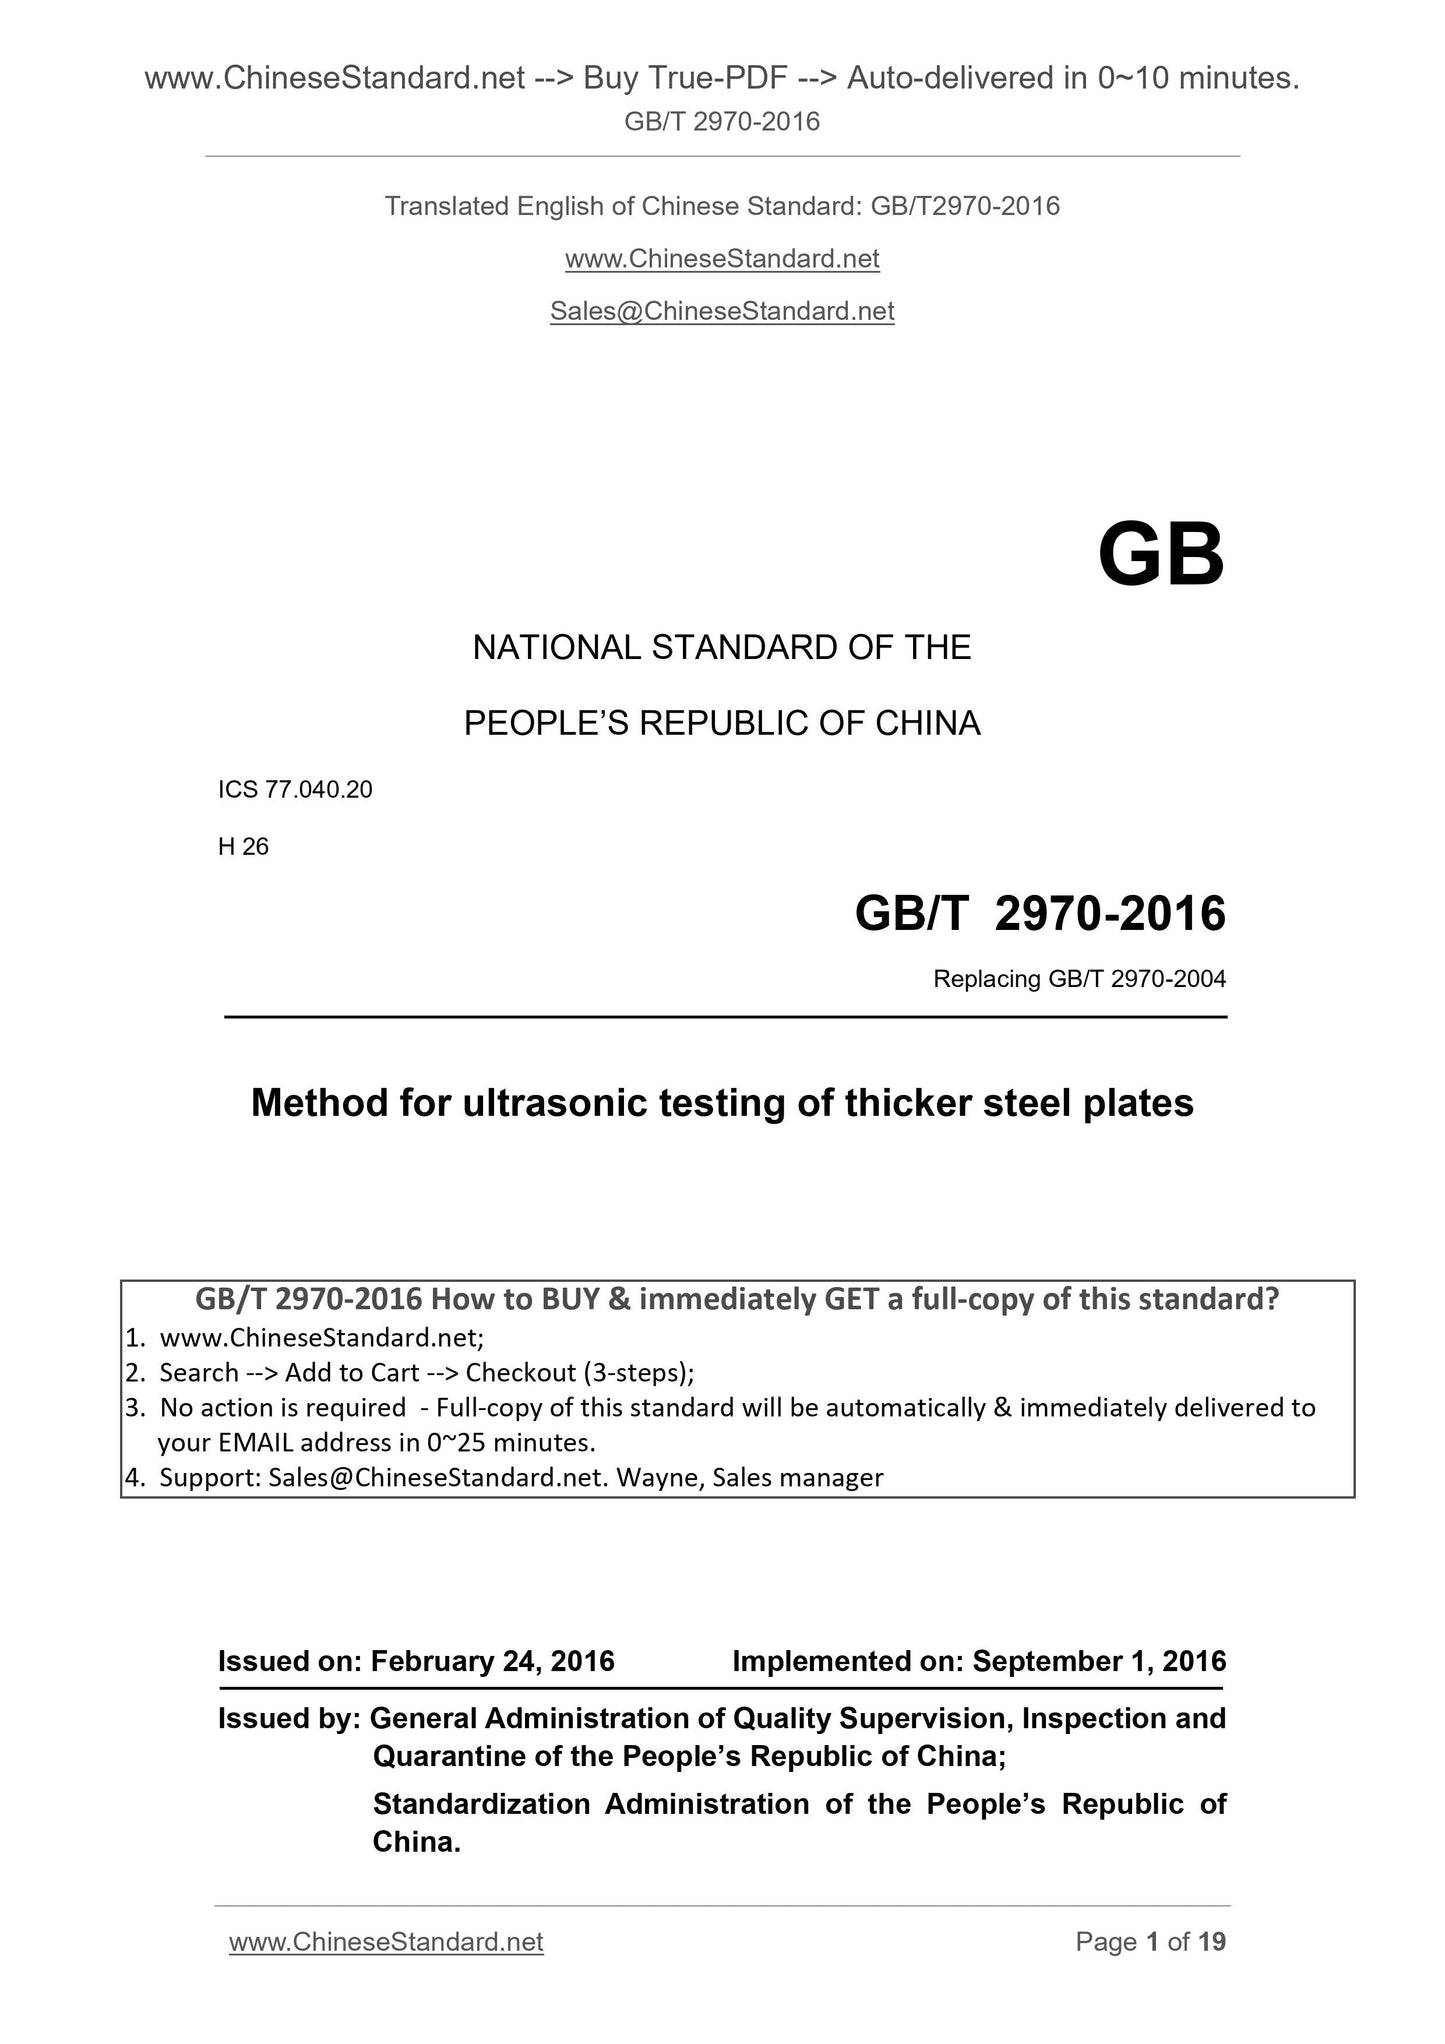
GB/T 2970-2016
GB
NATIONAL STANDARD OF THE
PEOPLE’S REPUBLIC OF CHINA
ICS 77.040.20
H 26
Replacing GB/T 2970-2004
Method for ultrasonic testing of thicker steel plates
ISSUED ON. FEBRUARY 24, 2016
IMPLEMENTED ON. SEPTEMBER 1, 2016
Issued by. General Administration of Quality Supervision, Inspection and
Quarantine of the People’s Republic of China;
Standardization Administration of the People’s Republic of
China.
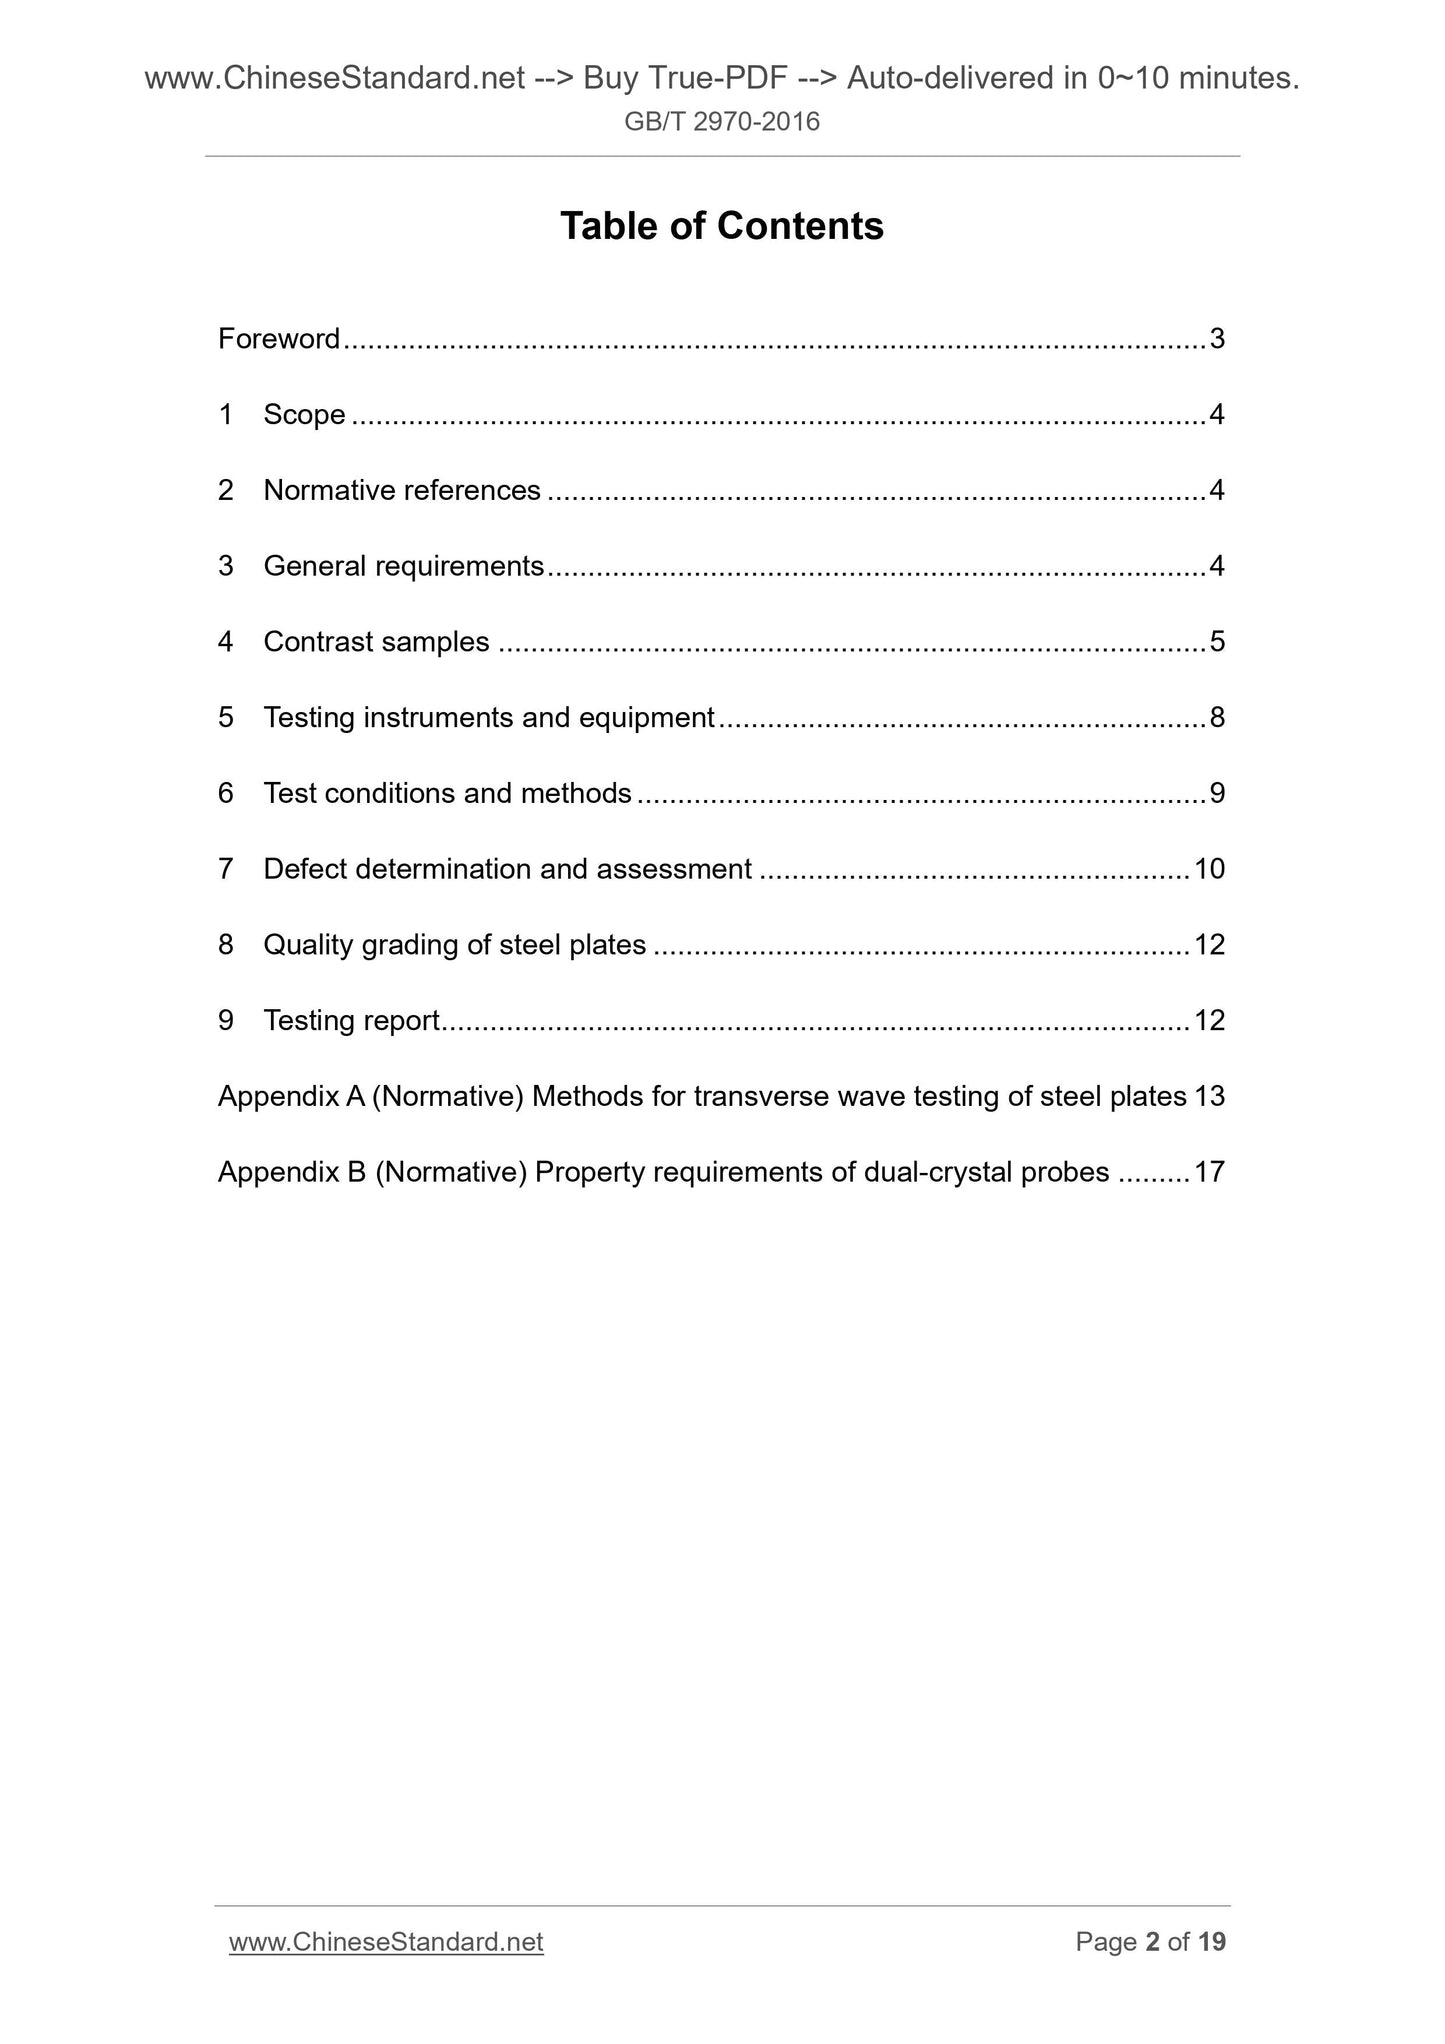
Table of Contents
Foreword ... 3
1 Scope ... 4
2 Normative references ... 4
3 General requirements ... 4
4 Contrast samples ... 5
5 Testing instruments and equipment ... 8
6 Test conditions and methods ... 9
7 Defect determination and assessment ... 10
8 Quality grading of steel plates ... 12
9 Testing report ... 12
Appendix A (Normative) Methods for transverse wave testing of steel plates 13
Appendix B (Normative) Property requirements of dual-crystal probes ... 17
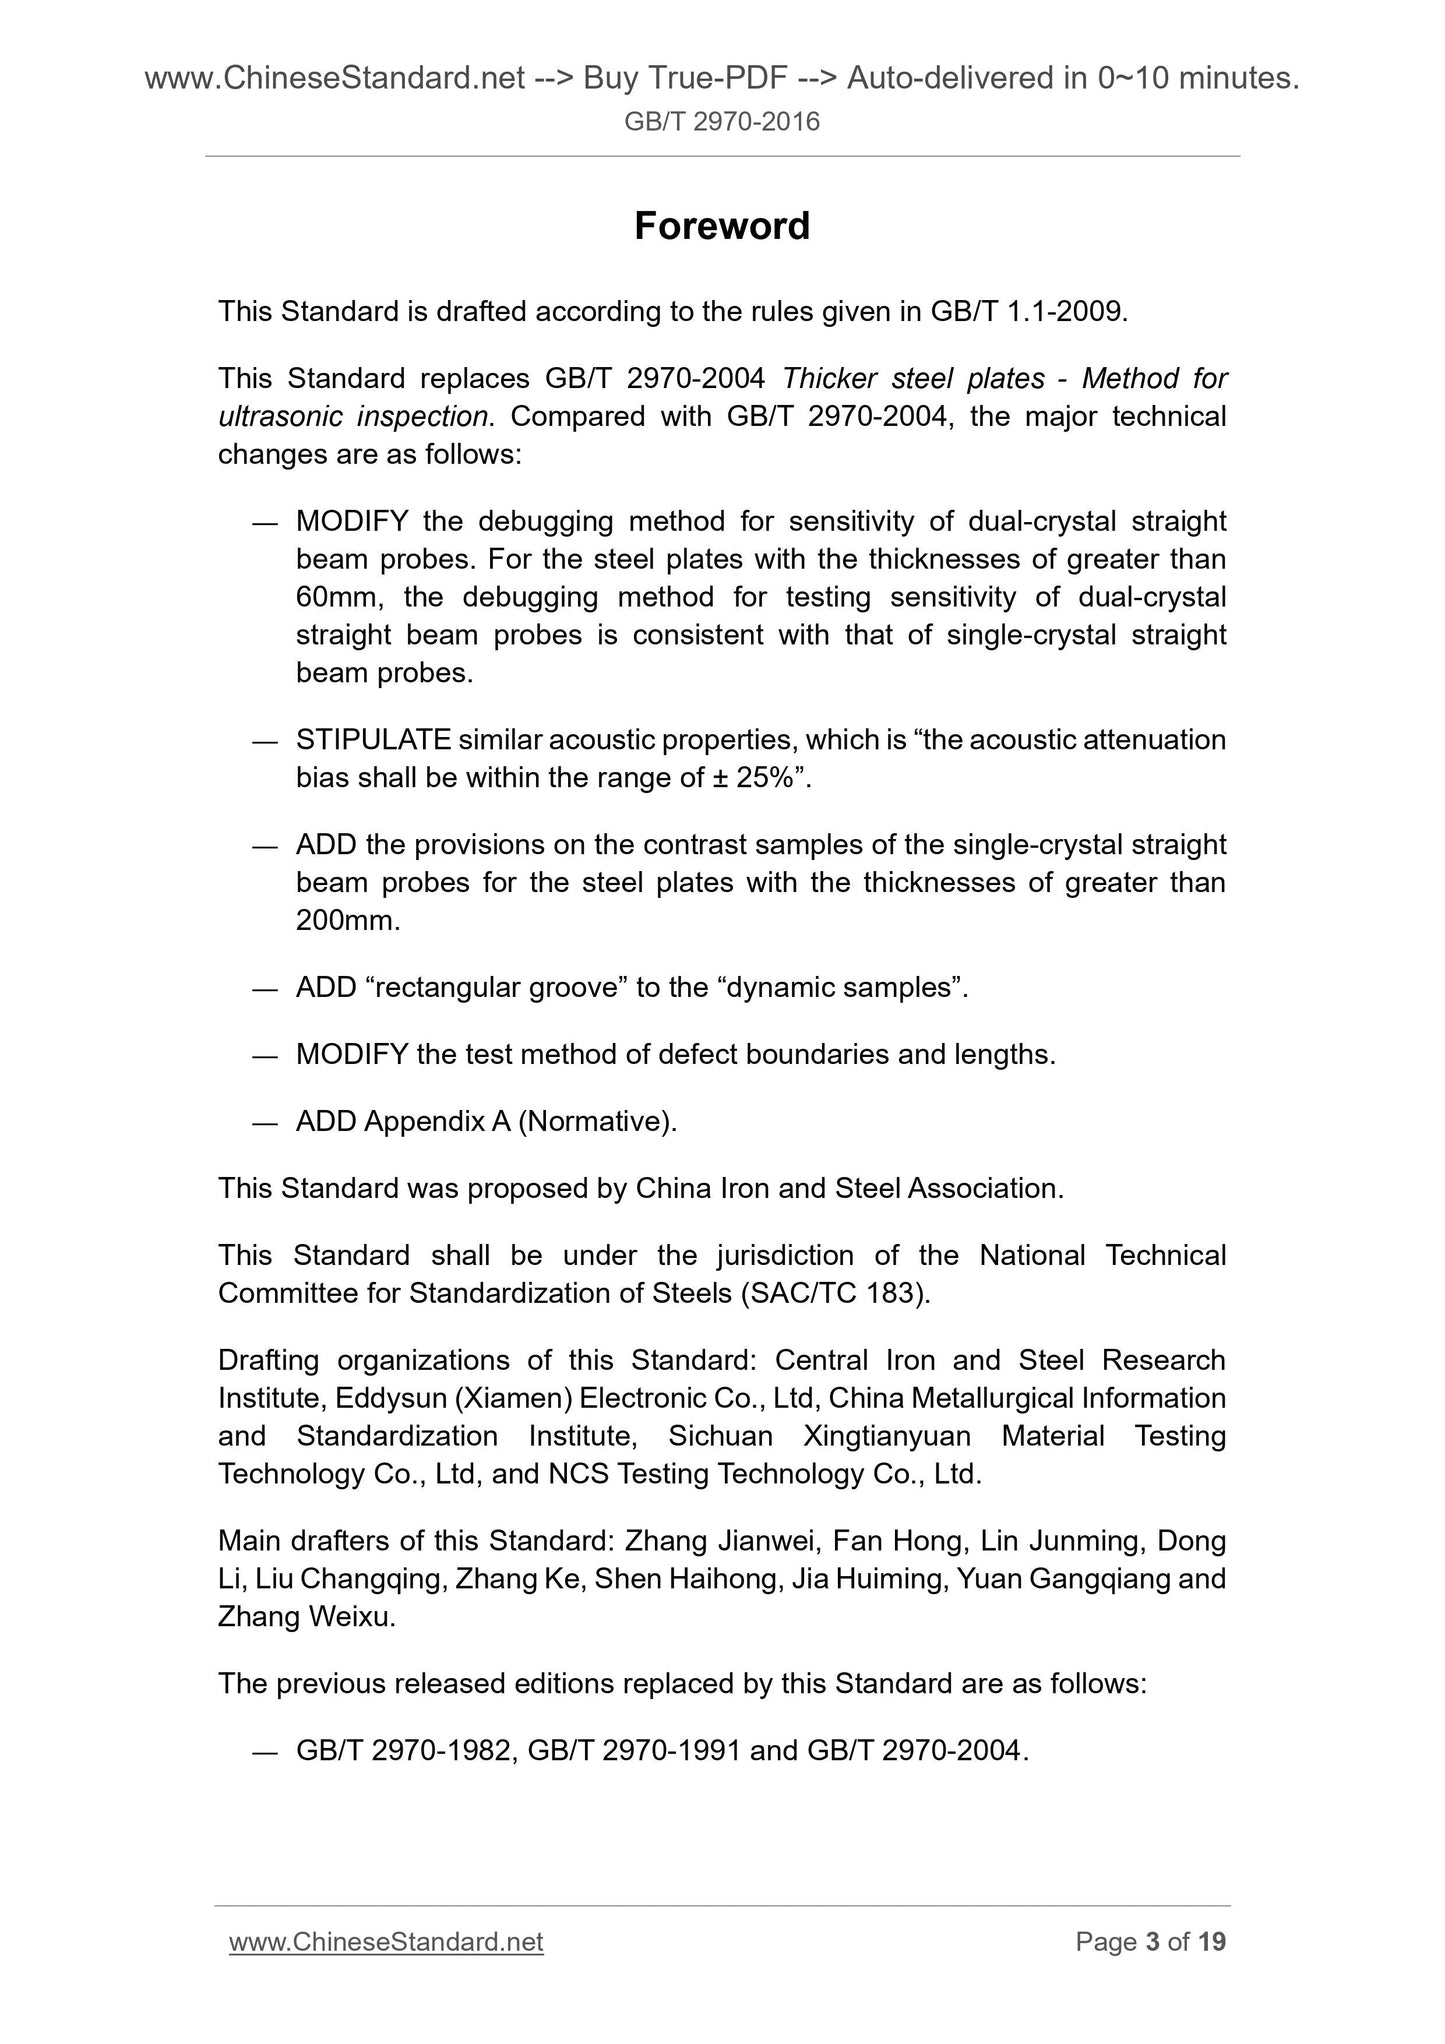
Foreword
This Standard is drafted according to the rules given in GB/T 1.1-2009.
This Standard replaces GB/T 2970-2004 Thicker steel plates - Method for
ultrasonic inspection. Compared with GB/T 2970-2004, the major technical
changes are as follows.
— MODIFY the debugging method for sensitivity of dual-crystal straight
beam probes. For the steel plates with the thicknesses of greater than
60mm, the debugging method for testing sensitivity of dual-crystal
straight beam probes is consistent with that of single-crystal straight
beam probes.
— STIPULATE similar acoustic properties, which is “the acoustic attenuation
bias shall be within the range of ± 25%”.
— ADD the provisions on the contrast samples of the single-crystal straight
beam probes for the steel plates with the thicknesses of greater than
200mm.
— ADD “rectangular groove” to the “dynamic samples”.
— MODIFY the test method of defect boundaries and lengths.
— ADD Appendix A (Normative).
This Standard was proposed by China Iron and Steel Association.
This Standard shall be under the jurisdiction of the National Technical
Committee for Standardization of Steels (SAC/TC 183).
Drafting organizations of this Standard. Central Iron and Steel Research
Institute, Eddysun (Xiamen) Electronic Co., Ltd, China Metallurgical Information
and Standardization Institute, Sichuan Xingtianyuan Material Testing
Technology Co., Ltd, and NCS Testing Technology Co., Ltd.
Main drafters of this Standard. Zhang Jianwei, Fan Hong, Lin Junming, Dong
Li, Liu Changqing, Zhang Ke, Shen Haihong, Jia Huiming, Yuan Gangqiang and
Zhang Weixu.
The previous released editions replaced by this Standard are as follows.
— GB/T 2970-1982, GB/T 2970-1991 and GB/T 2970-2004.
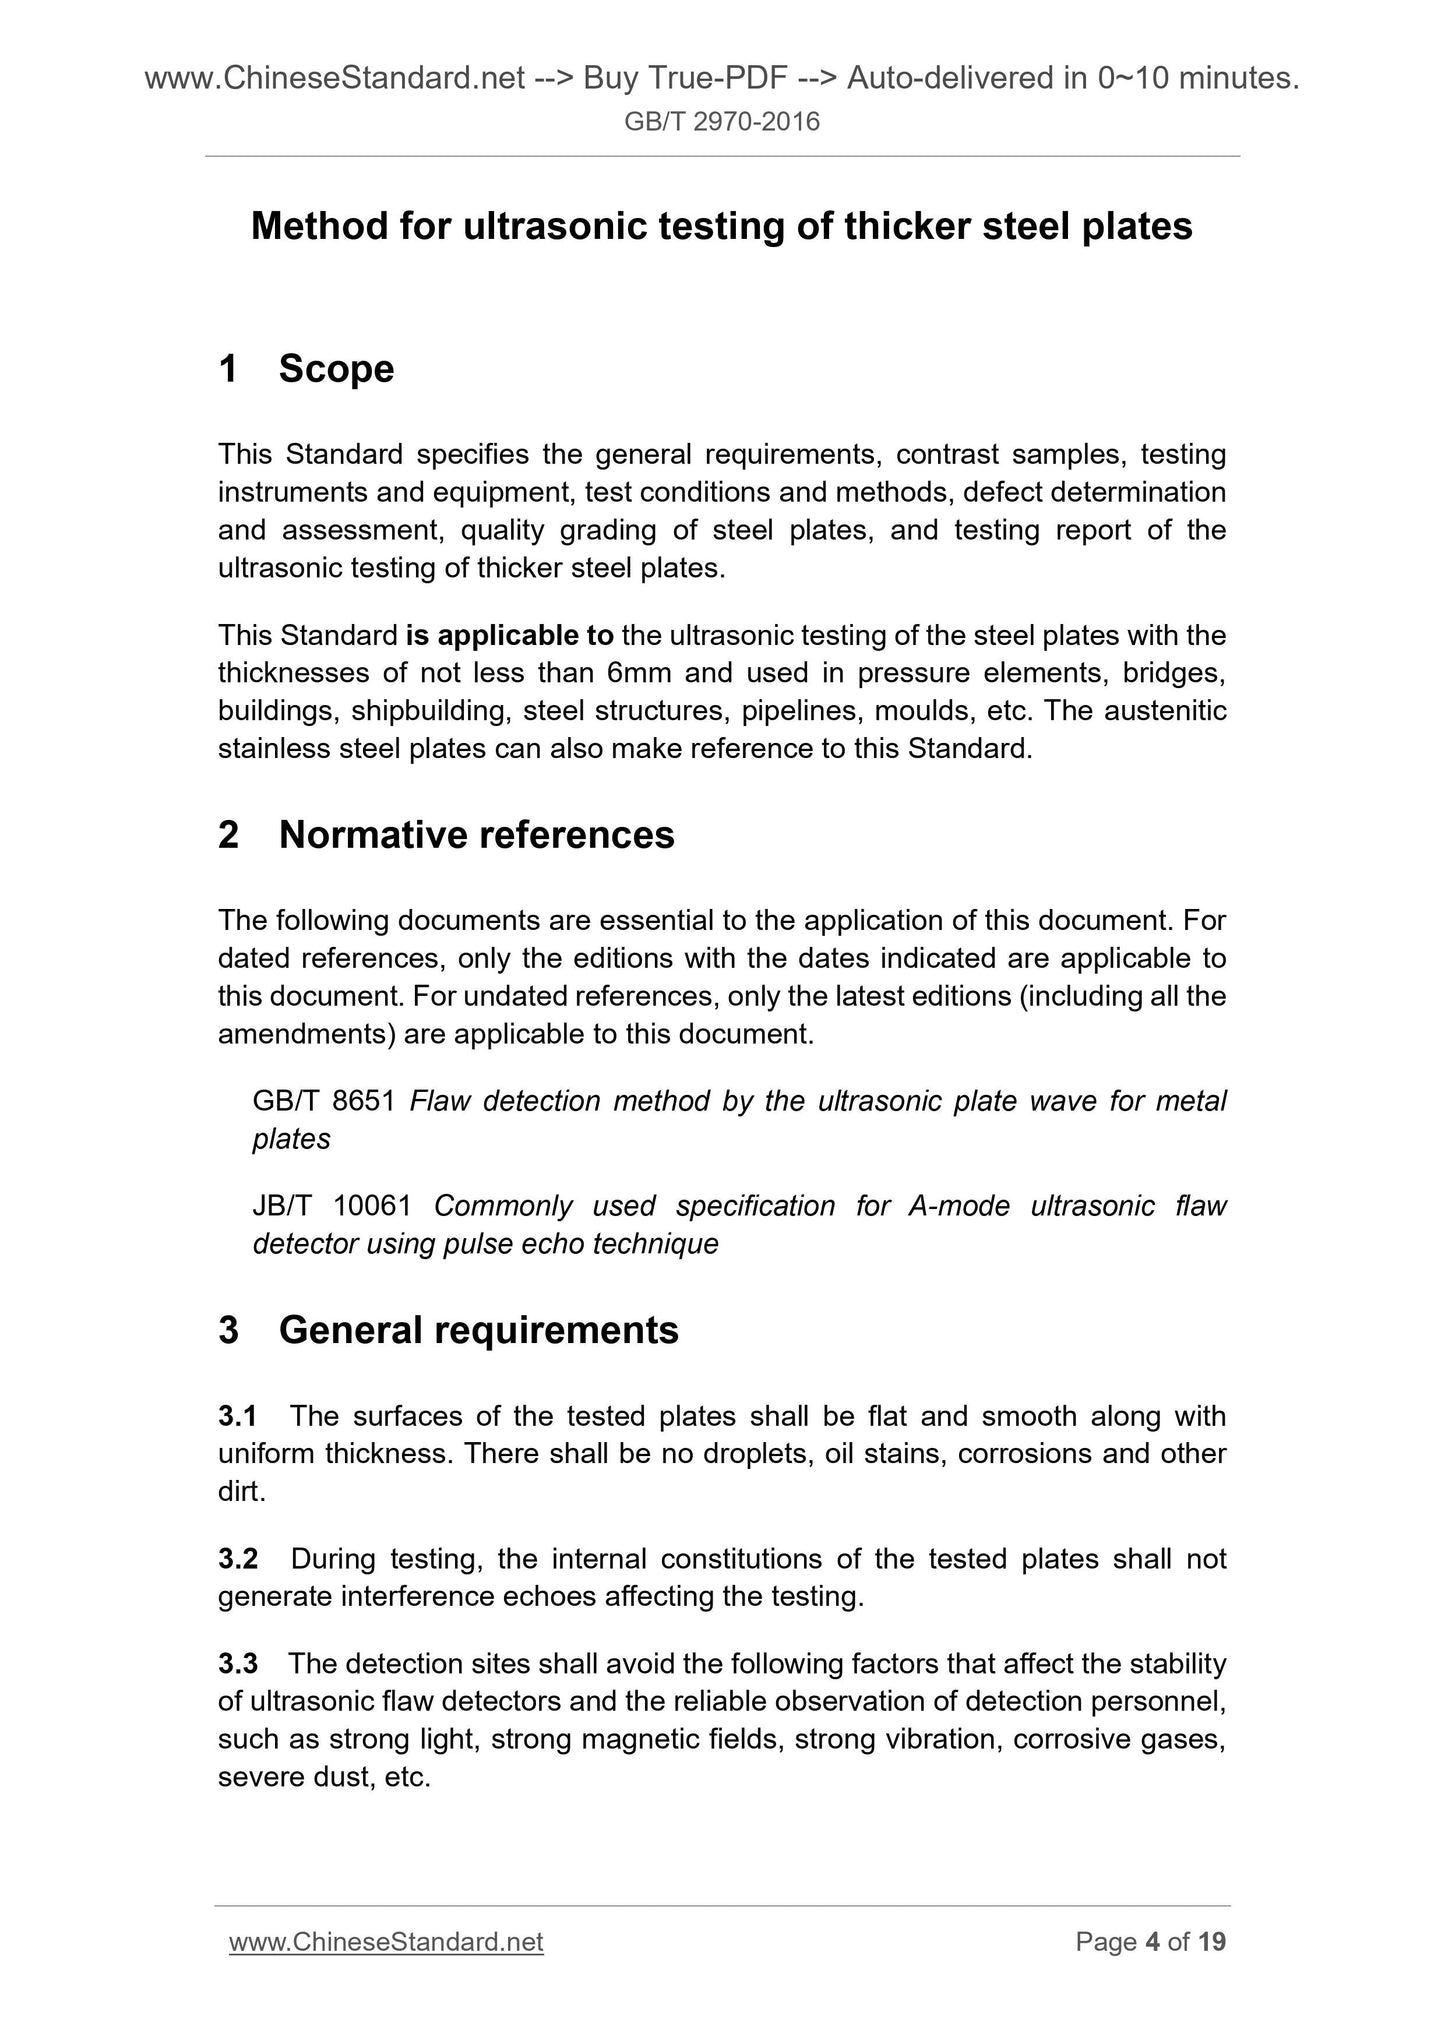
Method for ultrasonic testing of thicker steel plates
1 Scope
This Standard specifies the general requirements, contrast samples, testing
instruments and equipment, test conditions and methods, defect determination
and assessment, quality grading of steel plates, and testing report of the
ultrasonic testing of thicker steel plates.
This Standard is applicable to the ultrasonic testing of the steel plates with the
thicknesses of not less than 6mm and used in pressure elements, bridges,
buildings, shipbuilding, steel structures, pipelines, moulds, etc. The austenitic
stainless steel plates can also make reference to this Standard.
2 Normative references
The following documents are essential to the application of this document. For
dated references, only the editions with the dates indicated are applicable to
this document. For undated references, only the latest editions (including all the
amendments) are applicable to this document.
GB/T 8651 Flaw detection method by the ultrasonic plate wave for metal
plates
JB/T 10061 Commonly used specification for A-mode ultrasonic flaw
detector using pulse echo technique
3 General requirements
3.1 The surfaces of the tested plates shall be flat and smooth along with
uniform thickness. There shall be no droplets, oil stains, corrosions and other
dirt.
3.2 During testing, the internal constitutions of the tested plates shall not
generate interference echoes affecting the testing.
3.3 The detection sites shall avoid the following factors that affect the stability
of ultrasonic flaw detectors and the reliable observation of detection personnel,
such as strong light, strong magnetic fields, strong vibration, corrosive gases,
severe dust, etc.
3.4 The personnel engaged in ultrasonic testing of steel plates shall be trained,
and obtained Level 1 qualification certificate and above of professional
ultrasonic flaw detection issued by certification authorities. The personnel
issuing the flaw detection reports shall obtain Level 2 qualification certificate
and above of professional ultrasonic flaw detection issued by certification
authorities.
3.5 It is allowed to scan manually and automatically. It is allowed to use the
piezoelectric (contact and immersion methods) and electromagnetic ultrasonic
testing methods.
3.6 The adopted ultrasonic wave shapes can be longitudinal waves,
transverse waves and plate waves. When using transverse waves as the
supplement of the longitudinal wave testing, it shall be agreed upon by the
supply and requisitioning parties when ordering goods.
4 Contrast samples
4.1 The materials and acoustic properties of the contrast samples shall be the
same or similar with those of the tested steel plates (the acoustic attenuation
bias shall be within the range of ± 25%). Furthermore, ENSURE that there are
no defects affecting the testing inside.
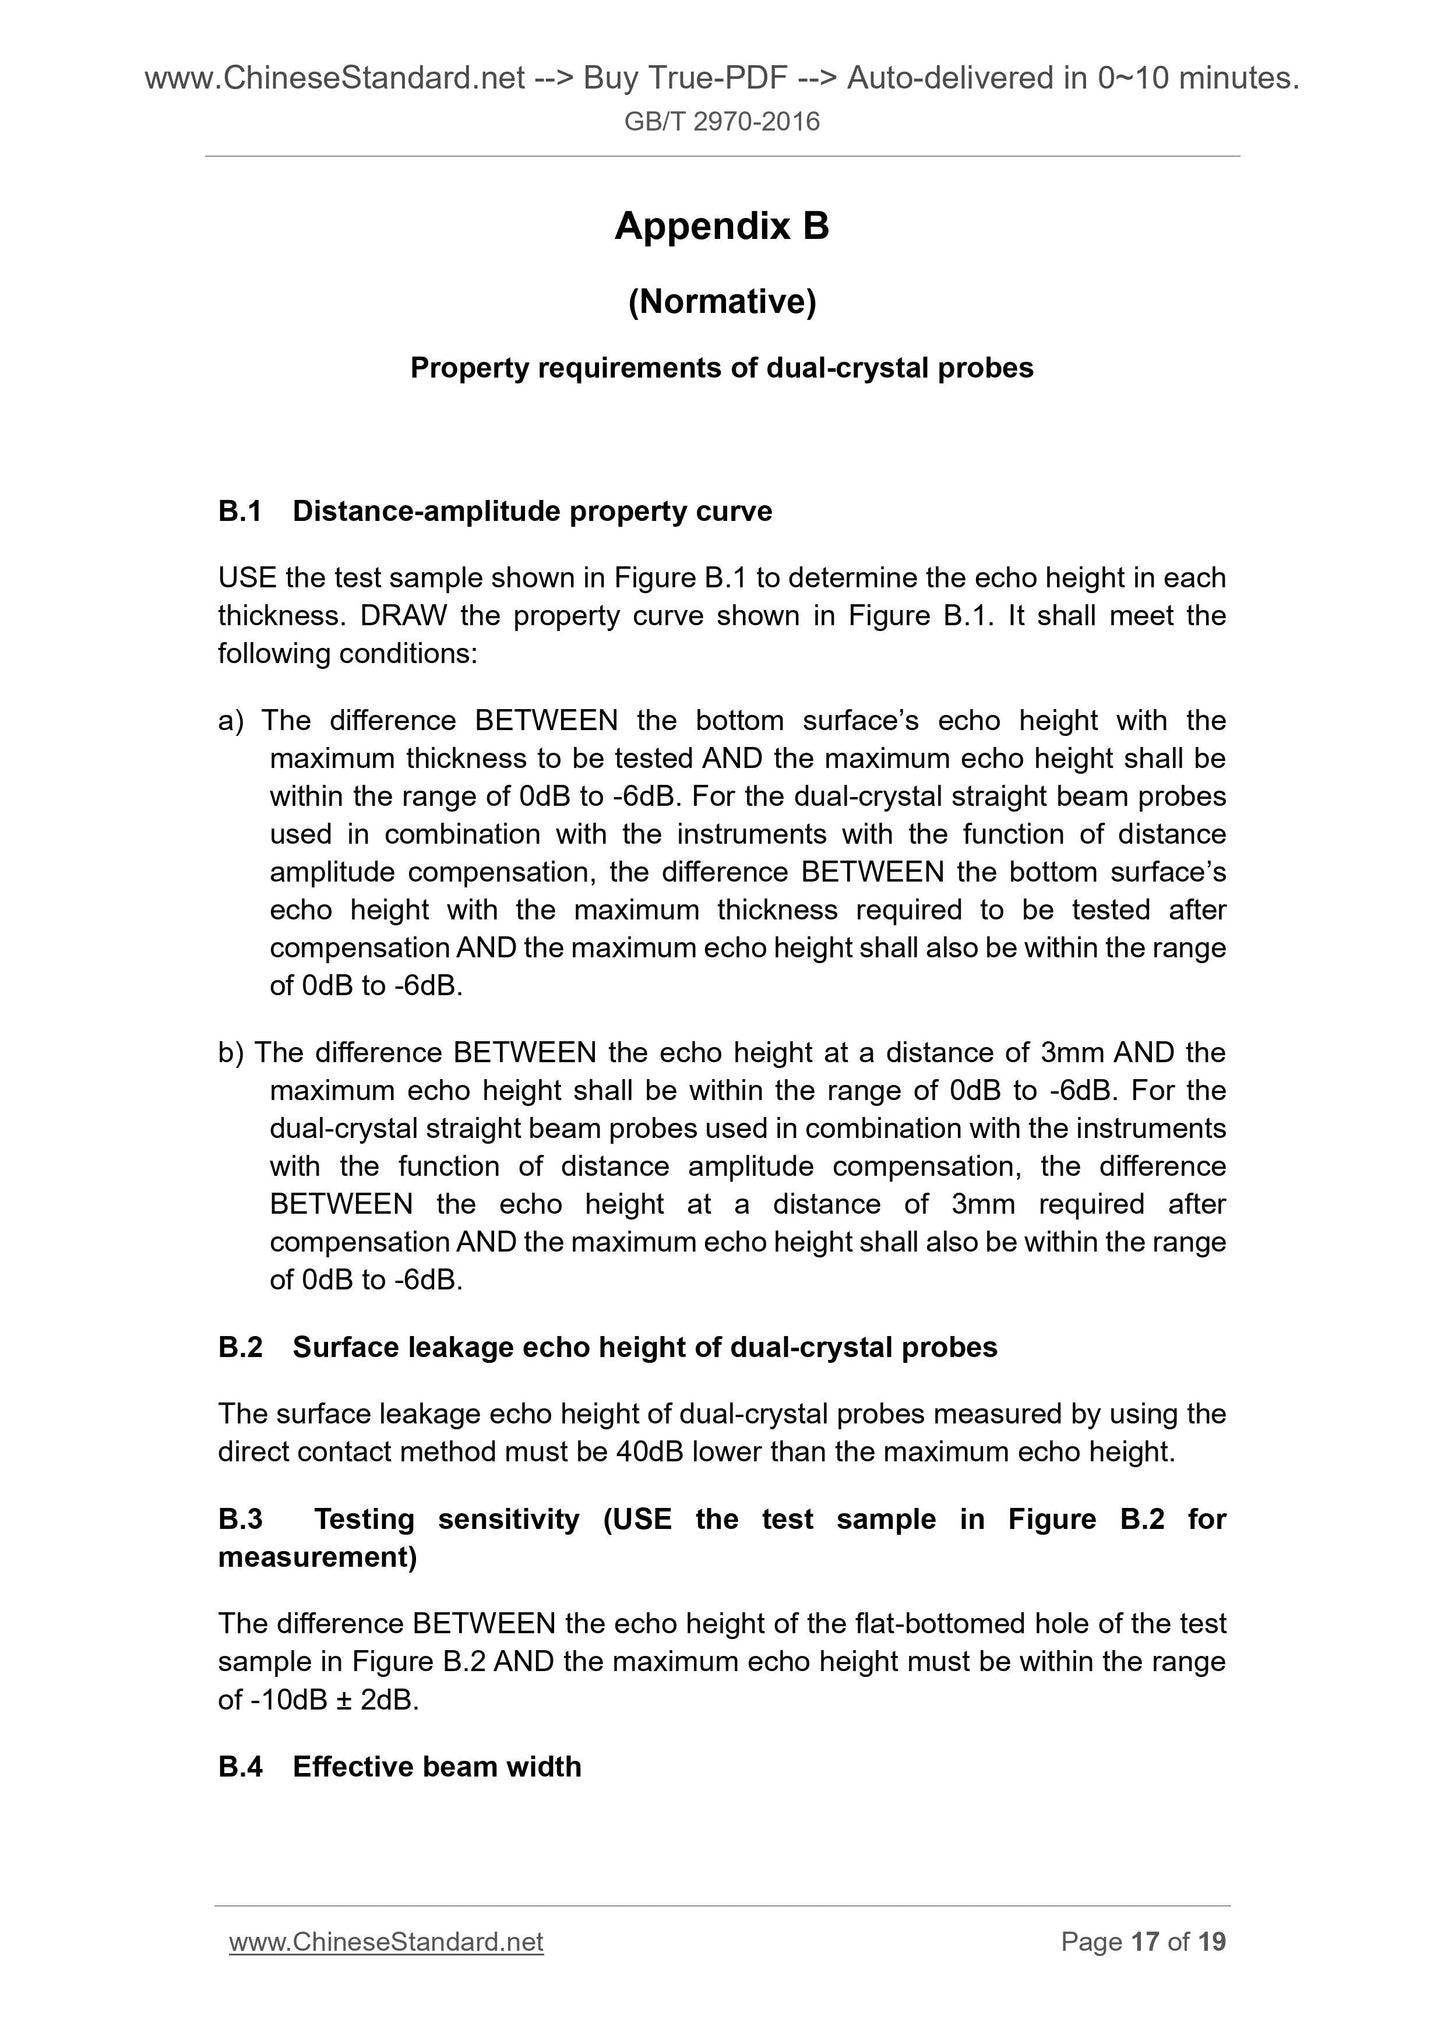
4.2 When using a dual-crystal straight beam probe to test the steel plates with
the thicknesses of not greater than 60mm, the contrast samples being used are
shown in Figure 1. When using a dual-crystal straight beam probe to test the
steel plates with the thicknesses of greater than 60mm, the contrast samples
shall conform to the provisions of Figure 2 as well as Tables 1 and 2. For the
test block in Figure 2, the variation of its perpendicularity a along with the test
block thickness shall meet the requirements of Table 2.
4.3 When using a single-crystal straight beam probe for testing, the contrast
samples shall conform to the provisions of Figure 2 as well as Tables 1 and 2.
4.4 When using the piezoelectric or electromagnetic automatic ultrasonic
testing method, the long side of the dynamic contrast sample shall be parallel
to the calendaring direction. In the meantime, the end surface shall be straight.
It is allowed to make reference to Figure 3 for the preparation of the dynamic
contrast sample.
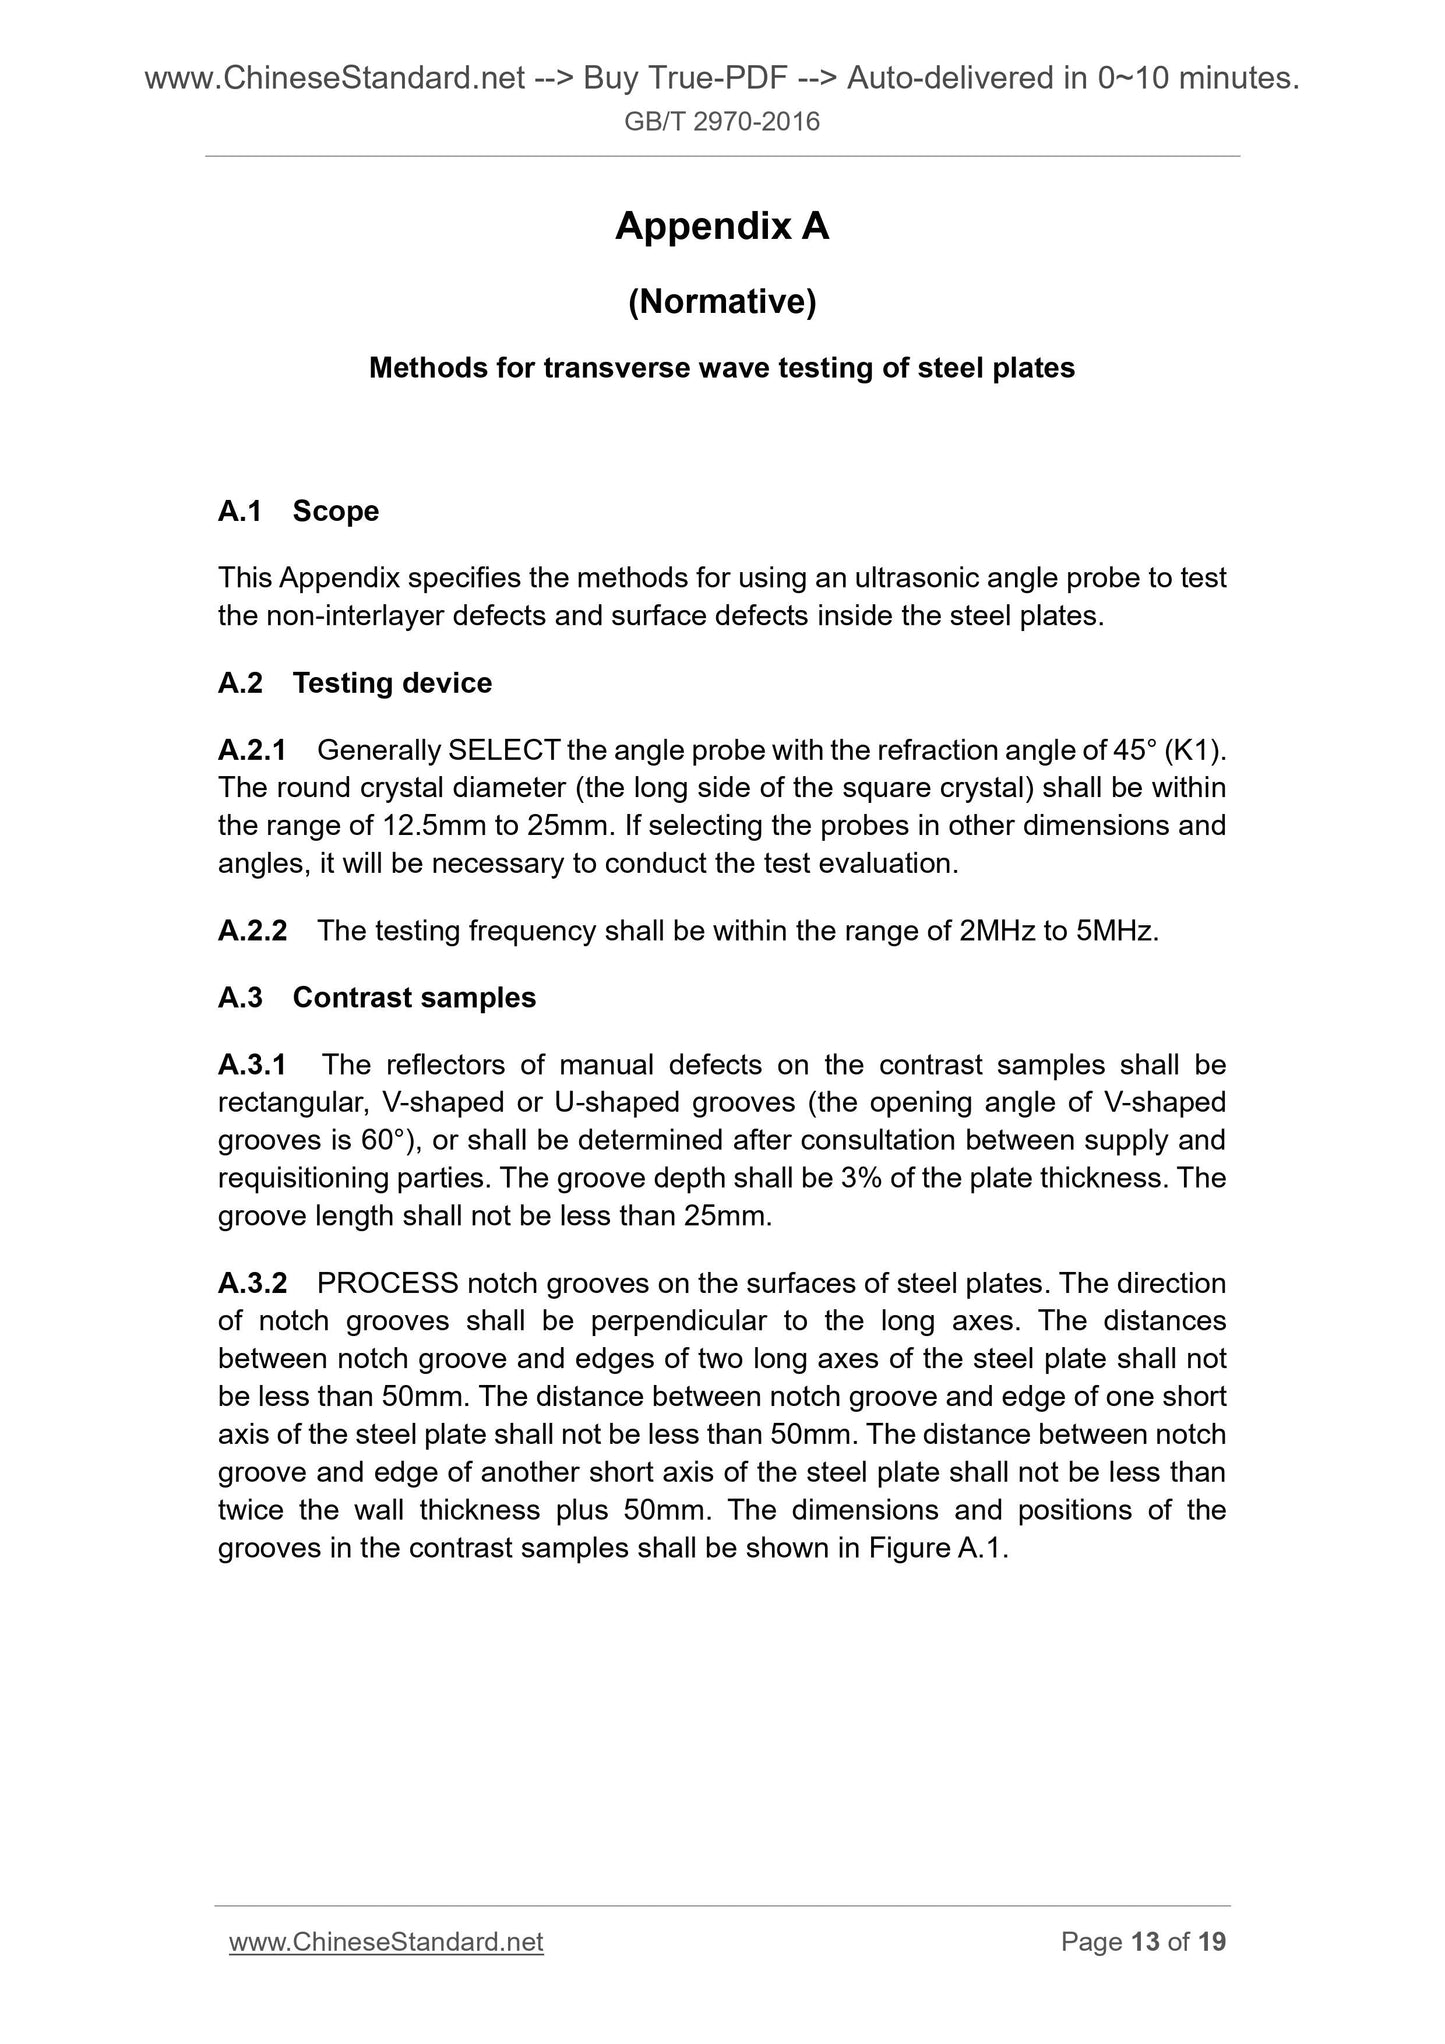
4.5 For the form of using plate waves for contrast sample testing, SEE GB/T
8651. For the contrast samples tested by using transverse waves, SEE
Appendix A of this Standard.
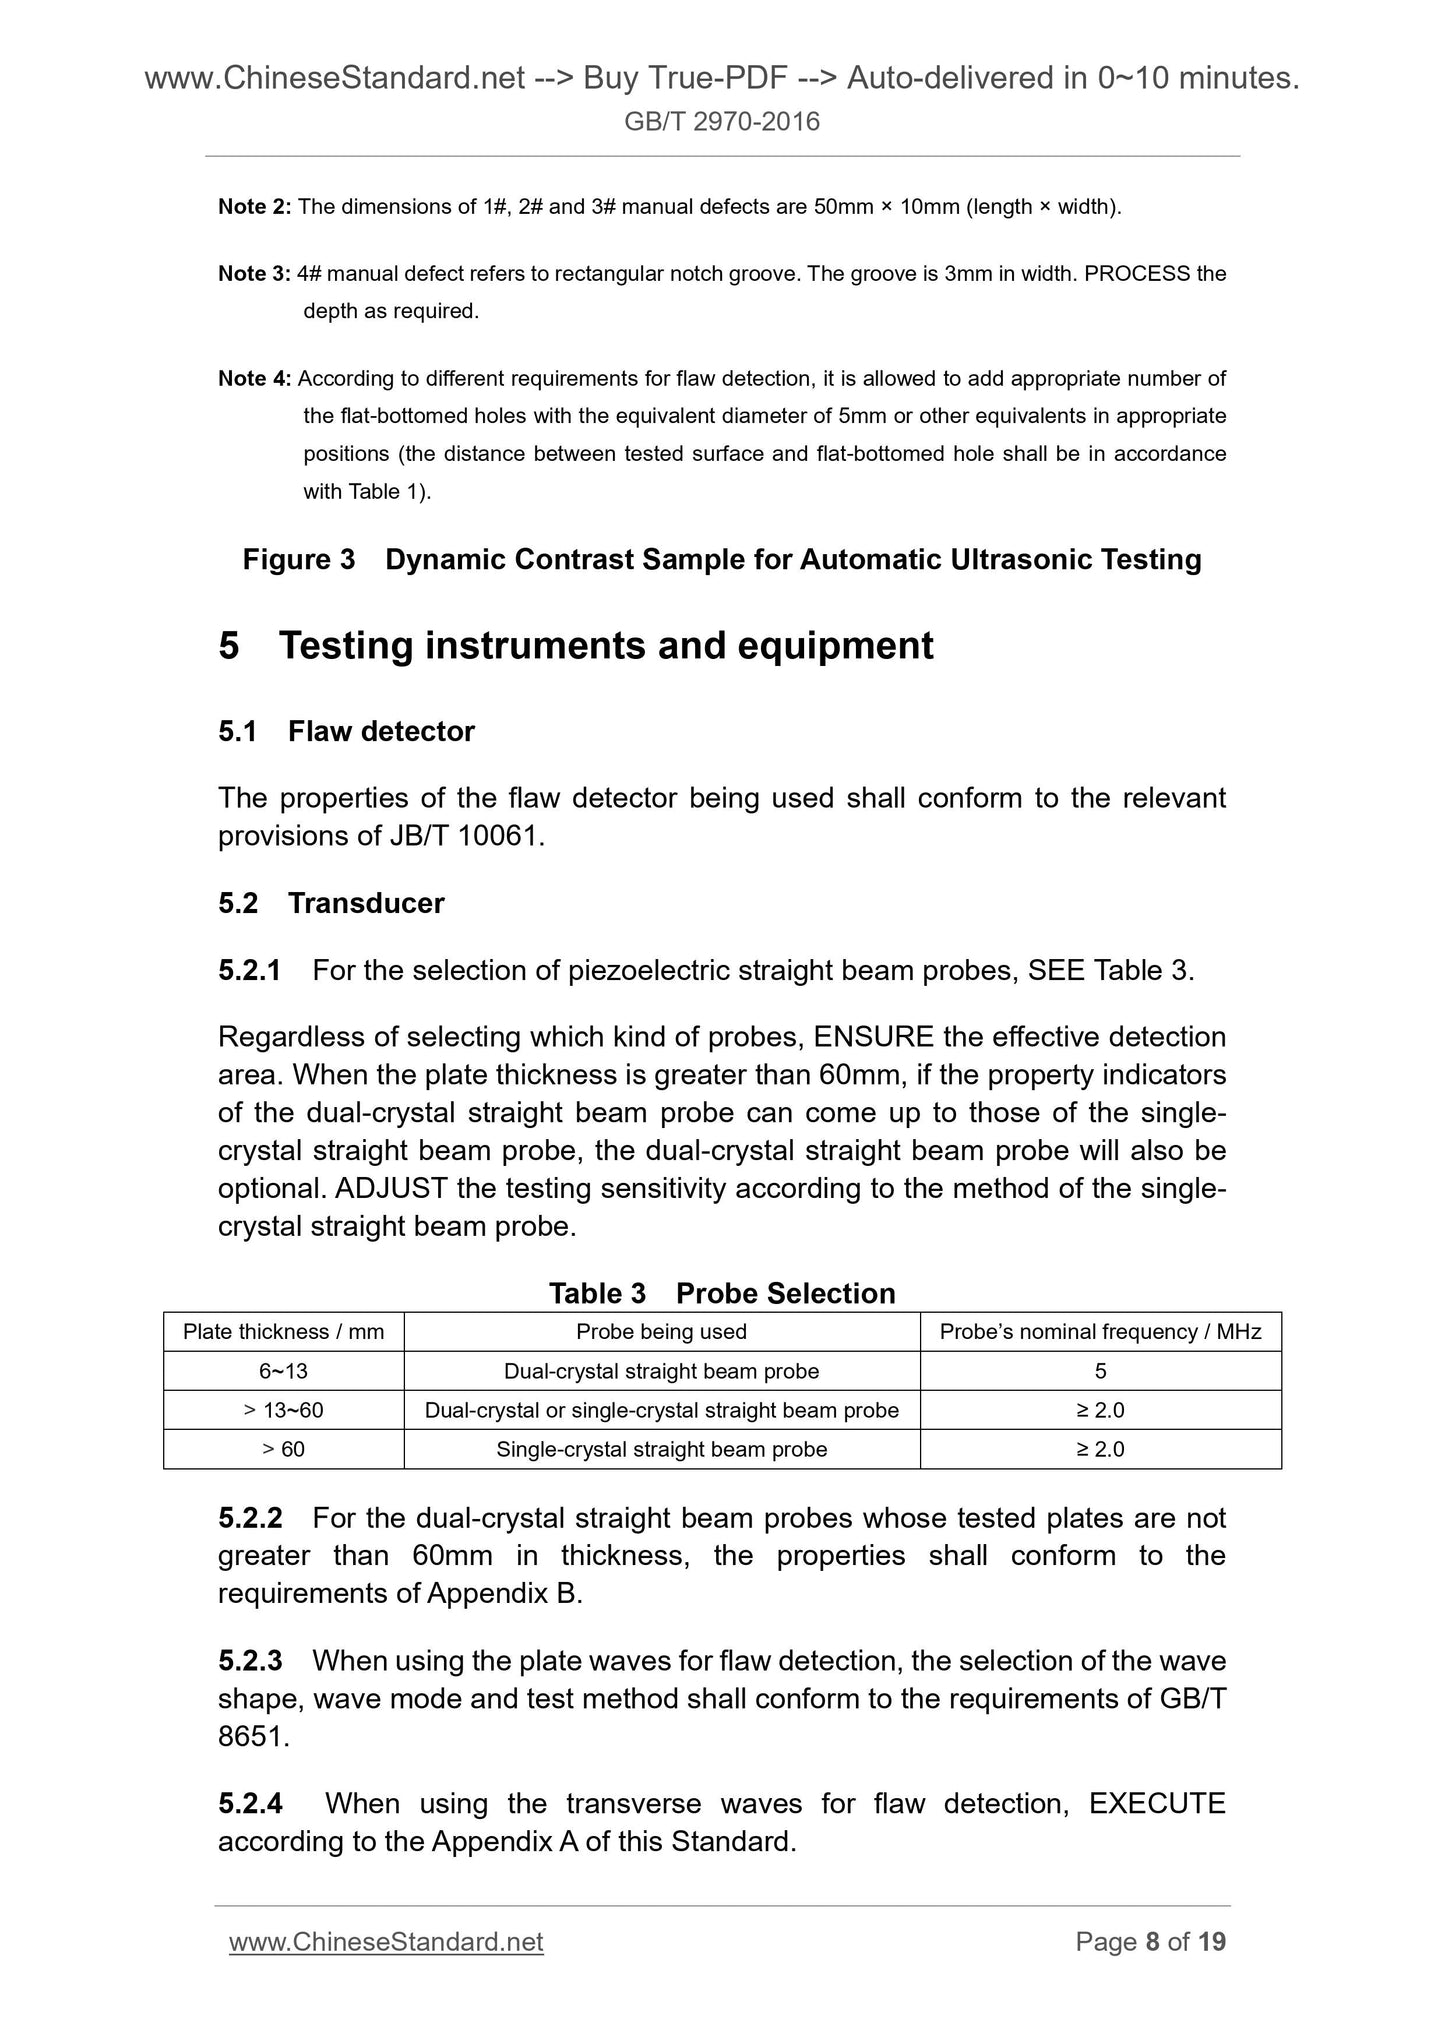
Note 2. The dimensions of 1#, 2# and 3# manual defects are 50mm × 10mm (length × width).
Note 3. 4# manual defect refers to rectangular notch groove. The groove is 3mm in width. PROCESS the
depth as required.
Note 4. According to different requirements for flaw detection, it is allowed to add appropriate number of
the flat-bottomed holes with the equivalent diameter of 5mm or other equivalents in appropriate
positions (the distance between tested surface and flat-bottomed hole shall be in accordance
with Table 1).
Figure 3 Dynamic Contrast Sample for Automatic Ultrasonic Testing
5 Testing instruments and equipment
5.1 Flaw detector
The properties of the flaw detector being used shall conform to the relevant
provisions of JB/T 10061.
5.2 Transducer
5.2.1 For the selection of piezoelectric straight beam probes, SEE Table 3.
Regardless of selecting which kind of probes, ENSURE the effective detection
area. When the plate thickness is greater than 60mm, if the property indicators
of the dual-crystal straight beam probe can come up to those of the single-
crystal straight beam probe, the dual-crystal straight beam probe will also be
optional. ADJUST the testing sensitivity according to the method of the single-
crystal straight beam probe.
Table 3 Probe Selection
Plate thickness / mm Probe being used Probe’s nominal frequency / MHz
6~13 Dual-crystal straight beam probe 5
> 13~60 Dual-crystal or single-crystal straight beam probe ≥ 2.0
> 60 Single-crystal straight beam probe ≥ 2.0
5.2.2 For the dual-crystal straight beam probes whose tested plates are not
greater than 60mm in thickness, the properties shall conform to the
requirements of Appendix B.
5.2.3 When using the plate waves for flaw detection, the selection of the wave
shape, wave mode and test method shall conform to the requirements of GB/T
8651.
5.2.4 When using the transverse waves for flaw detection, EXECUTE
according to the Appendix A of this Standard.
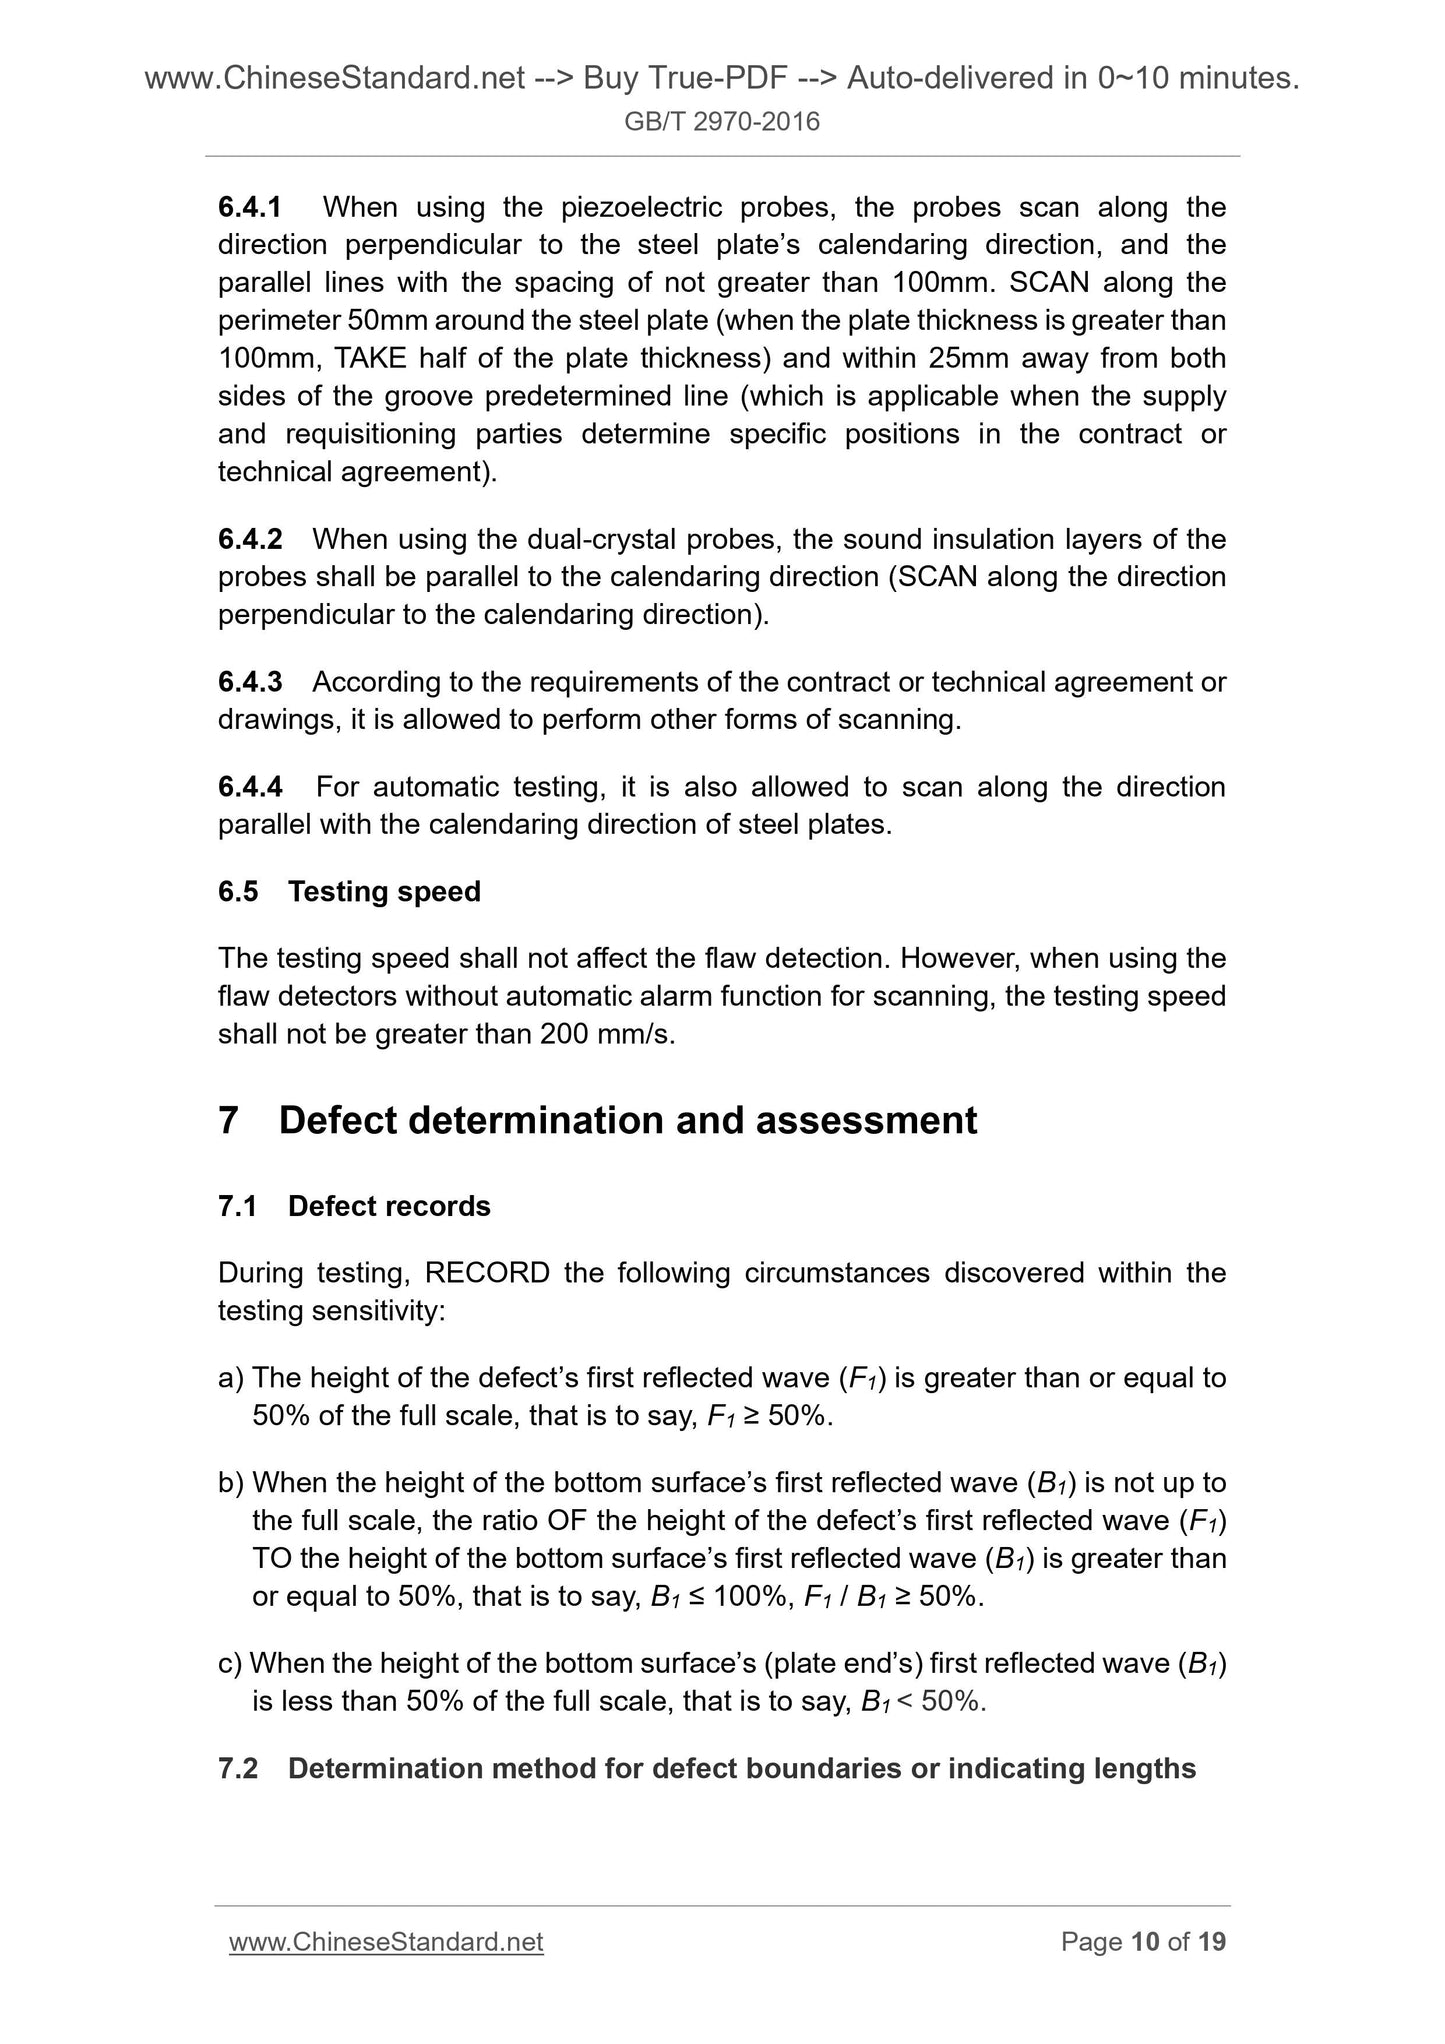
6.4.1 When using the piezoelectric probes, the probes scan along the
direction perpendicular to the steel plate’s calendaring direction, and the
parallel lines with the spacing of not greater than 100mm. SCAN along the
perimeter 50mm around the steel plate (when the plate thickness is greater than
100mm, TAKE h...
GB/T 2970-2016
GB
NATIONAL STANDARD OF THE
PEOPLE’S REPUBLIC OF CHINA
ICS 77.040.20
H 26
Replacing GB/T 2970-2004
Method for ultrasonic testing of thicker steel plates
ISSUED ON. FEBRUARY 24, 2016
IMPLEMENTED ON. SEPTEMBER 1, 2016
Issued by. General Administration of Quality Supervision, Inspection and
Quarantine of the People’s Republic of China;
Standardization Administration of the People’s Republic of
China.
Table of Contents
Foreword ... 3
1 Scope ... 4
2 Normative references ... 4
3 General requirements ... 4
4 Contrast samples ... 5
5 Testing instruments and equipment ... 8
6 Test conditions and methods ... 9
7 Defect determination and assessment ... 10
8 Quality grading of steel plates ... 12
9 Testing report ... 12
Appendix A (Normative) Methods for transverse wave testing of steel plates 13
Appendix B (Normative) Property requirements of dual-crystal probes ... 17
Foreword
This Standard is drafted according to the rules given in GB/T 1.1-2009.
This Standard replaces GB/T 2970-2004 Thicker steel plates - Method for
ultrasonic inspection. Compared with GB/T 2970-2004, the major technical
changes are as follows.
— MODIFY the debugging method for sensitivity of dual-crystal straight
beam probes. For the steel plates with the thicknesses of greater than
60mm, the debugging method for testing sensitivity of dual-crystal
straight beam probes is consistent with that of single-crystal straight
beam probes.
— STIPULATE similar acoustic properties, which is “the acoustic attenuation
bias shall be within the range of ± 25%”.
— ADD the provisions on the contrast samples of the single-crystal straight
beam probes for the steel plates with the thicknesses of greater than
200mm.
— ADD “rectangular groove” to the “dynamic samples”.
— MODIFY the test method of defect boundaries and lengths.
— ADD Appendix A (Normative).
This Standard was proposed by China Iron and Steel Association.
This Standard shall be under the jurisdiction of the National Technical
Committee for Standardization of Steels (SAC/TC 183).
Drafting organizations of this Standard. Central Iron and Steel Research
Institute, Eddysun (Xiamen) Electronic Co., Ltd, China Metallurgical Information
and Standardization Institute, Sichuan Xingtianyuan Material Testing
Technology Co., Ltd, and NCS Testing Technology Co., Ltd.
Main drafters of this Standard. Zhang Jianwei, Fan Hong, Lin Junming, Dong
Li, Liu Changqing, Zhang Ke, Shen Haihong, Jia Huiming, Yuan Gangqiang and
Zhang Weixu.
The previous released editions replaced by this Standard are as follows.
— GB/T 2970-1982, GB/T 2970-1991 and GB/T 2970-2004.
Method for ultrasonic testing of thicker steel plates
1 Scope
This Standard specifies the general requirements, contrast samples, testing
instruments and equipment, test conditions and methods, defect determination
and assessment, quality grading of steel plates, and testing report of the
ultrasonic testing of thicker steel plates.
This Standard is applicable to the ultrasonic testing of the steel plates with the
thicknesses of not less than 6mm and used in pressure elements, bridges,
buildings, shipbuilding, steel structures, pipelines, moulds, etc. The austenitic
stainless steel plates can also make reference to this Standard.
2 Normative references
The following documents are essential to the application of this document. For
dated references, only the editions with the dates indicated are applicable to
this document. For undated references, only the latest editions (including all the
amendments) are applicable to this document.
GB/T 8651 Flaw detection method by the ultrasonic plate wave for metal
plates
JB/T 10061 Commonly used specification for A-mode ultrasonic flaw
detector using pulse echo technique
3 General requirements
3.1 The surfaces of the tested plates shall be flat and smooth along with
uniform thickness. There shall be no droplets, oil stains, corrosions and other
dirt.
3.2 During testing, the internal constitutions of the tested plates shall not
generate interference echoes affecting the testing.
3.3 The detection sites shall avoid the following factors that affect the stability
of ultrasonic flaw detectors and the reliable observation of detection personnel,
such as strong light, strong magnetic fields, strong vibration, corrosive gases,
severe dust, etc.
3.4 The personnel engaged in ultrasonic testing of steel plates shall be trained,
and obtained Level 1 qualification certificate and above of professional
ultrasonic flaw detection issued by certification authorities. The personnel
issuing the flaw detection reports shall obtain Level 2 qualification certificate
and above of professional ultrasonic flaw detection issued by certification
authorities.
3.5 It is allowed to scan manually and automatically. It is allowed to use the
piezoelectric (contact and immersion methods) and el...
Share
