1
/
of
5
PayPal, credit cards. Download editable-PDF and invoice in 1 second!
JJF 1126-2004 English PDF
JJF 1126-2004 English PDF
Regular price
$200.00 USD
Regular price
Sale price
$200.00 USD
Unit price
/
per
Shipping calculated at checkout.
Couldn't load pickup availability
Delivery: 3 seconds. Download true-PDF + Invoice.
Get Quotation: Click JJF 1126-2004 (Self-service in 1-minute)
Historical versions (Master-website): JJF 1126-2004
Preview True-PDF (Reload/Scroll-down if blank)
JJF 1126-2004: Calibration Specification for Ultrasonic Thickness Instruments
JJF 1126-2004
Calibration Specification for Ultrasonic Thickness Instruments
National Metrological Technical Specifications of the People's Republic of China
Ultrasonic Thickness Gauge Calibration Specification
Published on September 21,.2004
2005-03-21 Implementation
Published by the General Administration of Quality Supervision, Inspection and Quarantine
Ultrasonic Thickness Gauge Calibration Specification
Instead of JJG403-1986
This specification was approved by the General Administration of Quality Supervision, Inspection and Quarantine on September 21,.2004, and since
Effective March 21,.2005.
Focal unit. National Geometry and Length Measurement Technical Committee
Main Drafting Organization. Tianjin Institute of Metrology Technology
China Institute of Metrology
Participating drafting unit. Times Group
The central unit is responsible for the interpretation of this specification.
The main drafters of this specification.
Xinhang Wang (Tianjin Institute of Metrology Technology)
Zhang Heng (Chinese Academy of Metrology)
Jiali Liu (Tianjin Institute of Metrology Technology)
Participating drafters.
Peng Xuelian (Time Group Corporation)
Ruijun Lu (Tianjin Institute of Metrology Technology)
table of Contents
1 Scope (1)
2 Citations (1)
3 Overview (1)
4 measurement characteristics (2)
4.1 Repeatability (2)
4.2 Indication error (2)
4.3 Indication error of curved wall thickness measurement (2)
4.4 Fine adjustment range of thickness calibration (2)
4.5 Thickness Indication Error of Changed Velocity of Sound (2)
4.6 Indication stability (2)
5 Calibration conditions (3)
6 Calibration items and methods (3)
6.1 Repeatability (3)
6.2 Indication error (3)
6.3 Indication error of curved wall thickness measurement (3)
6.4 Fine adjustment range of thickness calibration (3)
6.5 Thickness indication error of converted sound velocity (3)
6.6 Indication stability (4)
7 Calibration result expression (4)
8 recalibration interval (4)
Appendix A Calibration Certificate Contents (5)
Appendix B Technical Requirements for Standard Thickness Blocks (6)
Appendix C Technical Requirements for Standard Round Tubes (7)
Appendix D Uncertainty Analysis of Calibration Results of Ultrasonic Thickness Gauge Indication Error (8)
Appendix E Sound velocity and sound velocity ratio of various materials (11)
Ultrasonic Thickness Gauge Calibration Specification
1 Scope
This calibration specification is applicable to the calibration of ultrasonic thickness gauges with resolutions of 0.1mm and 0.01mm.
2 Citations
The following documents are cited in this specification.
JJF 1001-1998 general measurement terms and definitions
JJF 1059-1999 Evaluation and Expression of Measurement Uncertainty
GB/T 12064.1-1999 Nondestructive testing term Ultrasonic testing
GB/T 11344-1989 Thickness measurement by contact ultrasonic pulse echo method
When using this specification, care should be taken to use the currently valid version of the above-cited references.
3 Overview
Ultrasonic thickness gauge is mainly used to measure the wall thickness of hulls, oil and gas pipelines, high-pressure vessels, boilers, etc. and large-area plates
材 厚。 Material thickness. The material to be tested can be metal materials such as steel, or non-metal materials such as plastic and nylon.
material. The principle is that the instrument emits ultrasonic waves through the probe, and then it is reflected back and received by the probe after reaching the bottom surface of the test piece. by
The counter accurately measures the propagation time of the ultrasonic wave in the material, and calculates it according to the following formula.
1- Instrument case; 2- Coupling indication; 3- Thickness trim knob;
4-cover; 5-start button; 6-light button;
7-probe plug; 8-monitor; 9-probe
1-instrument housing; 2-operation buttons; 3-coupling indication;
4-display; 5-probe plug; 6-metric and inch conversion keys;
7-calibration thickness block; 8-probe
Figure 1 Appearance of the instrument
Thickness value.
H = vt2
In the formula. H --- thickness of the test piece;
v --- sound velocity;
t --- The propagation time of the ultrasonic wave once in the test piece.
The resolution of the instrument is divided into 0.1mm and 0.01mm ultrasonic thickness gages, and the measurement range is generally 0.5mm ~
200mm, sound speed range can vary from 1000m/s to 9999m/s (see the appendix for common sound speed meters of various materials
E). The appearance and structure of a common instrument are shown in Figure 1.
4 measurement characteristics
4.1 Repeatability
See Table 1 for instrument resolution specifications and corresponding repeatability requirements.
4.2 Indication error
The resolution of the instrument and its corresponding maximum allowable indication error are shown in Table 1.
Table 1 mm
Resolution repeatability
Maximum allowable indication error
Lower limit of measurement range to below 10mm 10mm to upper limit of measurement range
0.1 0.1 ± 0.1 ± 0.1 Hæè
0.01 0.03 ± 0.05 ± 0.01 Hæè
Note. H in the table is the nominal value of the standard thickness block.
4.3 Indication error of curved wall thickness measurement
The resolution of the instrument and its corresponding maximum allowable indication error are shown in Table 2.
Table 2 mm
The maximum allowable indication error of the resolution standard round tube
0.1 outer diameter ϕ40 wall thickness 3 ± 0.2
0.01 outer diameter ϕ30 wall thickness 2 ± 0.10
4.4 Fine adjustment range for thickness calibration
The instrument should meet the fine-tuning range of ± 1mm (the instrument without fine-tuning function does not make this calibration).
4.5 Thickness Indication Error of Changing Sound Velocity
The indication error should not exceed ± 0.50mm.
4.6 Indication stability
Instrument resolution specifications and corresponding indication stability requirements are shown in Table 3. (Automatic shutdown instruments can be omitted for this calibration.)
quasi).
table 3
Instrument resolution indication stability/(mm/h)
0.1 0.1
0.01 0.05
Note. There is no conclusion on whether the calibration work is qualified or not. The above measurement characteristics are for reference only.
5 Calibration conditions
5.1 The temperature in the calibration room should be 20 ℃ ± 5 ℃. The relative humidity should be less than 65% RH.
5.2 The standard thickness block and standard round pipe used for calibrating the instrument shall meet the technical requirements in Appendix B and Appendix C.
5.3 The randomly calibrated thickness block of the ultrasonic thickness gauge should meet the technical requirements in Appendix B.
6 Calibration items and methods
Before calibration, it is necessary to confirm that there are no defects in appearance and electromechanical functions that affect the calibration measurement characteristics.
6.1 Repeatability
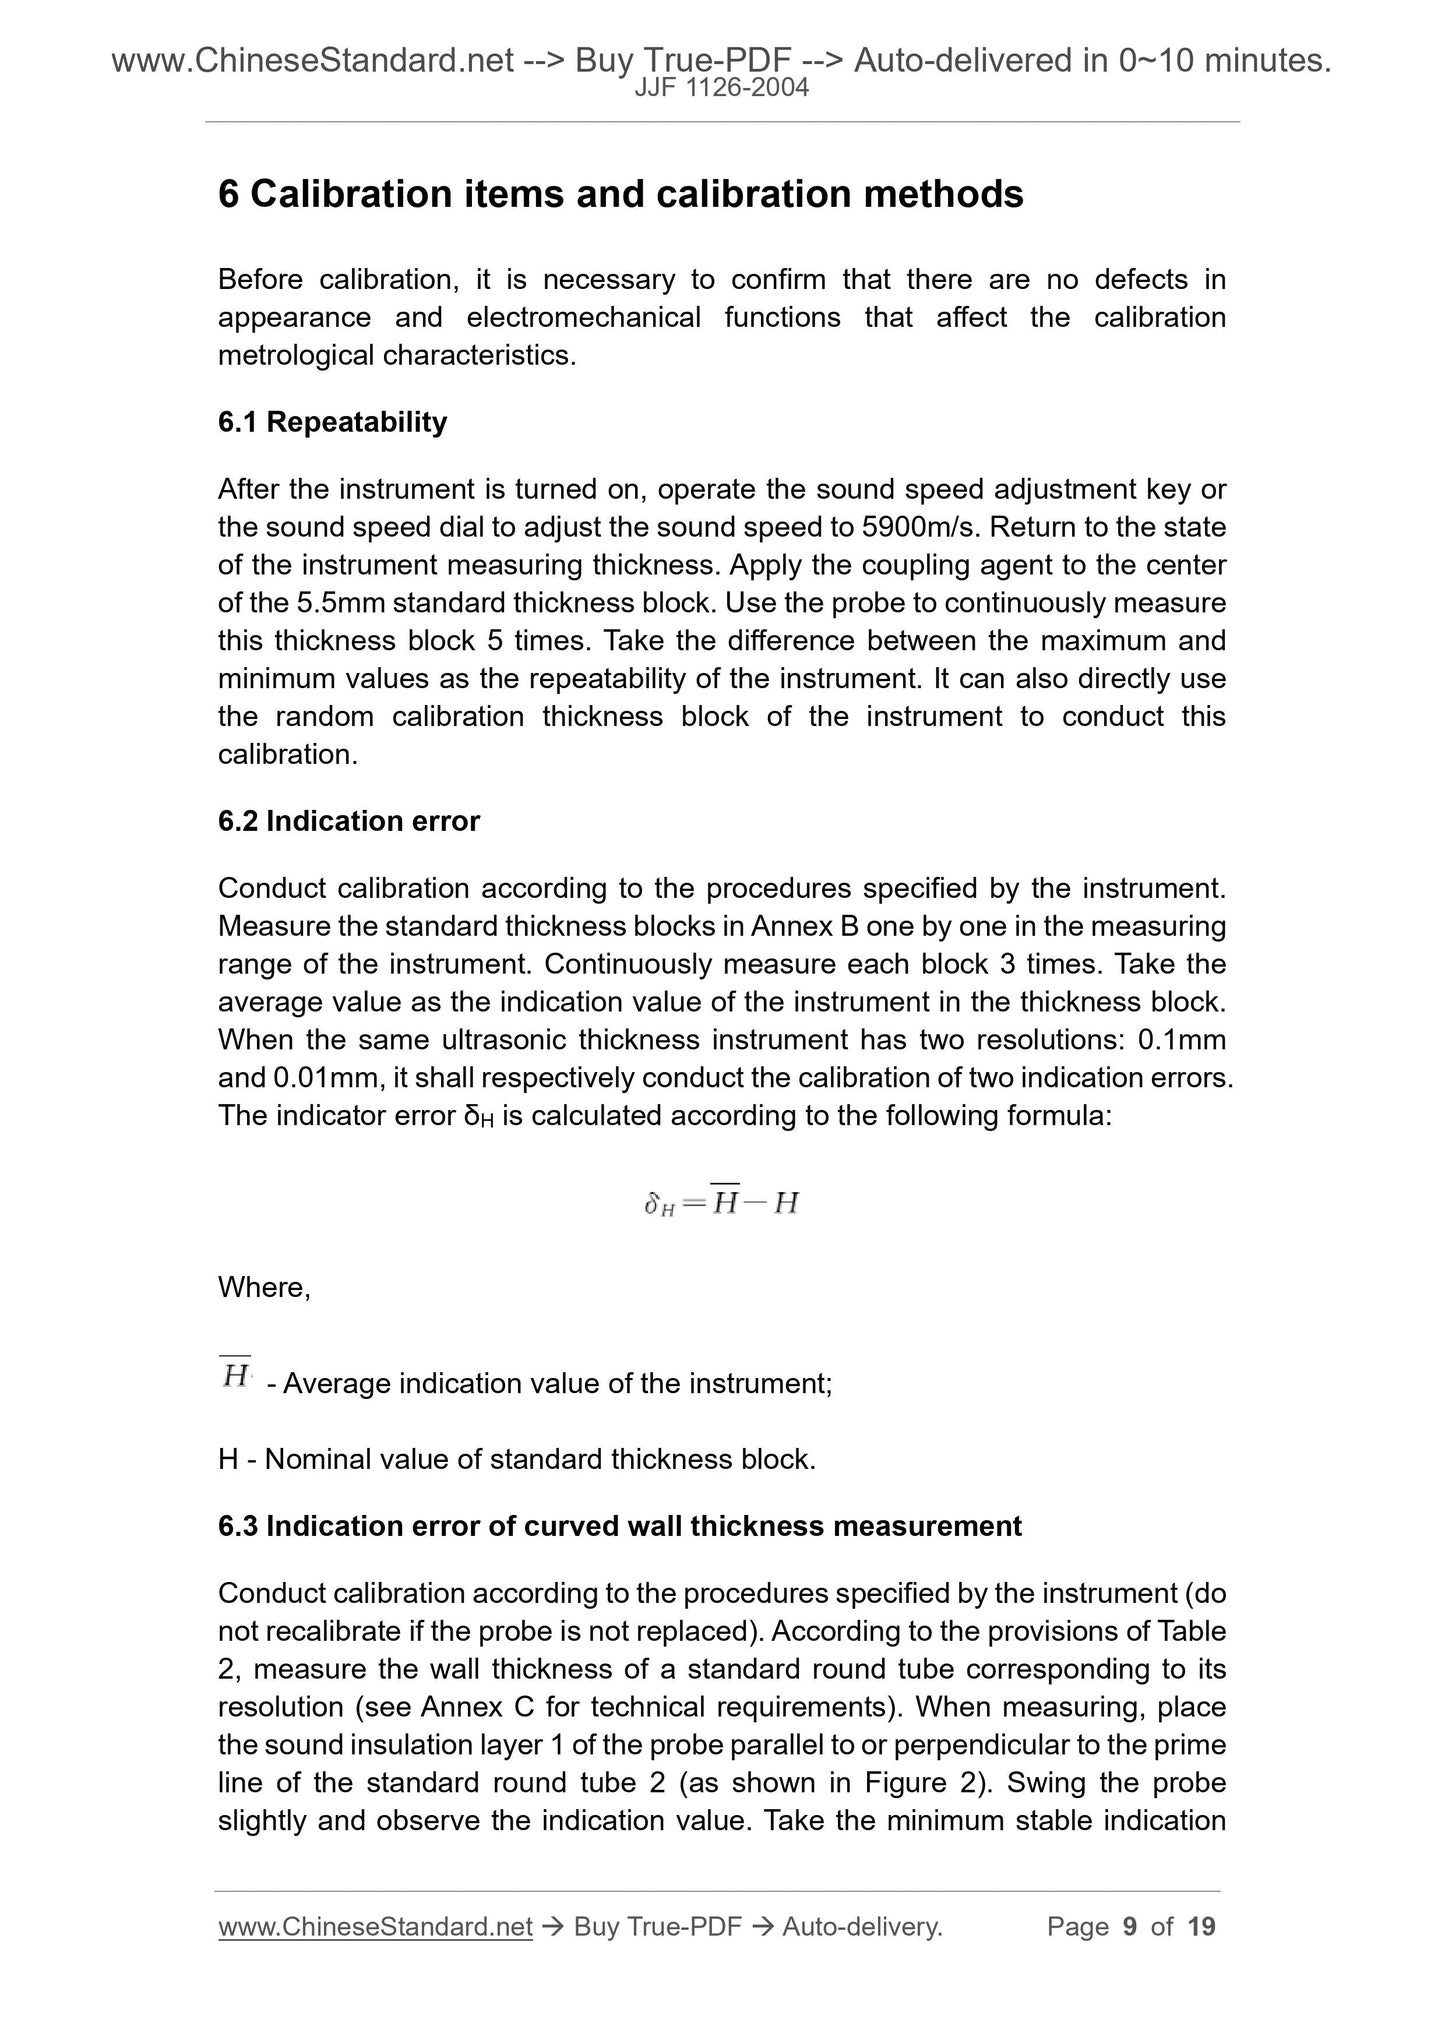
After the instrument is turned on, adjust the sound velocity to 5900m/s by operating the sound speed adjustment key or the sound speed dial, and then return to the instrument measurement.
In the thick state, the couplant is coated on the center position of a 5.5mm standard thickness block. The thickness of the block is continuous with a probe
Measure 5 times, and take the difference between the maximum value and the minimum value as the repeatability of the instrument. You can also use the instrument's random calibration thickness directly
Block for this calibration.
6.2 Indication error
Perform calibration according to the procedures specified by the instrument. Measure the standard thickness in Appendix B one by one in the measuring range of the instrument
Each block is measured 3 times continuously, and the average value is taken as the display value of the instrument in the thickness block. When the same ultrasonic thickness gauge
When there are two resolutions of 0.1mm and 0.01mm, the calibration of the two display errors should be performed separately. Indication error δH
Calculated as.
δH = HH
In the formula. H --- average value of the instrument;
H --- Nominal value of standard thickness block.
6.3 Indication error of curved wall thickness measurement
Calibrate according to the procedures specified by the instrument (or do not recalibrate if the probe is not replaced).
The wall thickness of the standard round tube corresponding to its resolution (see Appendix C for technical requirements). Sound insulation layer of the probe during measurement 1
Parallel to or perpendicular to the prime line of the measured standard round tube 2 (as shown in Figure 2), slightly swing the probe and observe the displayed value.
The small stable indication value is the measured value, and the difference between the measured value and the nominal value of the standard tube wall thickness is the indication error.
6.4 Fine adjustment range for thickness calibration
After the instrument is calibrated, keep the coupling state of the probe and the thickness block unchanged, and continuously adjust the "△",
“▽” key (or rotate the fine adjustment knob for calibrating the thickness), the range of the displayed value of the instrument should not be less than ± 1mm.
6.5 Thickness Indication Error of Changed Sound Velocity
Figure 2 Schematic diagram of surface measurement
Set the sound velocity of the instrument at 3900m/s and 7900m/s, and measure 10mm standard thickness blocks.
Measure 3 times to get the average H01 and H02 of the corresponding sound velocity. According to the theoretical value of reduced thickness H01 = 6.61mm
(3900m/s), H02 = 13.39mm (7900m/s), calculate the error of the displayed value after converting the sound velocity according to the following formula.
δH1 = H01-H01
δH2 = H02-H02
In the formula. δH1 --- thickness indication error when the sound velocity is 3900m/s;
δH2 --- Thickness indication error when the sound velocity is 7900m/s.
6.6 Indication stability
Use a probe to measure any standard thickness block or the instrument to randomly calibrate the thickness block, note the first indication, and then every other time
Repeat the measurement once every 15 minutes and observe it continuously for 1 hour. The maximum difference between the displayed values is the indicated value stability.
7 Calibration result expression
After the instrument is calibrated, a calibration certificate is issued. The calibration certificate shall include at least the information contained in Appendix A.
8 recalibration interval
The re-check interval is recommended to be 1 year.
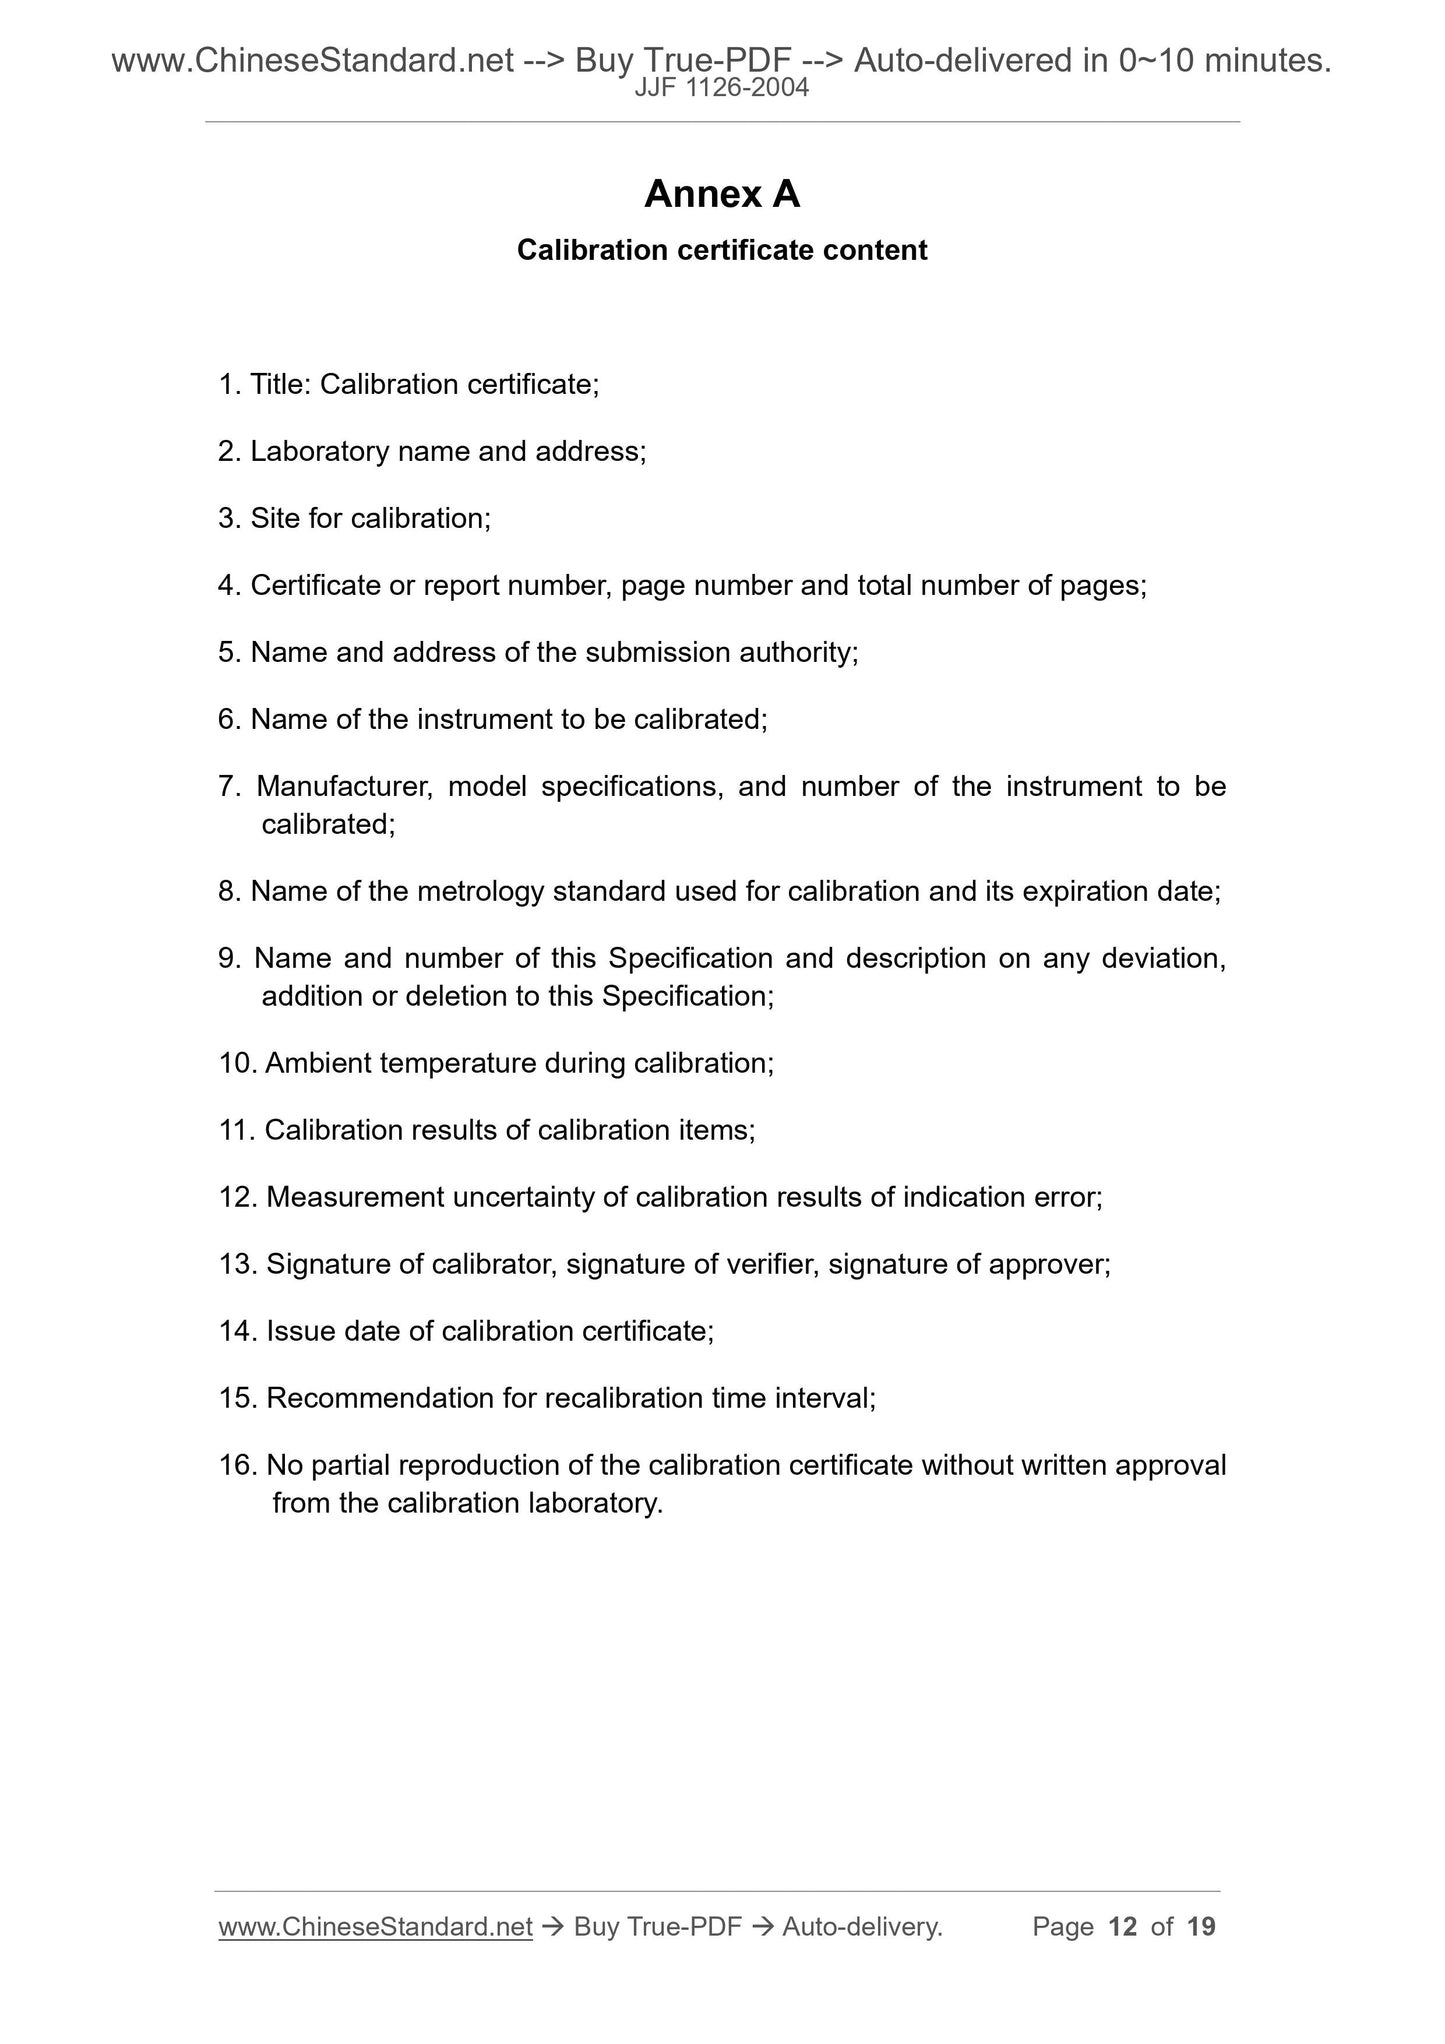
Appendix A
Calibration certificate content
1.Title. Calibration Certificate;
2.Laboratory name and address;
3.The location where the calibration is performed;
4.Certificate or report number, page number and total number of pages;
5. The name and address of the inspection unit;
6.The name of the instrument being calibrated;
7.The manufacturer, model specifications and number of the instrument being calibrated;
8.The name and validity period of the measurement standard used for calibration;
9. The name, number and description of any deviation, increase or decrease from this specification;
10.Ambient temperature during calibration;
11. Calibration results of calibration items;
12.Measurement uncertainty of calibration result of indication error;
13.Signature of calibrator, signature of verifier, signature of approver;
14.Issue date of calibration certificate;
15.Recommendation time interval;
16. The calibration certificate may not be partially copied without written approval from the calibration laboratory.
Appendix B
Technical requirements for standard thickness blocks
B.1 Nominal values and allowable deviations are listed in Table B.1.
Table B.1 Technical requirements of standard thickness blocks mm
Nominal value H 0.5 * 1.0 * 1.2 * 1.5 * 2.0 * 3.3
Allowable deviation δ ± 0.01
Nominal value H 5.5 7.7 10 15 20 25 50
Allowable deviation δ ± 0.01 ± 0.02
Nominal value H 75 100 150.200
Allowable deviation δ ± 0.02 ± 0.05
* Special size for testing the lower limit of measurement of various instruments.
B.2 The geometry and size requirements are shown in Figure B.1 (unit is mm).
B.3 Material. 45
Figure B.1
Appendix C
Technical requirements for standard round tubes
C.1 Nominal values and allowable deviations are listed in Table C.1.
Table C.1 Technical requirements of standard round pipes mm
Nominal wall thickness 2 (outer diameter ϕ30) 3 (outer diameter ϕ40)
Wall thickness allowable deviation ± 0.02 ± 0.02
C.2 The geometry and size requirements are shown in Figure C.1 (unit is mm).
C.3 Material. 45 * steel
Figure C.1
Appendix D
Uncertainty Analysis of Calibration Results of Indication Error of Ultrasonic Thickness Gauge
D.1 Measurement method
First calibrate the instrument and then calibrate the instrument with a standard thickness block. Instrument average measurement value H and standard
The difference between the nominal value H of the thickness block is the indication error δH.
D.2 Mathematical model
Indication error formula. δH = HH
In the formula. δH --- the indication error of the ultrasonic thickness gauge;
H --- the average measurement value of the instrument;
H --- The standard thickness value of the standard thickness block.
D.3 Variance and sensitivity coefficient
By u2c (y) = ∑ ∂f∂x
êê
úú
u2 (xi) is
u2c = u2 (δH) = C21 (H) u21 (H) C22 (H) u22 (H)
Where. c1 (H) = ∂δH∂H = 1
c2 (H) = ∂δH∂H = -1
Then u2c = u21 (H) u22 (H)
D.4 List of standard uncertainties
Incorrect standards
Constant component
ui
Uncertainty source standard uncertainty/μm
Sensitive
coefficient
ci
| ci | · ui/μm degrees of freedom νi
u1
u2
Standard thickness block size deviation
Calibration error of standard thickness block
At 10mm.
0.01 × (1/3) = 0.003 = 3
At.200mm.
0.05 × (1/3) = 0.017 = 17
0.003 × (1/3) = 0.001 = 1
At 10mm.
At.200mm.
u3 calibration repeatability 0.025 × 1/3 = 14 1 14 9
D.5 Calculating standard uncertainty components
D.5.1 Uncertainty component u1 due to dimensional dev...
Share
