1
/
von
6
PayPal, credit cards. Download editable-PDF and invoice in 1 second!
GB/T 40337-2021 English PDF (GBT40337-2021)
GB/T 40337-2021 English PDF (GBT40337-2021)
Normaler Preis
$245.00 USD
Normaler Preis
Verkaufspreis
$245.00 USD
Grundpreis
/
pro
Versand wird beim Checkout berechnet
Verfügbarkeit für Abholungen konnte nicht geladen werden
Delivery: 3 seconds. Download true-PDF + Invoice.
Get QUOTATION in 1-minute: Click GB/T 40337-2021
Historical versions: GB/T 40337-2021
Preview True-PDF (Reload/Scroll if blank)
GB/T 40337-2021: Gas tightness of equipment for gas welding and allied processes
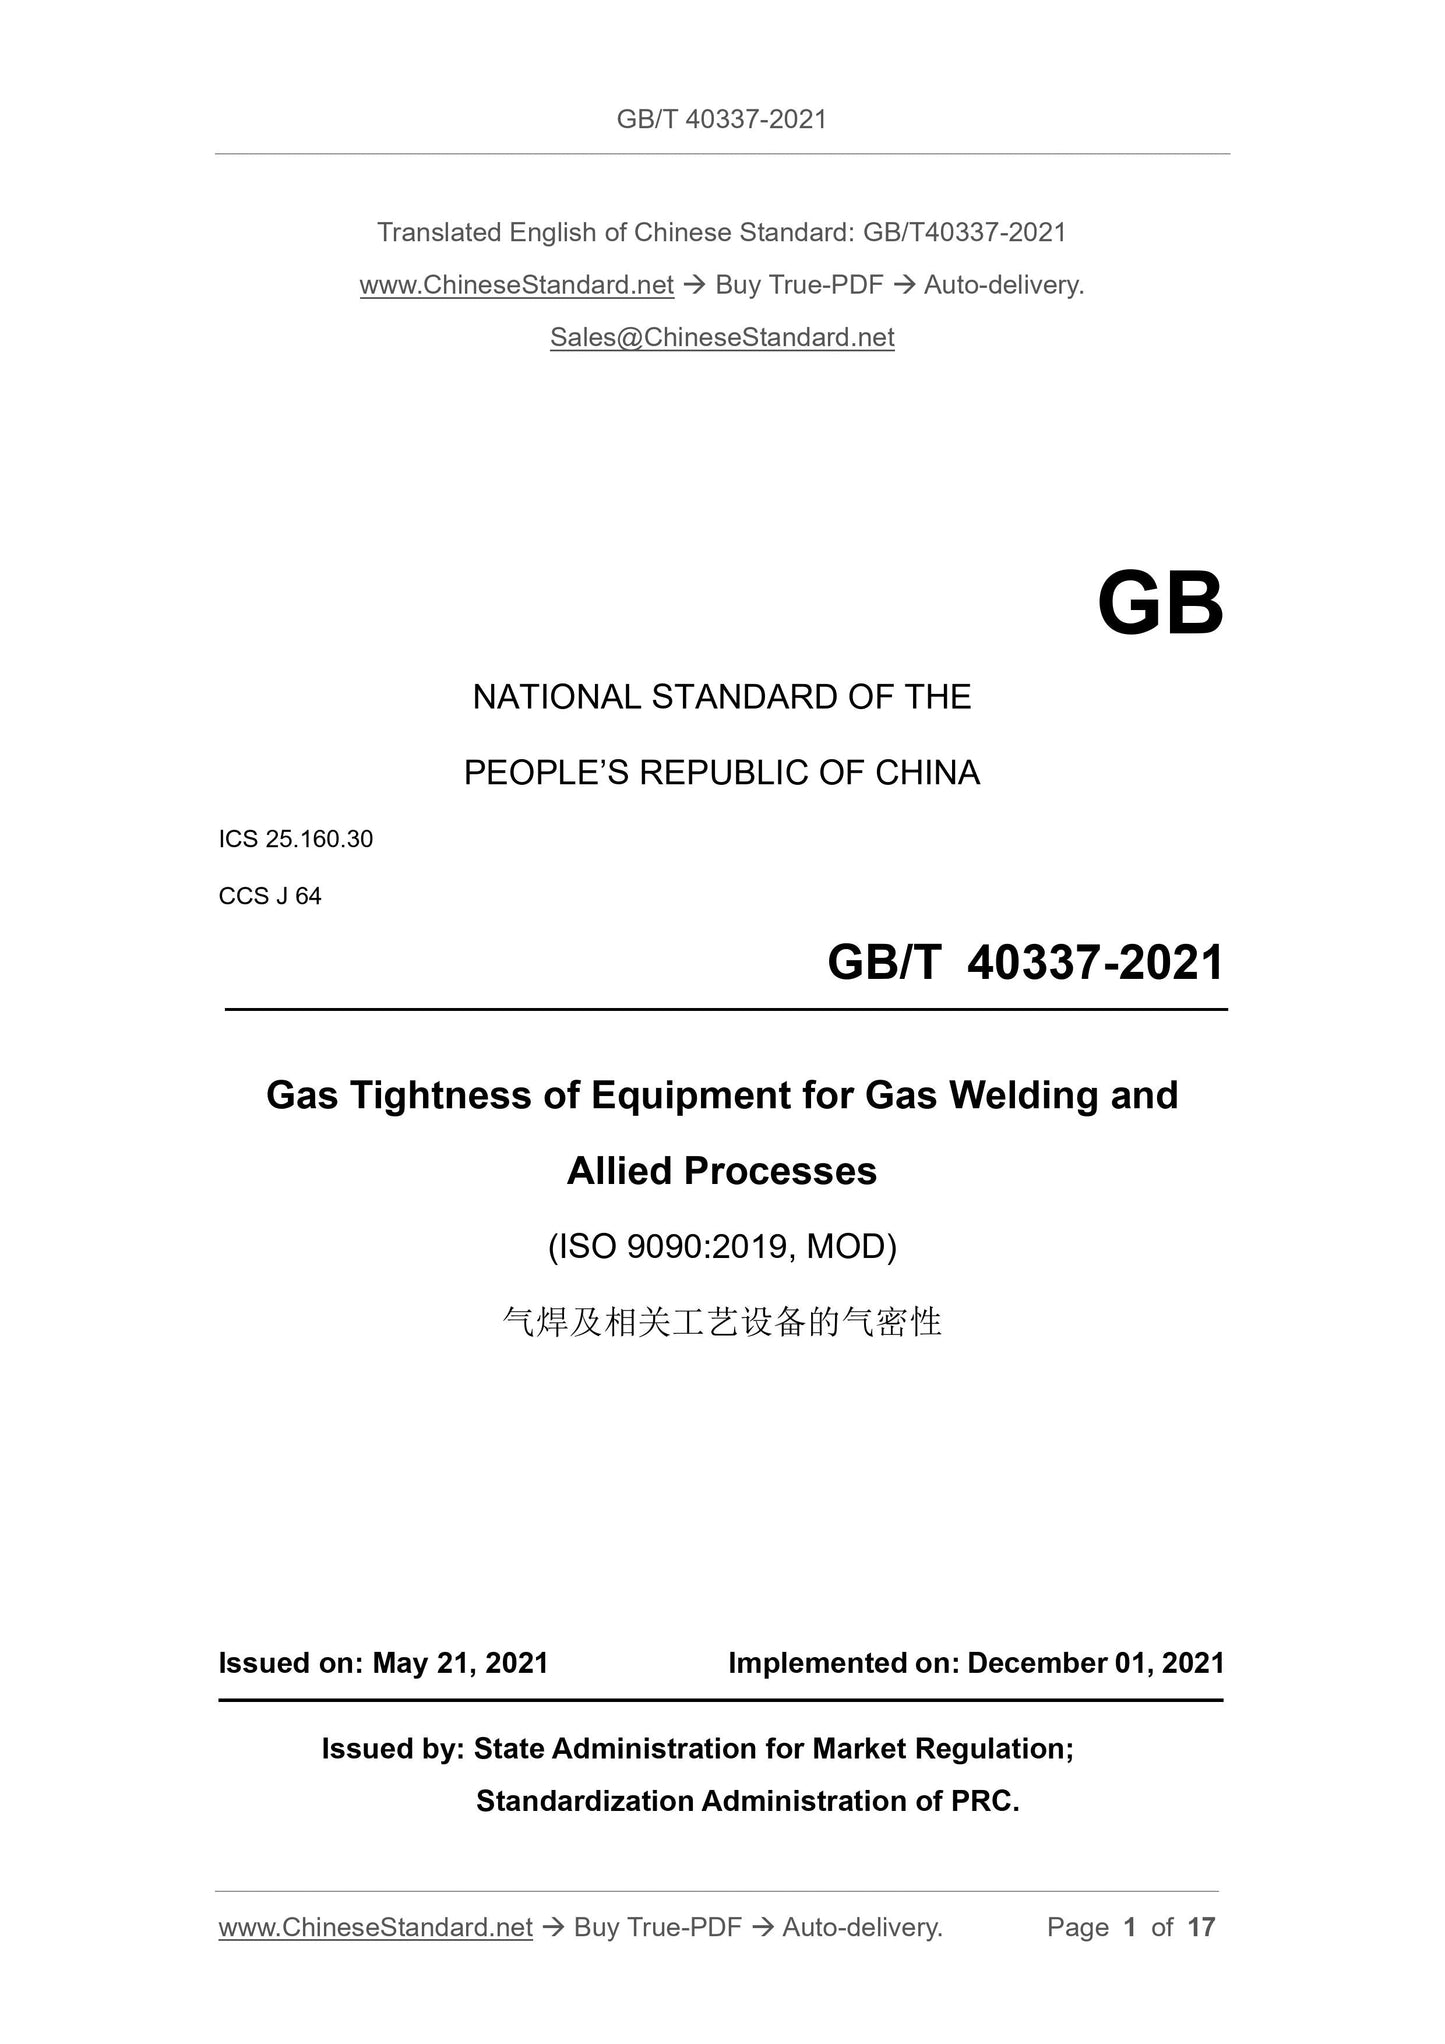
GB/T 40337-2021
GB
NATIONAL STANDARD OF THE
PEOPLE’S REPUBLIC OF CHINA
ICS 25.160.30
CCS J 64
Gas Tightness of Equipment for Gas Welding and
Allied Processes
(ISO 9090:2019, MOD)
ISSUED ON: MAY 21, 2021
IMPLEMENTED ON: DECEMBER 01, 2021
Issued by: State Administration for Market Regulation;
Standardization Administration of PRC.
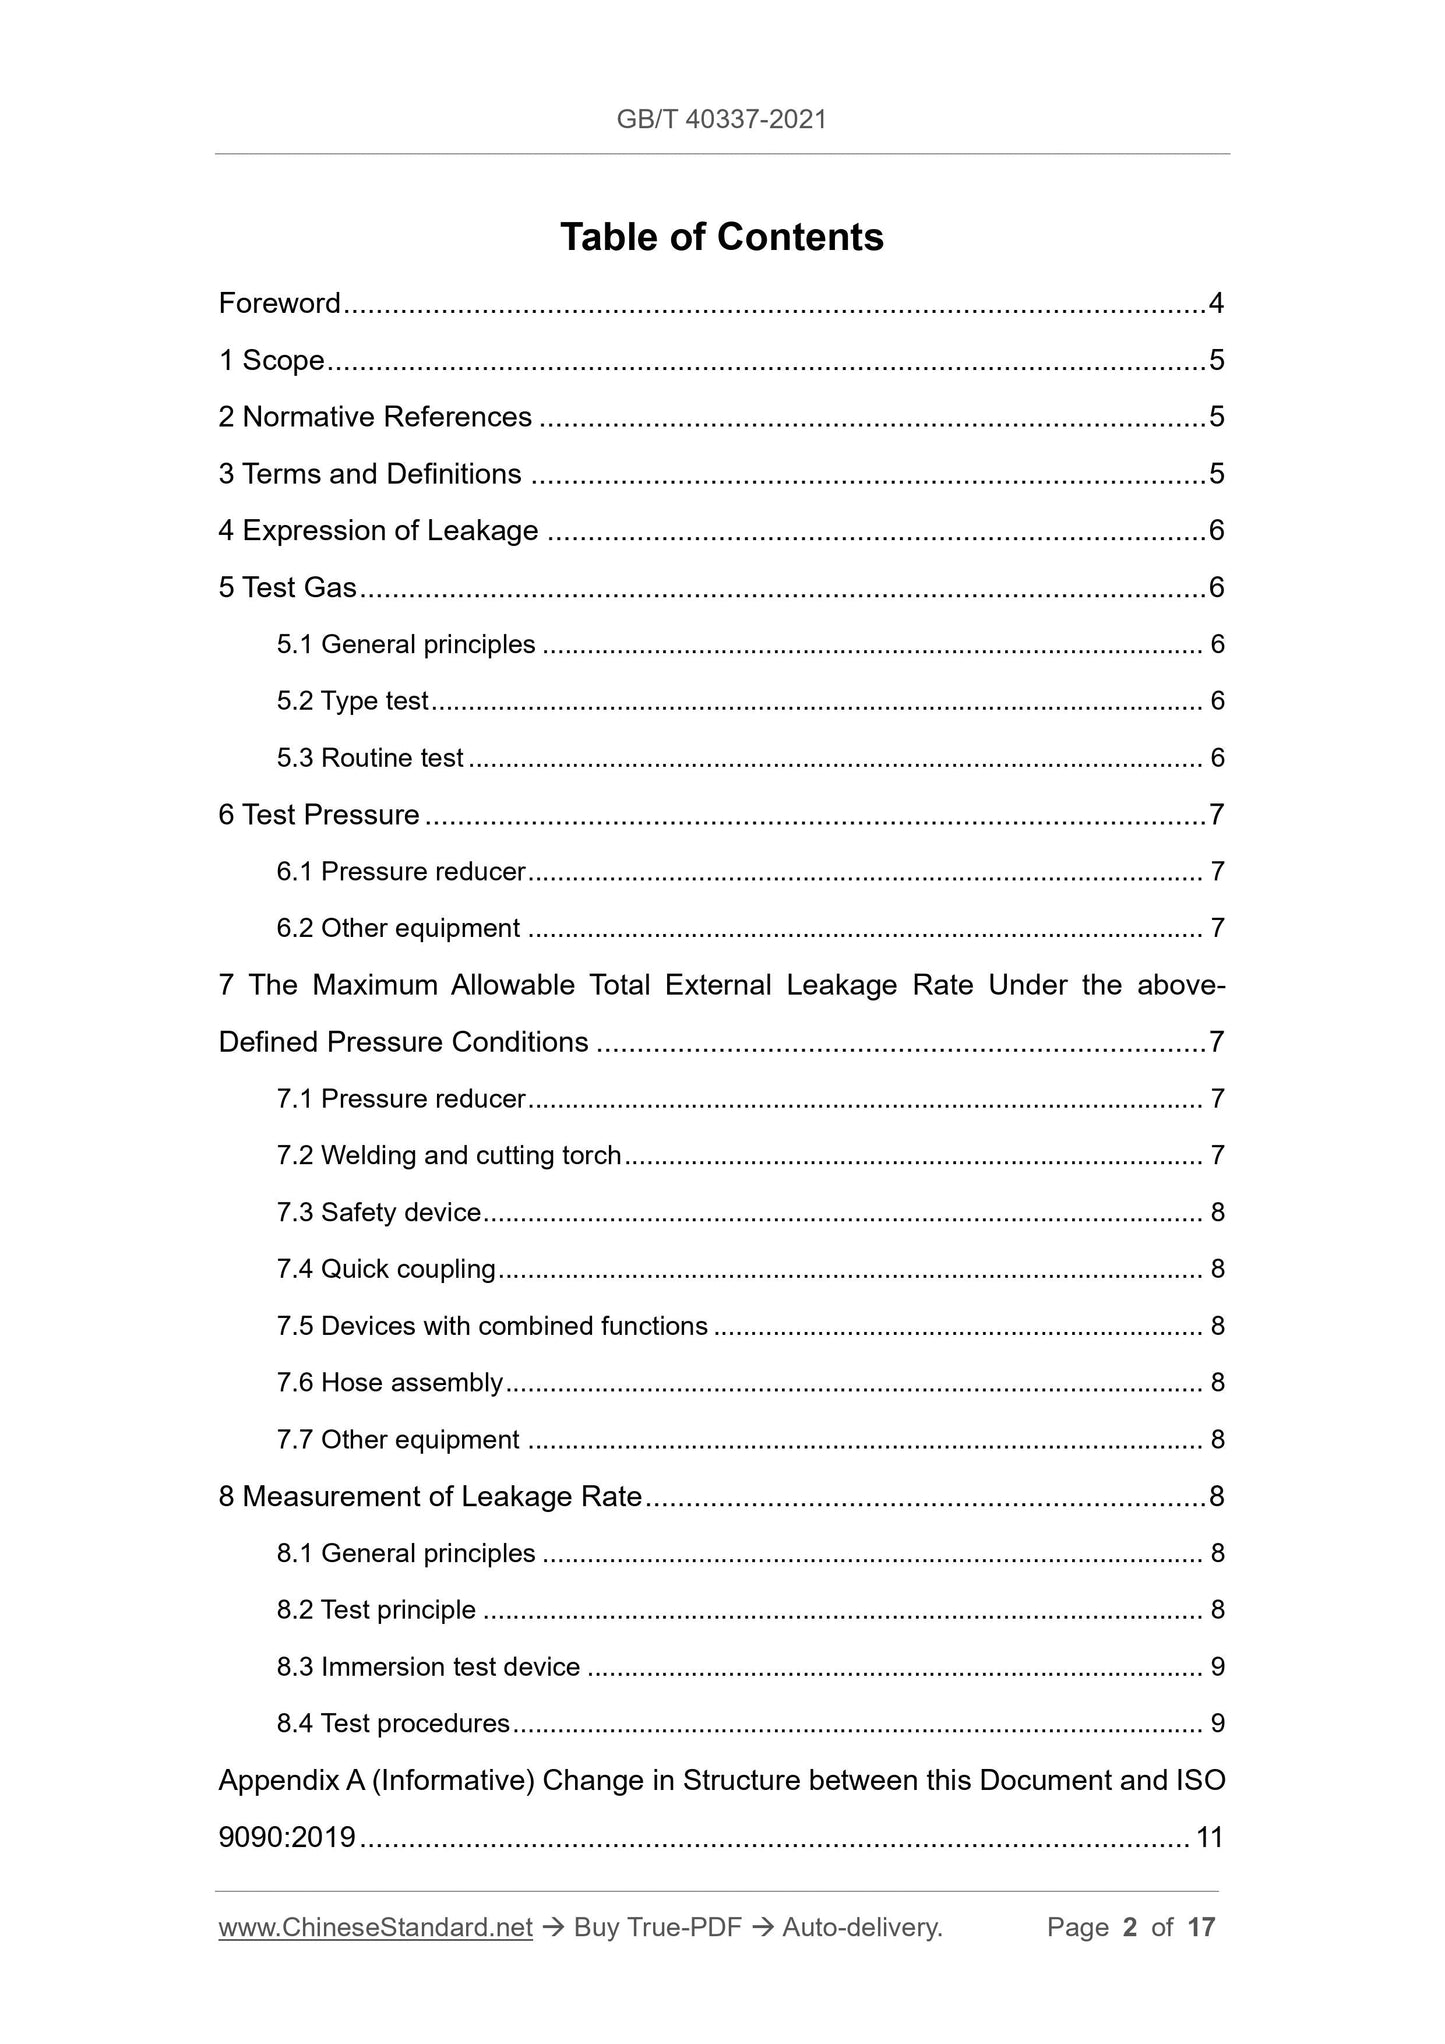
Table of Contents
Foreword ... 4
1 Scope ... 5
2 Normative References ... 5
3 Terms and Definitions ... 5
4 Expression of Leakage ... 6
5 Test Gas ... 6
5.1 General principles ... 6
5.2 Type test ... 6
5.3 Routine test ... 6
6 Test Pressure ... 7
6.1 Pressure reducer ... 7
6.2 Other equipment ... 7
7 The Maximum Allowable Total External Leakage Rate Under the above-
Defined Pressure Conditions ... 7
7.1 Pressure reducer ... 7
7.2 Welding and cutting torch ... 7
7.3 Safety device ... 8
7.4 Quick coupling ... 8
7.5 Devices with combined functions ... 8
7.6 Hose assembly ... 8
7.7 Other equipment ... 8
8 Measurement of Leakage Rate ... 8
8.1 General principles ... 8
8.2 Test principle ... 8
8.3 Immersion test device ... 9
8.4 Test procedures ... 9
Appendix A (Informative) Change in Structure between this Document and ISO
9090:2019 ... 11
Appendix B (Informative) Technical Differences and Causes between this
Document and ISO 9090:2019 ... 12
Appendix C (Normative) Correction Coefficient ... 13
Appendix D (Normative) Test Methods for Leakage Rate Measurement of
Welding and Cutting Torch ... 14
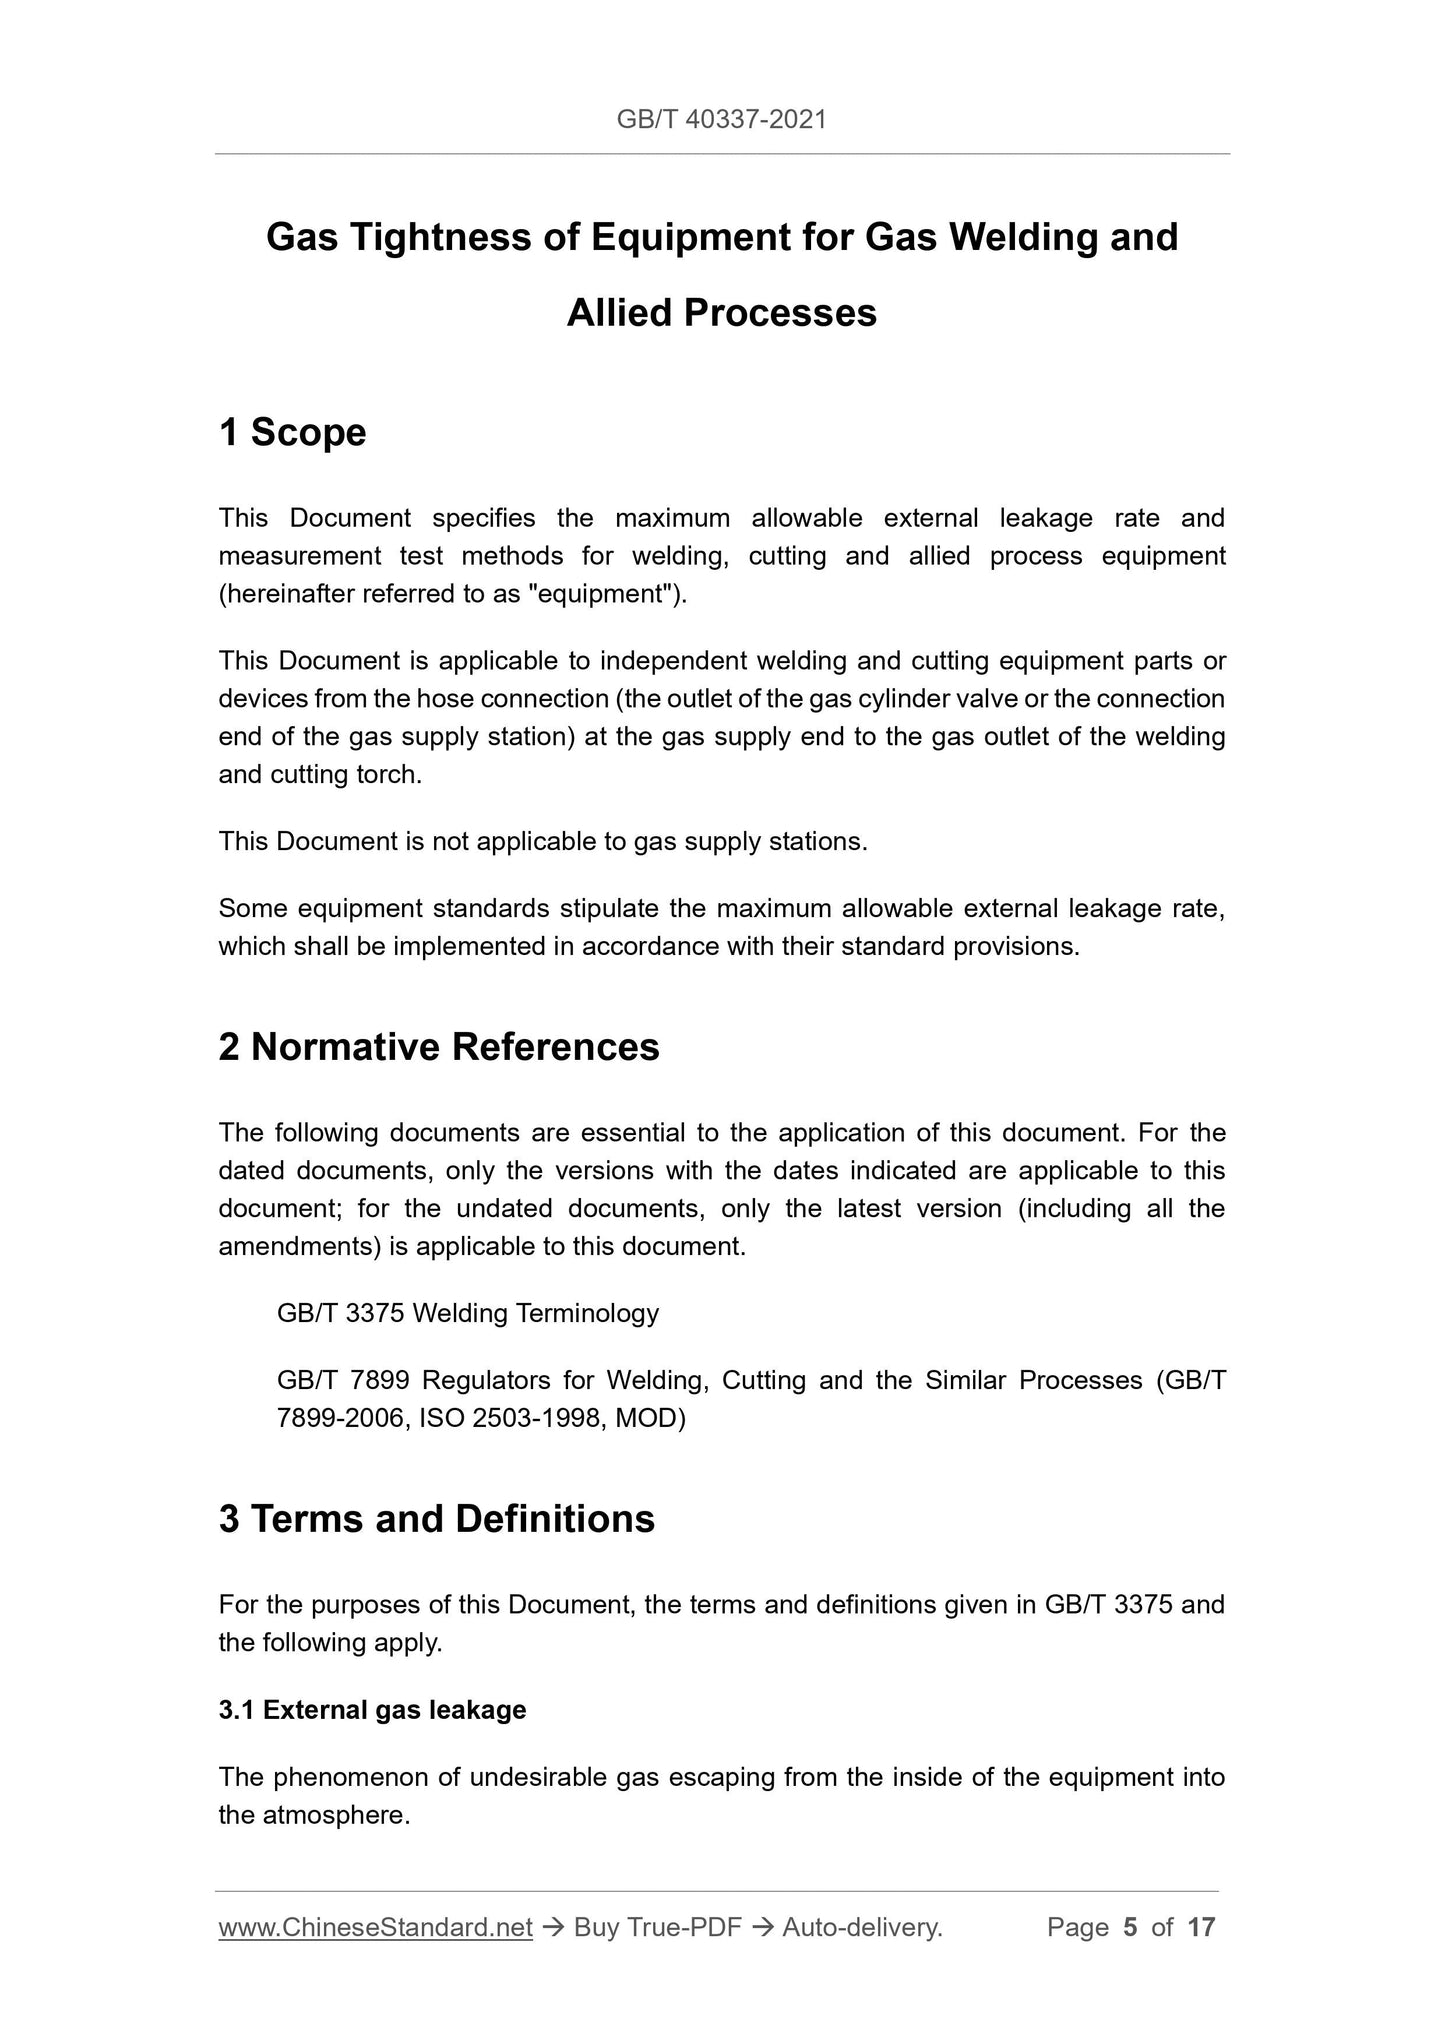
Gas Tightness of Equipment for Gas Welding and
Allied Processes
1 Scope
This Document specifies the maximum allowable external leakage rate and
measurement test methods for welding, cutting and allied process equipment
(hereinafter referred to as "equipment").
This Document is applicable to independent welding and cutting equipment parts or
devices from the hose connection (the outlet of the gas cylinder valve or the connection
end of the gas supply station) at the gas supply end to the gas outlet of the welding
and cutting torch.
This Document is not applicable to gas supply stations.
Some equipment standards stipulate the maximum allowable external leakage rate,
which shall be implemented in accordance with their standard provisions.
2 Normative References
The following documents are essential to the application of this document. For the
dated documents, only the versions with the dates indicated are applicable to this
document; for the undated documents, only the latest version (including all the
amendments) is applicable to this document.
GB/T 3375 Welding Terminology
GB/T 7899 Regulators for Welding, Cutting and the Similar Processes (GB/T
7899-2006, ISO 2503-1998, MOD)
3 Terms and Definitions
For the purposes of this Document, the terms and definitions given in GB/T 3375 and
the following apply.
3.1 External gas leakage
The phenomenon of undesirable gas escaping from the inside of the equipment into
the atmosphere.
6 Test Pressure
6.1 Pressure reducer
The pressure reducer of the gas supply system of the welding and cutting equipment
shall be tested under the pressure p1 and p2 specified in GB/T 7899.
6.2 Other equipment
6.2.1 Type test
Other equipment shall be tested under the following pressures:
a) The maximum working pressure given by the manufacturer;
b) 10% of the maximum working pressure or 0.05MPa, whichever is lower.
6.2.2 Routine test
All equipment shall be tested under one of the pressure conditions given in 6.2.1; the
pressure conditions shall be the most unfavourable pressure conditions obtained in
the type test.
7 The Maximum Allowable Total External Leakage Rate
Under the above-Defined Pressure Conditions
7.1 Pressure reducer
The overall leakage rate of the pressure reducer shall be no greater than 10cm3/h.
7.2 Welding and cutting torch
The total external leakage rate of the welding and cutting torch shall be no greater than
8cm3/h. The leakage rate through a separate gas valve shall be no greater than 4cm3/h.
The test method is carried out in accordance with the provisions of Appendix D.
The test method given in Appendix D can measure the overall leakage rate of the
welding and cutting torch and the leakage rate of a separate gas valve. In the 6 sets
of test conditions (Figures D.1 ~ D.6: Blocking the inlet and/or outlet, adjusting the
valve switch state, connecting the gas hose to different inlets) for measuring the
leakage rate, there are 3 sets of measuring welding/heating torches, and 3 sets of
measuring cutting torches. It is stipulated that the leakage rate of the equipment in
Figures D.1, D.2, and D.4 shall be no greater than 8cm3/h; and the leakage rate of the
equipment in Figures D.3, D.5, and D.6 shall be no greater than 4cm3/h.
Other test methods are allowed, provided that the accuracy of the results obtained by
these methods can be proved to be the same as the above methods.
8.3 Immersion test device
8.3.1 The water tank shall be of sufficient size to be able to completely immerse the
equipment to be tested in the water.
8.3.2 During the test, allow the air supply end to pressurize the equipment to be tested.
8.3.3 The measuring cylinder shall be filled with water at the beginning of the test and
installed above the equipment to be tested. The measuring cylinder range shall be
sufficient, and the accuracy shall be no less than 0.5cm3.
8.3.4 The funnel is used to collect the gas escaping from the equipment. The funnel
shall be suitable for collecting all gases that may escape from the equipment to be
tested. The gas leaking at the connection of the gas supply pipeline shall not be
collected.
8.3.5 The immersion test device for measuring the gas leakage rate of the equipment
is shown in Figure 1.
8.4 Test procedures
8.4.1 Connect the equipment to be tested with the gas source (see Figure 1, which
shall meet the requirements of 8.3.2), close all other possible openings in order to
determine the leakage rate.
8.4.2 Immerse the equipment to be tested in water (see Figure 1, which shall meet the
requirements of 8.3.1), and the depth shall be at least 20cm. And supply gas to the
equipment to be tested according to the test pressure given in Clause 6 plus the
pressure Δp generated by the immersion depth.
8.4.3 Wait for 10min; allow the trapped gas adhering to the outer surface of the
equipment to be tested to escape; and then set the measuring cylinder (see Figure 1,
which shall meet the requirements of 8.3.3) and the funnel (see Figure 1, which shall
meet the requirements of 8.3.4) in place; and keep the device under pressure for 1h.
8.4.4 At the end of the test, raise or drop the measuring cylinder to balance the water
level in the measuring cylinder tube and the water tank; and measure the volume of
the collected gas by reading the scale on the measuring cylinder tube.
8.4.5 Calibrate the measured volume in accordance with the methods specified in
Clauses 4 and 5, and include the gas type and standard temperature and pressure
conditions into the calibration calculation.
Share
