PayPal, credit cards. Download editable-PDF & invoice in 1 second!
YY/T 0641-2008 English PDF (YYT0641-2008)
YY/T 0641-2008 English PDF (YYT0641-2008)
Precio habitual
$115.00 USD
Precio habitual
Precio de oferta
$115.00 USD
Precio unitario
/
por
Los gastos de envío se calculan en la pantalla de pago.
No se pudo cargar la disponibilidad de retiro
Delivery: 3 seconds. Download true-PDF + Invoice.
Get QUOTATION in 1-minute: Click YY/T 0641-2008
Historical versions: YY/T 0641-2008
Preview True-PDF (Reload/Scroll if blank)
YY/T 0641-2008: Standard Test Method for Transformation Temperature Of Nickel. Titanium Alloys by Thermal Analysis
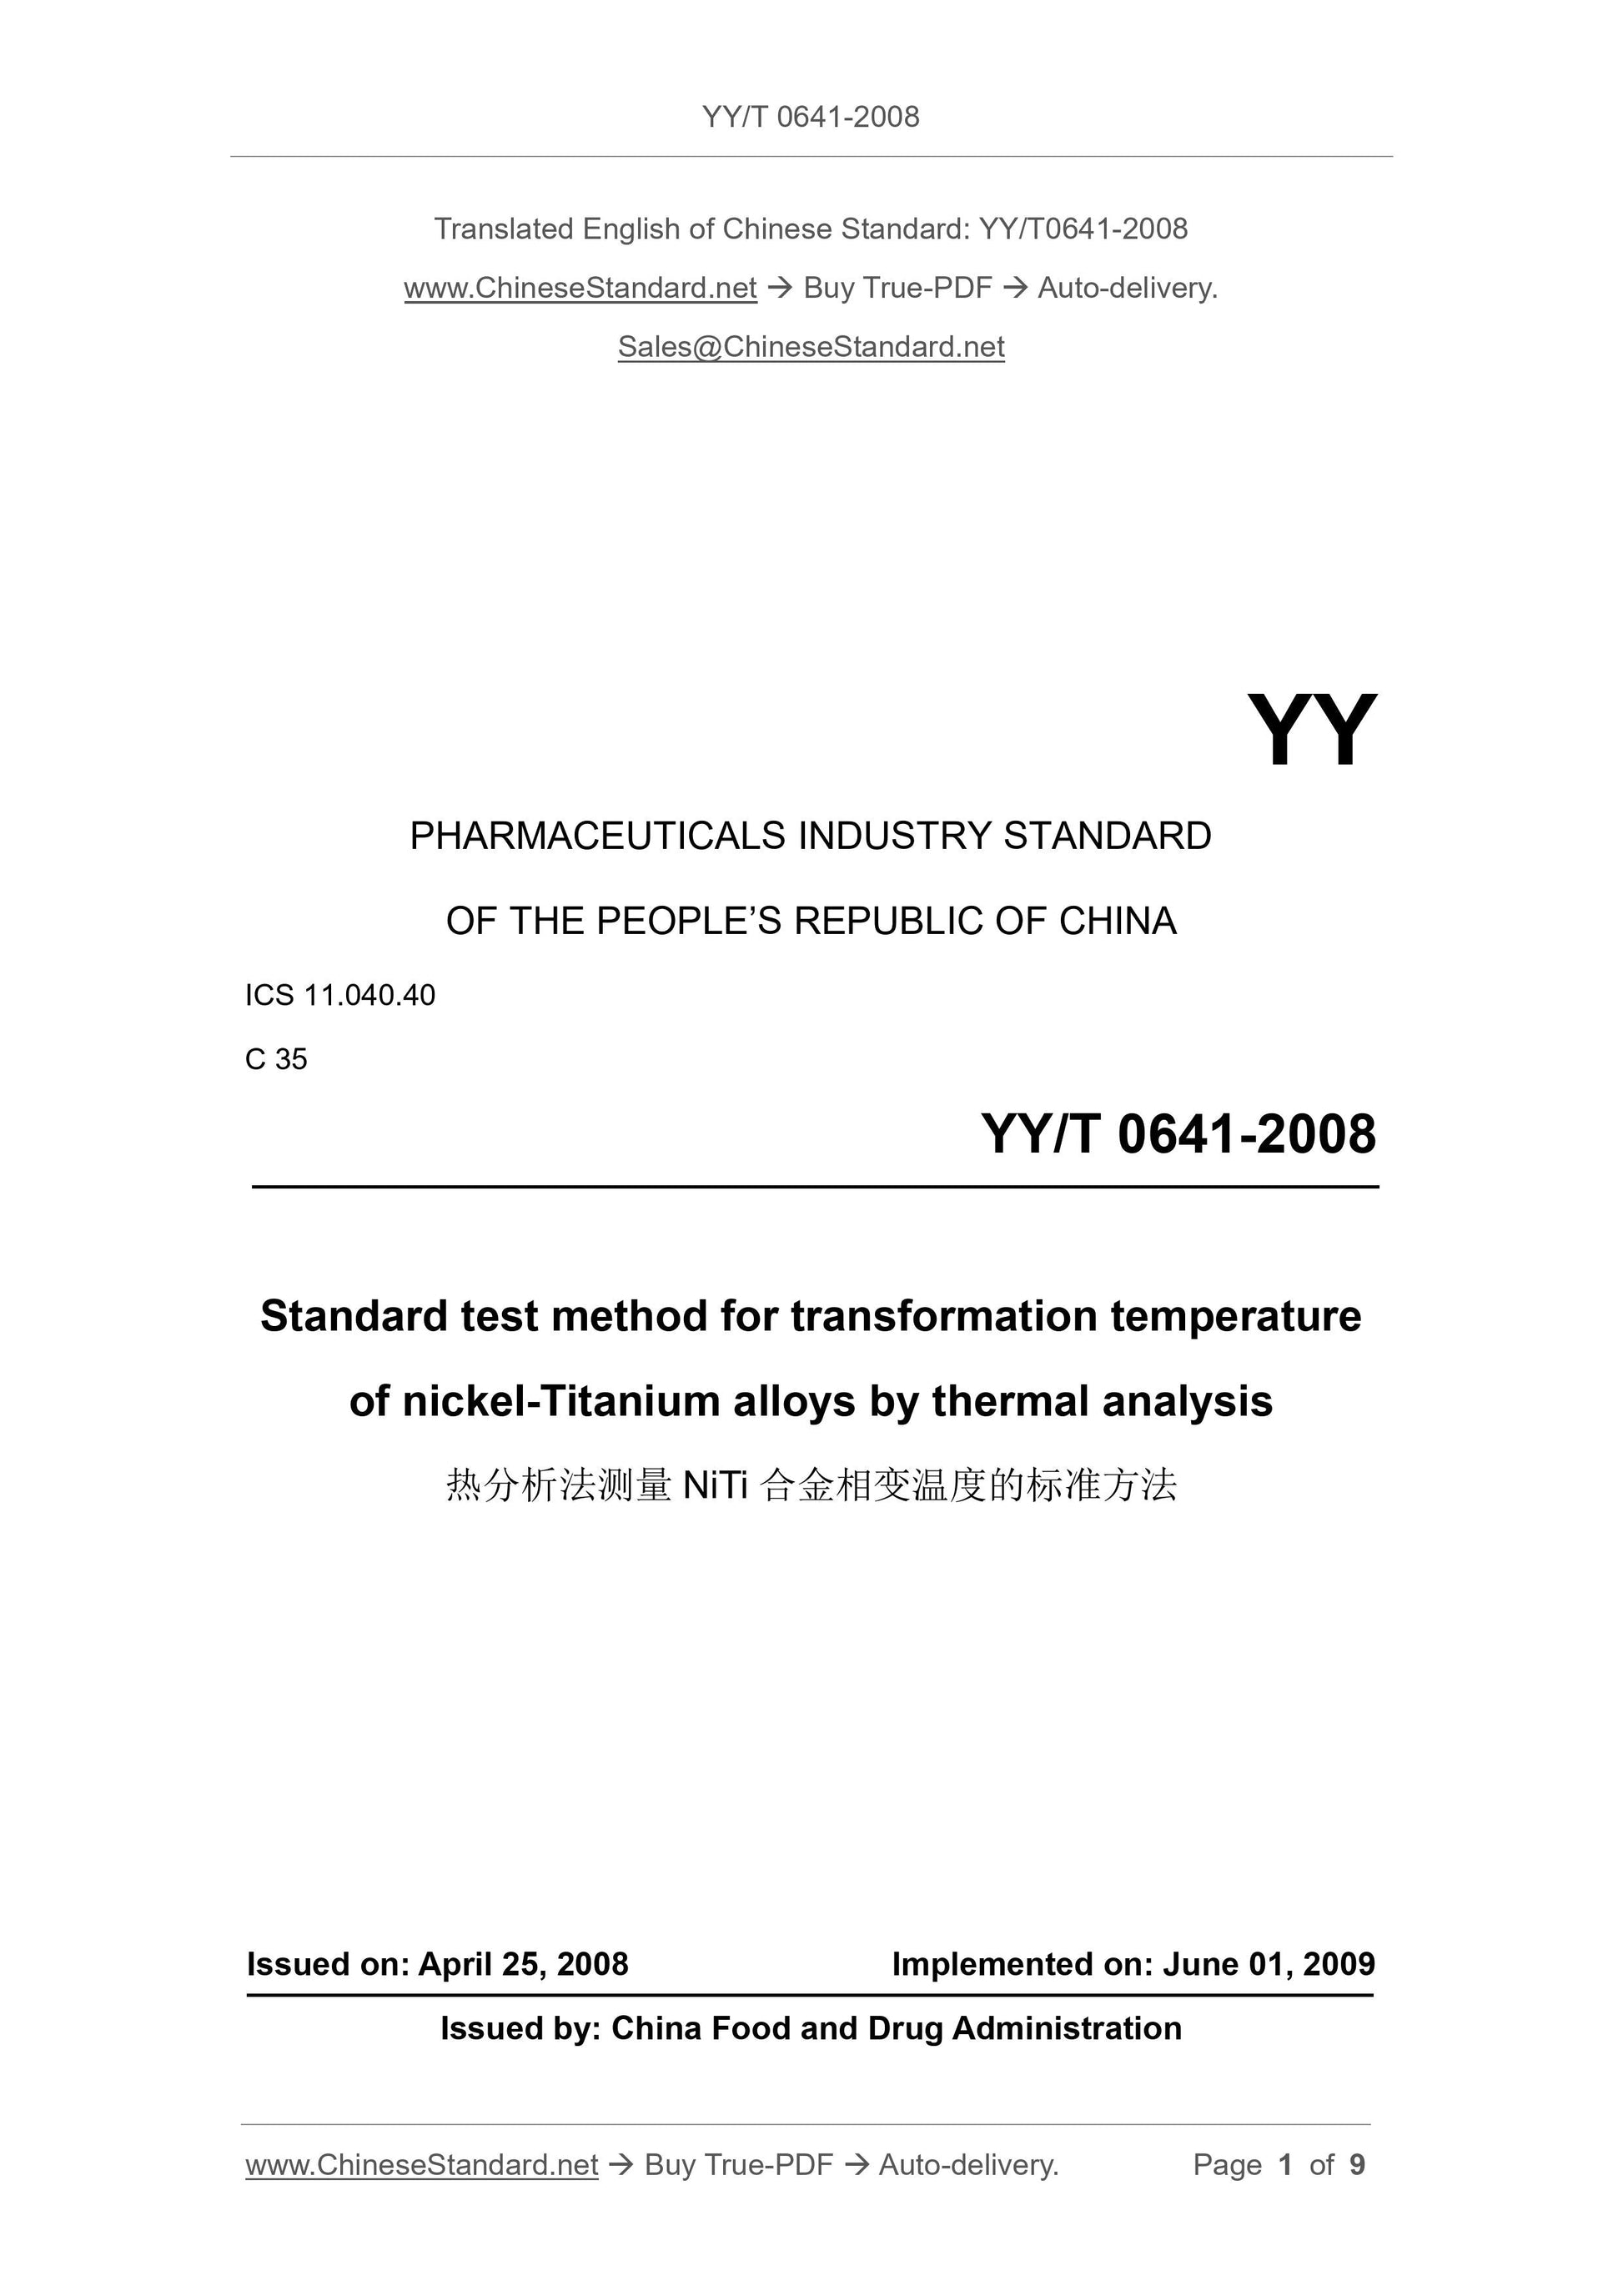
YY/T 0641-2008
YY
PHARMACEUTICALS INDUSTRY STANDARD
OF THE PEOPLE’S REPUBLIC OF CHINA
ICS 11.040.40
C 35
Standard test method for transformation temperature
of nickel-Titanium alloys by thermal analysis
ISSUED ON: APRIL 25, 2008
IMPLEMENTED ON: JUNE 01, 2009
Issued by: China Food and Drug Administration
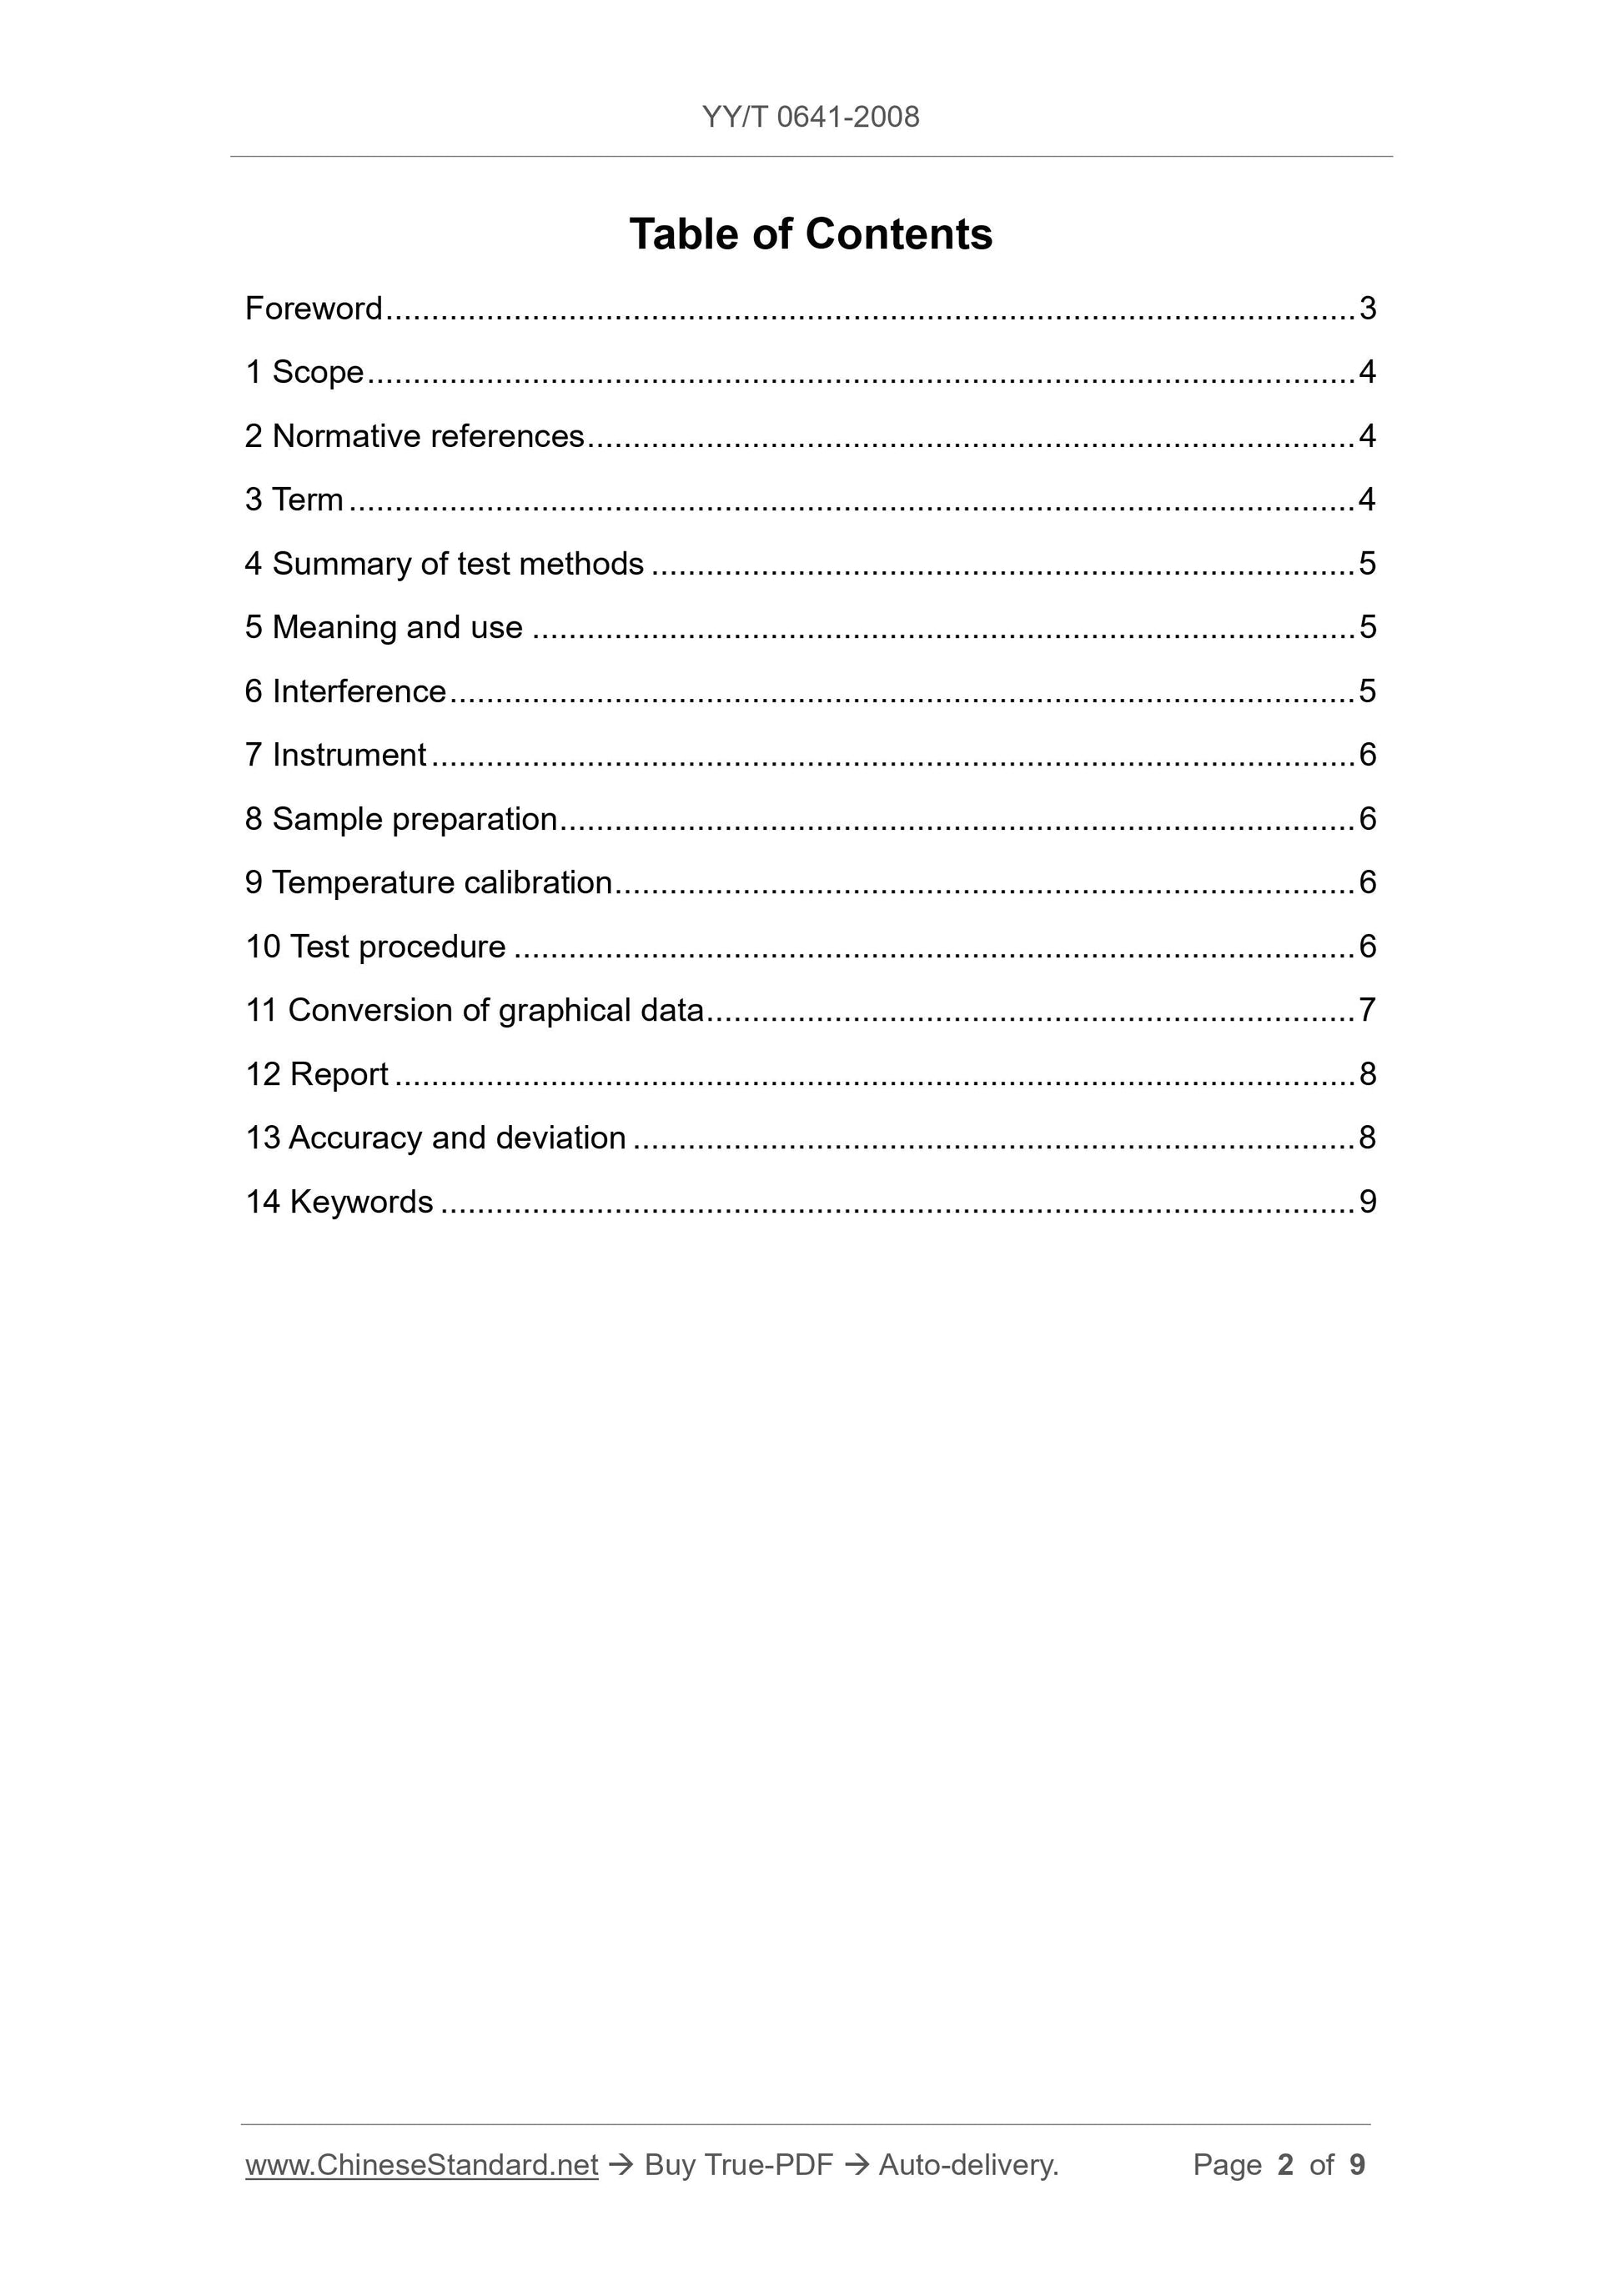
Table of Contents
Foreword ... 3
1 Scope ... 4
2 Normative references ... 4
3 Term ... 4
4 Summary of test methods ... 5
5 Meaning and use ... 5
6 Interference ... 5
7 Instrument ... 6
8 Sample preparation ... 6
9 Temperature calibration ... 6
10 Test procedure ... 6
11 Conversion of graphical data ... 7
12 Report ... 8
13 Accuracy and deviation ... 8
14 Keywords ... 9
Standard test method for transformation temperature
of nickel-Titanium alloys by thermal analysis
1 Scope
This standard specifies the procedure for measuring the transformation
temperature of NiTi shape memory alloys.
The value indicated in the SI unit is considered standard.
This standard does not indicate that it involves safety related to the use of the
standard. It is the responsibility of users of this standard to establish special
operating procedures to ensure the safety of use and personnel health before
use, and to determine the applicability of the management scope.
2 Normative references
The provisions in following documents become the provisions of this Standard
through reference in this Standard. For the dated references, the subsequent
amendments (excluding corrections) or revisions do not apply to this Standard;
however, parties who reach an agreement based on this Standard are
encouraged to study if the latest versions of these documents are applicable.
For undated references, the latest edition of the referenced document applies.
ASTM E 473 Standard terminology relating to thermal analysis
ASTM E 967 Standard test method for temperature calibration of differential
scanning calorimeters and differential thermal analyzers
ASTM E 1142 Standard terminology relating to thermophysical properties
ASTM F 2005 Standard terminology for nickel-titanium shape memory alloy
3 Term
For the technical terms used in this test method, see ASTM E 473, ASTM E
1142, ASTM F 2005.
7 Instrument
7.1 Use the difference display thermometer which has a heating and cooling
rate reaching 10 °C/min, which can automatically record the input energy
difference between the measured sample and the reference sample according
to the required sensitivity and accuracy.
7.2 Use a sample cuvette or pan made of aluminum or other inert materials with
high thermal conductivity.
7.3 Use clean nitrogen or helium.
7.4 Use an analytical balance with a sensitivity of 0.1 mg and a measuring range
of 100 mg.
8 Sample preparation
8.1 Use (20 ~ 50) mg of sample. Cut the sample, to get the largest surface in
contact with the DSC sample pan.
8.2 Place it in vacuum, or in air at 800 °C for 15 min which has sufficient
protection to prevent oxidation for annealing. Quickly cool the sample, to
prevent phase precipitation that can change the alloy transformation
temperature.
8.3 Clean the sample to remove all foreign material contamination, such as
cutting fluid. If the sample is oxidized during heat treatment, grinding, polishing
or corrosion, the oxide layer shall be removed. Care shall be taken to avoid cold
working of the sample, because cold working will change the thermal effect
(characteristic curve) of the sample. Slight oxidation is allowed, but all thick
scale shall be removed.
9 Temperature calibration
In accordance with ASTM E 967, use the same heating rate, clean gas, and
flow rate to calibrate the temperature axis of the instrument as used in the actual
test sample.
10 Test procedure
10.1 Put the sample into the sample pan; place the sample pan on the test
bench.
Share


