PayPal, credit cards. Download editable-PDF & invoice in 1 second!
YY/T 1702-2020 English PDF (YYT1702-2020)
YY/T 1702-2020 English PDF (YYT1702-2020)
Precio habitual
$260.00 USD
Precio habitual
Precio de oferta
$260.00 USD
Precio unitario
/
por
Los gastos de envío se calculan en la pantalla de pago.
No se pudo cargar la disponibilidad de retiro
Delivery: 3 seconds. Download true-PDF + Invoice.
Get QUOTATION in 1-minute: Click YY/T 1702-2020
Historical versions: YY/T 1702-2020
Preview True-PDF (Reload/Scroll if blank)
YY/T 1702-2020: Dentistry--Additive manufacturing--Selective laser melting metallic materials for fixed and removable restorations and appliances
YY/T 1702-2020
YY
PHARMACEUTICAL INDUSTRY STANDARD
OF THE PEOPLE’S REPUBLIC OF CHINA
ICS 11.060.10
C 33
Dentistry - Additive Manufacturing - Selective Laser
Melting Metallic Materials for Fixed and Removable
Restorations and Appliances
ISSUED ON: FEBRUARY 21, 2020
IMPLEMENTED ON: JANUARY 01, 2021
Issued by: National Medical Products Administration
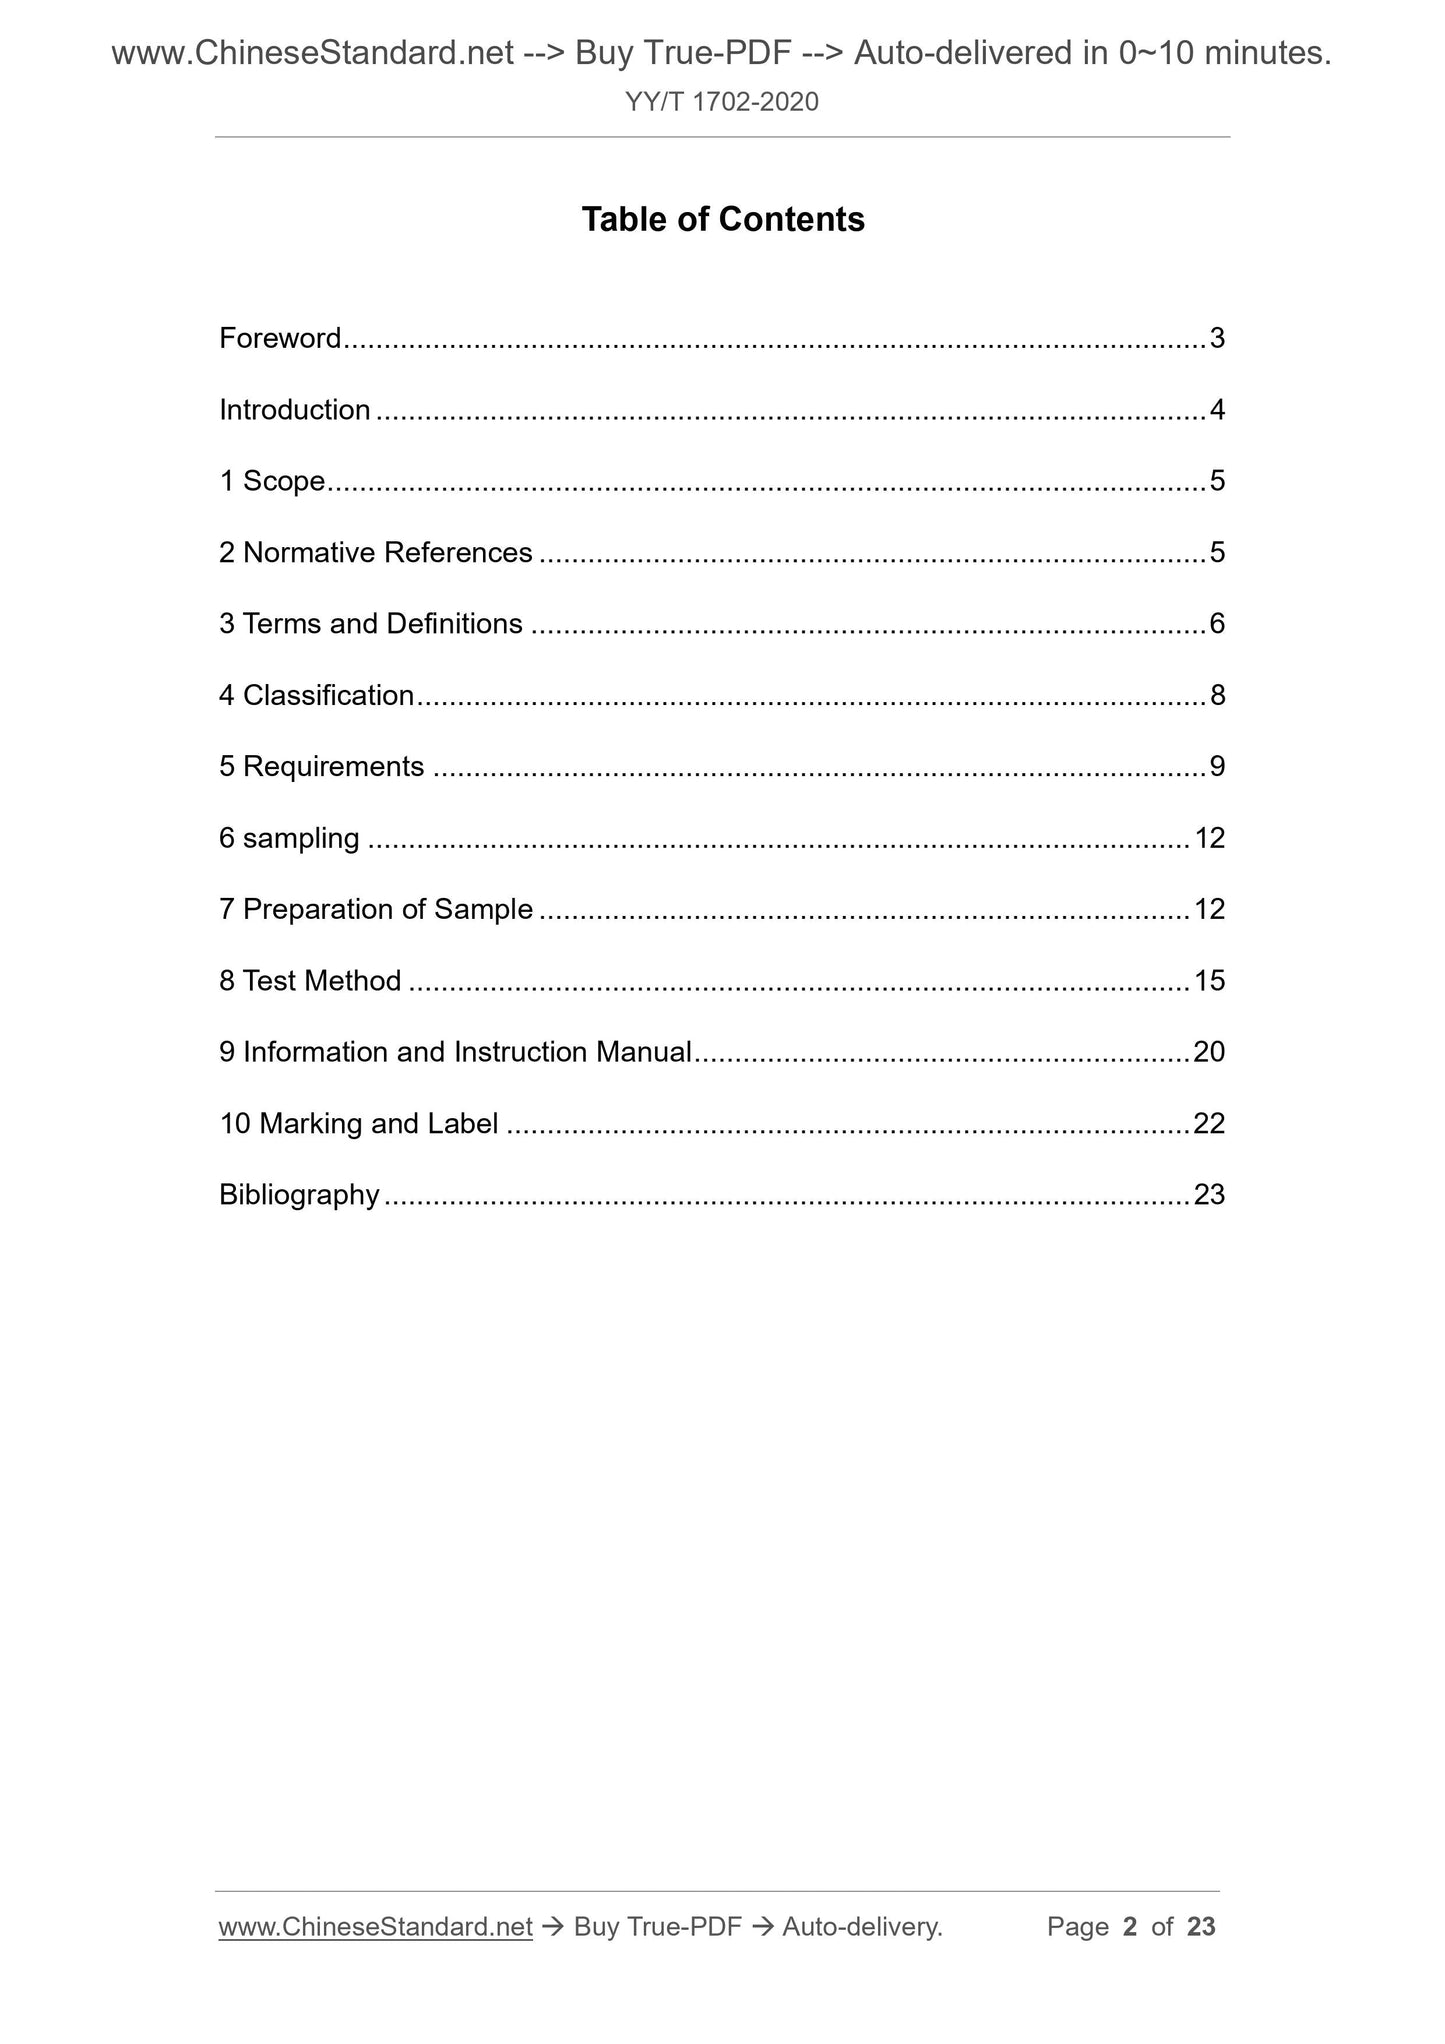
Table of Contents
Foreword ... 3
Introduction ... 4
1 Scope ... 5
2 Normative References ... 5
3 Terms and Definitions ... 6
4 Classification ... 8
5 Requirements ... 9
6 sampling ... 12
7 Preparation of Sample ... 12
8 Test Method ... 15
9 Information and Instruction Manual ... 20
10 Marking and Label ... 22
Bibliography ... 23
Dentistry - Additive Manufacturing - Selective Laser
Melting Metallic Materials for Fixed and Removable
Restorations and Appliances
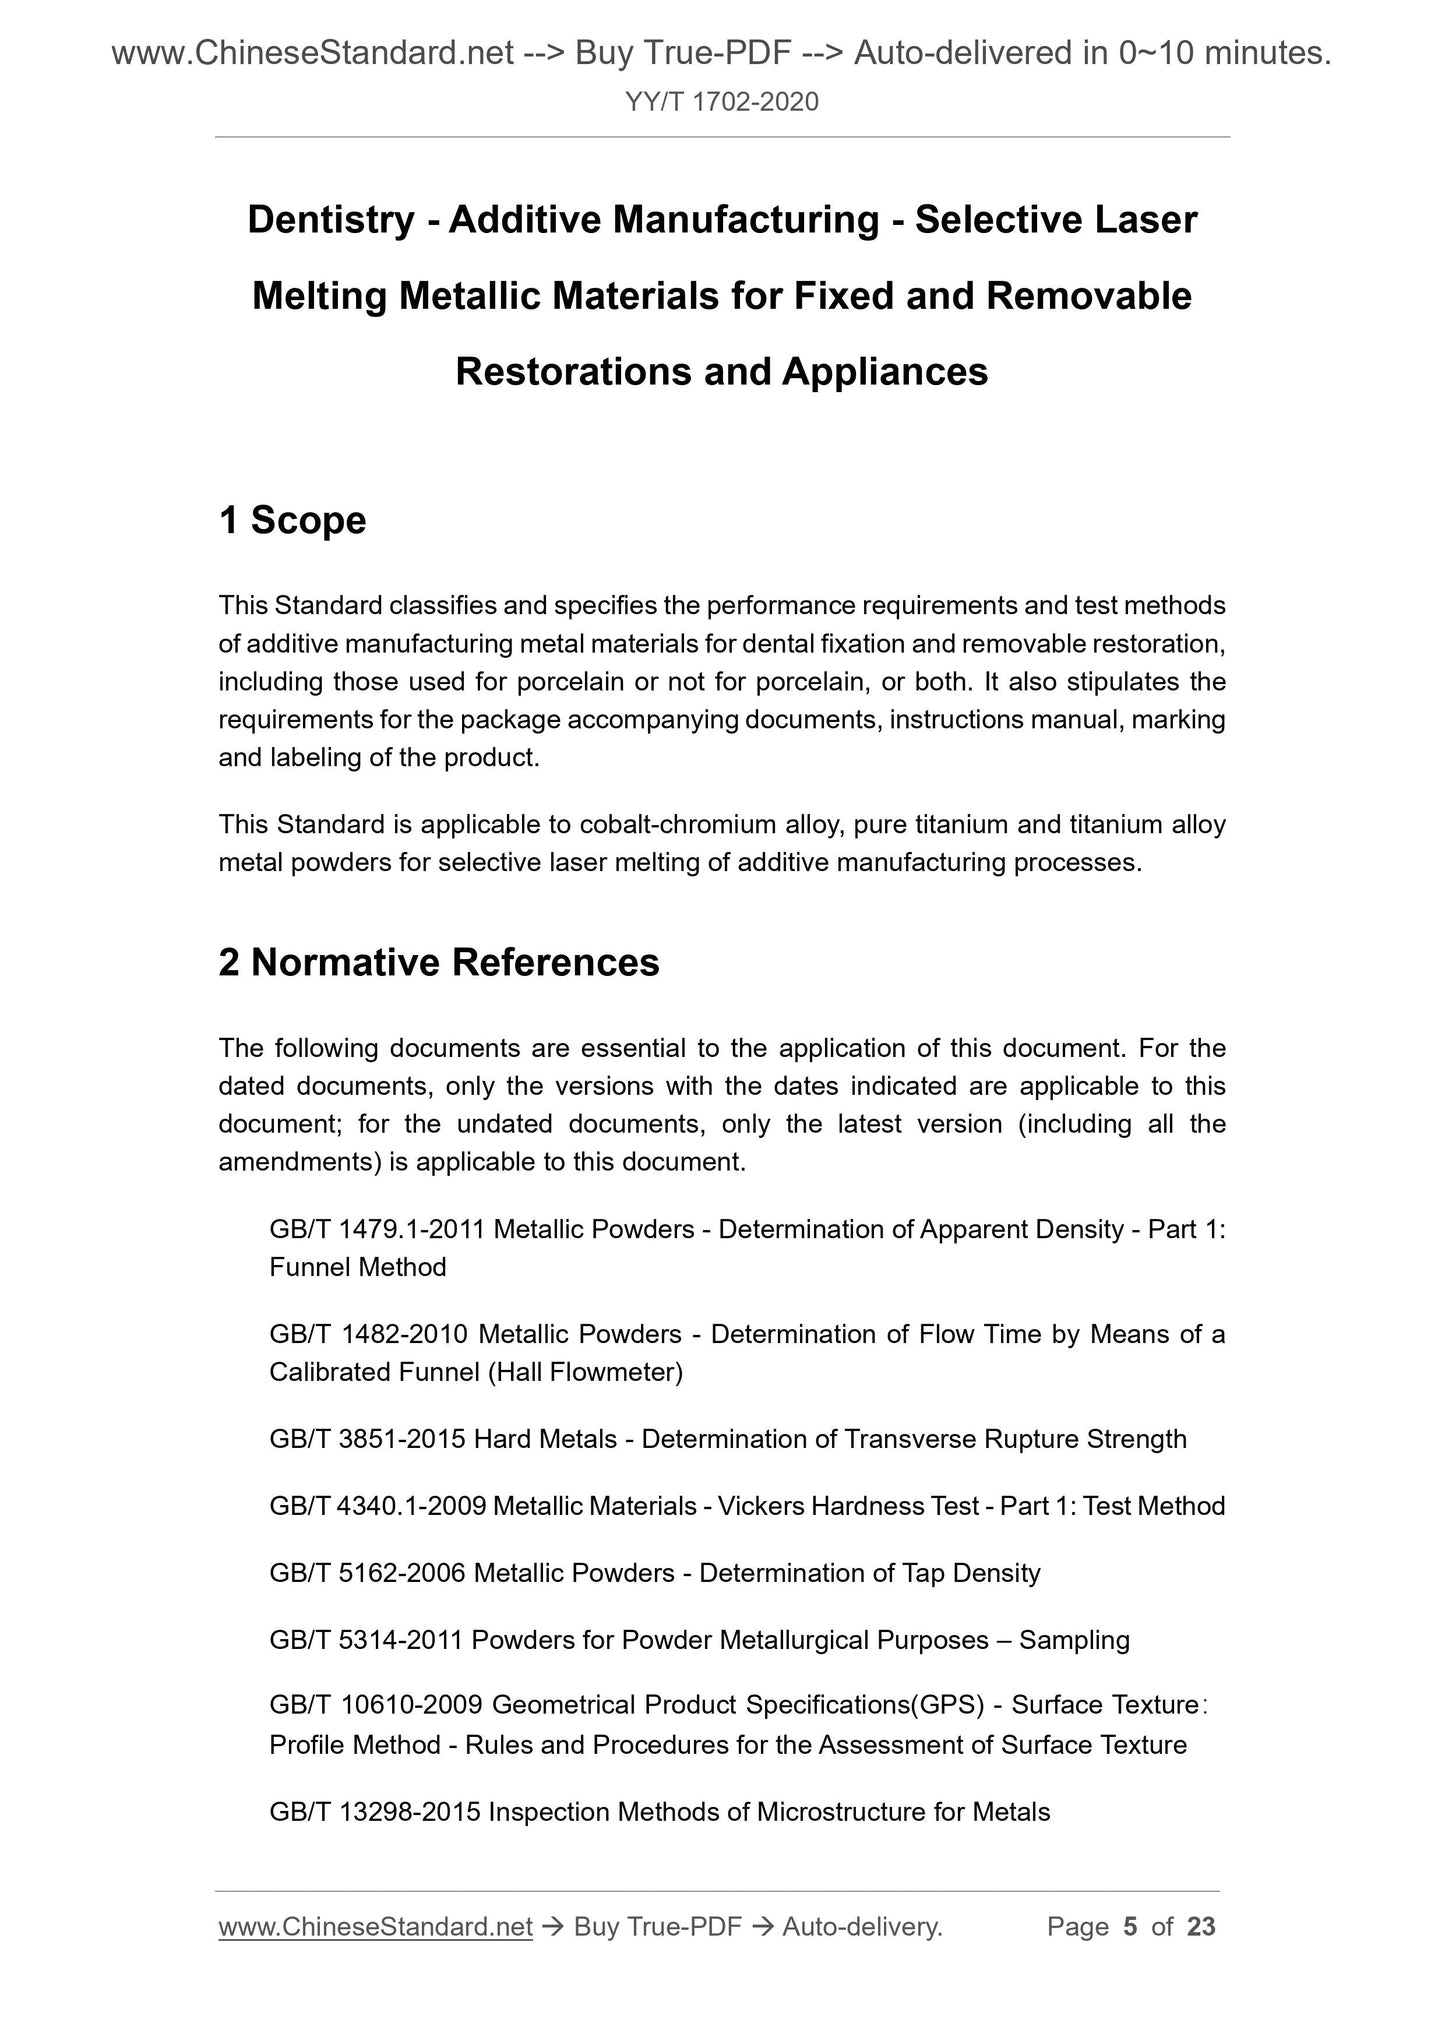
1 Scope
This Standard classifies and specifies the performance requirements and test methods
of additive manufacturing metal materials for dental fixation and removable restoration,
including those used for porcelain or not for porcelain, or both. It also stipulates the
requirements for the package accompanying documents, instructions manual, marking
and labeling of the product.
This Standard is applicable to cobalt-chromium alloy, pure titanium and titanium alloy
metal powders for selective laser melting of additive manufacturing processes.
2 Normative References
The following documents are essential to the application of this document. For the
dated documents, only the versions with the dates indicated are applicable to this
document; for the undated documents, only the latest version (including all the
amendments) is applicable to this document.
GB/T 1479.1-2011 Metallic Powders - Determination of Apparent Density - Part 1:
Funnel Method
GB/T 1482-2010 Metallic Powders - Determination of Flow Time by Means of a
Calibrated Funnel (Hall Flowmeter)
GB/T 3851-2015 Hard Metals - Determination of Transverse Rupture Strength
GB/T 4340.1-2009 Metallic Materials - Vickers Hardness Test - Part 1: Test Method
GB/T 5162-2006 Metallic Powders - Determination of Tap Density
GB/T 5314-2011 Powders for Powder Metallurgical Purposes – Sampling
GB/T 10610-2009 Geometrical Product Specifications(GPS) - Surface Texture:
Profile Method - Rules and Procedures for the Assessment of Surface Texture
GB/T 13298-2015 Inspection Methods of Microstructure for Metals
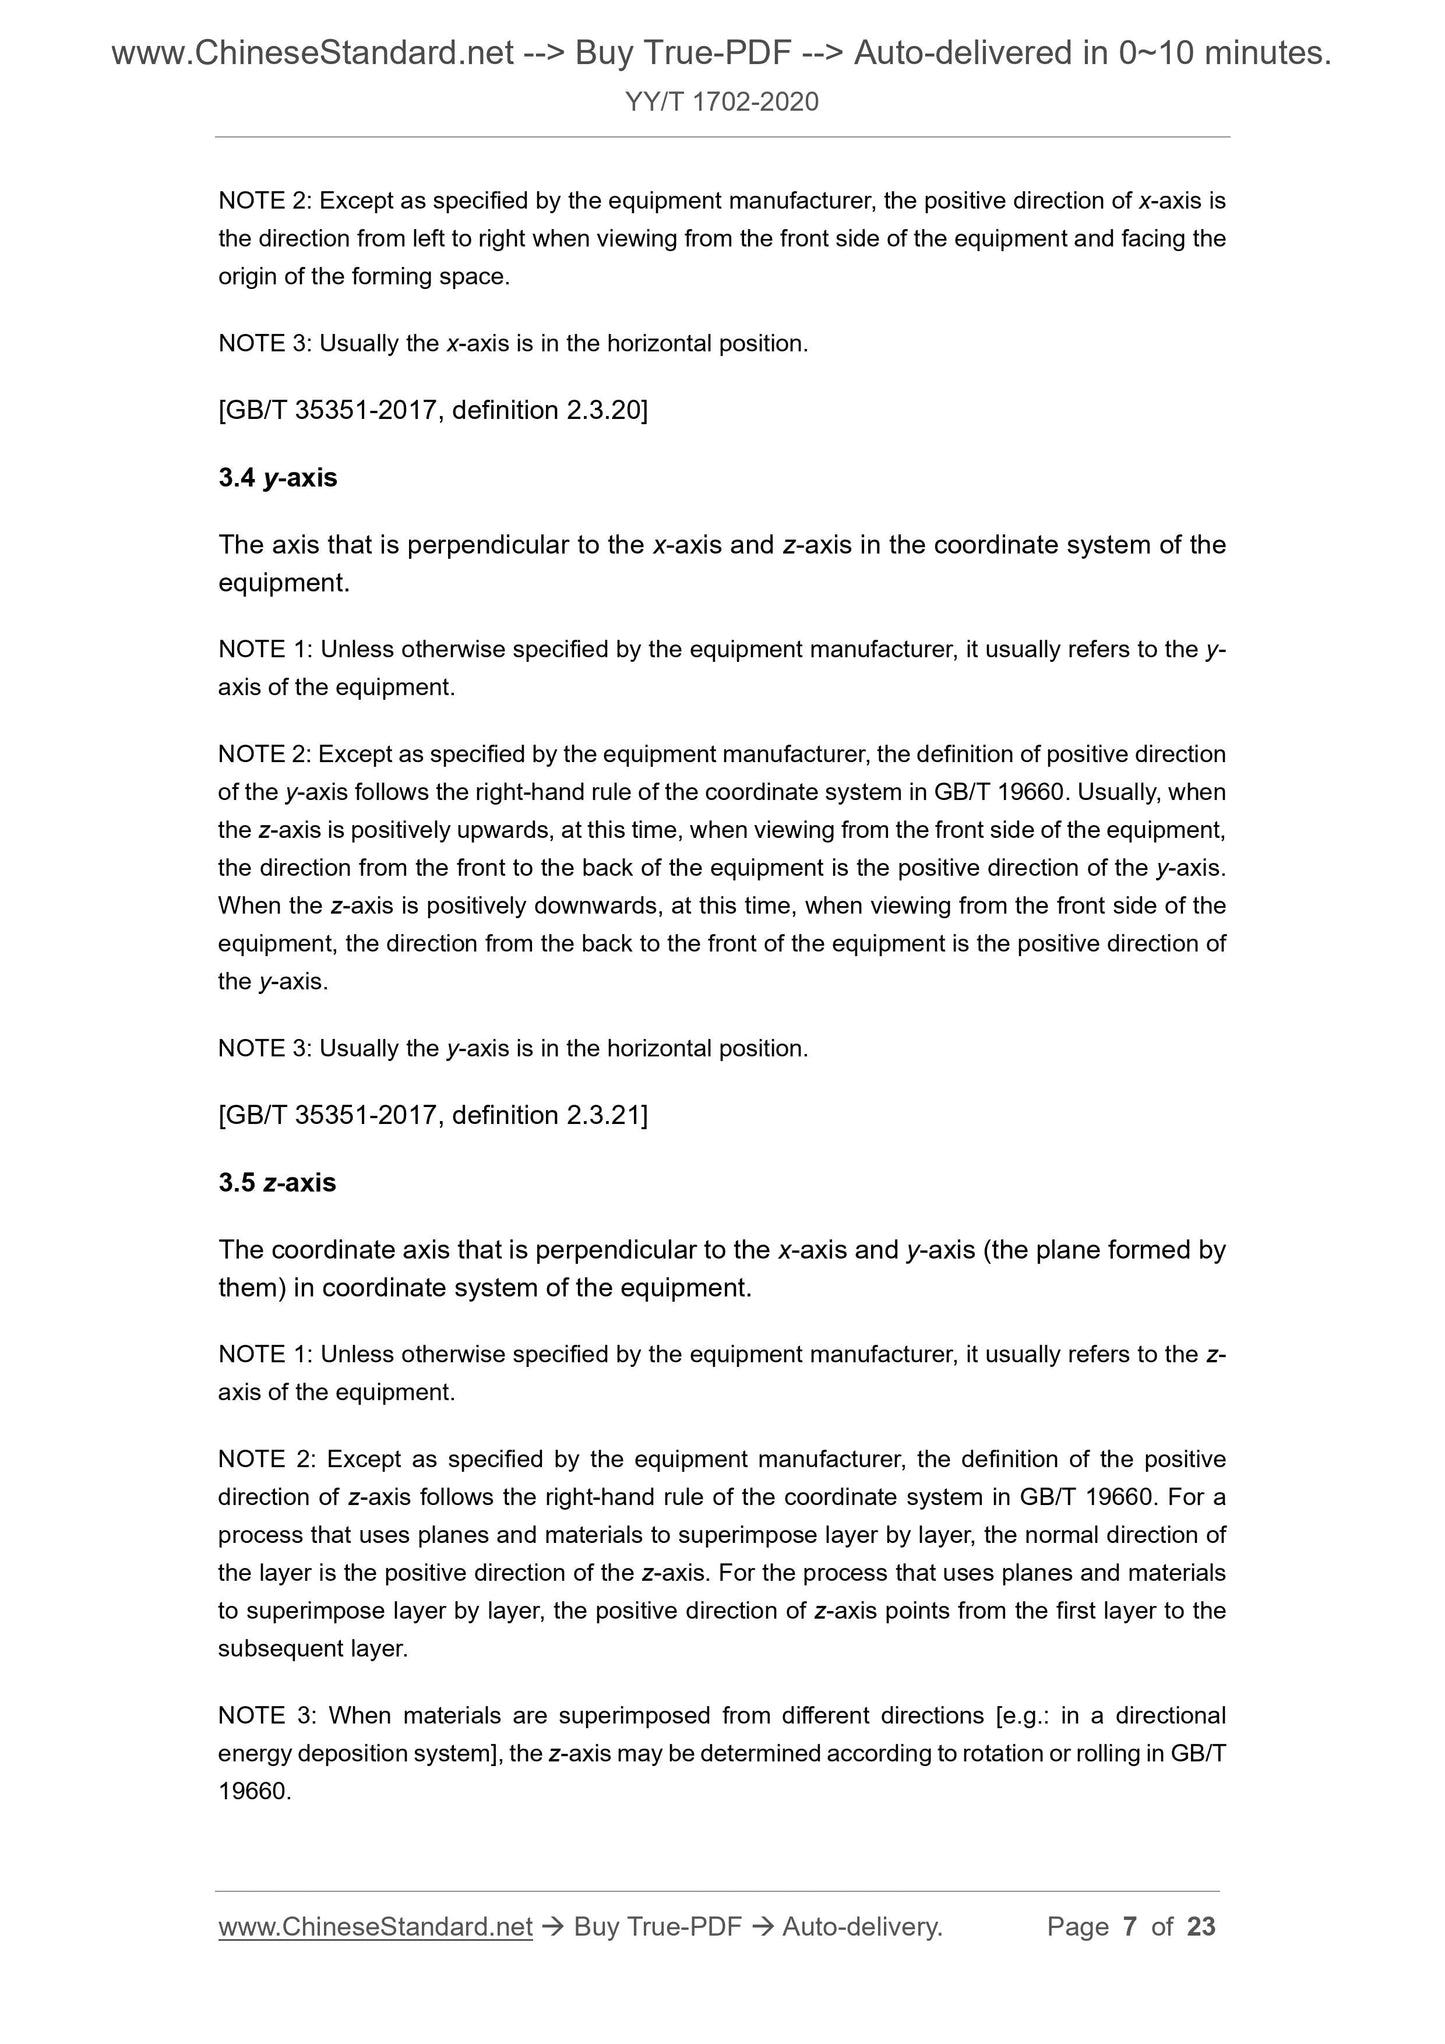
NOTE 2: Except as specified by the equipment manufacturer, the positive direction of x-axis is
the direction from left to right when viewing from the front side of the equipment and facing the
origin of the forming space.
NOTE 3: Usually the x-axis is in the horizontal position.
[GB/T 35351-2017, definition 2.3.20]
3.4 y-axis
The axis that is perpendicular to the x-axis and z-axis in the coordinate system of the
equipment.
NOTE 1: Unless otherwise specified by the equipment manufacturer, it usually refers to the y-
axis of the equipment.
NOTE 2: Except as specified by the equipment manufacturer, the definition of positive direction
of the y-axis follows the right-hand rule of the coordinate system in GB/T 19660. Usually, when
the z-axis is positively upwards, at this time, when viewing from the front side of the equipment,
the direction from the front to the back of the equipment is the positive direction of the y-axis.
When the z-axis is positively downwards, at this time, when viewing from the front side of the
equipment, the direction from the back to the front of the equipment is the positive direction of
the y-axis.
NOTE 3: Usually the y-axis is in the horizontal position.
[GB/T 35351-2017, definition 2.3.21]
3.5 z-axis
The coordinate axis that is perpendicular to the x-axis and y-axis (the plane formed by
them) in coordinate system of the equipment.
NOTE 1: Unless otherwise specified by the equipment manufacturer, it usually refers to the z-
axis of the equipment.
NOTE 2: Except as specified by the equipment manufacturer, the definition of the positive
direction of z-axis follows the right-hand rule of the coordinate system in GB/T 19660. For a
process that uses planes and materials to superimpose layer by layer, the normal direction of
the layer is the positive direction of the z-axis. For the process that uses planes and materials
to superimpose layer by layer, the positive direction of z-axis points from the first layer to the
subsequent layer.
NOTE 3: When materials are superimposed from different directions [e.g.: in a directional
energy deposition system], the z-axis may be determined according to rotation or rolling in GB/T
19660.
snap rings.
5 Requirements
5.1 Metal powder
5.1.1 Chemical composition
Test according to 8.1.1, it shall comply with the provisions of 5.1 in ISO 22674-2016.
5.1.2 Hazardous ingredients
Test according to 8.1.1, it shall comply with the provisions of 5.2 in ISO 22674-2016.
5.1.3 Powder appearance
Test according to 8.1.2, the powder is even, and there are no visible impurities.
5.1.4 Roundness
Test according to 8.1.3, the roundness shall be no less than the claimed value of the
manufacturer.
5.1.5 Powder size and distribution
Test according to 8.1.4, D10≥12µm; D90≤65µm.
5.1.6 Powder flowability
Test according to 8.1.5, cobalt-chromium alloy powder: no more than 40s/50g; titanium
and titanium-alloy powder: no more than 50s/50g.
5.1.7 Bulk density of powder
Test according to 8.1.6, cobalt-chromium alloy powder: no less than 4.0g/cm3; titanium
and titanium alloy powder: no less than 2.2g/cm3.
5.1.8 Tap density of powder
Test according to 8.1.7, cobalt-chromium alloy powder: no less than 4.5g/cm3; titanium
and titanium alloy powder: no less than 2.5g/cm3.
5.1.9 Solidus and liquidus temperature (alloy) or melting point (commercial pure
metal)
Test according to 8.1.8, it shall meet the requirements of 5.9 in ISO 22674-2016.
5.1.10 Package accompanying documents, instructions manual, marking and
See introduction.
6 sampling
The powder sampling by the manufacturer shall comply with GB/T 5314-2011.
The sample amount shall be able to meet the requirements of 7.3 preparation of
samples; and the taken samples should be of the same batch. In addition, packaging
information, instructions manual, markings and labels shall meet the requirements of
Clauses 9 and 10.
7 Preparation of Sample
7.1 Overview
Prepare all samples in accordance with the documents attached to the product
package (see 9.1) and the manufacturer’s instruction manual (see 9.2).
The effect of printing direction on performance shall be fully considered. For the tensile
performance, bending performance, corrosion resistance, anti-tarnish performance,
linear expansion coefficient and metal-porcelain system performance, two sets of
samples shall be prepared; that is, the long axis of the sample is parallel to the printing
growth direction (z-axis direction) and the long axis of the sample is perpendicular to
the printing growth direction (x-axis or y-axis direction). The performances of the two
sets of specimens in the two printing directions shall both meet the requirements of the
corresponding clauses.
Replace all samples with visible defects.
The sample preparer shall provide relevant information and main printing parameters
(including at least: laser power, scanning speed, printing distance, spot diameter, and
powder layer thickness) of the used printing equipment...
Share
