1
/
su
5
PayPal, credit cards. Download editable-PDF and invoice in 1 second!
QB/T 5155-2017 English PDF (QBT5155-2017)
QB/T 5155-2017 English PDF (QBT5155-2017)
Prezzo di listino
$145.00 USD
Prezzo di listino
Prezzo scontato
$145.00 USD
Prezzo unitario
/
per
Spese di spedizione calcolate al check-out.
Impossibile caricare la disponibilità di ritiro
Delivery: 3 seconds. Download true-PDF + Invoice.
Get QUOTATION in 1-minute: Click QB/T 5155-2017
Historical versions: QB/T 5155-2017
Preview True-PDF (Reload/Scroll if blank)
QB/T 5155-2017: Test method of artificial leather and synthetic leather. Determination of softness
QB/T 5155-2017
QB
LIGHT INDUSTRY STANDARD OF
THE PEOPLE’S REPUBLIC OF CHINA
ICS 59.080.40
Classification No.: Y 47
Record No.: 59716-2017
Test Method of Artificial Leather and Synthetic Leather –
Determination of Softness
ISSUED ON: JULY 07, 2017
IMPLEMENTED ON: JANUARY 01, 2018
Issued by: Ministry of Industry and Information Technology of RPC
Table of Contents
Foreword ... 3
1 Scope ... 4
2 Normative References ... 4
3 Load Needle Method (Method-A) ... 4
4 Flat Push Method (Method-B) ... 7
5 Draping Method (Method-C) ... 9
6 Test Report ... 12
Test Method of Artificial Leather and Synthetic Leather –
Determination of Softness
1 Scope
This Standard specifies 3 test methods for determining the softness of artificial leather and
synthetic leather; i.e., load needle method (Method-A), flat push method (Method-B) and
draping method (Method-C).
This Standard is applicable to the softness test of artificial leather and synthetic leather.
2 Normative References
The following documents are essential to the application of this Document. For the dated
documents, only the versions with the dates indicated are applicable to this Document; for the
undated documents, only the latest version (including all the amendments) is applicable to this
Document.
GB/T 2918-1998 Plastics - Standard atmospheres for conditioning and testing
3 Load Needle Method (Method-A)
3.1 Principle
At a certain speed, a load needle of a certain mass is released to the surface of the specimen
fixed in the holder, and the softness of the specimen is expressed by the amount of deformation
of the specimen.
3.2 Test instrument
3.2.1 The test device is shown in Figure 1, including the following parts:
a) Round-hole A: The diameter can be adjusted by a metal ring in three positions: (35.0±0.1)
mm, (25.0±0.1) mm, (20.0±0.1) mm;
b) Holder B: Fix the specimen;
c) Loading needle C: diameter (4.9±0.1) mm, length (11.5±0.1) mm, fixed on the cylinder
B – end-point mark;
C – platen;
D – specimen;
E – test platform;
L – moving distance of specimen.
Figure 3 – Schematic Diagram of Test of Flat Push Method
4.3 Preparation of specimen
The size of the specimen shall be 200mm×25mm; take 3 pieces in the vertical and horizontal
directions, respectively; ensure that the surface of the specimen is free from wrinkles, scars and
other defects that affect the test results.
NOTE: This method is not suitable for specimens with severe curling phenomenon.
4.4 Specimen conditioning and test environment
The specimen conditioning shall be carried out in an environment of temperature (23±2) °C
and relative humidity (50±10) % according to the provisions of GB/T 2918-1998; and the time
shall be no less than 4h; and the test shall be carried out in this environment.
4.5 Test procedure
4.5.1 Put the specimen on the test platform with the use side upward, align the short side of the
specimen with the short side of the test platform; and mark the position of the front edge as the
starting-point A.
4.5.2 Put a platen on the specimen; apply force on the platen to push the specimen to move
horizontally to the slope side at a certain speed.
4.5.3 After the specimen stretches out from the platform, it bends and sags under its own weight;
and stops pushing when the drooping end of the specimen touches the surface of the slope.
4.5.4 Mark the position of the short side of the specimen on the test platform as the end-point
B.
4.5.5 Remove the platen and specimen; measure the linear distance L between point A and point
B with a steel ruler; and record the test data.
4.5.6 For the test results, take the arithmetic mean of the test data in the two directions
respectively, and retain 1 digit after the decimal point.
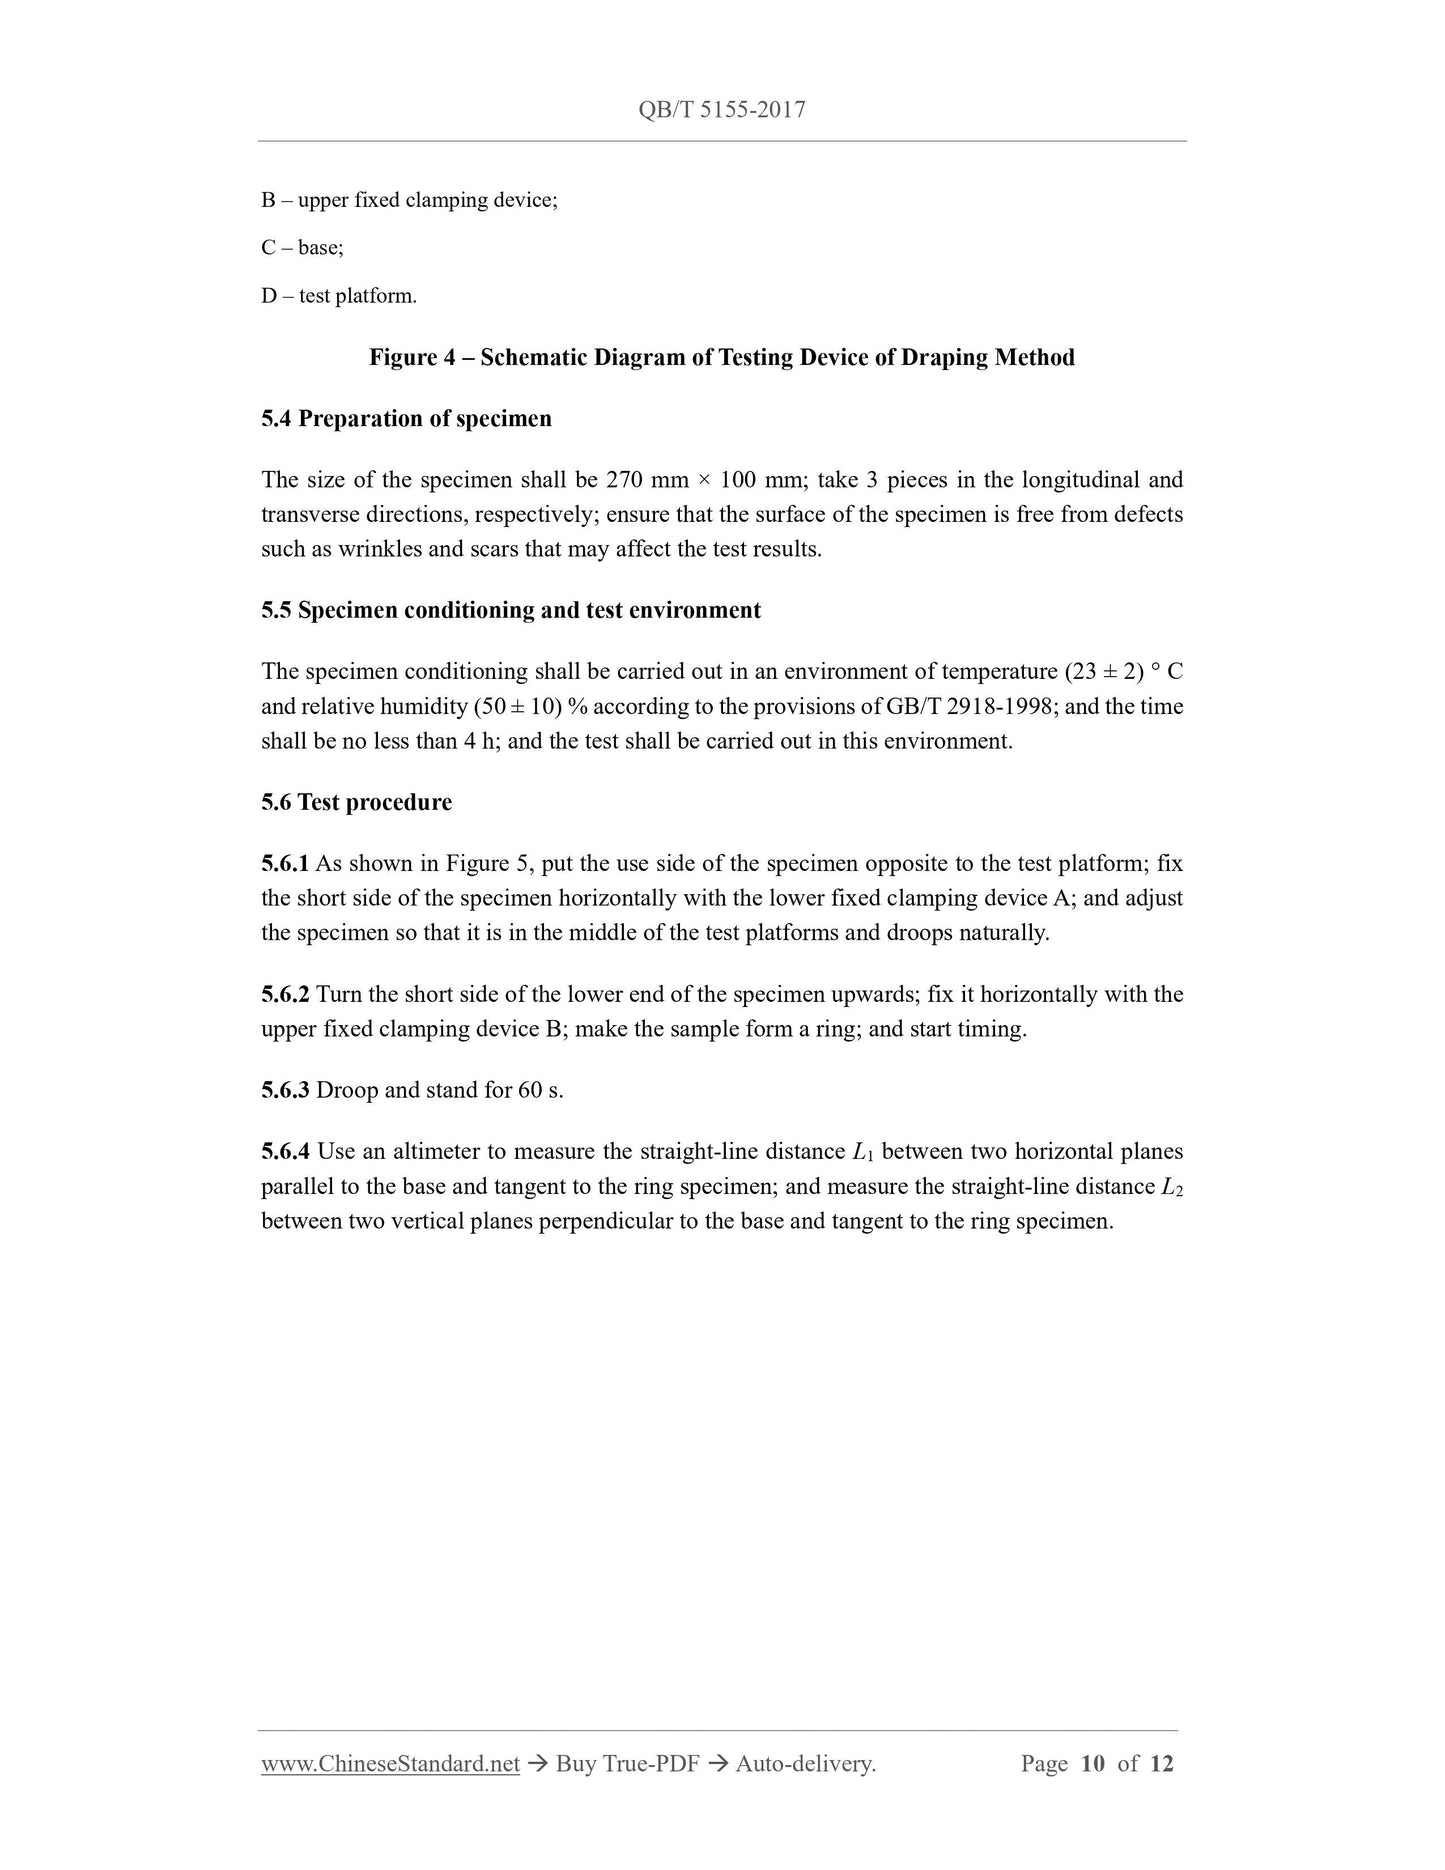
B – upper fixed clamping device;
C – base;
D – test platform.
Figure 4 – Schematic Diagram of Testing Device of Draping Method
5.4 Preparation of specimen
The size of the specimen shall be 270 mm × 100 mm; take 3 pieces in the longitudinal and
transverse directions, respectively; ensure that the surface of the specimen is free from defects
such as wrinkles and scars that may affect the test results.
5.5 Specimen conditioning and test environment
The specimen conditioning shall be carried out in an environment of temperature (23 ± 2) ° C
and relative humidity (50 ± 10) % according to the provisions of GB/T 2918-1998; and the time
shall be no less than 4 h; and the test shall be carried out in this environment.
5.6 Test procedure
5.6.1 As shown in Figure 5, put the use side of the specimen opposite to the test platform; fix
the short side of the specimen horizontally with the lower fixed clamping device A; and adjust
the specimen so that it is in the middle of the test platforms and droops naturally.
5.6.2 Turn the short side of the lower end of the specimen upwards; fix it horizontally with the
upper fixed clamping device B; make the sample form a ring; and start timing.
5.6.3 Droop and stand for 60 s.
5.6.4 Use an altimeter to measure the straight-line distance L1 between two horizontal planes
parallel to the base and tangent to the ring specimen; and measure the straight-line distance L2
between two vertical planes perpendicular to the base and tangent to the ring specimen.
Share
