1
/
of
10
PayPal, credit cards. Download editable-PDF & invoice in 1 second!
GB 11614-2009 English PDF (GB11614-2009)
GB 11614-2009 English PDF (GB11614-2009)
Regular price
$85.00 USD
Regular price
Sale price
$85.00 USD
Unit price
/
per
Shipping calculated at checkout.
Couldn't load pickup availability
Delivery: 3 seconds. Download true-PDF + Invoice.Newer version: (Replacing this standard) GB 11614-2022
Get QUOTATION in 1-minute: Click GB 11614-2009
Historical versions: GB 11614-2009
Preview True-PDF (Reload/Scroll if blank)
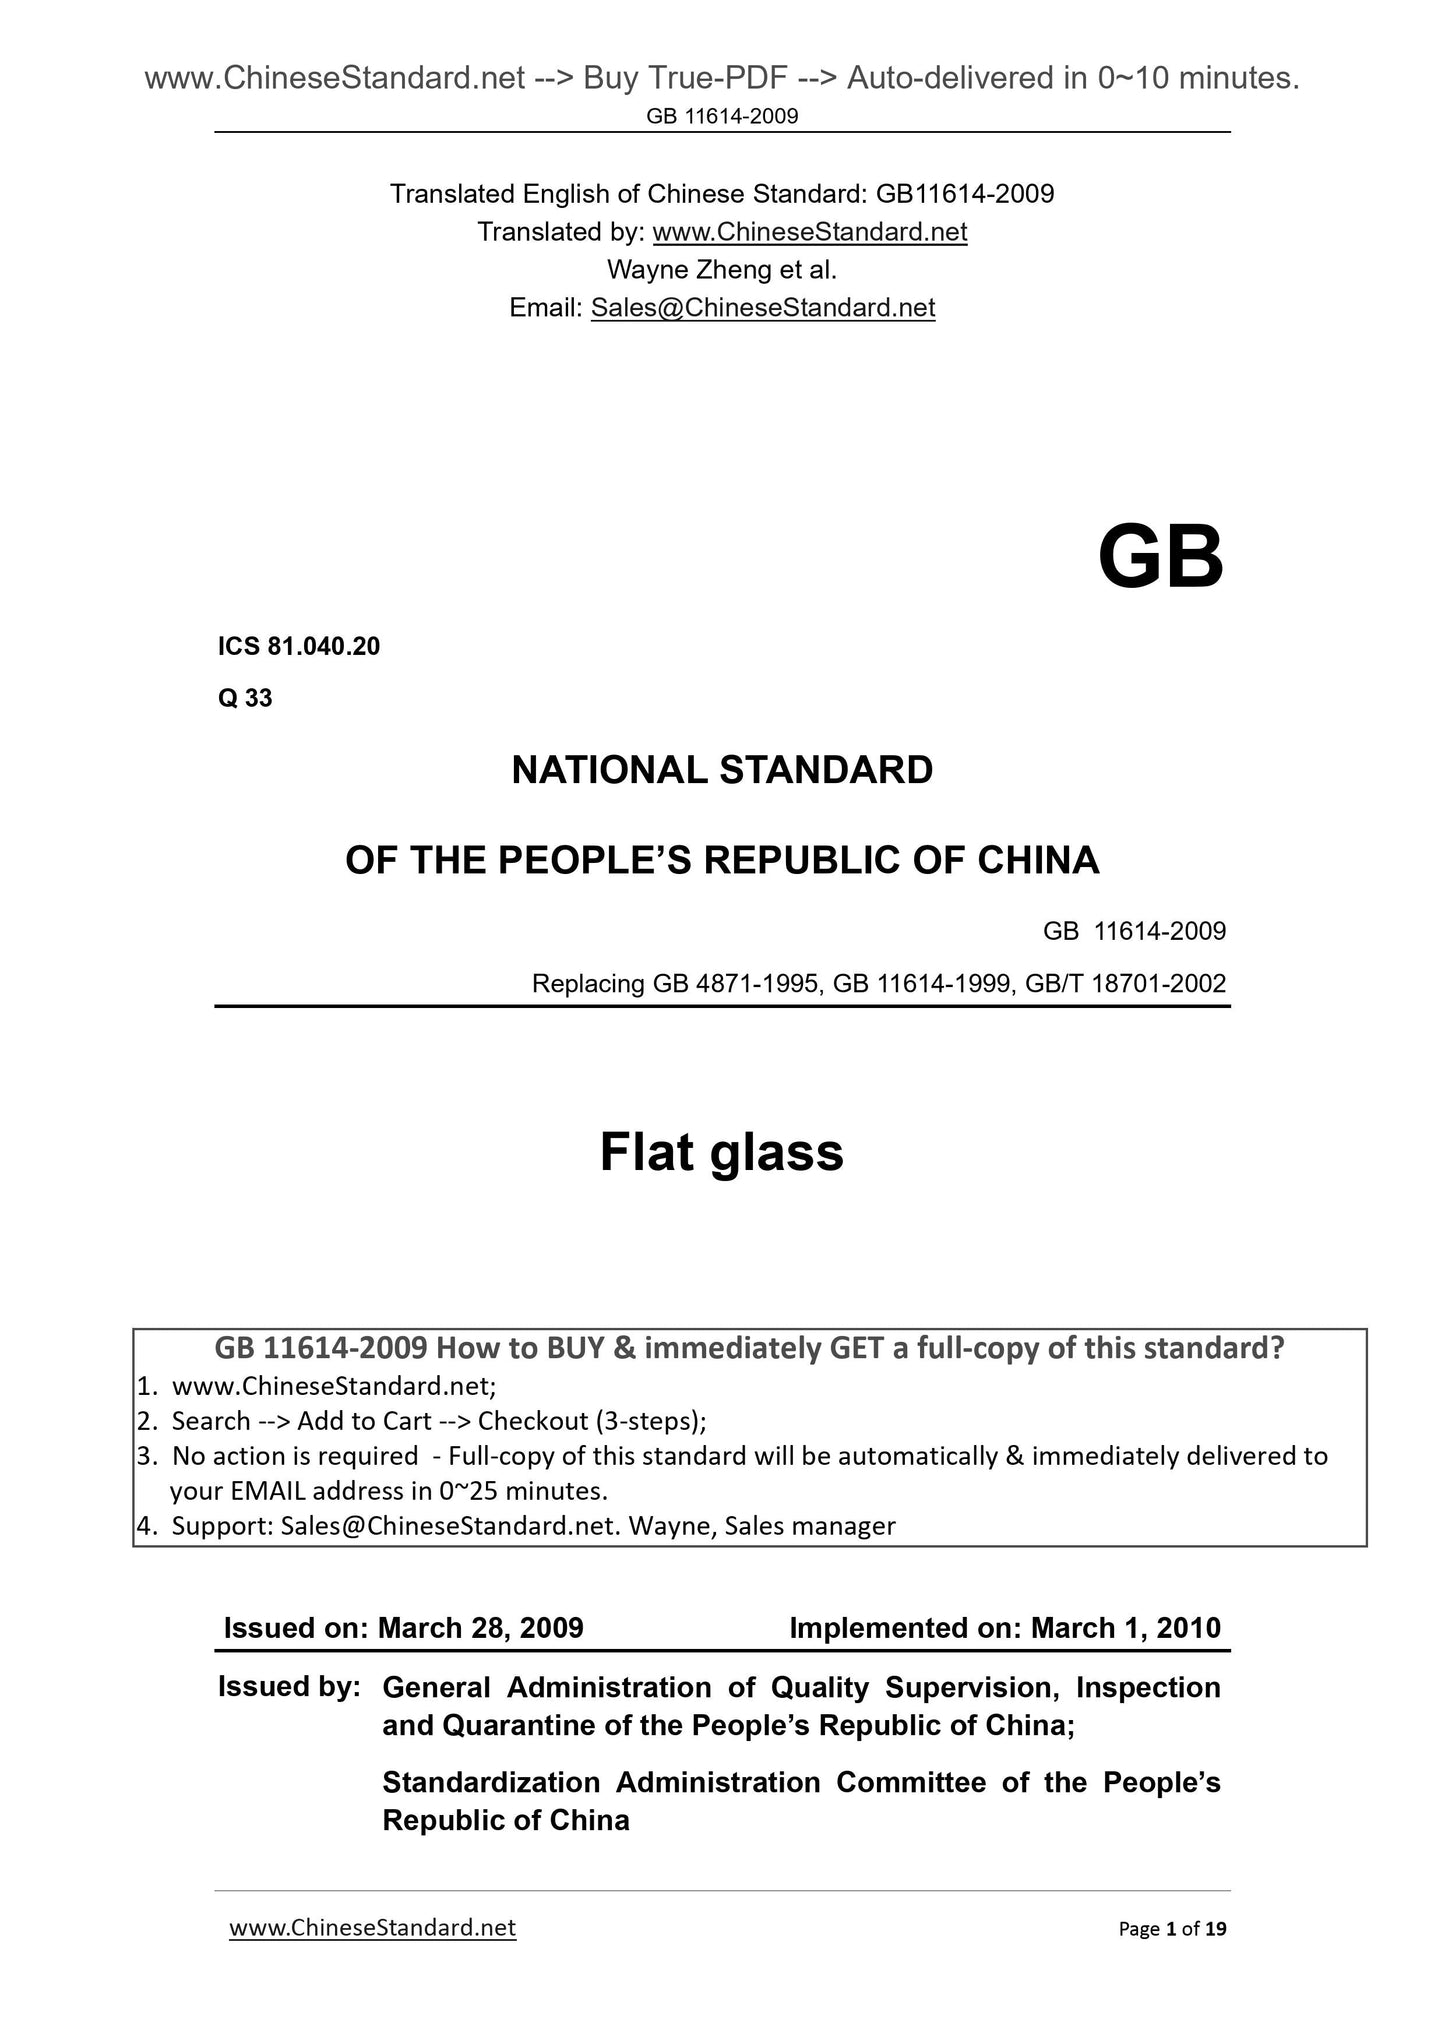
GB 11614-2009: Flat glass
GB 11614-2009
GB
ICS 81.040.20
Q 33
NATIONAL STANDARD
OF THE PEOPLE’S REPUBLIC OF CHINA
Replacing GB 4871-1995, GB 11614-1999, GB/T 18701-2002
Flat glass
平板玻璃
ISSUED ON. MARCH 28, 2009
IMPLEMENTED ON. MARCH 1, 2010
Issued by.
General Administration of Quality Supervision, Inspection
and Quarantine of the People’s Republic of China;
Standardization Administration Committee of the People’s
Republic of China
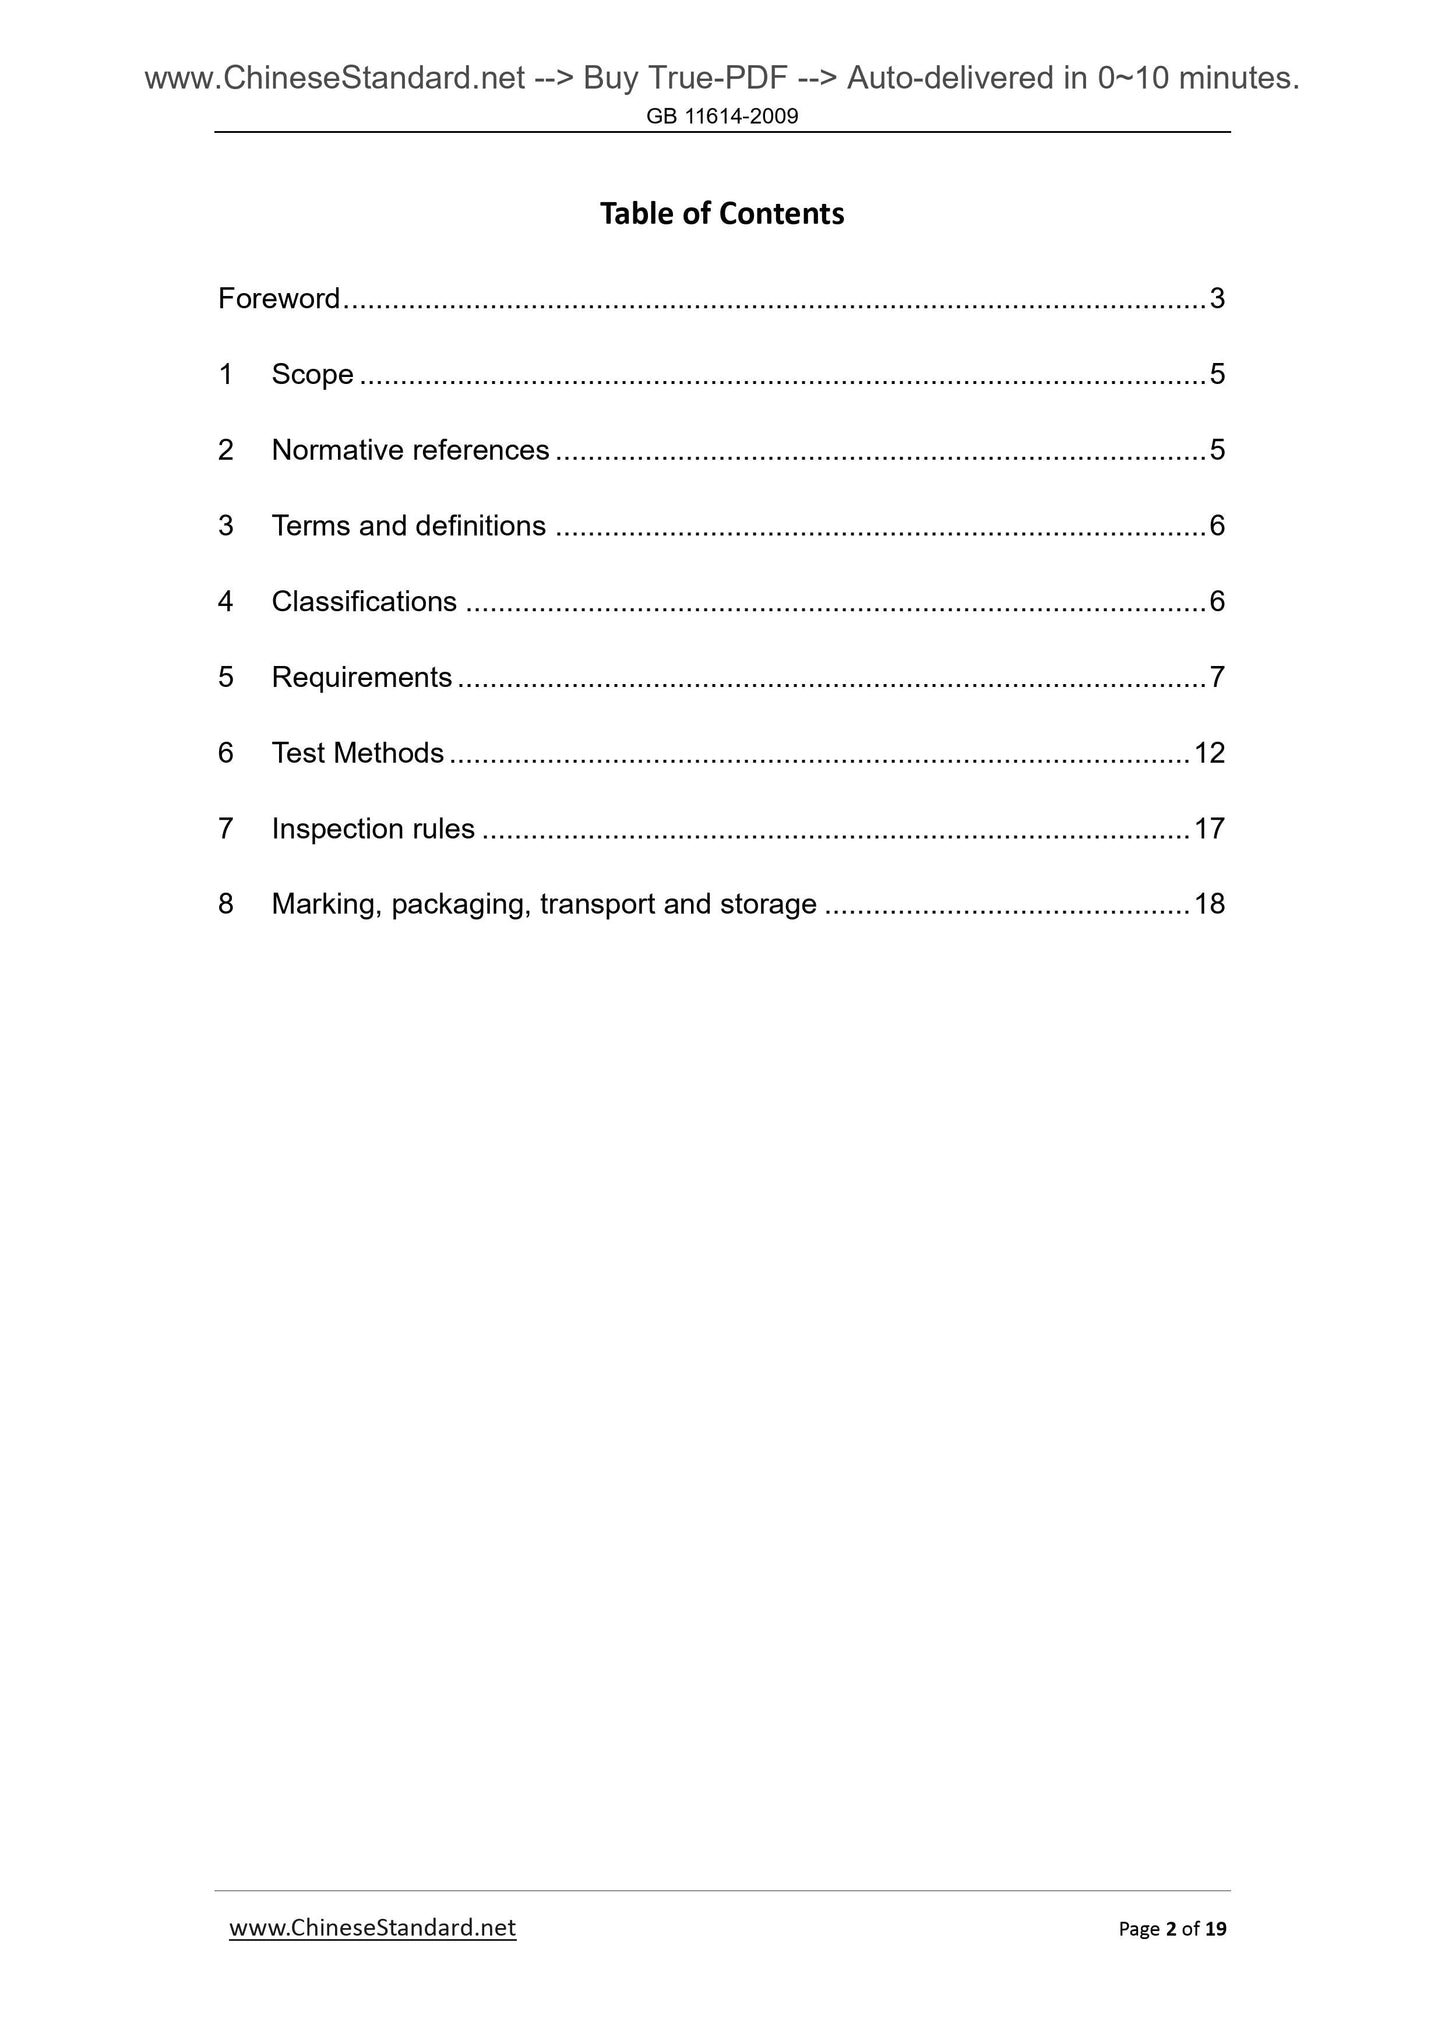
Table of Contents
Foreword ... 3
1 Scope ... 5
2 Normative references ... 5
3 Terms and definitions ... 6
4 Classifications ... 6
5 Requirements ... 7
6 Test Methods ... 12
7 Inspection rules ... 17
8 Marking, packaging, transport and storage ... 18
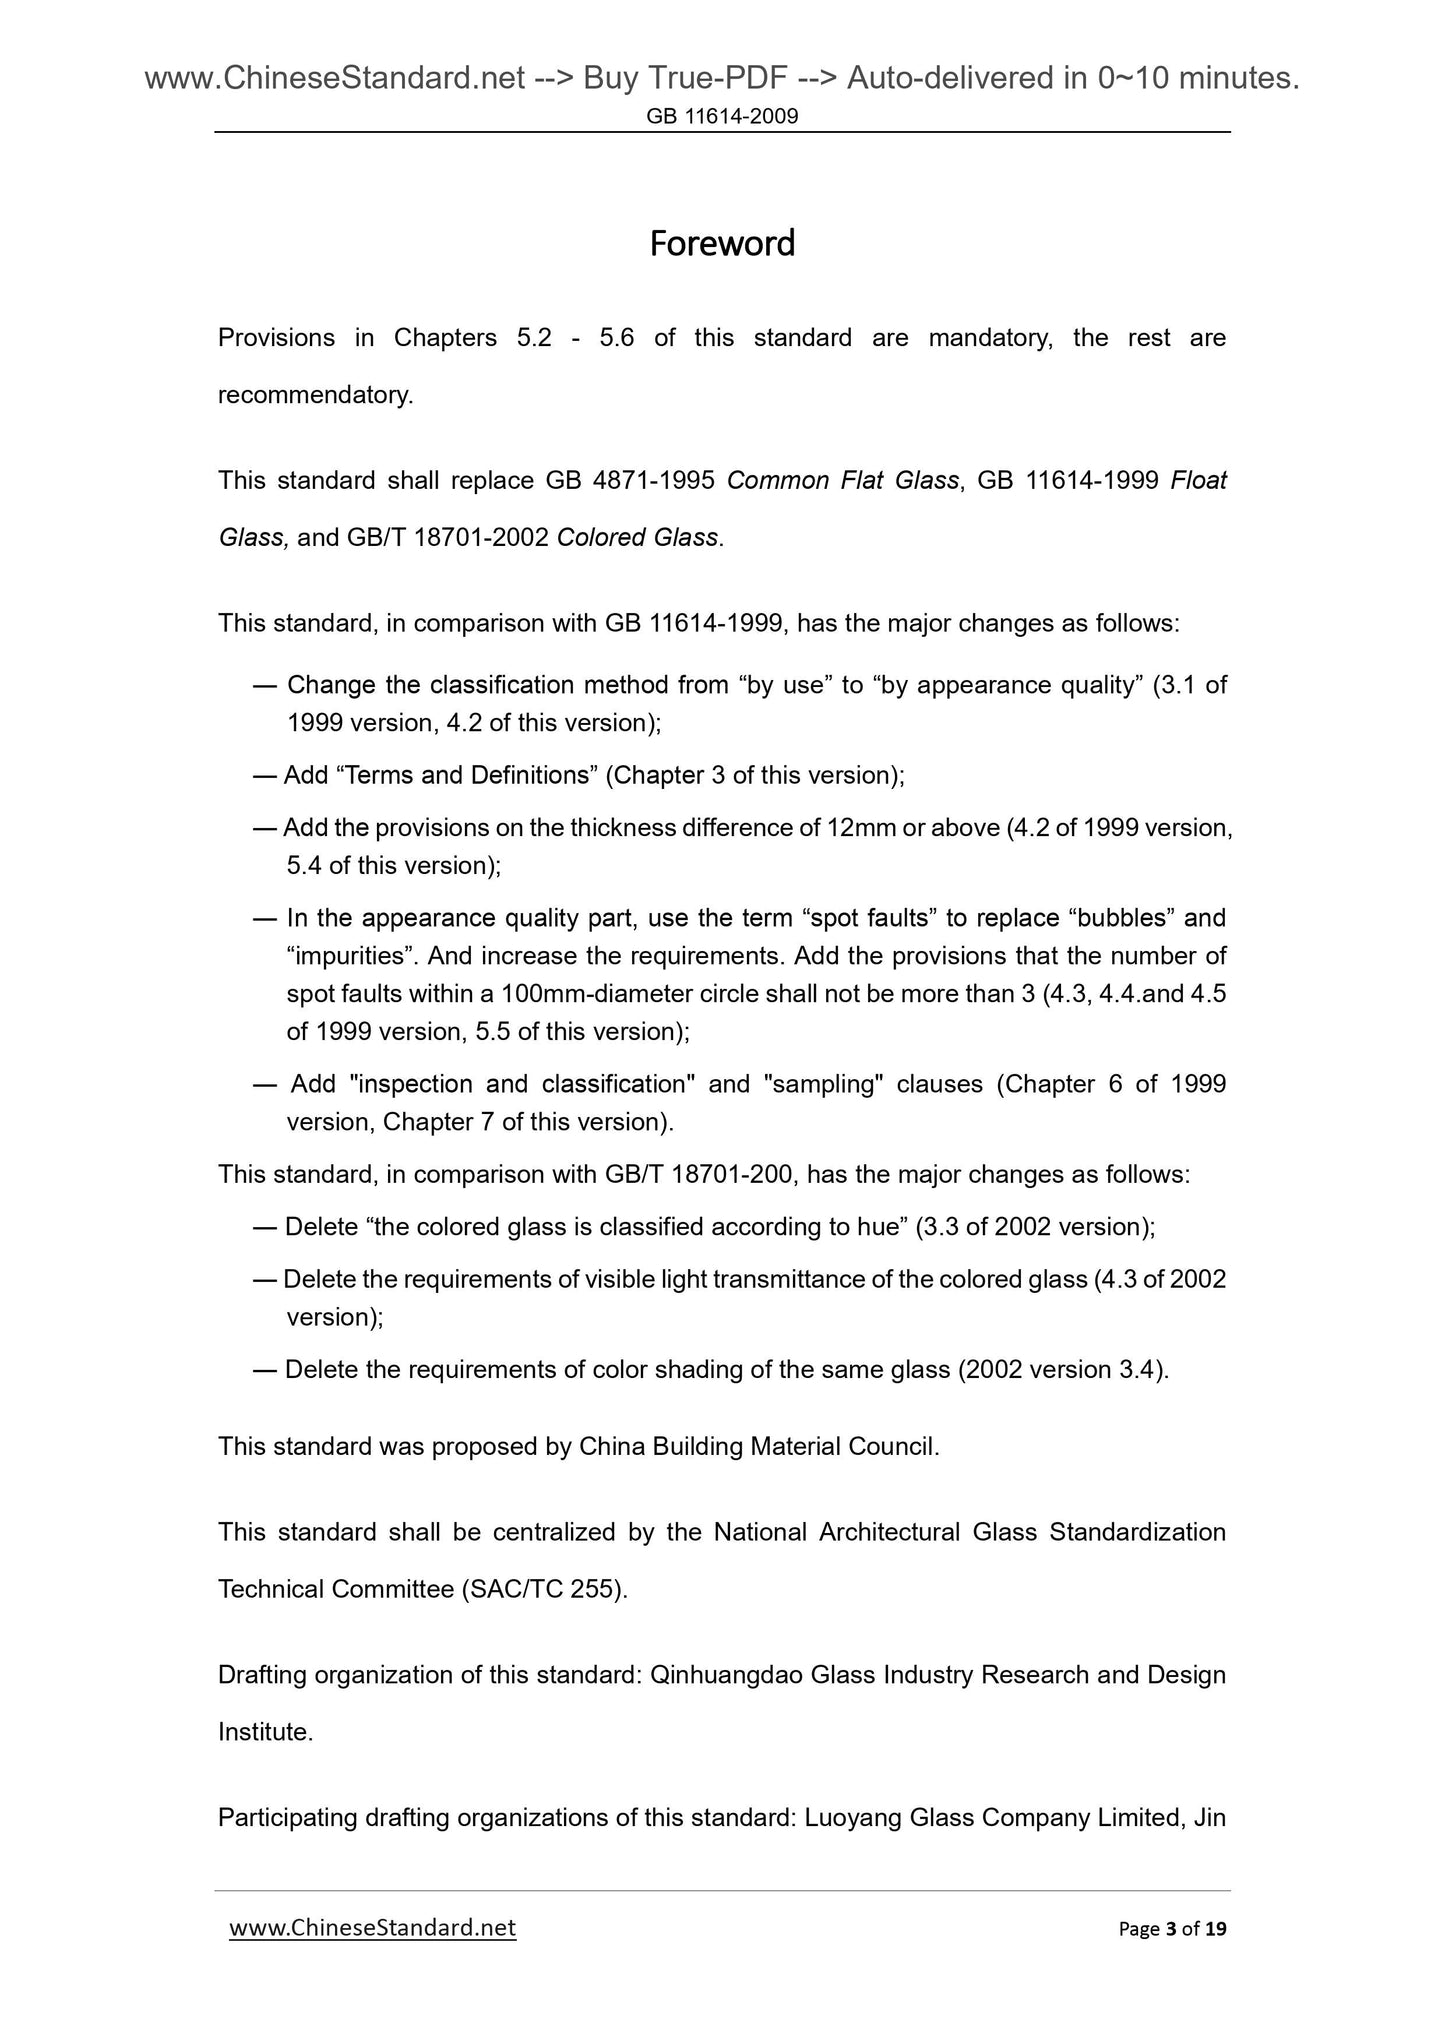
Foreword
Provisions in Chapters 5.2 - 5.6 of this standard are mandatory, the rest are
recommendatory.
This standard shall replace GB 4871-1995 Common Flat Glass, GB 11614-1999 Float
Glass, and GB/T 18701-2002 Colored Glass.
This standard, in comparison with GB 11614-1999, has the major changes as follows.
― Change the classification method from “by use” to “by appearance quality” (3.1 of
1999 version, 4.2 of this version);
― Add “Terms and Definitions” (Chapter 3 of this version);
― Add the provisions on the thickness difference of 12mm or above (4.2 of 1999 version,
5.4 of this version);
― In the appearance quality part, use the term “spot faults” to replace “bubbles” and
“impurities”. And increase the requirements. Add the provisions that the number of
spot faults within a 100mm-diameter circle shall not be more than 3 (4.3, 4.4.and 4.5
of 1999 version, 5.5 of this version);
― Add "inspection and classification" and "sampling" clauses (Chapter 6 of 1999
version, Chapter 7 of this version).
This standard, in comparison with GB/T 18701-200, has the major changes as follows.
― Delete “the colored glass is classified according to hue” (3.3 of 2002 version);
― Delete the requirements of visible light transmittance of the colored glass (4.3 of 2002
version);
― Delete the requirements of color shading of the same glass (2002 version 3.4).
This standard was proposed by China Building Material Council.
This standard shall be centralized by the National Architectural Glass Standardization
Technical Committee (SAC/TC 255).
Drafting organization of this standard. Qinhuangdao Glass Industry Research and Design
Institute.
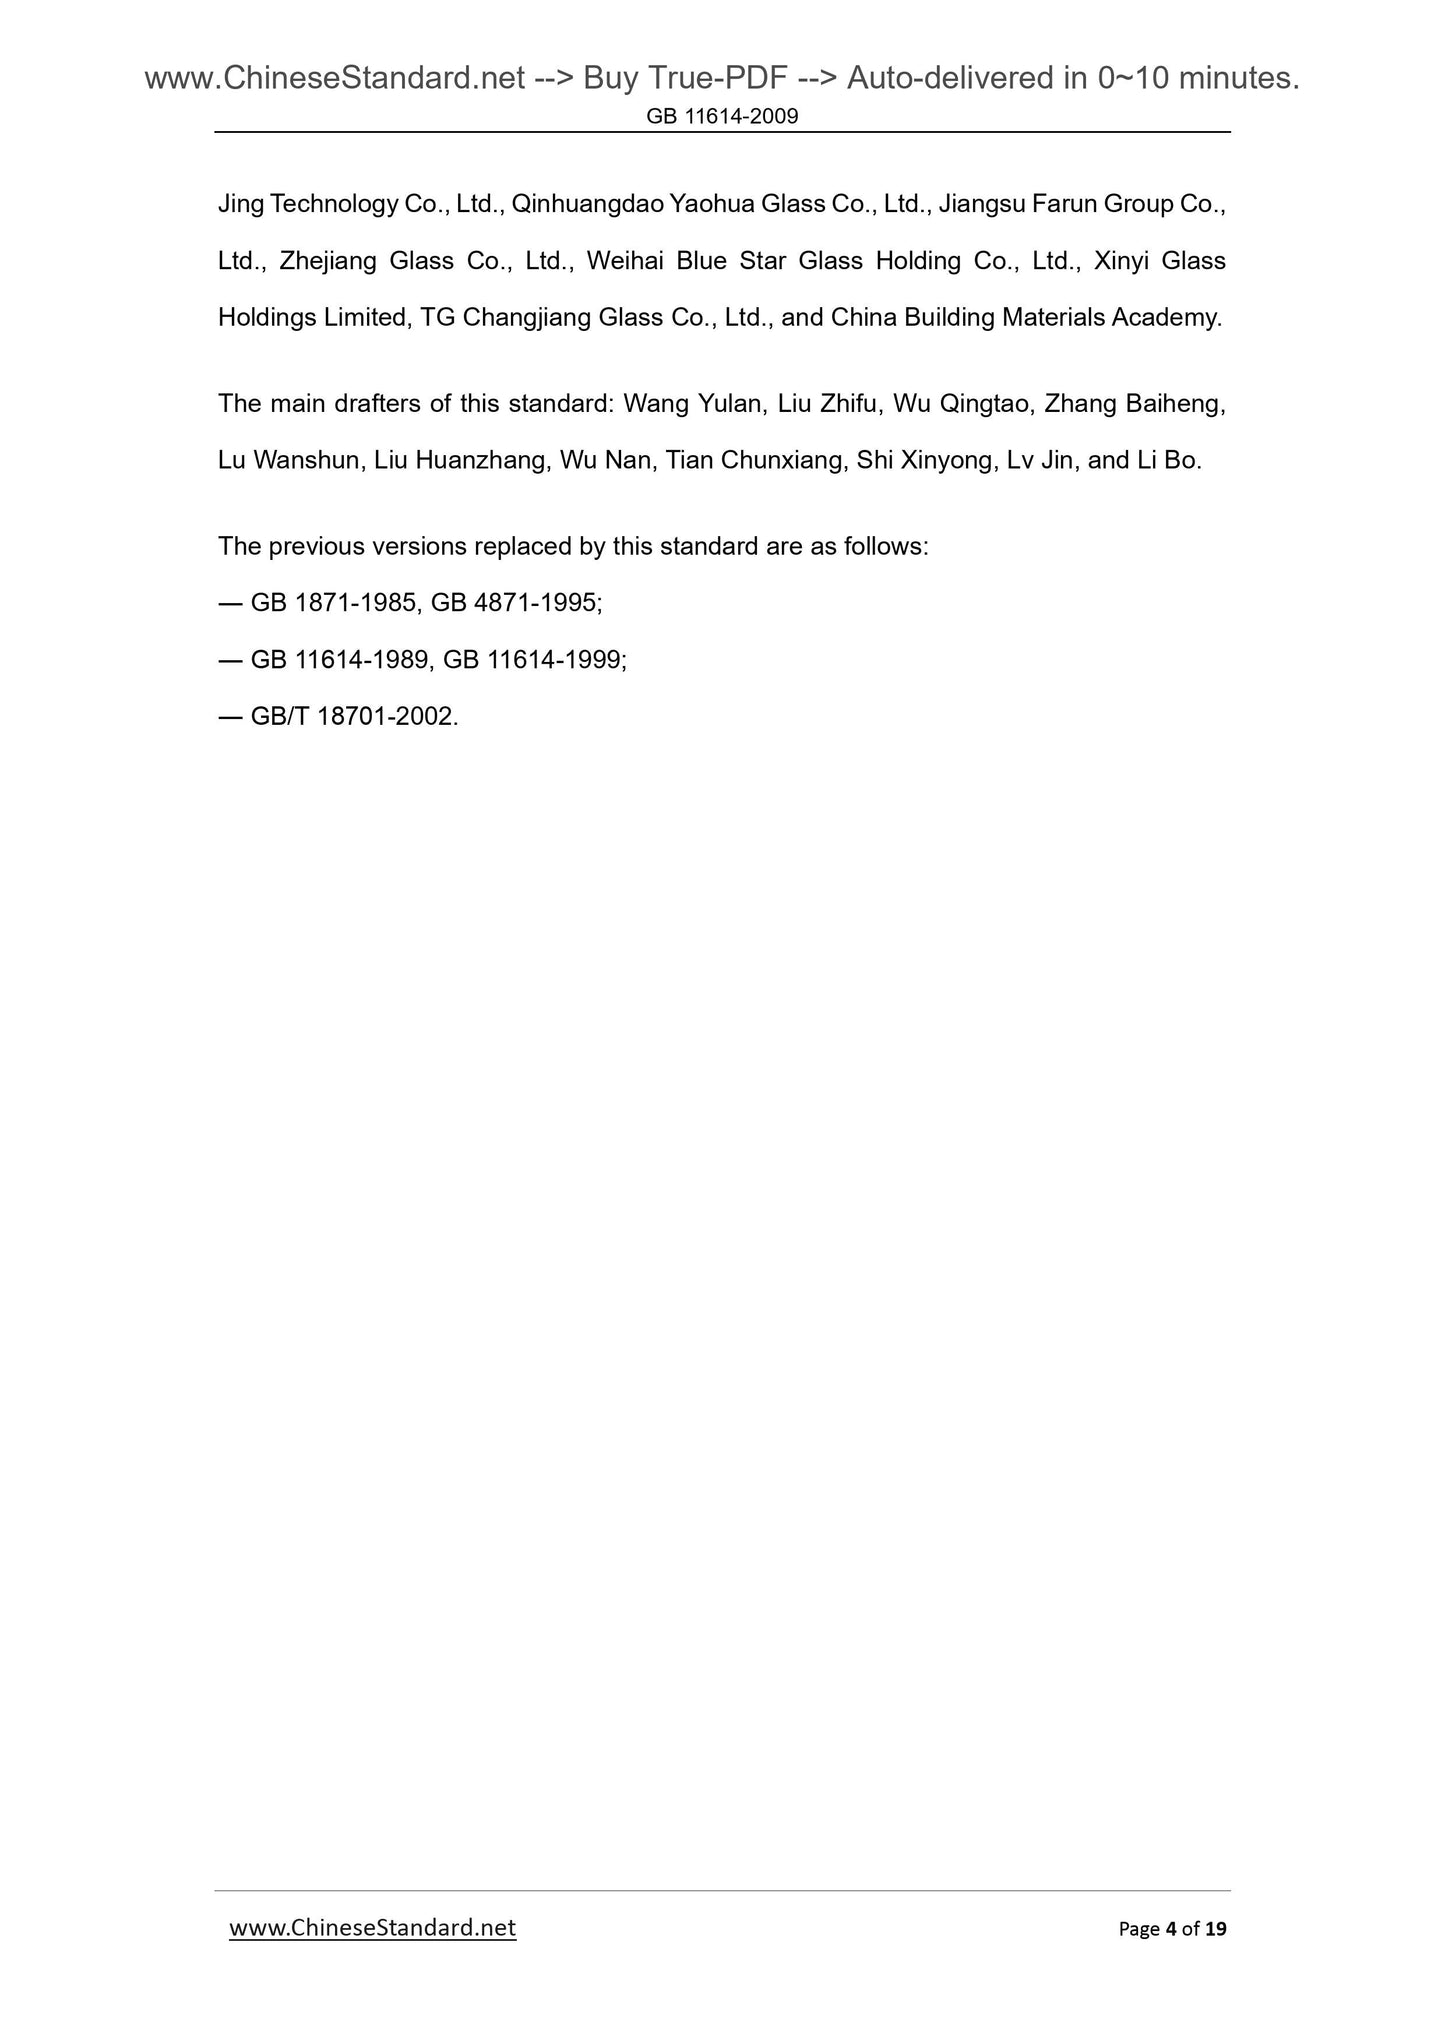
Participating drafting organizations of this standard. Luoyang Glass Company Limited, Jin
Jing Technology Co., Ltd., Qinhuangdao Yaohua Glass Co., Ltd., Jiangsu Farun Group Co.,
Ltd., Zhejiang Glass Co., Ltd., Weihai Blue Star Glass Holding Co., Ltd., Xinyi Glass
Holdings Limited, TG Changjiang Glass Co., Ltd., and China Building Materials Academy.
The main drafters of this standard. Wang Yulan, Liu Zhifu, Wu Qingtao, Zhang Baiheng,
Lu Wanshun, Liu Huanzhang, Wu Nan, Tian Chunxiang, Shi Xinyong, Lv Jin, and Li Bo.
The previous versions replaced by this standard are as follows.
― GB 1871-1985, GB 4871-1995;
― GB 11614-1989, GB 11614-1999;
― GB/T 18701-2002.
Plate Glass
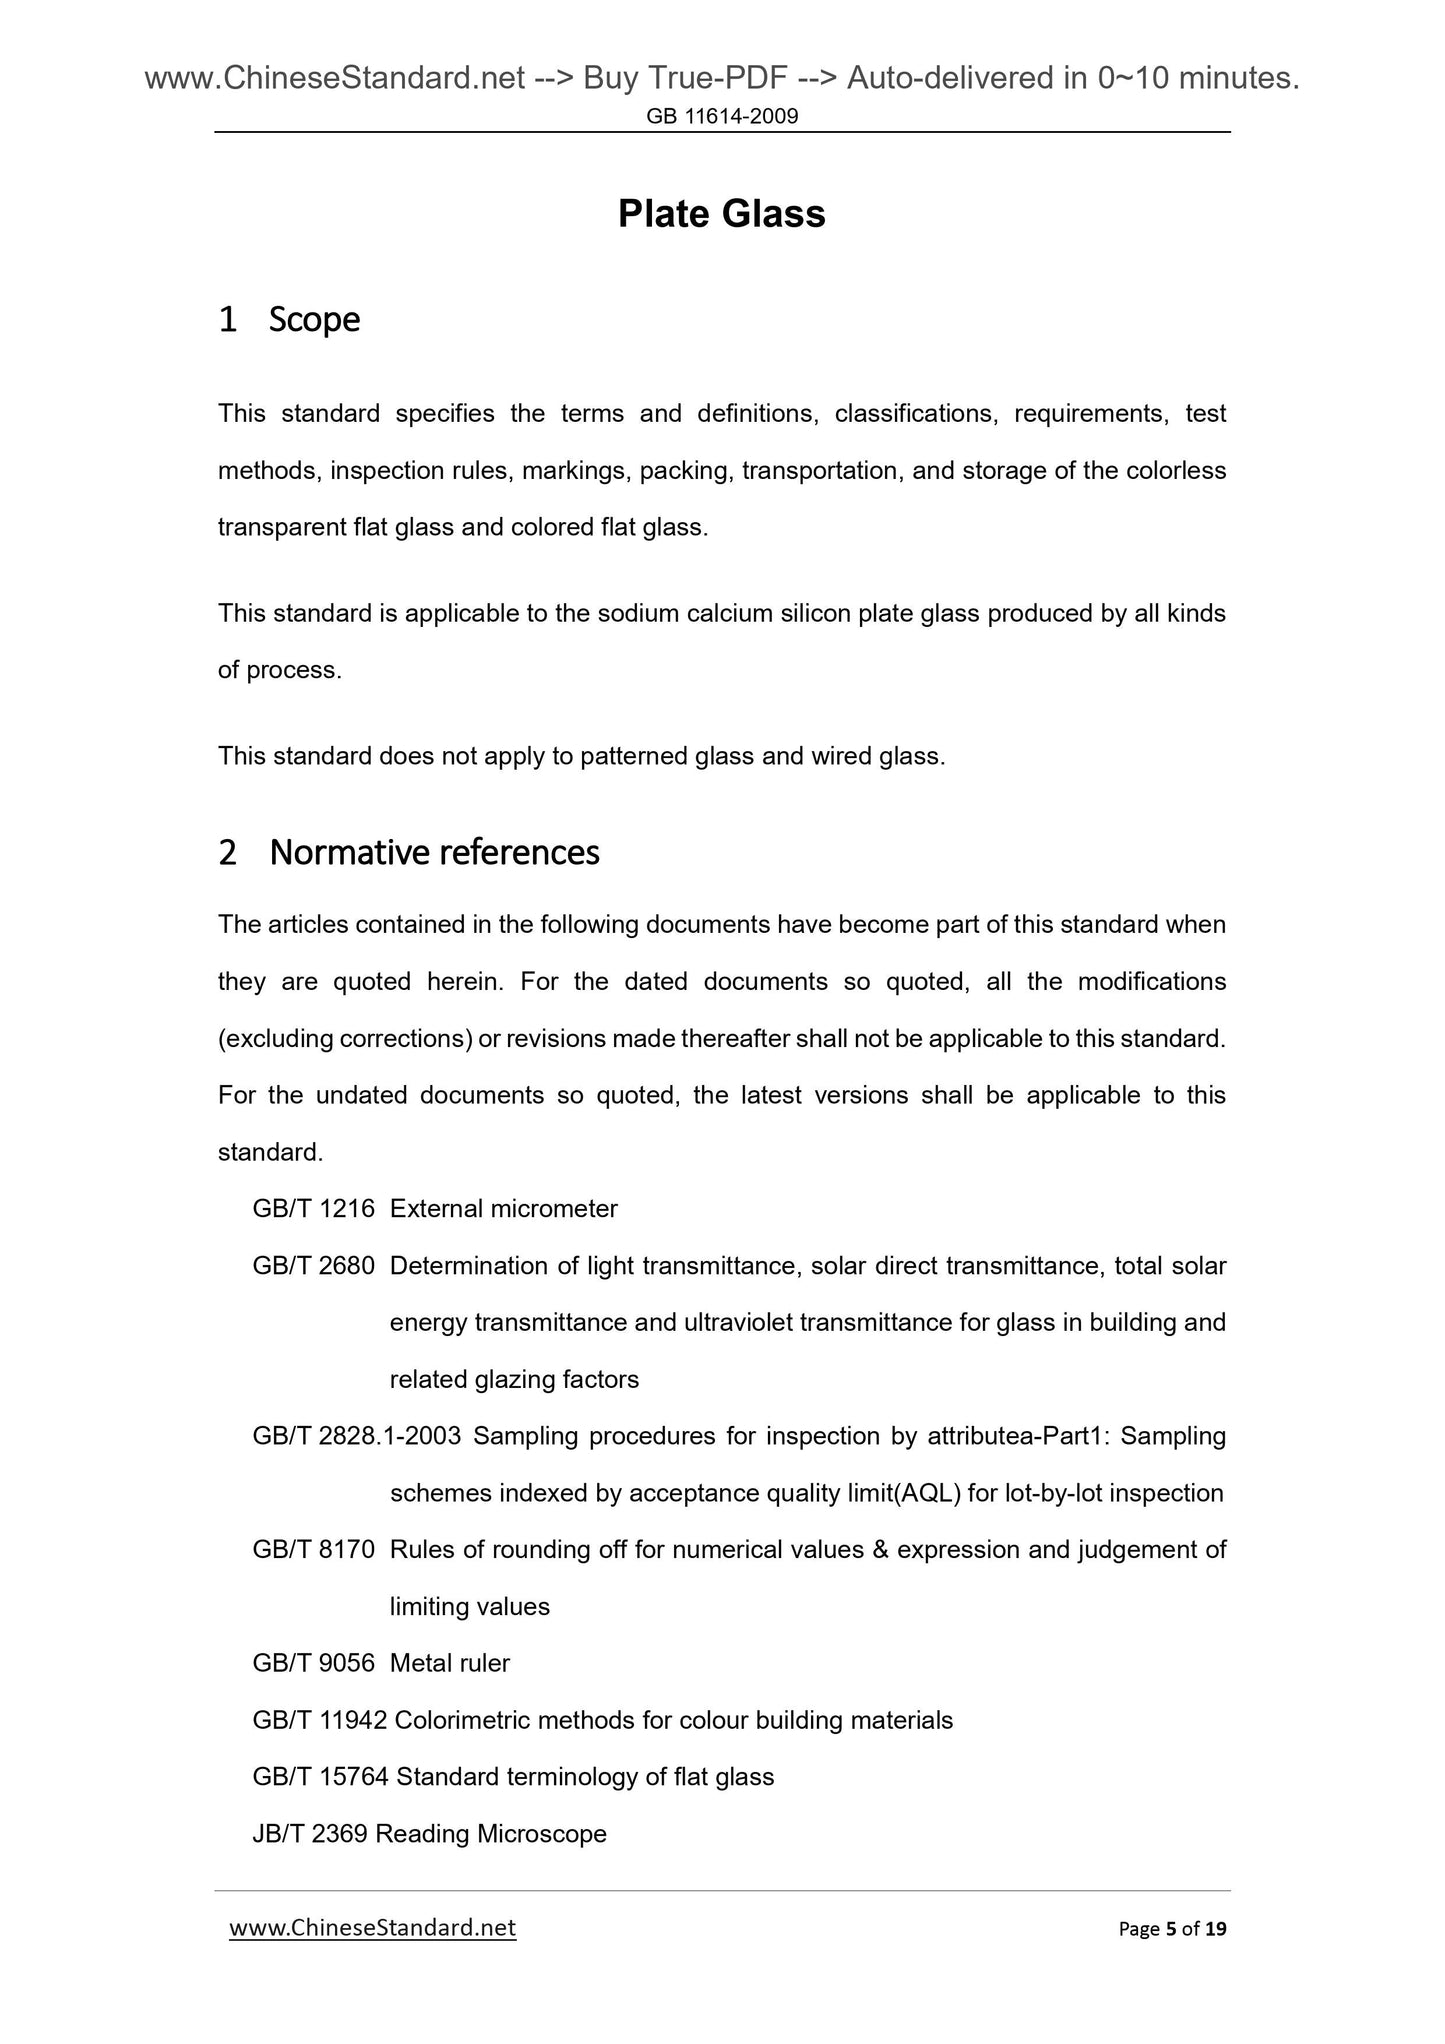
1 Scope
This standard specifies the terms and definitions, classifications, requirements, test
methods, inspection rules, markings, packing, transportation, and storage of the colorless
transparent flat glass and colored flat glass.
This standard is applicable to the sodium calcium silicon plate glass produced by all kinds
of process.
This standard does not apply to patterned glass and wired glass.
2 Normative references
The articles contained in the following documents have become part of this standard when
they are quoted herein. For the dated documents so quoted, all the modifications
(excluding corrections) or revisions made thereafter shall not be applicable to this standard.
For the undated documents so quoted, the latest versions shall be applicable to this
standard.
GB/T 1216 External micrometer
GB/T 2680 Determination of light transmittance, solar direct transmittance, total solar
energy transmittance and ultraviolet transmittance for glass in building and
related glazing factors
GB/T 2828.1-2003 Sampling procedures for inspection by attributea-Part1. Sampling
schemes indexed by acceptance quality limit(AQL) for lot-by-lot inspection
GB/T 8170 Rules of rounding off for numerical values and expression and judgement of
limiting values
GB/T 9056 Metal ruler
GB/T 11942 Colorimetric methods for colour building materials
GB/T 15764 Standard terminology of flat glass
JB/T 2369 Reading Microscope
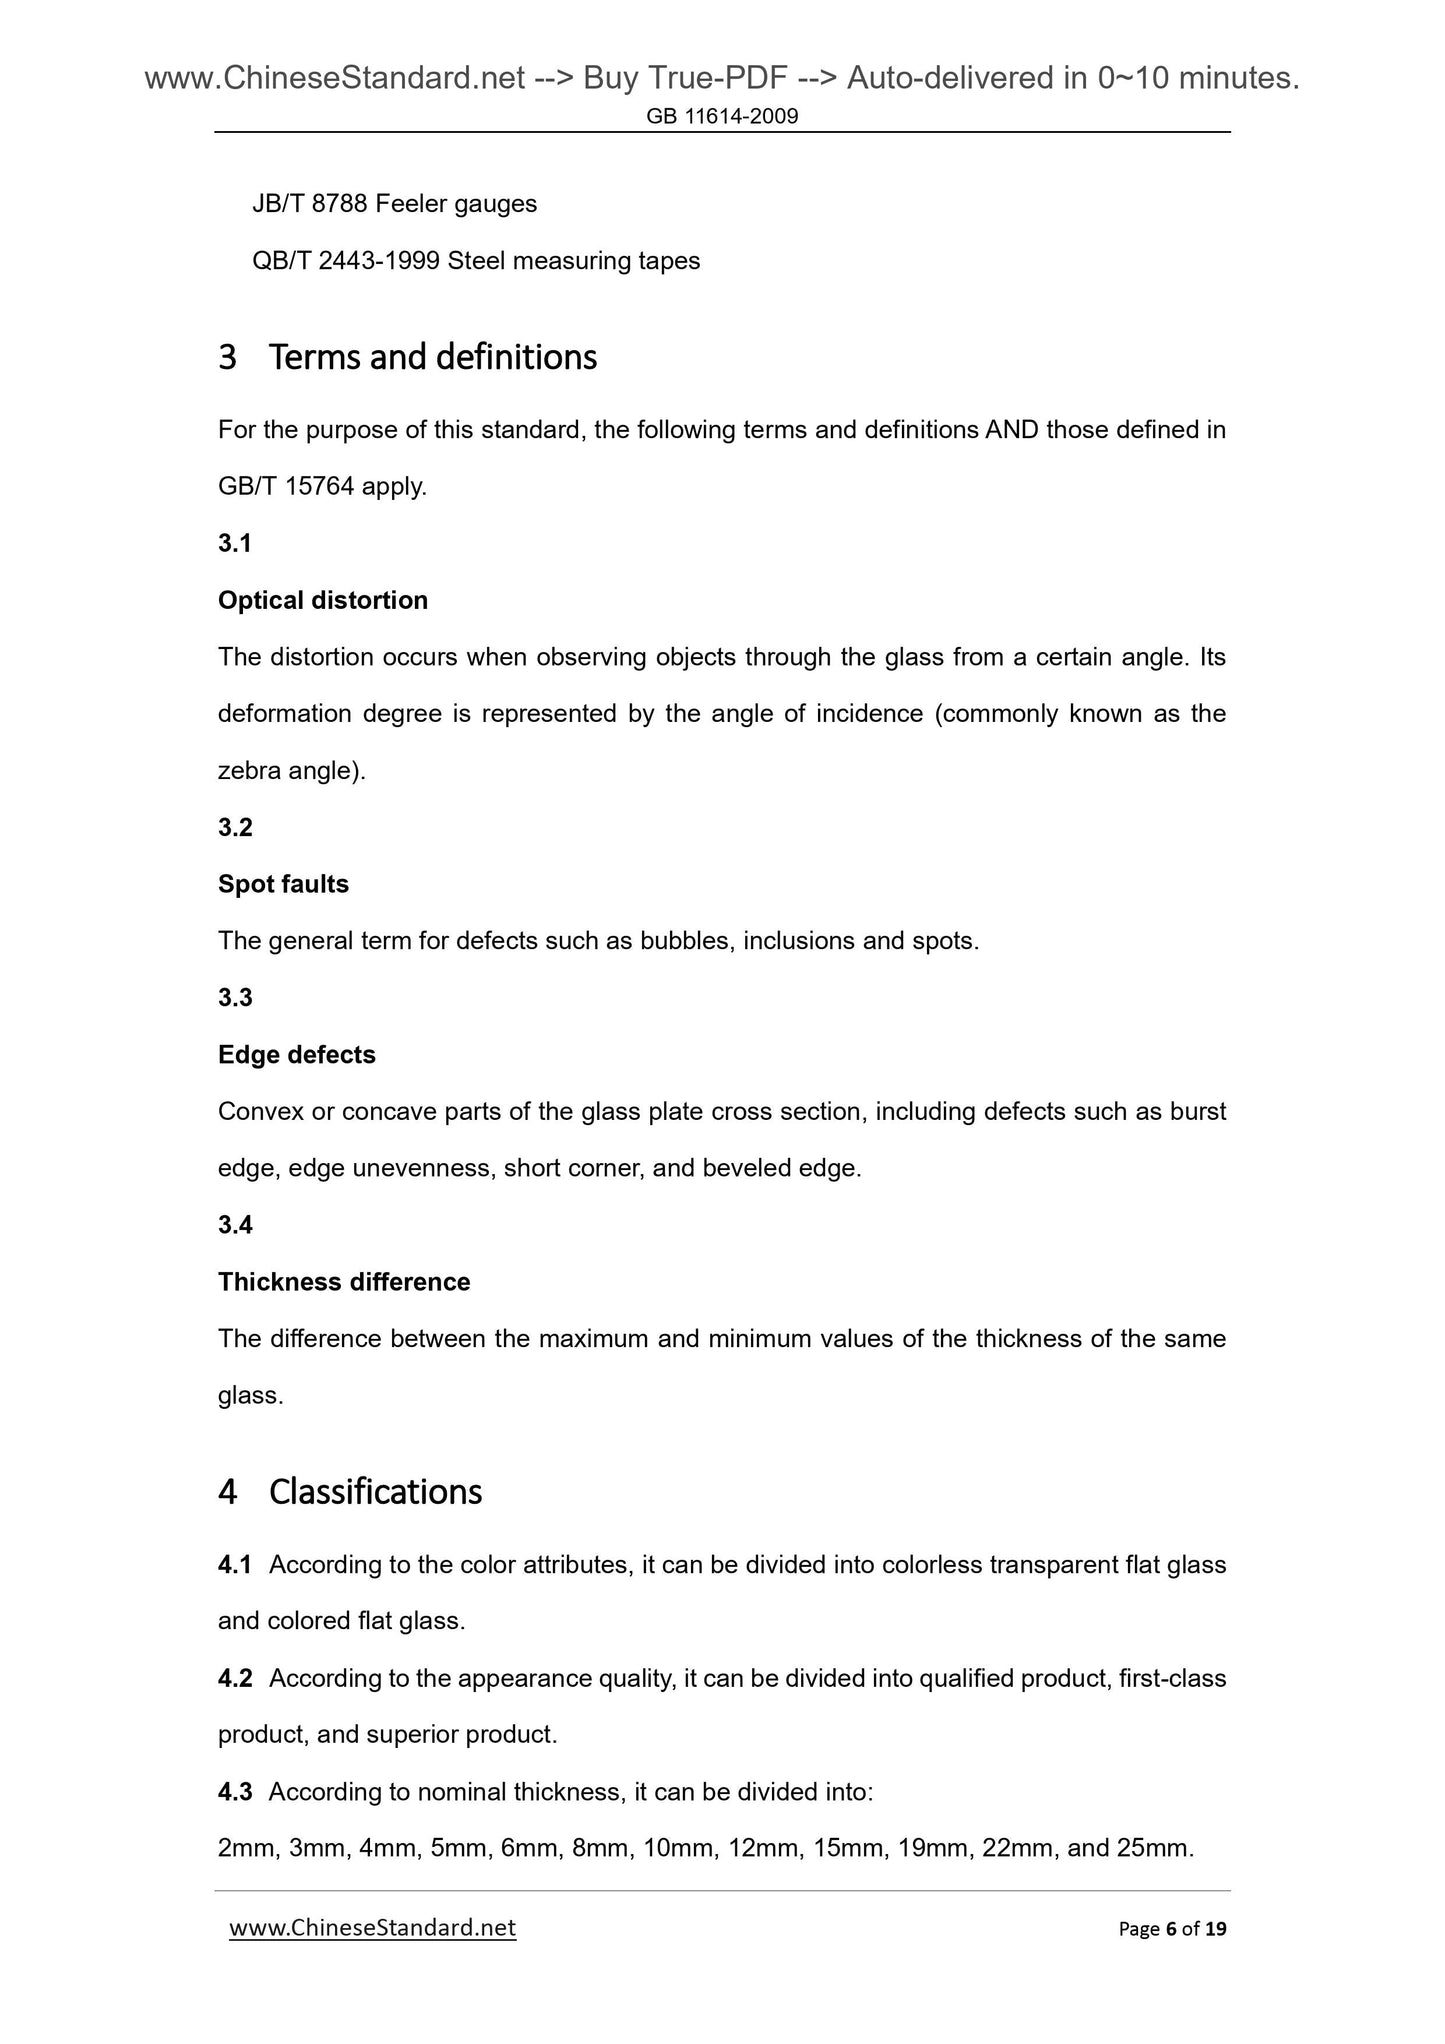
JB/T 8788 Feeler gauges
QB/T 2443-1999 Steel measuring tapes
3 Terms and definitions
For the purpose of this standard, the following terms and definitions AND those defined in
GB/T 15764 apply.
3.1
Optical distortion
The distortion occurs when observing objects through the glass from a certain angle. Its
deformation degree is represented by the angle of incidence (commonly known as the
zebra angle).
3.2
Spot faults
The general term for defects such as bubbles, inclusions and spots.
3.3
Edge defects
Convex or concave parts of the glass plate cross section, including defects such as burst
edge, edge unevenness, short corner, and beveled edge.
3.4
Thickness difference
The difference between the maximum and minimum values of the thickness of the same
glass.
4 Classifications
4.1 According to the color attributes, it can be divided into colorless transparent flat glass
and colored flat glass.
4.2 According to the appearance quality, it can be divided into qualified product, first-class
product, and superior product.
4.3 According to nominal thickness, it can be divided into.
2mm, 3mm, 4mm, 5mm, 6mm, 8mm, 10mm, 12mm, 15mm, 19mm, 22mm, and 25mm.
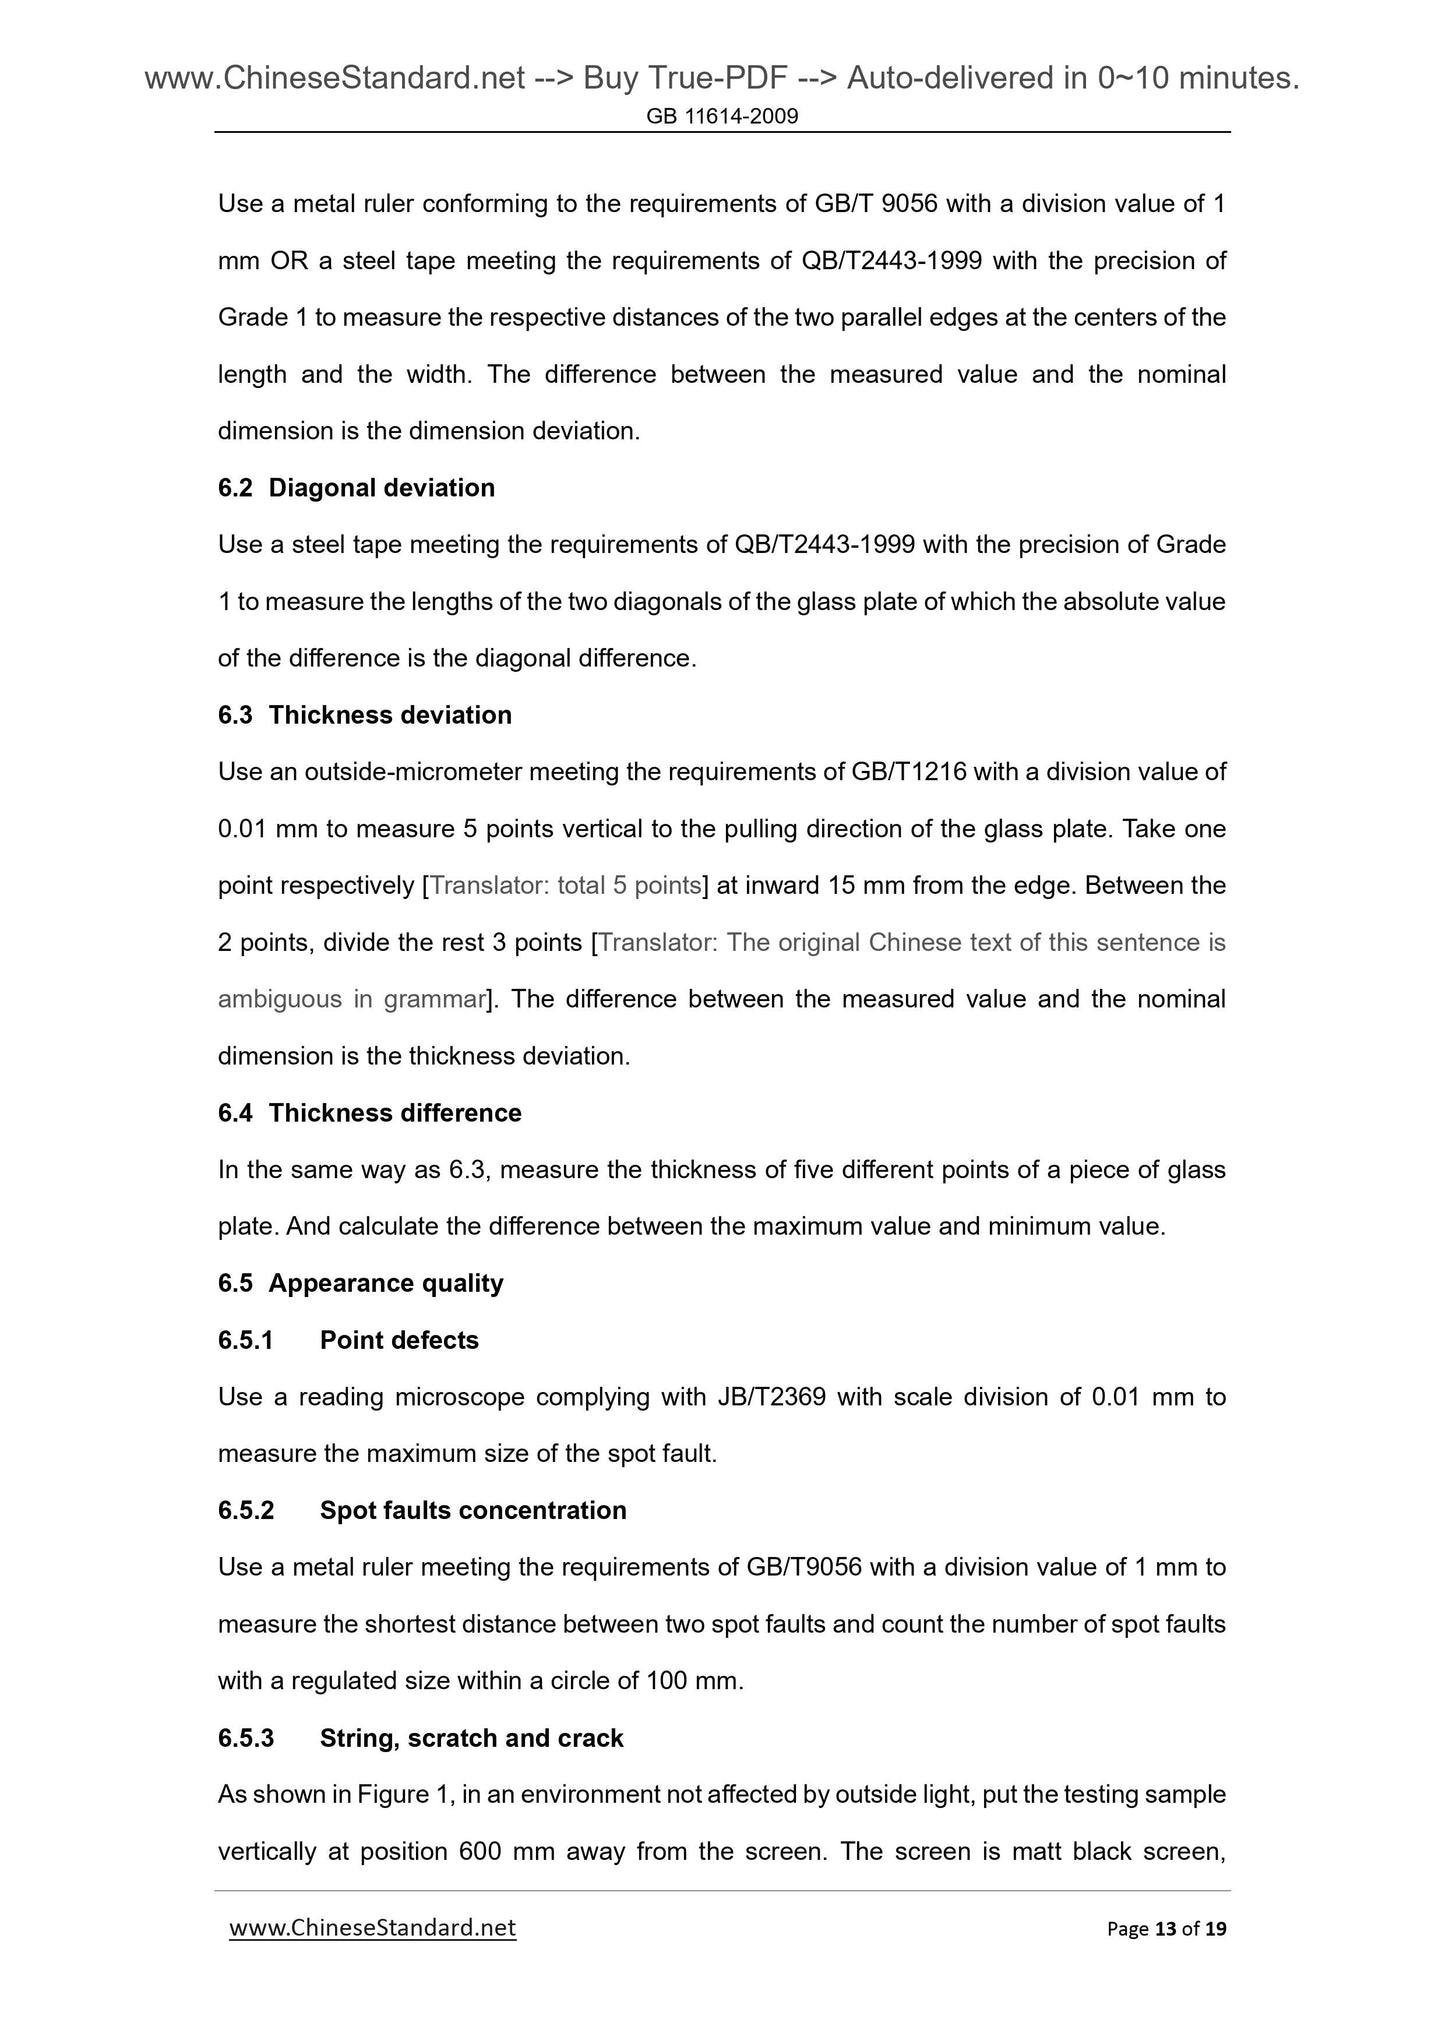
Use a metal ruler conforming to the requirements of GB/T 9056 with a division value of 1
mm OR a steel tape meeting the requirements of QB/T2443-1999 with the precision of
Grade 1 to measure the respective distances of the two parallel edges at the centers of the
length and the width. The difference between the measured value and the nominal
dimension is the dimension deviation.
6.2 Diagonal deviation
Use a steel tape meeting the requirements of QB/T2443-1999 with the precision of Grade
1 to measure the lengths of the two diagonals of the glass plate of which the absolute value
of the difference is the diagonal difference.
6.3 Thickness deviation
Use an outside-micrometer meeting the requirements of GB/T1216 with a division value of
0.01 mm to measure 5 points vertical to the pulling direction of the glass plate. Take one
point respectively [Translator. total 5 points] at inward 15 mm from the edge. Between the
2 points, divide the rest 3 points [Translator. The original Chinese text of this sentence is
ambiguous in grammar]. The difference between the measured value and the nominal
dimension is the thickness deviation.
6.4 Thickness difference
In the same way as 6.3, measure the thickness of five different points of a piece of glass
plate. And calculate the difference between the maximum value and minimum value.
6.5 Appearance quality
6.5.1 Point defects
Use a reading microscope complying with JB/T2369 with scale division of 0.01 mm to
measure the maximum size of the spot fault.
6.5.2 Spot faults concentration
Use a metal ruler meeting the requirements of GB/T9056 with a division value of 1 mm to
measure the shortest distance between two spot faults and count the number of spot faults
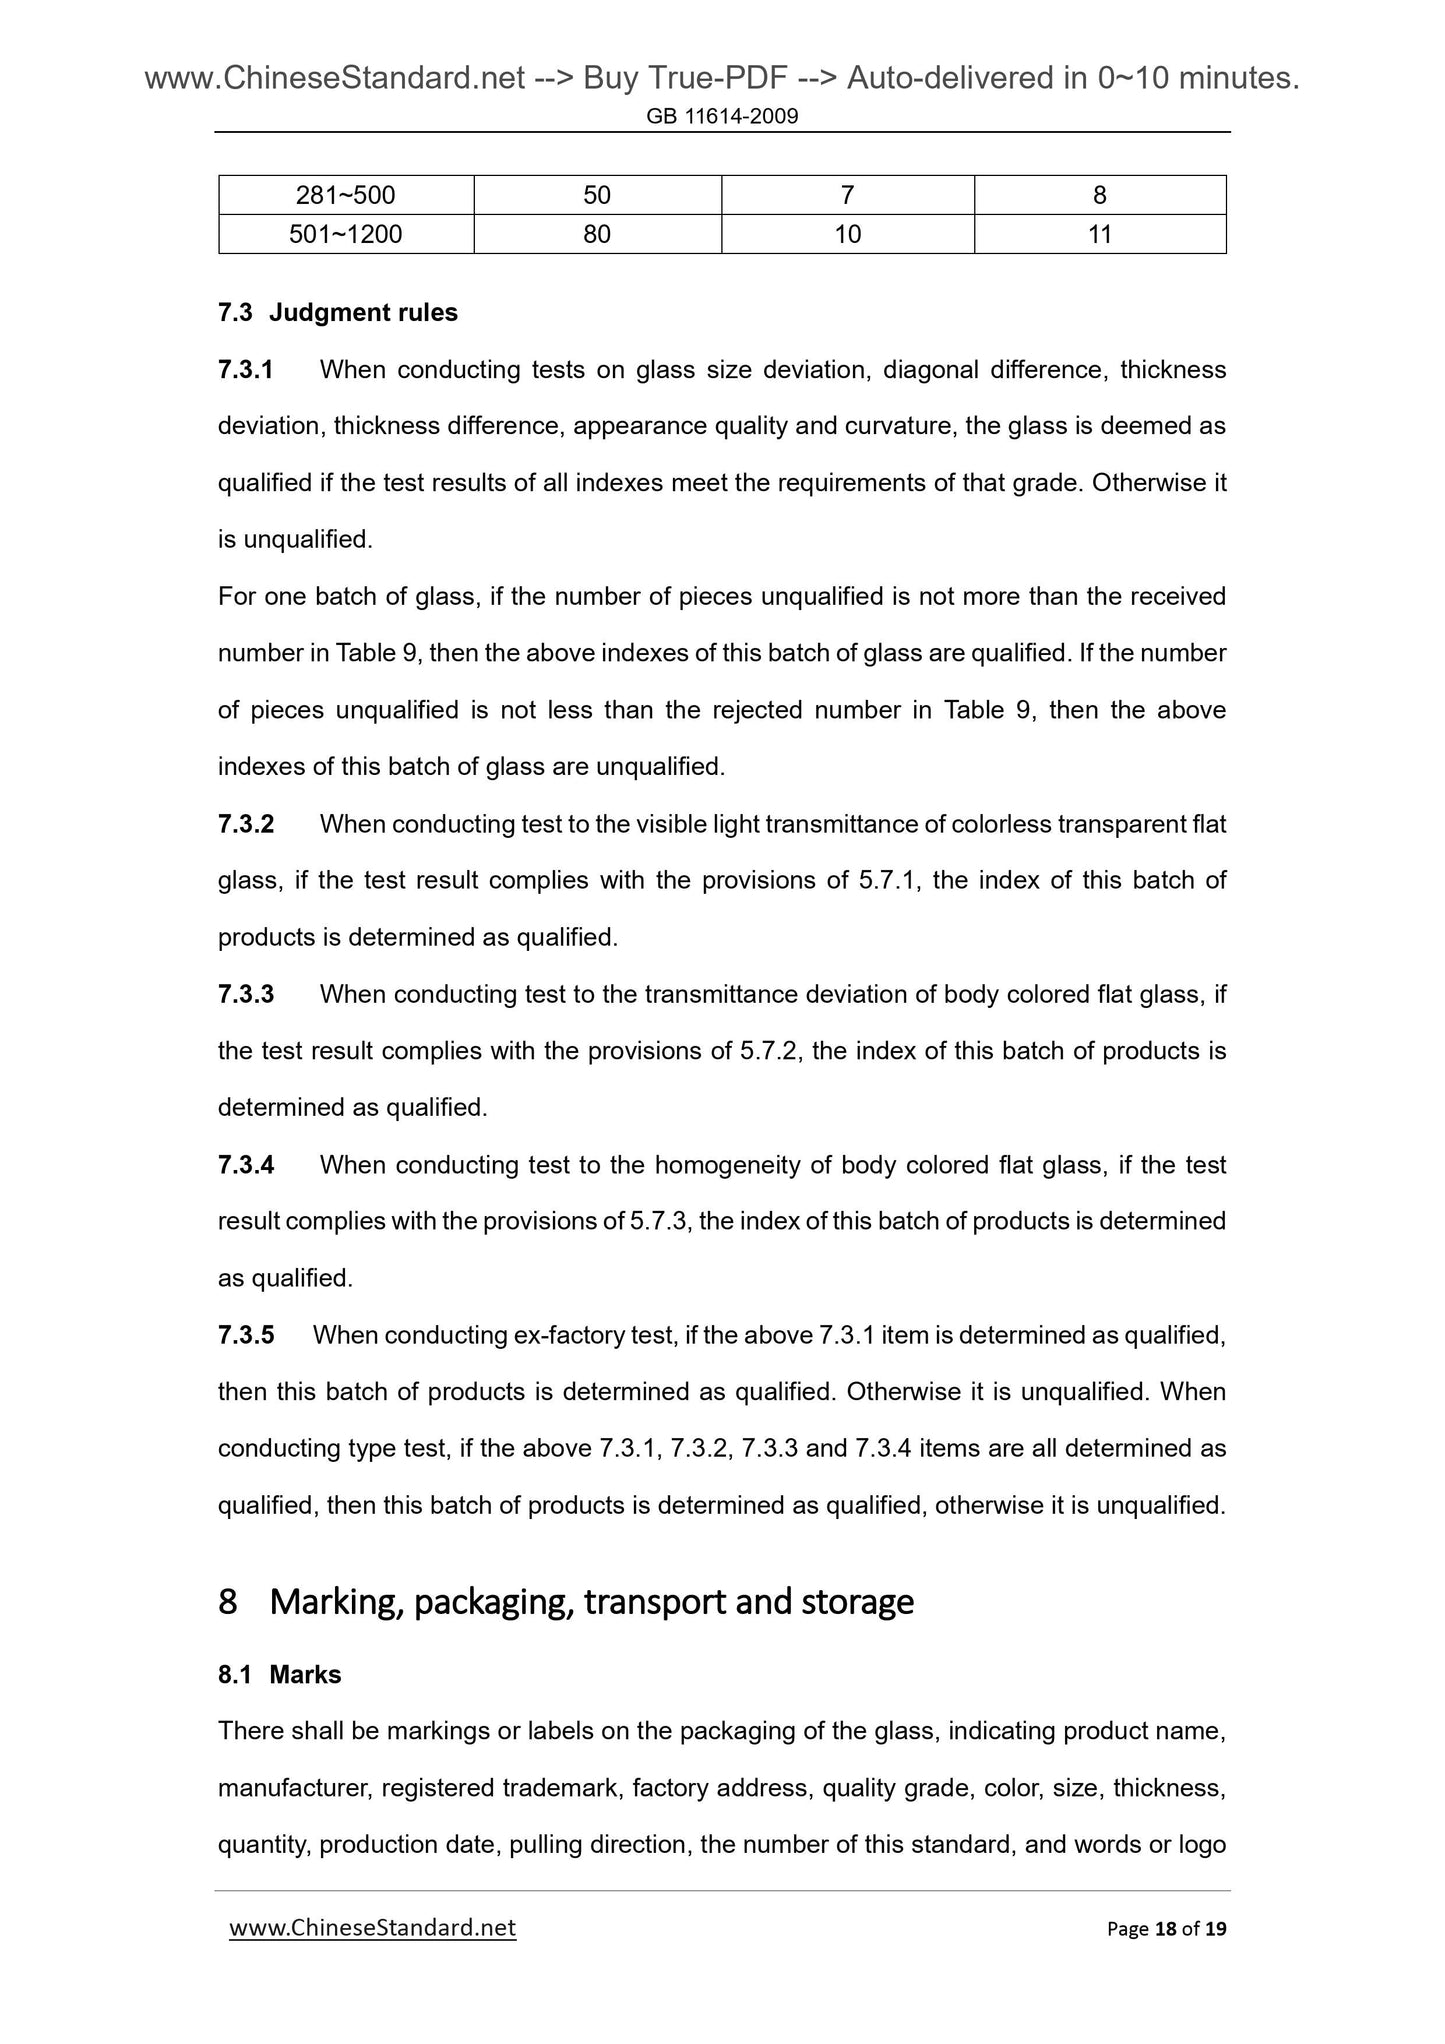
with a regulated si...
Share
