1
/
of
8
www.ChineseStandard.us -- Field Test Asia Pte. Ltd.
GB/T 1232.1-2016 English PDF (GB/T1232.1-2016)
GB/T 1232.1-2016 English PDF (GB/T1232.1-2016)
Regular price
$235.00
Regular price
Sale price
$235.00
Unit price
/
per
Shipping calculated at checkout.
Couldn't load pickup availability
GB/T 1232.1-2016: Rubber, unvulcanized -- Determinations using a shearing-disc viscometer -- Part 1: Determination of Mooney viscosity
Delivery: 9 seconds. Download (& Email) true-PDF + Invoice.
Get Quotation: Click GB/T 1232.1-2016 (Self-service in 1-minute)
Historical versions (Master-website): GB/T 1232.1-2016
Preview True-PDF (Reload/Scroll-down if blank)
GB/T 1232.1-2016
NATIONAL STANDARD OF THE
PEOPLE’S REPUBLIC OF CHINA
ICS 83.060
G 40
GB/T 1232.1-2016 / ISO 289-1:2014
Replacing GB/T 1232.1-2000
Rubber, Unvulcanized – Determinations Using a Shearing-Disc
Viscometer – Part 1: Determination of Mooney Viscosity
(ISO 289-1:2014, IDT)
ISSUED ON: OCTOBER 13, 2016
IMPLEMENTED ON: MAY 01, 2017
Issued by: General Administration of Quality Supervision, Inspection and
Quarantine;
Standardization Administration of the People’s Republic of China.
Table of Contents
Foreword ... 3
1 Scope ... 6
2 Normative References ... 6
3 Principle ... 7
4 Apparatus ... 7
5 Preparation of Test Piece ... 12
6 Temperature and Duration of Test ... 13
7 Procedure ... 13
8 Expression of Results ... 14
9 Precision ... 14
10 Test Report ... 14
Annex A (Informative) Precision Statement ... 16
Annex B (Informative) Heat-Stable Film for Mooney Viscosity Measurements ... 19
Annex C (Normative) Calibration Schedule ... 23
Rubber, Unvulcanized – Determinations Using a Shearing-Disc
Viscometer – Part 1: Determination of Mooney Viscosity
WARNING -- Persons using this Part should be familiar with normal laboratory practice.
This Part does not purport to address all of the safety problems, if any, associated with its
use. It is the responsibility of the user to establish appropriate safety and health practices
and to ensure compliance with any national regulatory conditions.
1 Scope
This Part of GB/T 1232 specifies a method, using a shearing-disc viscometer, for measuring the
Mooney viscosity of uncompounded or compounded rubbers.
This Part is applicable to the determination of Mooney viscosity of uncompounded and
compounded rubbers.
2 Normative References
The following documents are essential to the application of this document. For the dated
documents, only the versions with the dates indicated are applicable to this document; for the
undated documents, only the latest version (including all the amendments) is applicable to this
document.
ISO 1795 Rubber, Raw Natural and Raw Synthetic – Sampling and Further Preparative
Procedures
ISO 2393 Rubber Test Mixes – Preparation, Mixing and Vulcanization – Equipment and
Procedures
ISO 6508-1 Metallic Materials – Rockwell Hardness Test – Part 1: Test Method
ISO/TR 9272 Rubber and Rubber products – Determination of precision for Test Method
Standards
ISO 18899:2013 Rubber – Guide to the Calibration of Test Equipment
ISO 23529 Rubber – General Procedures for Preparing and Conditioning Test pieces for
Physical and Test Methods
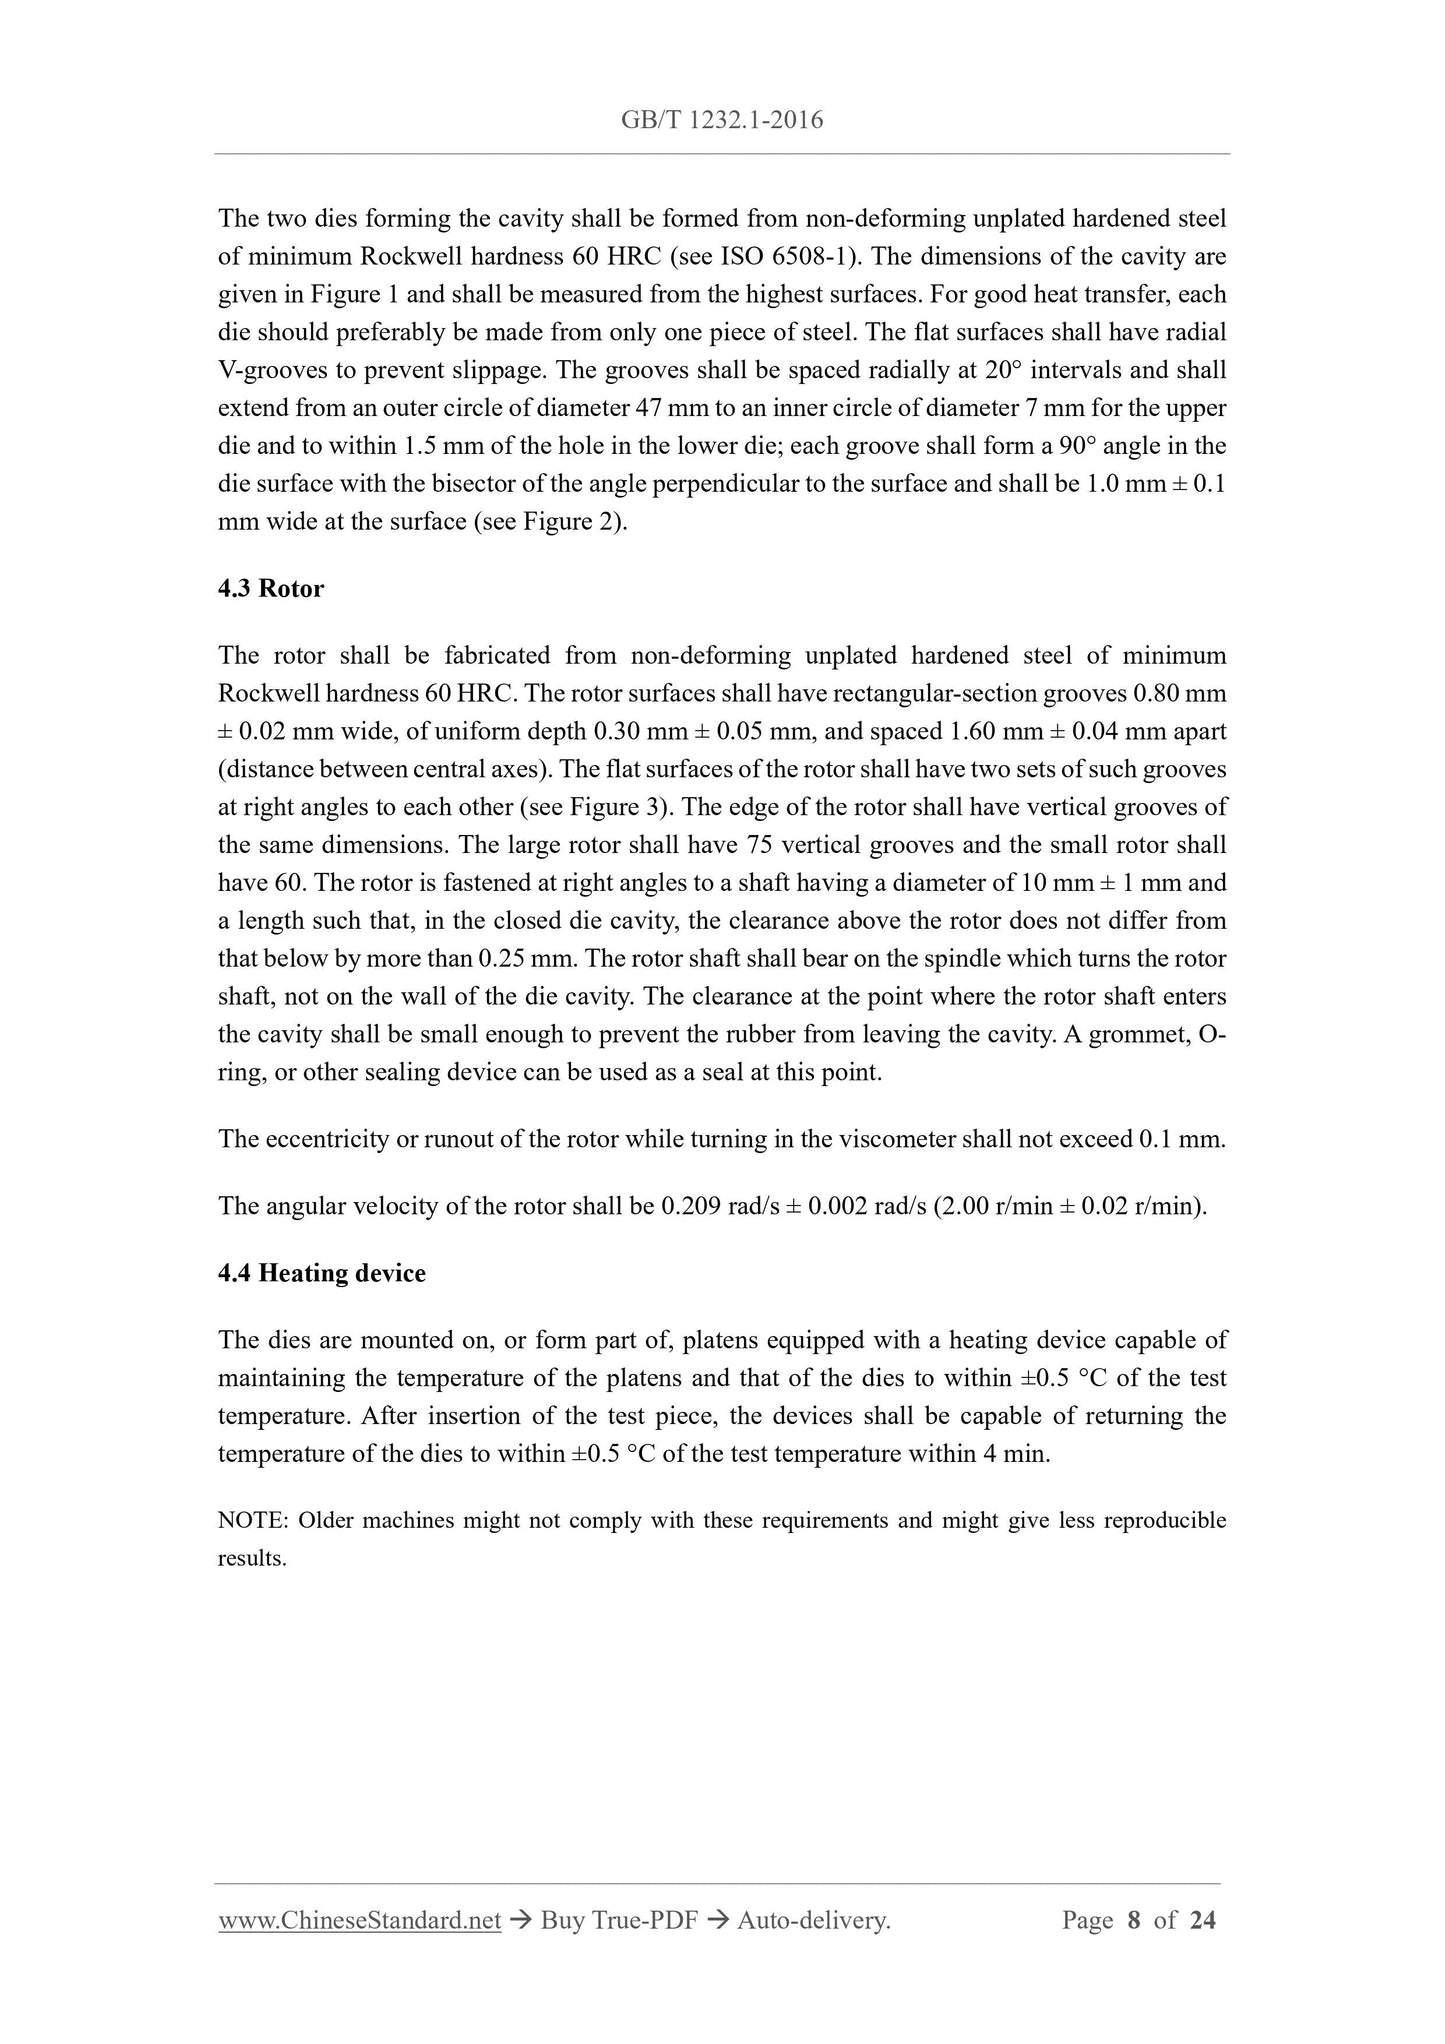
The two dies forming the cavity shall be formed from non-deforming unplated hardened steel
of minimum Rockwell hardness 60 HRC (see ISO 6508-1). The dimensions of the cavity are
given in Figure 1 and shall be measured from the highest surfaces. For good heat transfer, each
die should preferably be made from only one piece of steel. The flat surfaces shall have radial
V-grooves to prevent slippage. The grooves shall be spaced radially at 20° intervals and shall
extend from an outer circle of diameter 47 mm to an inner circle of diameter 7 mm for the upper
die and to within 1.5 mm of the hole in the lower die; each groove shall form a 90° angle in the
die surface with the bisector of the angle perpendicular to the surface and shall be 1.0 mm ± 0.1
mm wide at the surface (see Figure 2).
4.3 Rotor
The rotor shall be fabricated from non-deforming unplated hardened steel of minimum
Rockwell hardness 60 HRC. The rotor surfaces shall have rectangular-section grooves 0.80 mm
± 0.02 mm wide, of uniform depth 0.30 mm ± 0.05 mm, and spaced 1.60 mm ± 0.04 mm apart
(distance between central axes). The flat surfaces of the rotor shall have two sets of such grooves
at right angles to each other (see Figure 3). The edge of the rotor shall have vertical grooves of
the same dimensions. The large rotor shall have 75 vertical grooves and the small rotor shall
have 60. The rotor is fastened at right angles to a shaft having a diameter of 10 mm ± 1 mm and
a length such that, in the closed die cavity, the clearance above the rotor does not differ from
that below by more than 0.25 mm. The rotor shaft shall bear on the spindle which turns the rotor
shaft, not on the wall of the die cavity. The clearance at the point where the rotor shaft enters
the cavity shall be small enough to prevent the rubber from leaving the cavity. A grommet, O-
ring, or other sealing device can be used as a seal at this point.
The eccentricity or runout of the rotor while turning in the viscometer shall not exceed 0.1 mm.
The angular velocity of the rotor shall be 0.209 rad/s ± 0.002 rad/s (2.00 r/min ± 0.02 r/min).
4.4 Heating device
The dies are mounted on, or form part of, platens equipped with a heating device capable of
maintaining the temperature of the platens and that of the dies to within ±0.5 °C of the test
temperature. After insertion of the test piece, the devices shall be capable of returning the
temperature of the dies to within ±0.5 °C of the test temperature within 4 min.
NOTE: Older machines might not comply with these requirements and might give less reproducible
results.
2 - measurement probe, inserted;
3 - stop connected to apparatus;
4 - stop connected to measurement probe.
Figure 4 -- Measurement-Probe Design
4.7 Torque-measurement device and calibration of the device
The torque required to turn the rotor is recorded or indicated on a linear scale graduated in
Mooney units. The reading shall be zero when the machine is run empty and 100.0 ± 0.5 when
a torque of 8.30 N⋅m ± 0.02 N⋅m is applied to the rotor shaft. Therefore, a torque of 0.083 N⋅
m is equivalent to 1 Mooney unit. The scale shall be capable of being read to 0.5 Mooney units.
Variation from zero shall be less than 0.5 Mooney units when the machine is running with the
rotor in place and the dies closed and empty.
If the viscometer is equipped with a rotor-ejection spring, the zero calibration shall be made
with the dies open so that the rotor is not pressing against the upper die.
The viscometer shall be calibrated while the machine is running at the test temperature. A
suitable method for the calibration of most machines is as follows:
The scale is calibrated to a reading of 100 by applying certified masses fastened with flexible
wire to an appropriate rotor. During calibration, the rotor is turned at 0.209 rad/s and the platens
are at the specified test temperature.
NOTE: In order to check linearity, intermediate masses can be used to give scale readings of 25, 50, and
75 Mooney units, respectively. In addition, a sample of butyl rubber of certified Mooney viscosity can
be used to check whether or not the machine is working correctly. Measurement can be carried out at
100 °C or 125 °C for 8 min.
5 Preparation of Test Piece
For uncompounded rubbers, the test piece shall be prepared in accordance with ISO 1795 and
the material standard relevant to the rubber. For compounded rubbers which are to be tested for
referee purposes, the test piece shall be taken from a compound prepared in accordance with
ISO 2393 and the material standard relevant to the rubber.
The test piece shall be allowed to rest at standard laboratory temperature (see ISO 23529) for
at least 30 min before testing is carried out. Testing shall be commenced not later than 24 h after
homogenization.
The Mooney viscosity is affected by the manner in which the rubber is prepared and the
conditions of storage. Accordingly, the prescribed procedure in methods for evaluating a
particular rubber shall be followed rigorously.
The test piece shall consist of two discs of rubber, of diameter about 50 mm and of thickness
approximately 6 mm, sufficient to fill completely the die cavity of the viscometer. The rubber
discs shall be as free as possible from air and from pockets that might trap air against the rotor
and die surfaces. A hole is pierced or cut through the center of one disc to permit the insertion
of the rotor shaft.
6 Temperature and Duration of Test
Carry out the test at 100.0 °C ± 0.5 °C for 4 min, unless otherwise specified in the appropriate
material standard.
7 Procedure
7.1 Heat the dies and rotor to the test temperature and allow them to reach a steady-state. Open
the dies, insert the rotor shaft through the hole in the pierced disc of the test piece, and place
the rotor in the viscometer. Place the unpierced disc of the test piece centrally on the rotor and
close the dies as quickly as possible.
NOTE: A heat-stable film, for example of polyester, of thickness between 0.02 mm and 0.03 mm can be
inserted between the rubber and die surfaces to facilitate removal after test of low-viscosity or sticky
materials. The use of such film might affect the test results. See Annex B.
7.2 Note the time at which the dies are closed and allow the rubber to preheat for 1 min. Start
the rotor; the running time shall be as indicated in Clause 6. If the viscosity is not recorded
continuously, observe the scale during the 30 s interval preceding the specified reading time
and report the minimum value, to the nearest 0.5 units, as the viscosity. For reference purposes,
take readings at 5 s intervals from 1 min before to 1 min after the specified time. Draw a smooth
curve through the minimum points of the periodic fluctuations or through all the points if there
are no fluctuations. Take the viscosity as the point where the curve passes through the time
specified. If a recorder is used, take the viscosity from the curve in the same manner as specified
for the plotted curve.
To check if the temperature of the test piece is at the test temperature at the test time, two
thermocouple measurement probes can be inserted into the test piece as shown in Figure 4. In
a preliminary test with the test piece, the rotor is stopped after a running time of 3.5 min and,
immediately after the resulting standstill, the two measurement probes are inserted and, after 4
min, the two mean test piece temperatures are read off. The temperature tolerance shall be
between + 1.0 °C and – 1.0 °C.
The temperature gradients in the test piece and the rate of heat transfer vary between
viscometers, particularly if different types of heating are employed. Therefore, the values
obtained with different viscometers can be expected to be more comparable after the rubber has
attained the test temperature. Usually, this condition is reached within 10 min after the die cavity
Annex A
(Informative)
Precision Statement
A.1 General
The precision calculations to provide repeatability and reproducibility values were performed
in accordance with ISO/TR 9272, the guidance document for ISO/TC 45 test methods. Consult
this for precision concepts and nomenclature.
A.2 Programme details
A.2.1 An interlaboratory test programme (ITP) was organized in 1987. Duplicate test pieces of
the following raw rubbers were sent to all participating laboratories: butyl (IIR), chloroprene
(CR), EPDM, fluorocarbon rubber (FKM), and SBR 1500.
Mooney viscosity tests (single measurements) were made on two separate days (one week apart)
in June 1987. A total of 24 laboratories participated.
This ITP corresponds to a type 1 precision evaluation, with no preparation or processing steps
in the participating laboratories.
A.2.2 Another ITP was carried out in 1988 to determine the influence of mill massing on
Mooney viscosity. Three rubbers were used: chloroprene (CR), SBR 1507, and SBR 1712.
NIST butyl (IIR) was also included but it was tested only in the (normal) unmassed form.
Test samples of each rubber were sent to all participating laboratories. The test pieces of massed
and unmassed materials were prepared by each laboratory in accordance with ISO 1795.
Mooney viscosity tests (single measurements) were made on two separate days (one week apart)
in May 1988. All tests were made at a running time of 4 min and at 100 °C. A total of 15
laboratories participated.
This ITP corresponds to a type 2 precision evaluation.
A.2.3 A third ITP was carried out in 2012. The Mooney viscosity tests (single measurements
were made on two separate days (one week apart) in May 2012.
This ITP corresponds to a type 1 precision evaluation, with no preparation or processing steps
in the participating laboratories. All tests were made at a running time of 4 min and at 125 °C.
A total of 18 laboratories participated.
Annex C
(Normative)
Calibration Schedule
C.1 Inspection
Before any calibration is undertaken, the condition of the items to be calibrated shall be
ascertained by inspection and recorded in any calibration report or certificate. It shall be
reported whether calibration was carried out in the “as-received” condition or after rectification
of any abnormality or fault.
It shall be ascertained that the apparatus is generally fit for the intended purpose, including any
parameters specified as approximate and for which the apparatus does not therefore need to be
formally calibrated. If such parameters are liable to change, then the need for periodic checks
shall be written into the detailed calibration procedures.
C.2 Schedule
Verification/calibration of the test apparatus is a mandatory part of this Part. However, the
frequency of calibration and procedures used are, unless otherwise stated, at the discretion of
the individual laboratory, using ISO 18899 for guidance.
The calibration schedule given in Table C.1 has been compiled by listing all of the parameters
specified in the test method, together with the specified requirement. A parameter and
requirement can relate to the main test apparatus, to part of that apparatus, or to an ancillary
apparatus necessary for the test.
For each parameter, a calibration procedure is indicated by reference to ISO 18899, to another
publication, or to a procedure particular to the test method which is detailed (whenever a
calibration procedure which is more specific or detailed than that in ISO 18899 is available, it
shall be used in preference).
The verification frequency for each parameter is g...
Share
