1
/
of
6
www.ChineseStandard.us -- Field Test Asia Pte. Ltd.
GB/T 12362-2016 English PDF (GB/T12362-2016)
GB/T 12362-2016 English PDF (GB/T12362-2016)
Regular price
$375.00
Regular price
Sale price
$375.00
Unit price
/
per
Shipping calculated at checkout.
Couldn't load pickup availability
GB/T 12362-2016: Steel die forgings - Tolerance and machining allowance
Delivery: 9 seconds. Download (& Email) true-PDF + Invoice.
Get Quotation: Click GB/T 12362-2016 (Self-service in 1-minute)
Historical versions (Master-website): GB/T 12362-2016
Preview True-PDF (Reload/Scroll-down if blank)
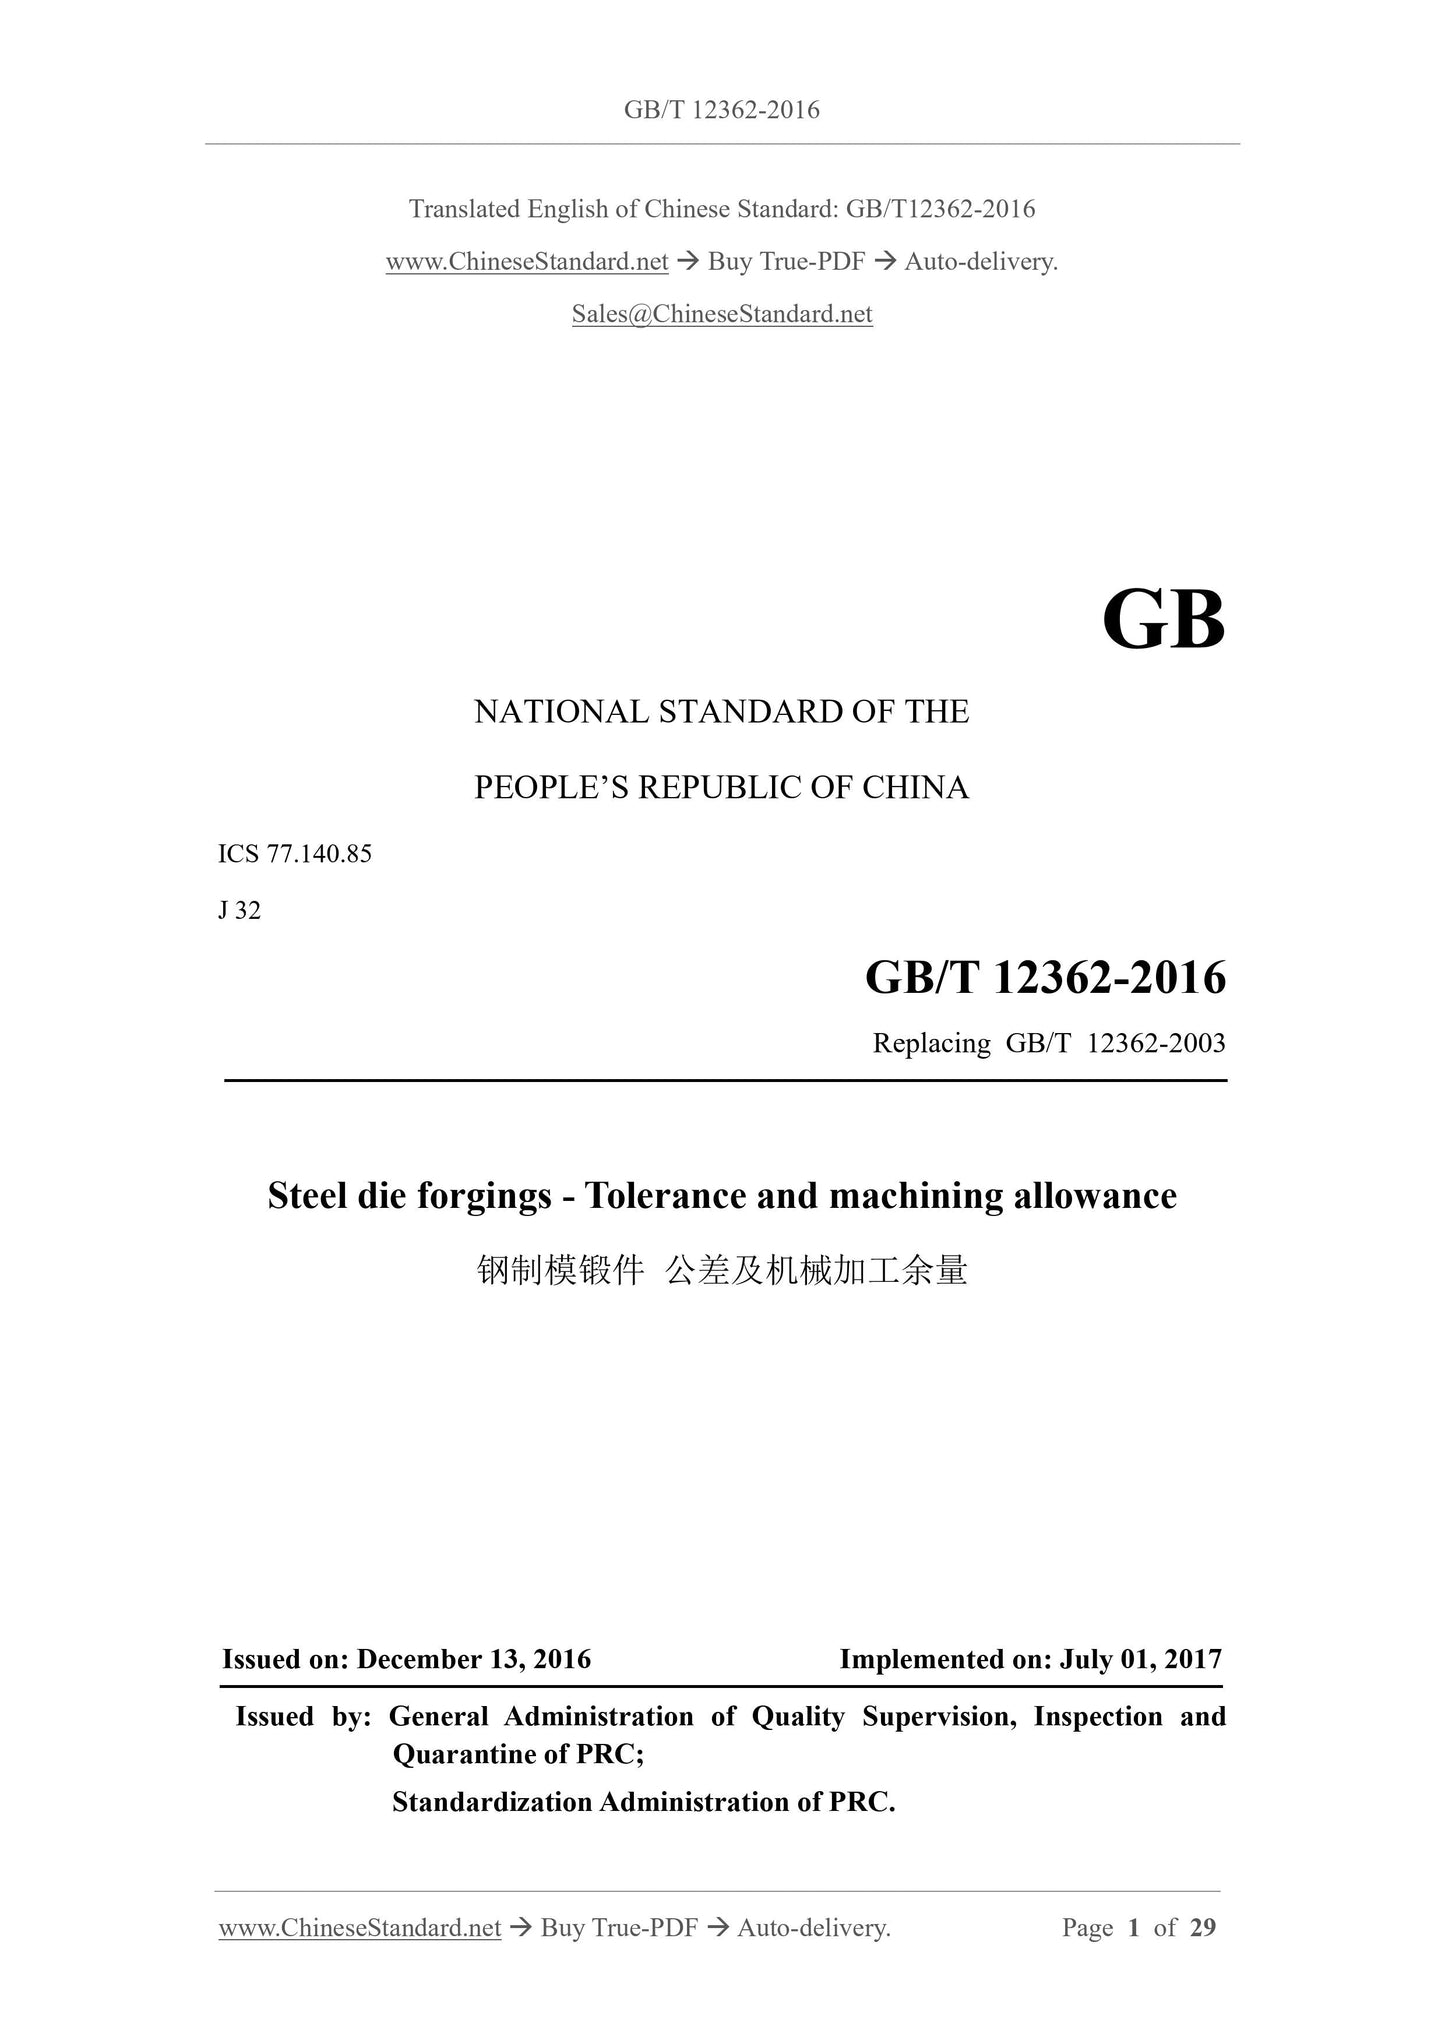
GB/T 12362-2016
NATIONAL STANDARD OF THE
PEOPLE’S REPUBLIC OF CHINA
ICS 77.140.85
J 32
Replacing GB/T 12362-2003
Steel die forgings - Tolerance and machining allowance
ISSUED ON: DECEMBER 13, 2016
IMPLEMENTED ON: JULY 01, 2017
Issued by: General Administration of Quality Supervision, Inspection and
Quarantine of PRC;
Standardization Administration of PRC.
Table of Contents
Foreword ... 3
1 Scope ... 5
2 Tolerances and machining allowance grades ... 5
3 Technical contents ... 5
Appendix A (Informative) Example for application of forging tolerance ... 27
Foreword
This standard was drafted in accordance with the rules given in GB/T 1.1-2009.
This standard replaces GB/T 12362-2003 "Steel die forgings - Tolerance and machining
allowance". Compared with GB/T 12362-2003, except for editorial revisions, the main
changes are as follows:
- In the Scope, CHANGE the "Machining allowance and its use principle" into
"Machining allowance grade and technical content"; CHANGE the "structural steel
forging" into "structural steel die forging"; CHANGE "250 kg" into "500 kg" (see
Chapter 1; Chapter 1 of the 2003 edition);
- DELETE that "Forgings that can only be achieved by additional manufacturing
processes" and "flat forgings only use ordinary grades" (see 2.1 of the 2003 edition);
- In the special case a) of 3.1.2, ADD that "When selecting the tolerance, only the
mass of the cylinder part, which has a diameter d and thickness t, is considered for
the mass of the forging; if the tolerance selected by this special rule is smaller than
that selected according to the general rules in 3.1.2, THEN select the tolerance
according to the general rules in 3.1.2” (see 3.1.2);
- In the special case b) of 3.1.2, "When selecting the dimensional tolerance of the
relevant features, only the mass of the cylinder part, which has a diameter d1 and
thickness t1, is considered for the mass of the forging; if the tolerance selected by
this special rule is smaller than that selected according to the general rules in 3.1.2,
THEN the tolerance selected according to the general rules in 3.1.2 shall prevail”
(see 3.1.2);
- DELETE that "When using coal heating or two-fire heating, it may be considered
to appropriately increase the tolerance or margin; the value shall be determined
through negotiation, between the supplier and the buyer" (see 3.1.6 of the 2003
edition);
- CHANGE the "error tolerance" to "error" (see 3.2.4; 3.2.4 of the 2003 edition);
- CHANGE the "depth tolerance" to "depth" (see 3.2.14; 3.2.14 of the 2003 edition);
- MODIFY the mass ranges in Table 1, Table 2, Table 3, Table 4, Table 16; ADD the
query lines (see Table 1, Table 2, Table 3, Table 4, Table 16; Table 1, Table 2, Table
3, Table 4, Table 16 of the 2003 edition);
- MODIFY the aperture range in Table 15; ADD the query line (see Table 15; Table
15 of the 2003 edition).
This standard was proposed by AND shall be under the jurisdiction of the National
Steel die forgings - Tolerance and machining allowance
1 Scope
This standard specifies the tolerances, machining allowance grades, technical content
of steel die forgings (hereinafter referred to as "forgings").
This standard applies to structural steel die forgings, which are produced by forging
hammers, hot die forging presses, screw presses, flat forging machines and other
forging equipment. Forgings of other steel grades can also make reference to this
standard. This standard applies to forgings, which have a mass less than or equal to 500
kg and a length (maximum dimension) less than or equal to 2500 mm.
2 Tolerances and machining allowance grades
2.1 The tolerances in this standard are divided into two grades: ordinary grade and
precision grade.
Ordinary tolerances are suitable for forgings, that can meet technical requirements in
general die forging processes.
Precision tolerances are suitable for forgings, which have higher technical requirements.
Precision tolerances are available for all dimensions of a forging, as well as for local
dimensions.
2.2 Only one grade is used for machining allowance.
3 Technical contents
3.1 Main factors for determining forging tolerances and machining allowances
3.1.1 Forging mass mf
The estimation of the mass of the forgings is carried out, according to the following
procedure:
Basic dimensions of part drawing → Estimate machining allowance → Draw
forging drawing → Estimate forging mass. Meanwhile, check the table according to
this mass, to determine tolerance and machining allowance.
3.1.2 Forging shape complexity factor S
The shape complexity factor of the forging is the ratio -- of the mass mf of the forging
3.2.1 Length, width, height tolerances
3.2.1.1 Length, width, height tolerances refer to the dimensional tolerances, along the
length, width, height directions, on the same die on one side of the parting line (Figure
6). Such tolerances are determined, according to the basic size, mass, shape complexity
factor, material factor of the forging. Table 1 is the ordinary grade; Table 2 is the
precision grade.
3.2.1.2 Drop (f in Figure 6) dimensional tolerance is a form of height dimensional
tolerance. Its value is one stop wider than the corresponding height dimensional
tolerance. The upper and lower deviation values are distributed, according to the
proportions of ±1/2.
3.2.1.3 The dimensional tolerance of hole size is determined from Table 1 or Table 2,
according to the hole size. The upper and lower deviations are distributed, in
proportions of +1/4 and -3/4.
3.2.2 Thickness tolerance
Thickness tolerance refers to the tolerance of the thickness dimension, across the
parting line (t1, t2 in Figure 6).
3.2.6 Method of use of tolerance table
When determining the dimensional tolerance of the length, width or height of the
forging, from Table 1 or Table 2, the corresponding range shall be selected, according
to the mass of the forging; then move to the right, along the horizontal line. If the
material factor is M1, continue to move to the right along the same horizontal line; if
the material factor is M2, move to the right down along the inclined line, to the
intersection with the vertical line of M2. For the complex shape factor S, use the same
method, to move to the position of S1 or S2, S3, S4, along the horizontal or inclined line;
continue to move to the right, until reaching to the vertical column of the required size.
Then it can find out the required tolerance value.
When determining the tolerance of error and lateral residual flash, select the range in
the forging mass column, too. Then move to the left; check the error and residual flash
tolerance value, according to the shape of the parting line.
Example: For a forging, which has a mass of 6 kg, a length dimension of 160 mm, a material
factor of M1, a shape complexity factor of S2, a straight parting line, when adopting ordinary
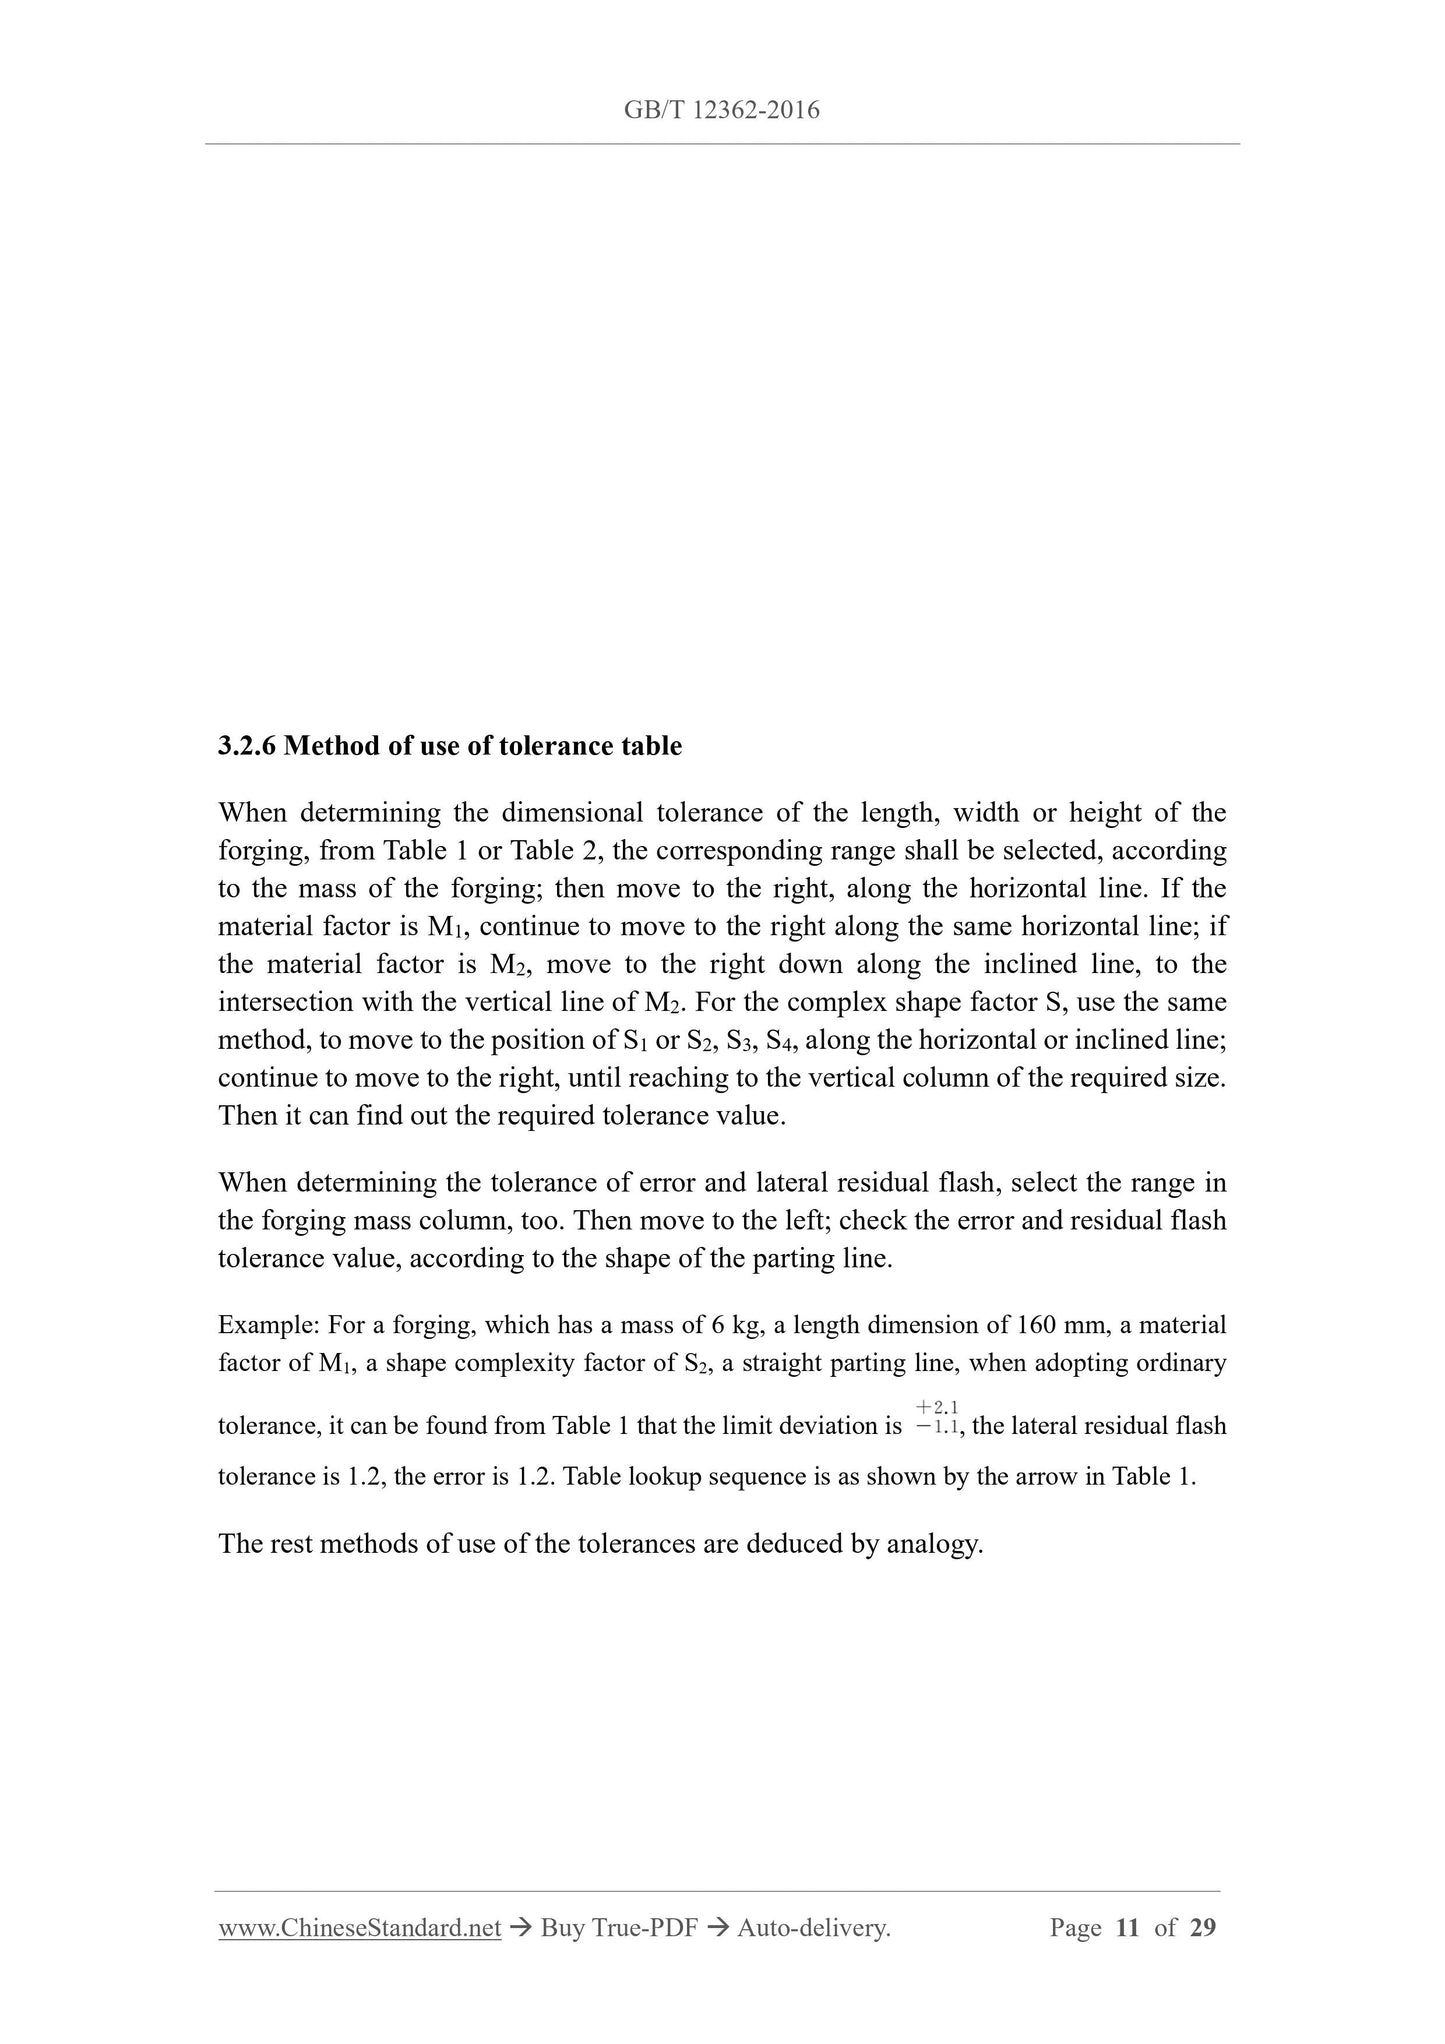
tolerance, it can be found from Table 1 that the limit deviation is , the lateral residual flash
tolerance is 1.2, the error is 1.2. Table lookup sequence is as shown by the arrow in Table 1.
The rest methods of use of the tolerances are deduced by analogy.
GB/T 12362-2016
NATIONAL STANDARD OF THE
PEOPLE’S REPUBLIC OF CHINA
ICS 77.140.85
J 32
Replacing GB/T 12362-2003
Steel die forgings - Tolerance and machining allowance
ISSUED ON: DECEMBER 13, 2016
IMPLEMENTED ON: JULY 01, 2017
Issued by: General Administration of Quality Supervision, Inspection and
Quarantine of PRC;
Standardization Administration of PRC.
Table of Contents
Foreword ... 3
1 Scope ... 5
2 Tolerances and machining allowance grades ... 5
3 Technical contents ... 5
Appendix A (Informative) Example for application of forging tolerance ... 27
Foreword
This standard was drafted in accordance with the rules given in GB/T 1.1-2009.
This standard replaces GB/T 12362-2003 "Steel die forgings - Tolerance and machining
allowance". Compared with GB/T 12362-2003, except for editorial revisions, the main
changes are as follows:
- In the Scope, CHANGE the "Machining allowance and its use principle" into
"Machining allowance grade and technical content"; CHANGE the "structural steel
forging" into "structural steel die forging"; CHANGE "250 kg" into "500 kg" (see
Chapter 1; Chapter 1 of the 2003 edition);
- DELETE that "Forgings that can only be achieved by additional manufacturing
processes" and "flat forgings only use ordinary grades" (see 2.1 of the 2003 edition);
- In the special case a) of 3.1.2, ADD that "When selecting the tolerance, only the
mass of the cylinder part, which has a diameter d and thickness t, is considered for
the mass of the forging; if the tolerance selected by this special rule is smaller than
that selected according to the general rules in 3.1.2, THEN select the tolerance
according to the general rules in 3.1.2” (see 3.1.2);
- In the special case b) of 3.1.2, "When selecting the dimensional tolerance of the
relevant features, only the mass of the cylinder part, which has a diameter d1 and
thickness t1, is considered for the mass of the forging; if the tolerance selected by
this special rule is smaller than that selected according to the general rules in 3.1.2,
THEN the tolerance selected according to the general rules in 3.1.2 shall prevail”
(see 3.1.2);
- DELETE that "When using coal heating or two-fire heating, it may be considered
to appropriately increase the tolerance or margin; the value shall be determined
through negotiation, between the supplier and the buyer" (see 3.1.6 of the 2003
edition);
- CHANGE the "error tolerance" to "error" (see 3.2.4; 3.2.4 of the 2003 edition);
- CHANGE the "depth tolerance" to "depth" (see 3.2.14; 3.2.14 of the 2003 edition);
- MODIFY the mass ranges in Table 1, Table 2, Table 3, Table 4, Table 16; ADD the
query lines (see Table 1, Table 2, Table 3, Table 4, Table 16; Table 1, Table 2, Table
3, Table 4, Table 16 of the 2003 edition);
- MODIFY the aperture range in Table 15; ADD the query line (see Table 15; Table
15 of the 2003 edition).
This standard was proposed by AND shall be under the jurisdiction of the National
Steel die forgings - Tolerance and machining allowance
1 Scope
This standard specifies the tolerances, machining allowance grades, technical content
of steel die forgings (hereinafter referred to as "forgings").
This standard applies to structural steel die forgings, which are produced by forging
hammers, hot die forging presses, screw presses, flat forging machines and other
forging equipment. Forgings of other steel grades can also make reference to this
standard. This standard applies to forgings, which have a mass less than or equal to 500
kg and a length (maximum dimension) less than or equal to 2500 mm.
2 Tolerances and machining allowance grades
2.1 The tolerances in this standard are divided into two grades: ordinary grade and
precision grade.
Ordinary tolerances are suitable for forgings, that can meet technical requirements in
general die forging processes.
Precision tolerances are suitable for forgings, which have higher technical requirements.
Precision tolerances are available for all dimensions of a forging, as well as for local
dimensions.
2.2 Only one grade is used for machining allowance.
3 Technical contents
3.1 Main factors for determining forging tolerances and machining allowances
3.1.1 Forging mass mf
The estimation of the mass of the forgings is carried out, according to the following
procedure:
Basic dimensions of part drawing → Estimate machining allowance → Draw
forging drawing → Estimate forging mass. Meanwhile, check the table according to
this mass, to determine tolerance and machining allowance.
3.1.2 Forging shape complexity factor S
The shape complexity factor of the forging is the ratio -- of the mass mf of the forging
3.2.1 Length, width, height tolerances
3.2.1.1 Length, width, height tolerances refer to the dimensional tolerances, along the
length, width, height directions, on the same die on one side of the parting line (Figure
6). Such tolerances are determined, according to the basic size, mass, shape complexity
factor, material factor of the forging. Table 1 is the ordinary grade; Table 2 is the
precision grade.
3.2.1.2 Drop (f in Figure 6) dimensional tolerance is a form of height dimensional
tolerance. Its value is one stop wider than the corresponding height dimensional
tolerance. The upper and lower deviation values are distributed, according to the
proportions of ±1/2.
3.2.1.3 The dimensional tolerance of hole size is determined from Table 1 or Table 2,
according to the hole size. The upper and lower deviations are distributed, in
proportions of +1/4 and -3/4.
3.2.2 Thickness tolerance
Thickness tolerance refers to the tolerance of the thickness dimension, across the
parting line (t1, t2 in Figure 6).
3.2.6 Method of use of tolerance table
When determining the dimensional tolerance of the length, width or height of the
forging, from Table 1 or Table 2, the corresponding range shall be selected, according
to the mass of the forging; then move to the right, along the horizontal line. If the
material factor is M1, continue to move to the right along the same horizontal line; if
the material factor is M2, move to the right down along the inclined line, to the
intersection with the vertical line of M2. For the complex shape factor S, use the same
method, to move to the position of S1 or S2, S3, S4, along the horizontal or inclined line;
continue to move to the right, until reaching to the vertical column of the required size.
Then it can find out the required tolerance value.
When determining the tolerance of error and lateral residual flash, select the range in
the forging mass column, too. Then move to the left; check the error and residual flash
tolerance value, according to the shape of the parting line.
Example: For a forging, which has a mass of 6 kg, a length dimension of 160 mm, a material
factor of M1, a shape complexity fact...
Share
