1
/
of
5
www.ChineseStandard.us -- Field Test Asia Pte. Ltd.
GB/T 22097-2008 English PDF (GB/T22097-2008)
GB/T 22097-2008 English PDF (GB/T22097-2008)
Regular price
$160.00
Regular price
Sale price
$160.00
Unit price
/
per
Shipping calculated at checkout.
Couldn't load pickup availability
GB/T 22097-2008: Gear measuring center
Delivery: 9 seconds. Download (& Email) true-PDF + Invoice.
Get Quotation: Click GB/T 22097-2008 (Self-service in 1-minute)
Historical versions (Master-website): GB/T 22097-2008
Preview True-PDF (Reload/Scroll-down if blank)
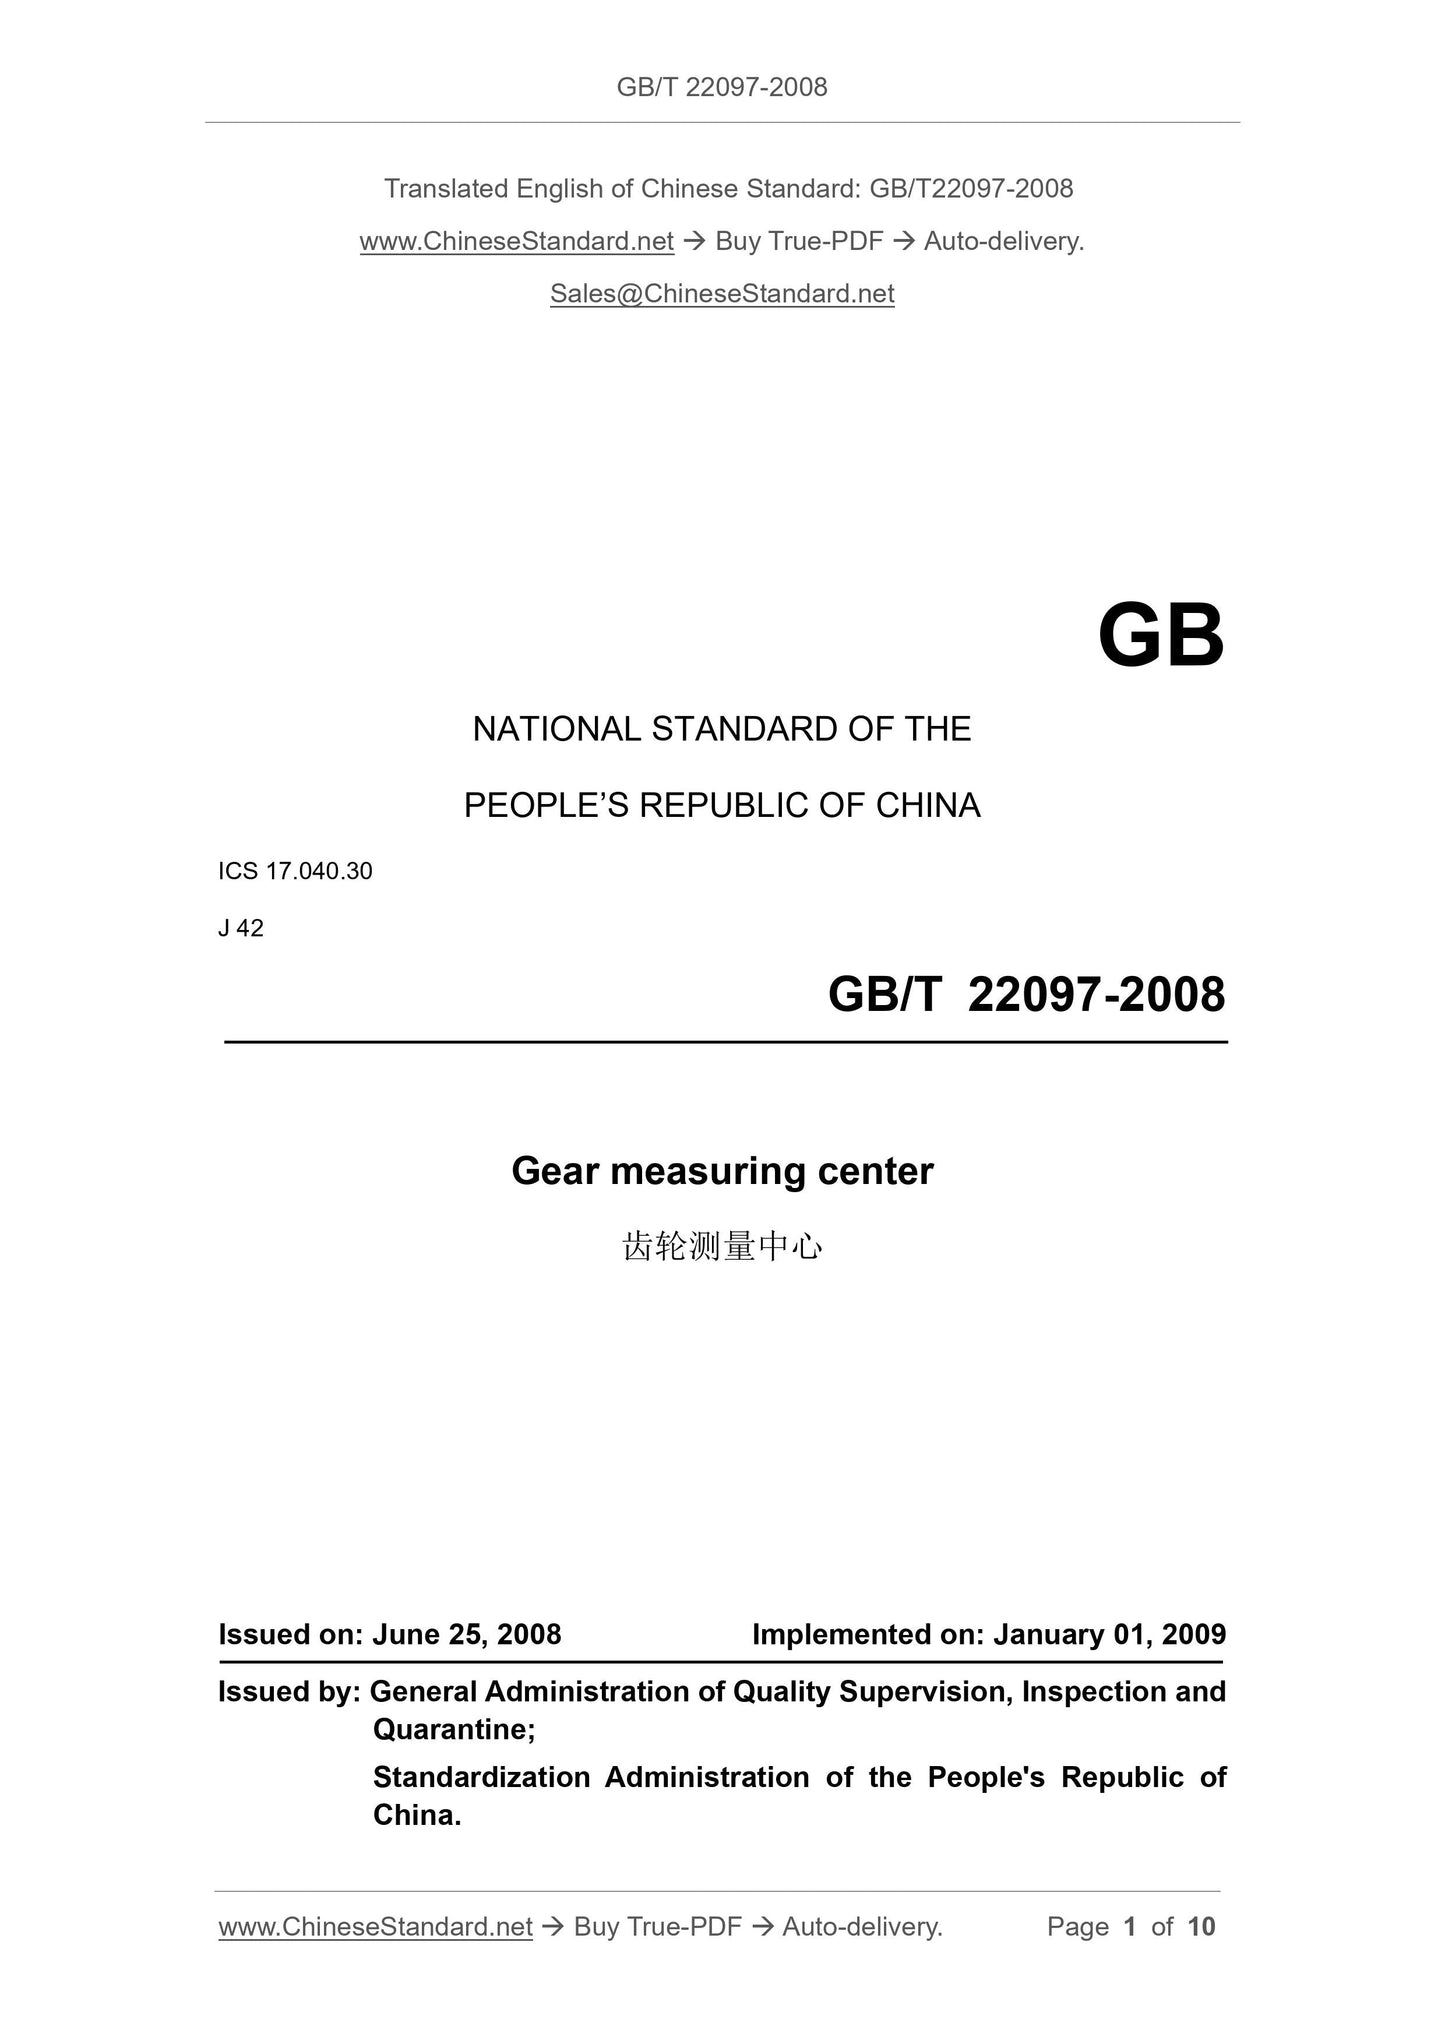
GB/T 22097-2008
GB
NATIONAL STANDARD OF THE
PEOPLE’S REPUBLIC OF CHINA
ICS 17.040.30
J 42
Gear measuring center
ISSUED ON: JUNE 25, 2008
IMPLEMENTED ON: JANUARY 01, 2009
Issued by: General Administration of Quality Supervision, Inspection and
Quarantine;
Standardization Administration of the People's Republic of
China.
Table of Contents
Foreword ... 3
1 Scope ... 4
2 Normative references ... 4
3 Terms and definitions ... 5
4 Type and basic parameters ... 5
5 Requirements ... 6
6 Safety performance ... 8
7 Inspection conditions ... 8
8 Inspection methods ... 8
9.1 Marks ... 10
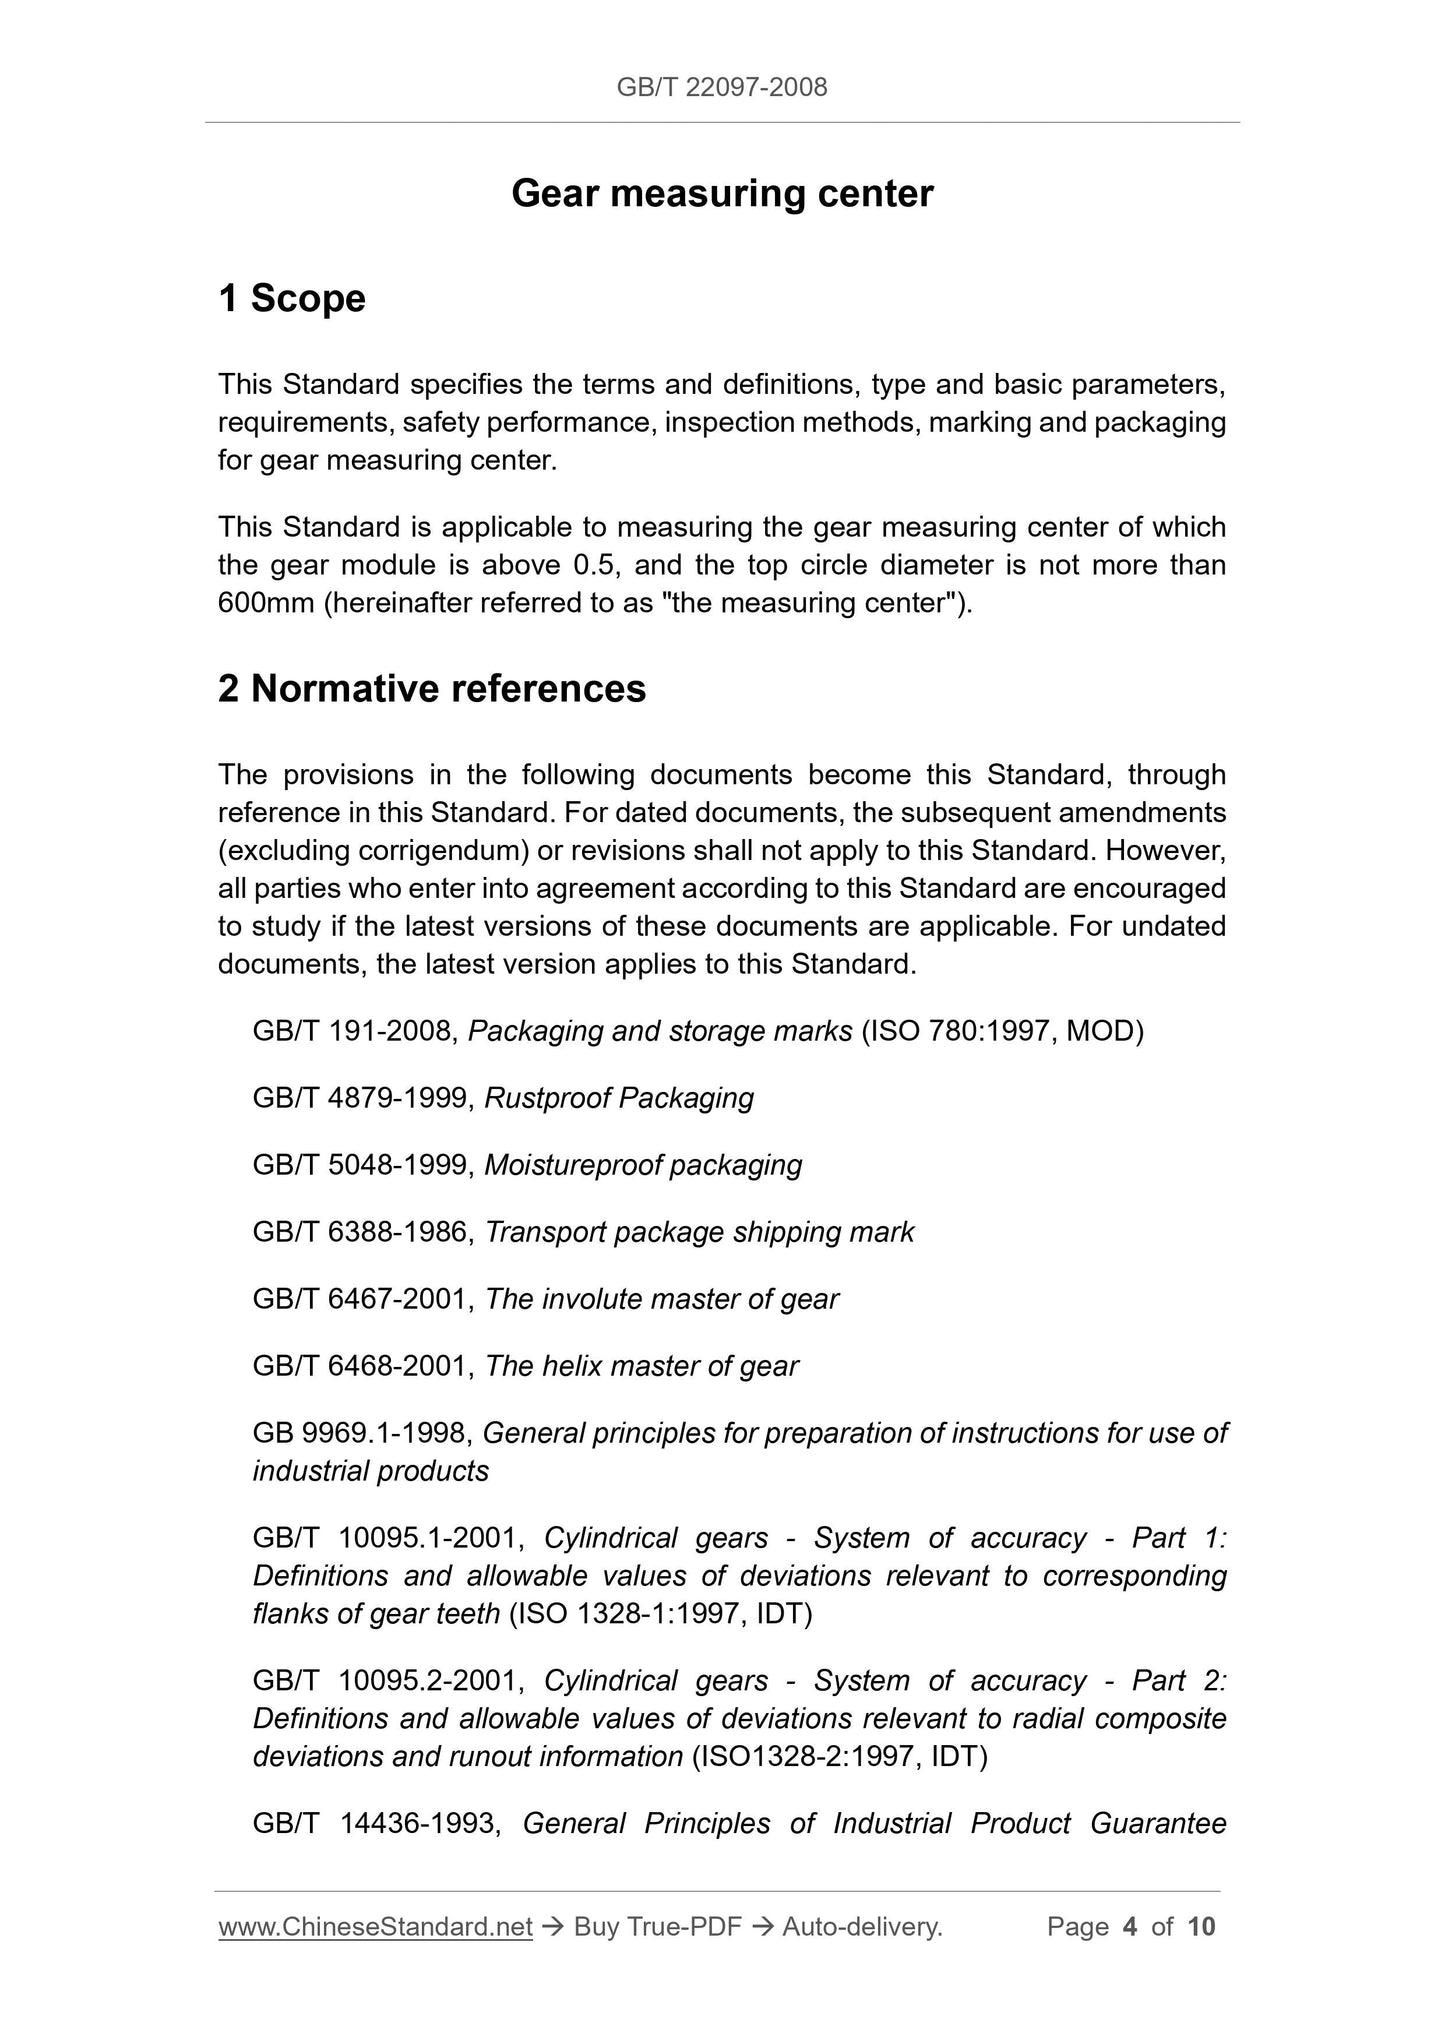
Gear measuring center
1 Scope
This Standard specifies the terms and definitions, type and basic parameters,
requirements, safety performance, inspection methods, marking and packaging
for gear measuring center.
This Standard is applicable to measuring the gear measuring center of which
the gear module is above 0.5, and the top circle diameter is not more than
600mm (hereinafter referred to as "the measuring center").
2 Normative references
The provisions in the following documents become this Standard, through
reference in this Standard. For dated documents, the subsequent amendments
(excluding corrigendum) or revisions shall not apply to this Standard. However,
all parties who enter into agreement according to this Standard are encouraged
to study if the latest versions of these documents are applicable. For undated
documents, the latest version applies to this Standard.
GB/T 191-2008, Packaging and storage marks (ISO 780:1997, MOD)
GB/T 4879-1999, Rustproof Packaging
GB/T 5048-1999, Moistureproof packaging
GB/T 6388-1986, Transport package shipping mark
GB/T 6467-2001, The involute master of gear
GB/T 6468-2001, The helix master of gear
GB 9969.1-1998, General principles for preparation of instructions for use of
industrial products
GB/T 10095.1-2001, Cylindrical gears - System of accuracy - Part 1:
Definitions and allowable values of deviations relevant to corresponding
flanks of gear teeth (ISO 1328-1:1997, IDT)
GB/T 10095.2-2001, Cylindrical gears - System of accuracy - Part 2:
Definitions and allowable values of deviations relevant to radial composite
deviations and runout information (ISO1328-2:1997, IDT)
GB/T 14436-1993, General Principles of Industrial Product Guarantee
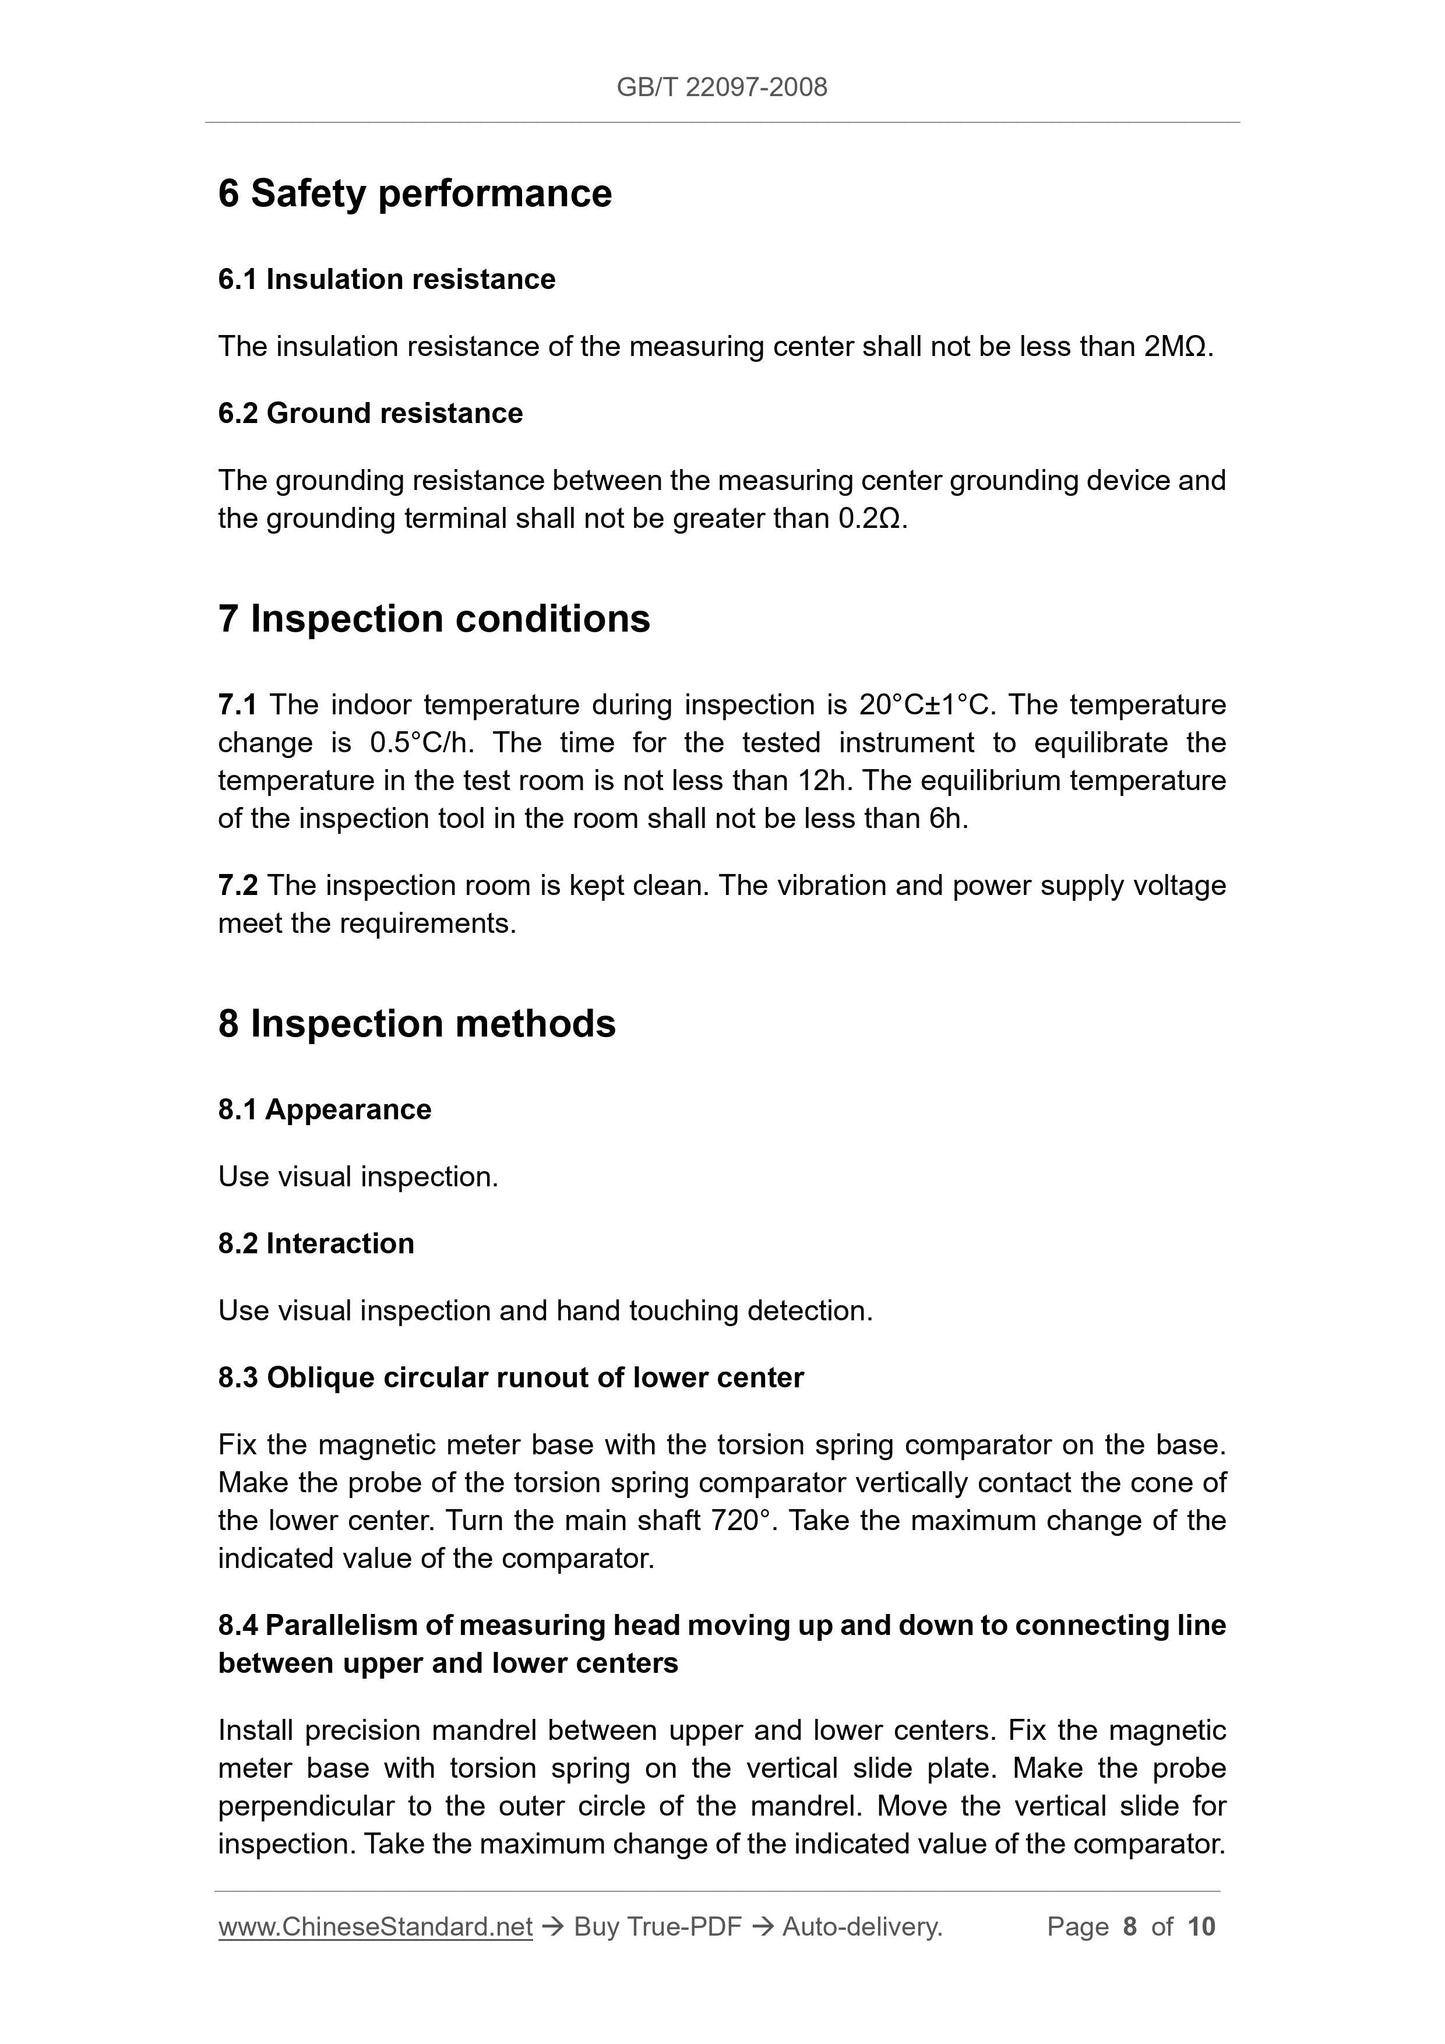
6 Safety performance
6.1 Insulation resistance
The insulation resistance of the measuring center shall not be less than 2MΩ.
6.2 Ground resistance
The grounding resistance between the measuring center grounding device and
the grounding terminal shall not be greater than 0.2Ω.
7 Inspection conditions
7.1 The indoor temperature during inspection is 20°C±1°C. The temperature
change is 0.5°C/h. The time for the tested instrument to equilibrate the
temperature in the test room is not less than 12h. The equilibrium temperature
of the inspection tool in the room shall not be less than 6h.
7.2 The inspection room is kept clean. The vibration and power supply voltage
meet the requirements.
8 Inspection methods
8.1 Appearance
Use visual inspection.
8.2 Interaction
Use visual inspection and hand touching detection.
8.3 Oblique circular runout of lower center
Fix the magnetic meter base with the torsion spring comparator on the base.
Make the probe of the torsion spring comparator vertically contact the cone of
the lower center. Turn the main shaft 720°. Take the maximum change of the
indicated value of the comparator.
8.4 Parallelism of measuring head moving up and down to connecting line
between upper and lower centers
Install precision mandrel between upper and lower centers. Fix the magnetic
meter base with torsion spring on the vertical slide plate. Make the probe
perpendicular to the outer circle of the mandrel. Move the vertical slide for
inspection. Take the maximum change of the indicated value of the comparator.
8.5 Coaxiality of upper center to spindle rotation center
Install a precision mandrel with a length of 200mm between the upper and lower
centers. Fix the magnetic meter base with the torsion spring comparator on the
lower disc. Make the probe of the comparator vertically contact the outer circle
of the upper end of the mandrel. Turn the main shaft 720°. Take the maximum
change of the indicated value of the comparator.
8.6 Indication error when measuring involute tooth profile deviation
Install an involute model between the upper and lower centers. According to the
computer involute tooth profile measurement program, the probe is in contact
with the tooth surface. Measure the tooth surface of the template. Take the
difference between the measured value and the actual value of the sample.
8.7 Indication error when measuring spiral deviation
Install a spiral line model between the upper and lower centers. According to
the computer spiral program, the probe is in contact with the tooth surface.
Measure the tooth surface. Take the difference between the measured value
and the actual value of the model.
8.8 Indication error when measuring cumulative total deviation of tooth
pitch
The probe is in contact with the middle of the standard gear tooth surface.
Measure from the marked tooth according to the computer pitch measurement
program. Take the maximum difference between the cumulative total deviation
of the tooth pitch measured for one revolution and the actual value of the
standard gear.
8.9 Variation of indication value when measuring involute tooth profile
deviation
Use the same method as 8.6. In one clamping, continuously measure the tooth
surface of the involute template five times. Take the maximum difference
between the indicated values of each curve.
8.10 Variability of indication value when measuring spiral deviation
Use the same method as 8.7. Measure the spiral pattern five times continuously
in one clamping. Take the maximum difference between the indicated values of
each curve.
8.11 Variability of indication value when measuring cumulative total
deviation of tooth pitch
Use the same method as 8.9. In one clamping, five rotations are continuously
Share
