1
/
of
5
PayPal, credit cards. Download editable-PDF & invoice In 1 second!
GB/T 22565.1-2021 English PDF (GBT22565.1-2021)
GB/T 22565.1-2021 English PDF (GBT22565.1-2021)
Regular price
$230.00 USD
Regular price
Sale price
$230.00 USD
Unit price
/
per
Shipping calculated at checkout.
Couldn't load pickup availability
Delivery: 3 seconds. Download true-PDF + Invoice.
Get QUOTATION in 1-minute: Click GB/T 22565.1-2021
Historical versions: GB/T 22565.1-2021
Preview True-PDF (Reload/Scroll if blank)
GB/T 22565.1-2021: Metallic materials -- Sheet and strip -- Method for spring back evaluation -- Part 1: Stretch bending
GB/T 22565.1-2021
NATIONAL STANDARD OF THE
PEOPLE’S REPUBLIC OF CHINA
ICS 77.040.10
CCS H 22
Replacing GB/T 22565-2008
Metallic materials - Sheet and strip - Method for spring
back evaluation - Part 1: Stretch bending
(ISO 24213:2017, Metallic materials - Sheet and strip - Method for spring back
evaluation in stretch bending, MOD)
ISSUED ON: DECEMBER 31, 2021
IMPLEMENTED ON: JULY 01, 2022
Issued by: State Administration for Market Regulation;
Standardization Administration of the People’s Republic of China.
Table of Contents
Foreword ... 3
Introduction ... 5
1 Scope ... 6
2 Normative references ... 6
3 Terms and definitions... 6
4 Symbols and designations ... 8
5 Principle ... 8
6 Test apparatuses ... 9
7 Test piece ... 10
8 Test procedures ... 10
9 Test report ... 11
Appendix A (Normative) Method for calculating blank holding pressure ... 12
Appendix B (Normative) Method for calculating nominal tensile stress ... 14
Appendix C (Normative) Device for determining the radius curvature using a dial gauge
... 15
Metallic materials - Sheet and strip - Method for spring
back evaluation - Part 1: Stretch bending
1 Scope
This document specifies a method for evaluating the amount of springback of sheets
and strips of metallic materials under plane-strain stretch bending. Plane-strain stretch
bending is a typical deformation mode of stamping parts, which can show a significant
amount of springback. By using this method, the amount of springback under stretch
bending can be evaluated accurately and quantitatively.
This document applies to material characterization, forming process control, die design
and finite element program calibration for sheets and strips of metallic materials with
springback control requirements.
2 Normative references
The following documents, in whole or in part, are normatively referenced in this
document and are indispensable for its application. For dated references, only the
version corresponding to that date is applicable to this document; for undated references,
the latest version (including all amendments) is applicable to this document.
GB/T 8170, Rules of rounding off for numerical values and expression and judgment
of limiting values
3 Terms and definitions
The following terms and definitions are applicable to this document.
3.1
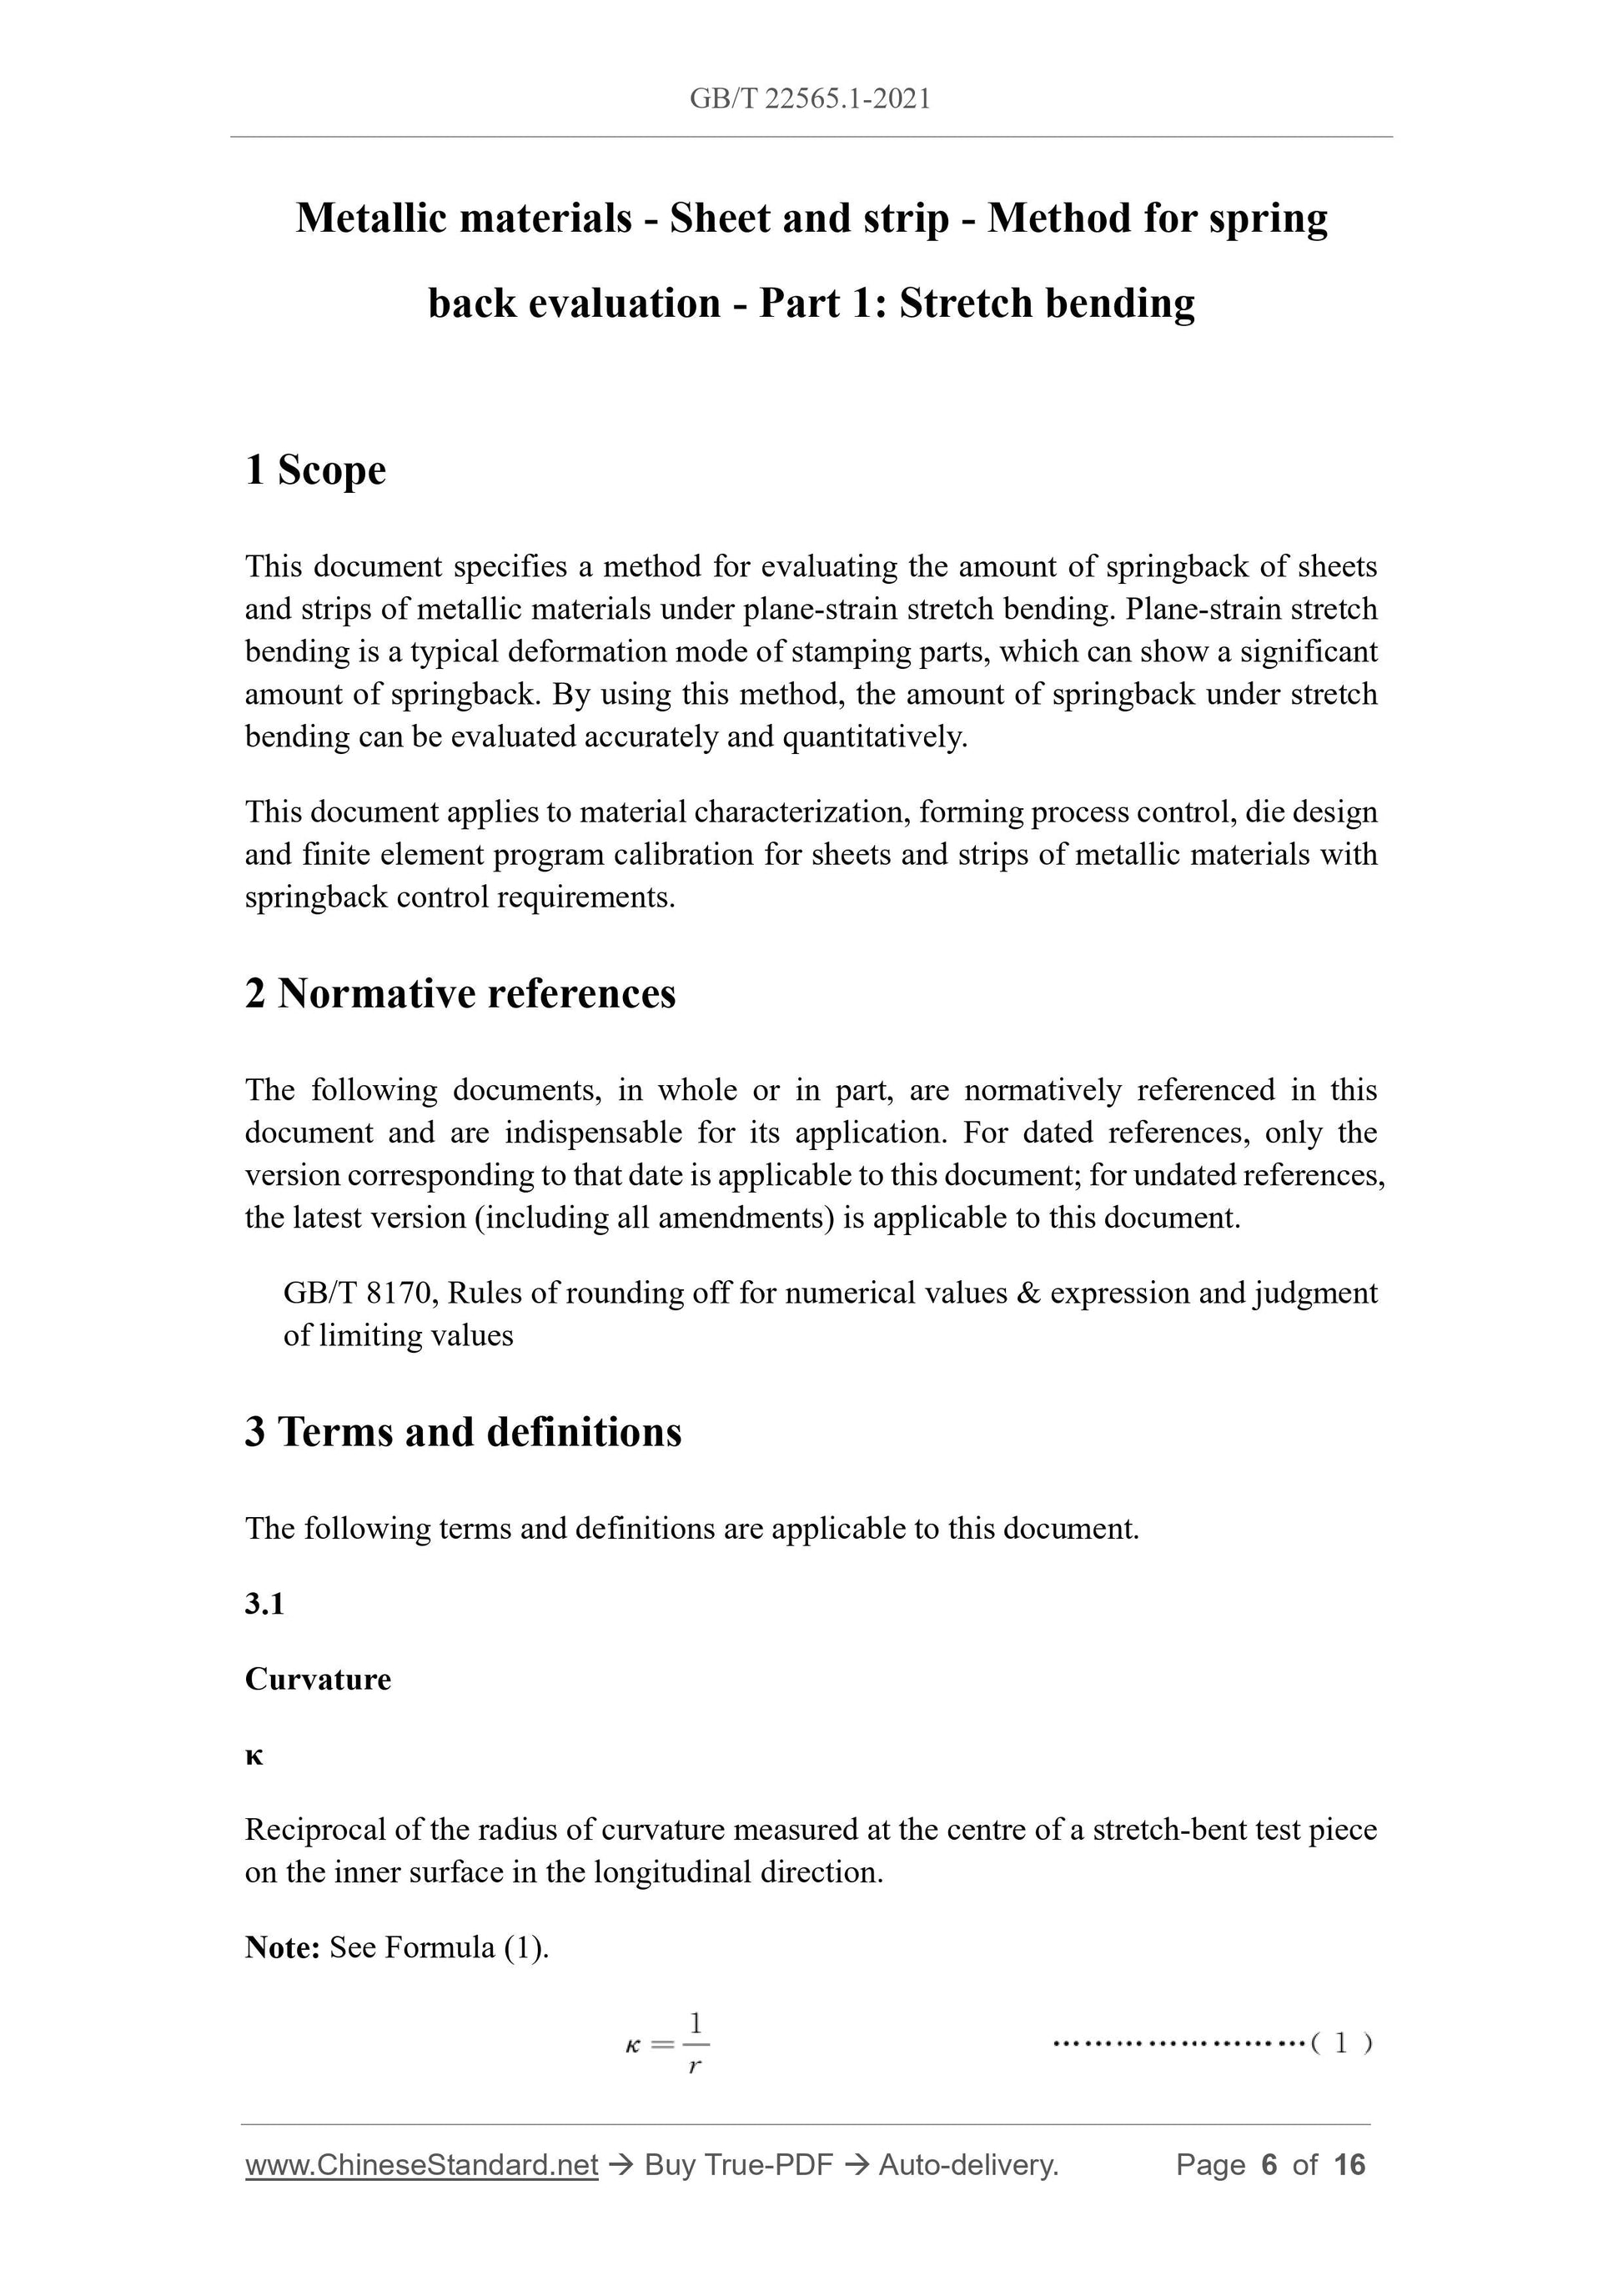
Curvature
Reciprocal of the radius of curvature measured at the centre of a stretch-bent test piece
on the inner surface in the longitudinal direction.
Note: See Formula (1).
Figure 2 – Example of stretch-bending test apparatus for springback evaluation
6.2 Device for determining the radius of curvature of a test piece
The principle for determining the radius of curvature with a dial gauge is shown in
Appendix C, in which a dial gauge with an accuracy of 0.001 mm shall be employed.
The use of optical micrometers or other non-contacting length probes is also
recommended.
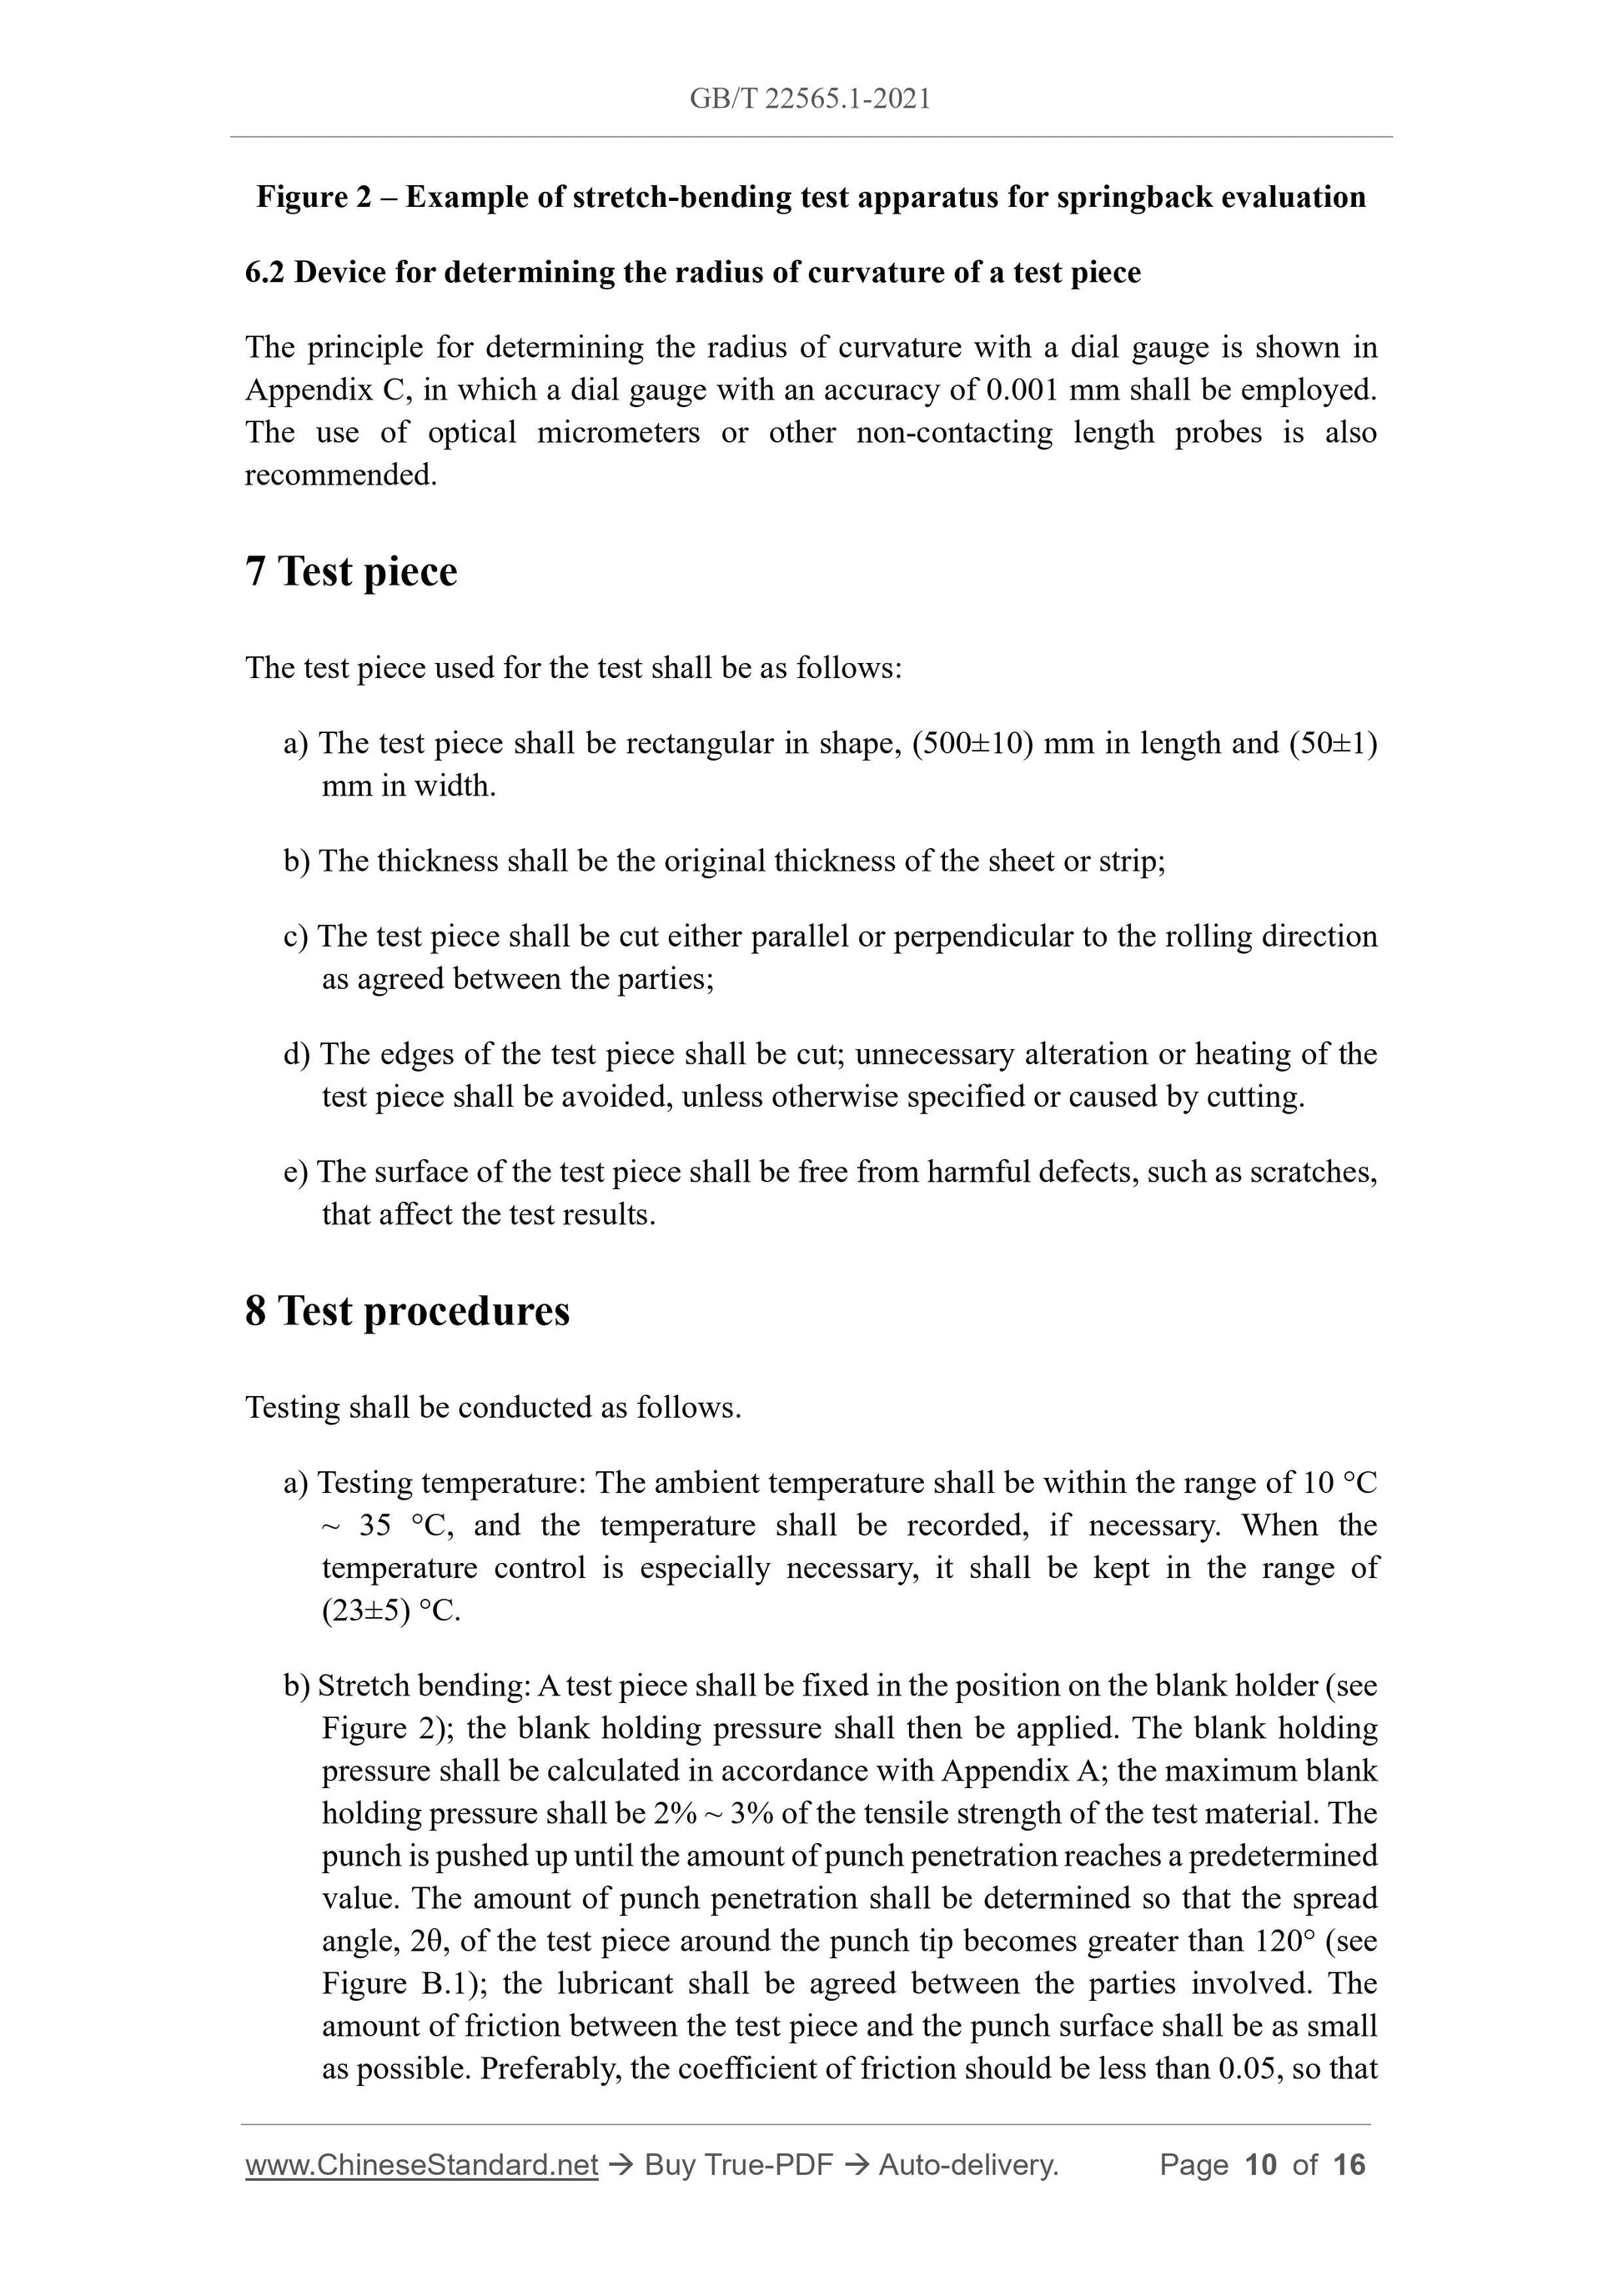
7 Test piece
The test piece used for the test shall be as follows:
a) The test piece shall be rectangular in shape, (500±10) mm in length and (50±1)
mm in width.
b) The thickness shall be the original thickness of the sheet or strip;
c) The test piece shall be cut either parallel or perpendicular to the rolling direction
as agreed between the parties;
d) The edges of the test piece shall be cut; unnecessary alteration or heating of the
test piece shall be avoided, unless otherwise specified or caused by cutting.
e) The surface of the test piece shall be free from harmful defects, such as scratches,
that affect the test results.
8 Test procedures
Testing shall be conducted as follows.
a) Testing temperature: The ambient temperature shall be within the range of 10 °C
~ 35 °C, and the temperature shall be recorded, if necessary. When the
temperature control is especially necessary, it shall be kept in the range of
(23±5) °C.
b) Stretch bending: A test piece shall be fixed in the position on the blank holder (see
Figure 2); the blank holding pressure shall then be applied. The blank holding
pressure shall be calculated in accordance with Appendix A; the maximum blank
holding pressure shall be 2% ~ 3% of the tensile strength of the test material. The
punch is pushed up until the amount of punch penetration reaches a predetermined
value. The amount of punch penetration shall be determined so that the spread
angle, 2θ, of the test piece around the punch tip becomes greater than 120° (see
Figure B.1); the lubricant shall be agreed between the parties involved. The
amount of friction between the test piece and the punch surface shall be as small
as possible. Preferably, the coefficient of friction should be less than 0.05, so that
the nominal tensile stress should be distributed uniformly over the punch head. A
thin sheet of polymer film and machine oil is recommended for the lubricant on
the punch surface. The polymer film shall be replaced with a new one before each
test. The amount of punch penetration (h) and the punch force (FP) shall be
measured with a displacement gauge and a load cell, respectively. The minimum
levels of resolution on the displacement gauge for punch penetration and on the
load cell for the punch force should be less than 0.5 mm and 100 N, respectively.
c) Calculation of nominal tensile stress: The calculation shall be as shown in
Appendix B.
d) Determination of radius of curvature and calculation of springback: The radius of
curvature, r’, of the inner surface of the test piece, after removal of the force, shall
be determined at the centre of the stretch-bent test piece in its longitudinal
direction, using a measurement device as specified in Appendix C. The radius of
curvature, r, of the inner surface of the test piece under force shall be the radius
of the punch tip. The amount of springback, η, is calculated using the Formula
(2). The width of the base of a dial gauge, w, for determining the curvature of the
test piece, after removal of the force, is recommended to be 20 mm (see Appendix
C). This is based on the observation, in preliminary experiments, that the
curvature of the specimen after springback was almost uniform in the central 20
mm section of the specimen.
e) Rounding: Measured data shall be rounded according to GB/T 8170.
Note: Keep three significant figures.
9 Test report
If a test report is required, the reported items shall be determined by agreement between
the relevant parties and shall be selected from the following:
a) reference to this document;
b) test conditions: punch radius, amount of punch penetration, lubricant, type and
thickness of polymer film, punch force, blank holding pressure, and orientation
of the test piece to the material rolling direction;
c) test results: nominal tensile stress, amount of springback, η;
d) type, thickness, designation and status of test materials;
e) an estimate of the uncertainty (or precision and bias) for all the measurements
reported.
Share


