1
/
of
7
www.ChineseStandard.us -- Field Test Asia Pte. Ltd.
GB/T 33001-2016 English PDF (GB/T33001-2016)
GB/T 33001-2016 English PDF (GB/T33001-2016)
Regular price
$190.00
Regular price
Sale price
$190.00
Unit price
/
per
Shipping calculated at checkout.
Couldn't load pickup availability
GB/T 33001-2016: Thermal insulating products for building applications -- Determination of bending behaviour
Delivery: 9 seconds. Download (& Email) true-PDF + Invoice.
Get Quotation: Click GB/T 33001-2016 (Self-service in 1-minute)
Historical versions (Master-website): GB/T 33001-2016
Preview True-PDF (Reload/Scroll-down if blank)
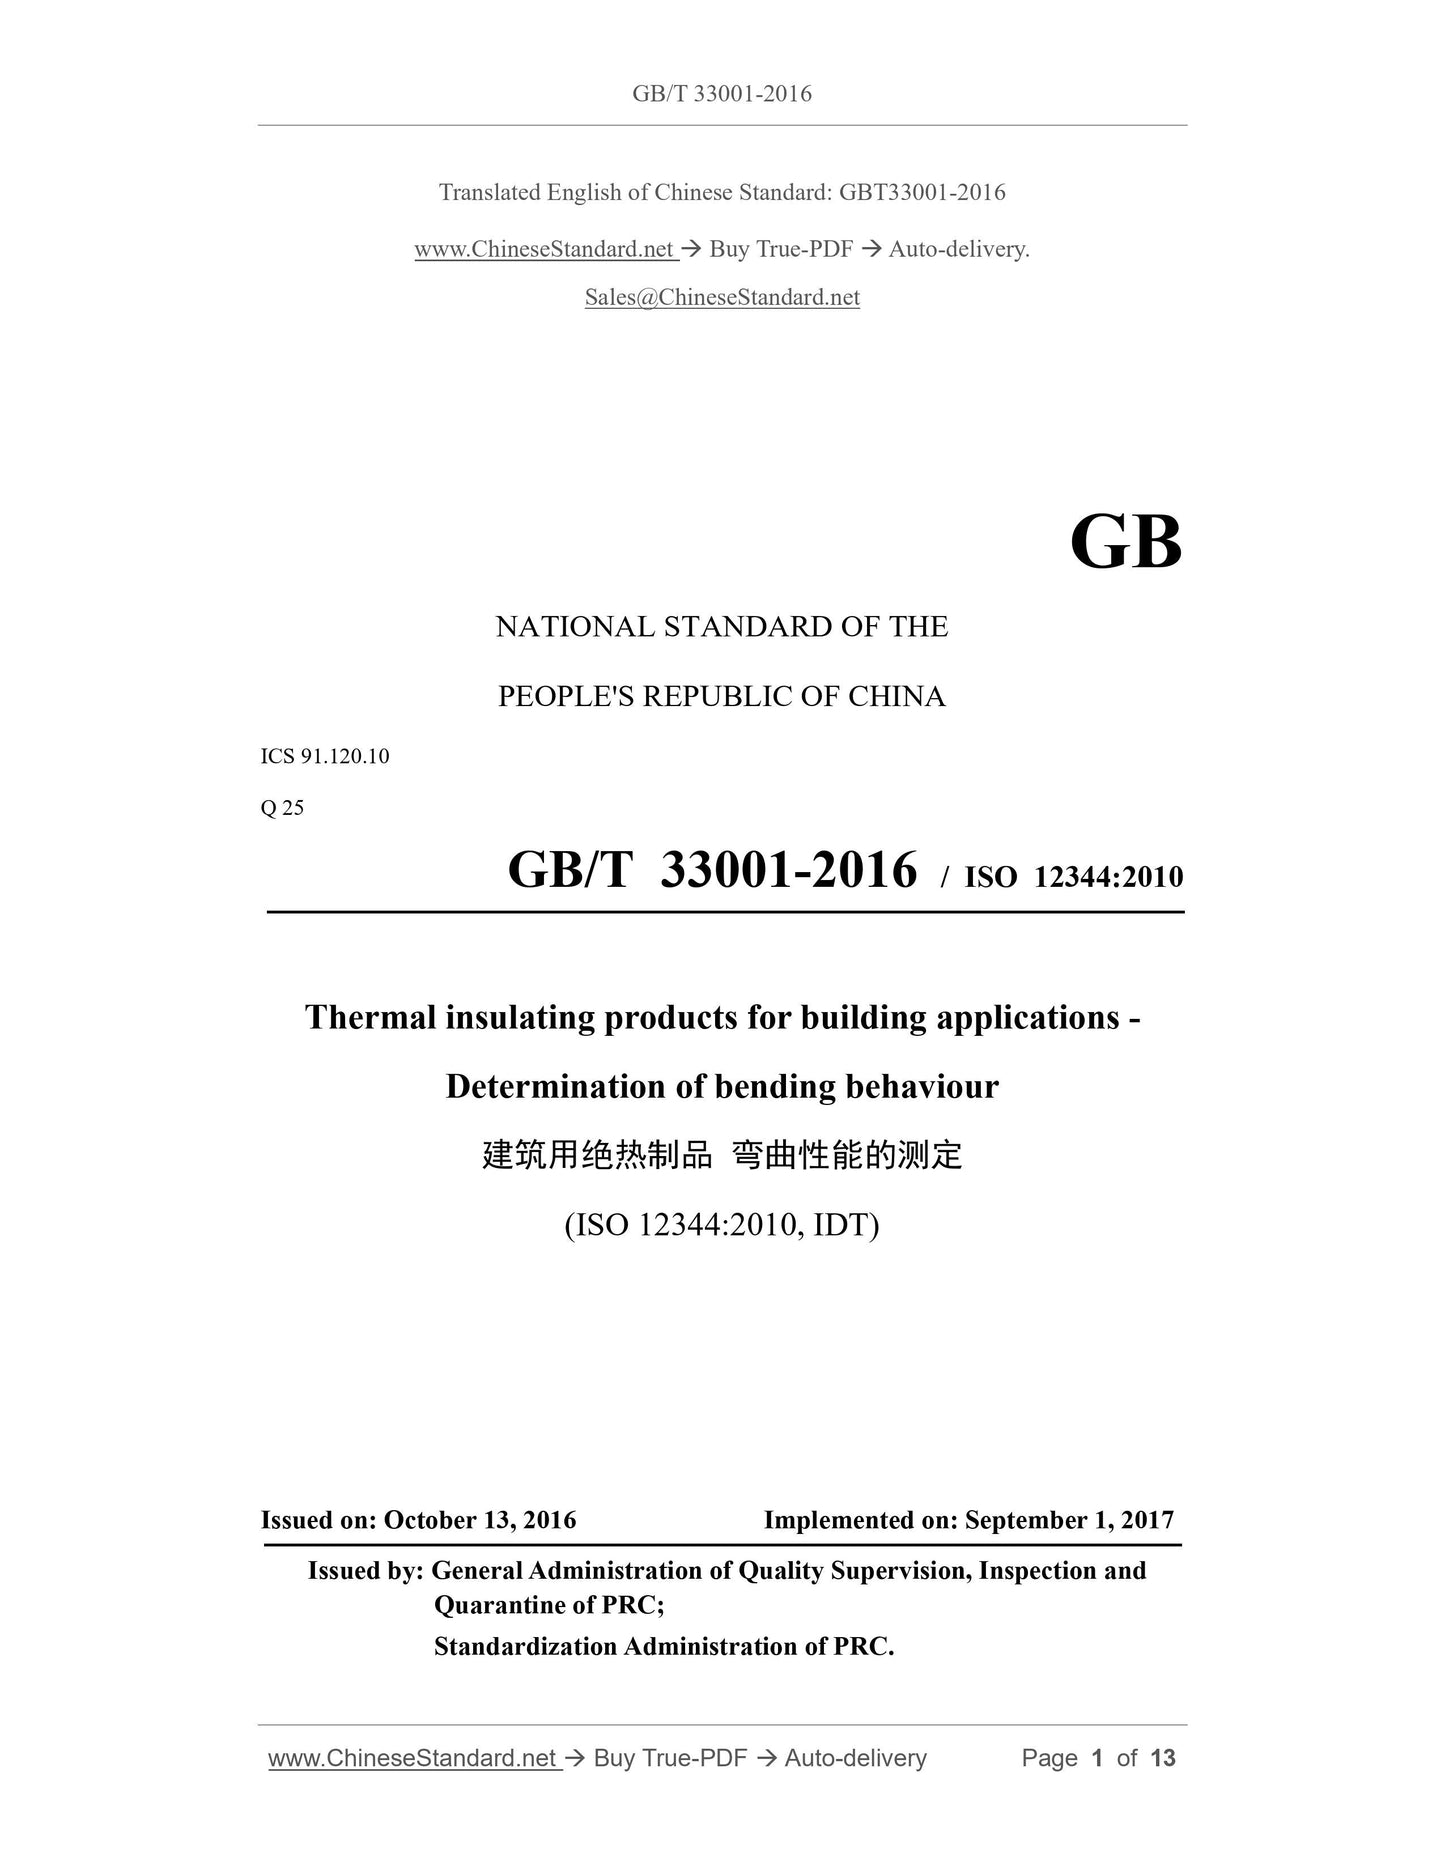
GB/T 33001-2016
GB
NATIONAL STANDARD OF THE
PEOPLE'S REPUBLIC OF CHINA
ICS 91.120.10
Q 25
GB/T 33001-2016 / ISO 12344:2010
Thermal insulating products for building applications -
Determination of bending behaviour
(ISO 12344:2010, IDT)
ISSUED ON: OCTOBER 13, 2016
IMPLEMENTED ON: SEPTEMBER 1, 2017
Issued by: General Administration of Quality Supervision, Inspection and
Quarantine of PRC;
Standardization Administration of PRC.
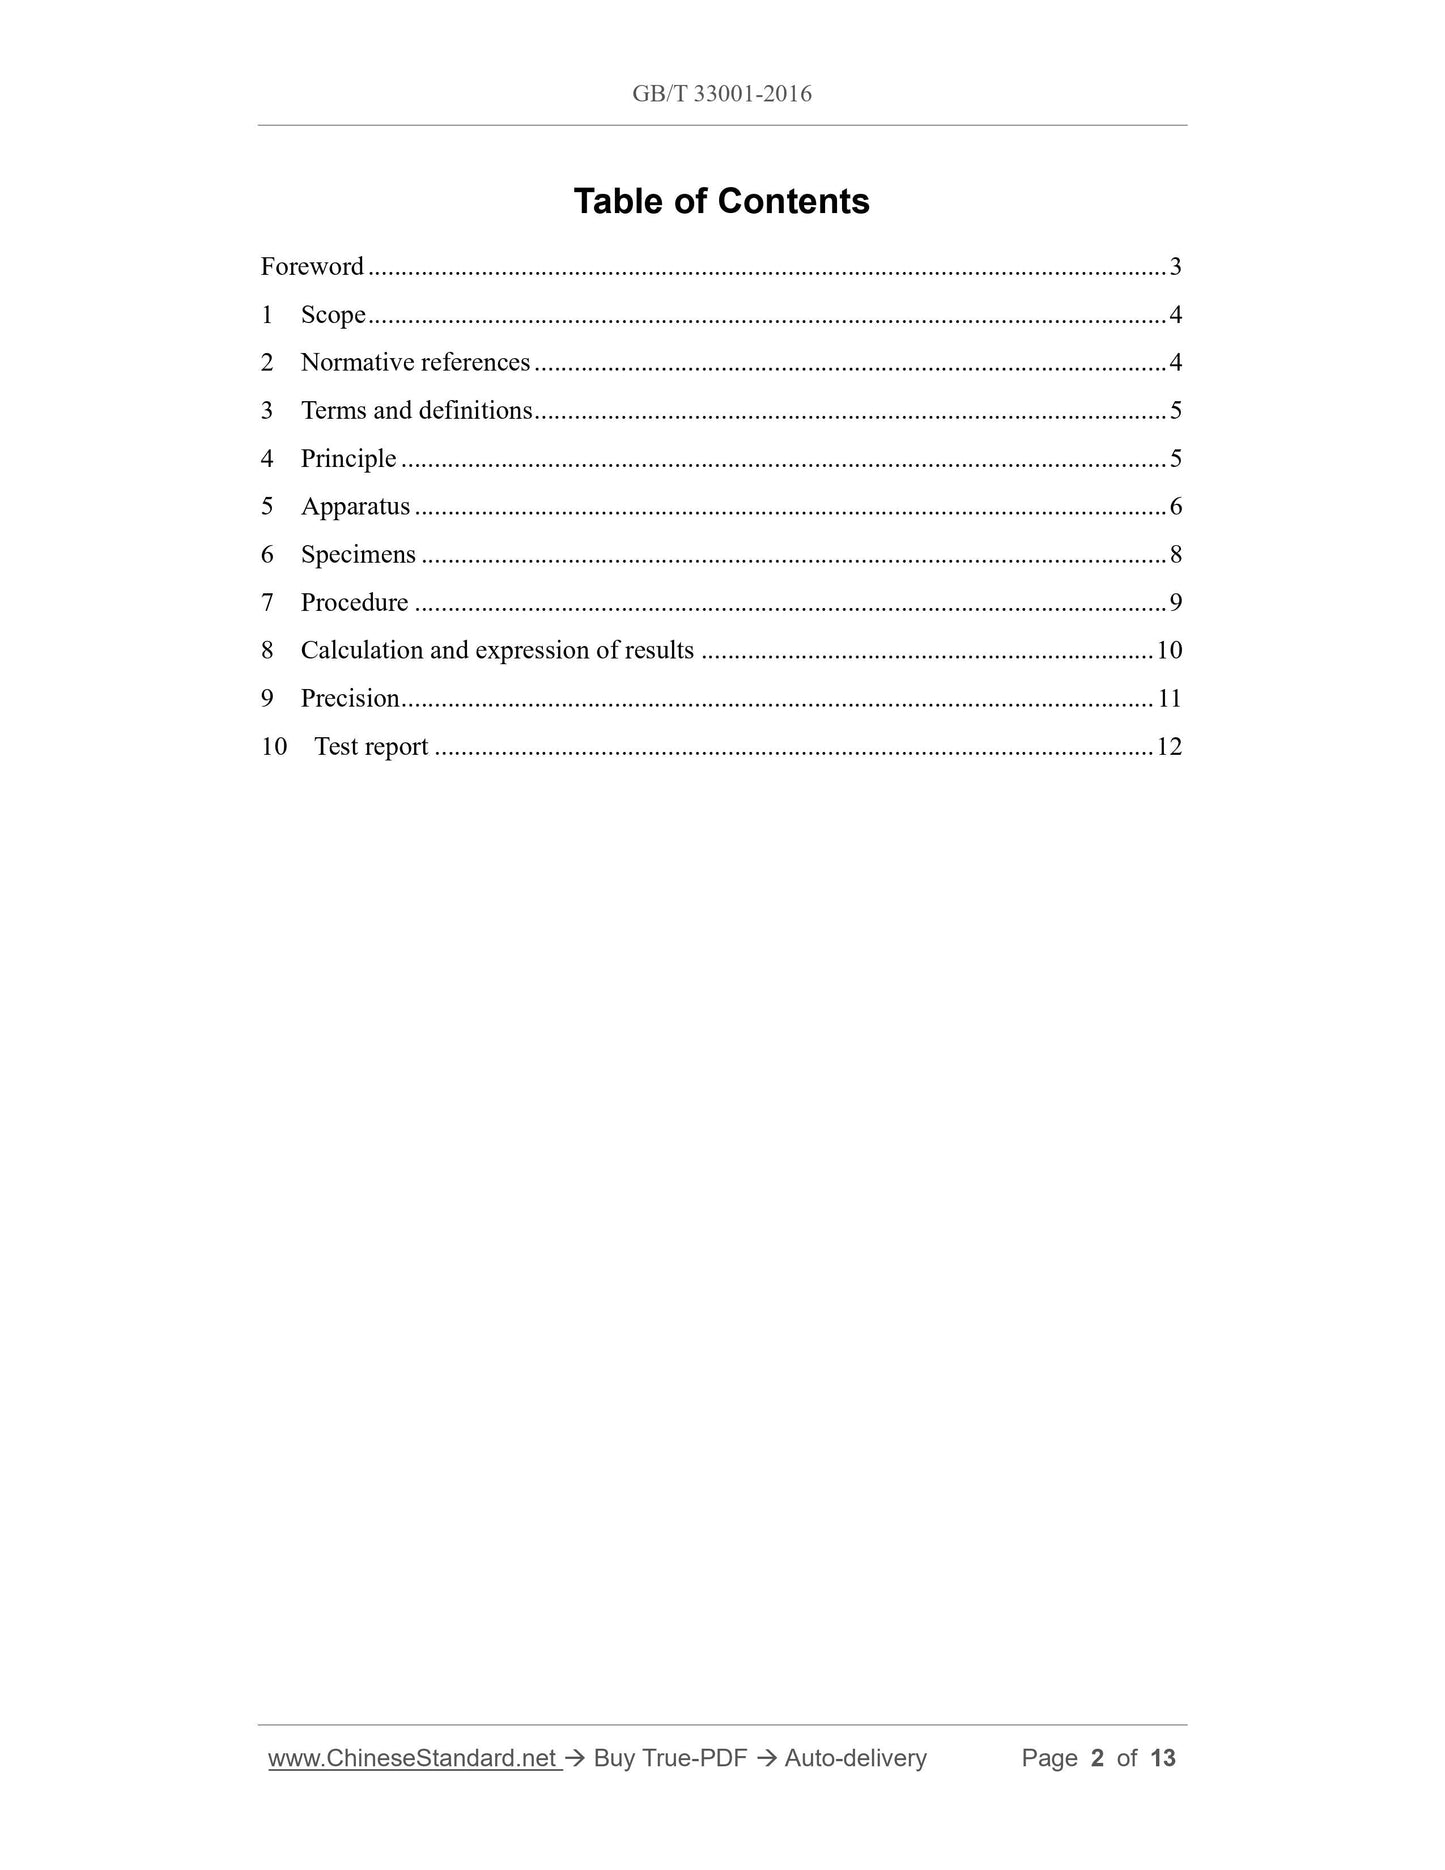
Table of Contents
Foreword ... 3
1 Scope ... 4
2 Normative references ... 4
3 Terms and definitions ... 5
4 Principle ... 5
5 Apparatus ... 6
6 Specimens ... 8
7 Procedure ... 9
8 Calculation and expression of results ... 10
9 Precision ... 11
10 Test report ... 12
Thermal insulating products for building applications -
Determination of bending behaviour
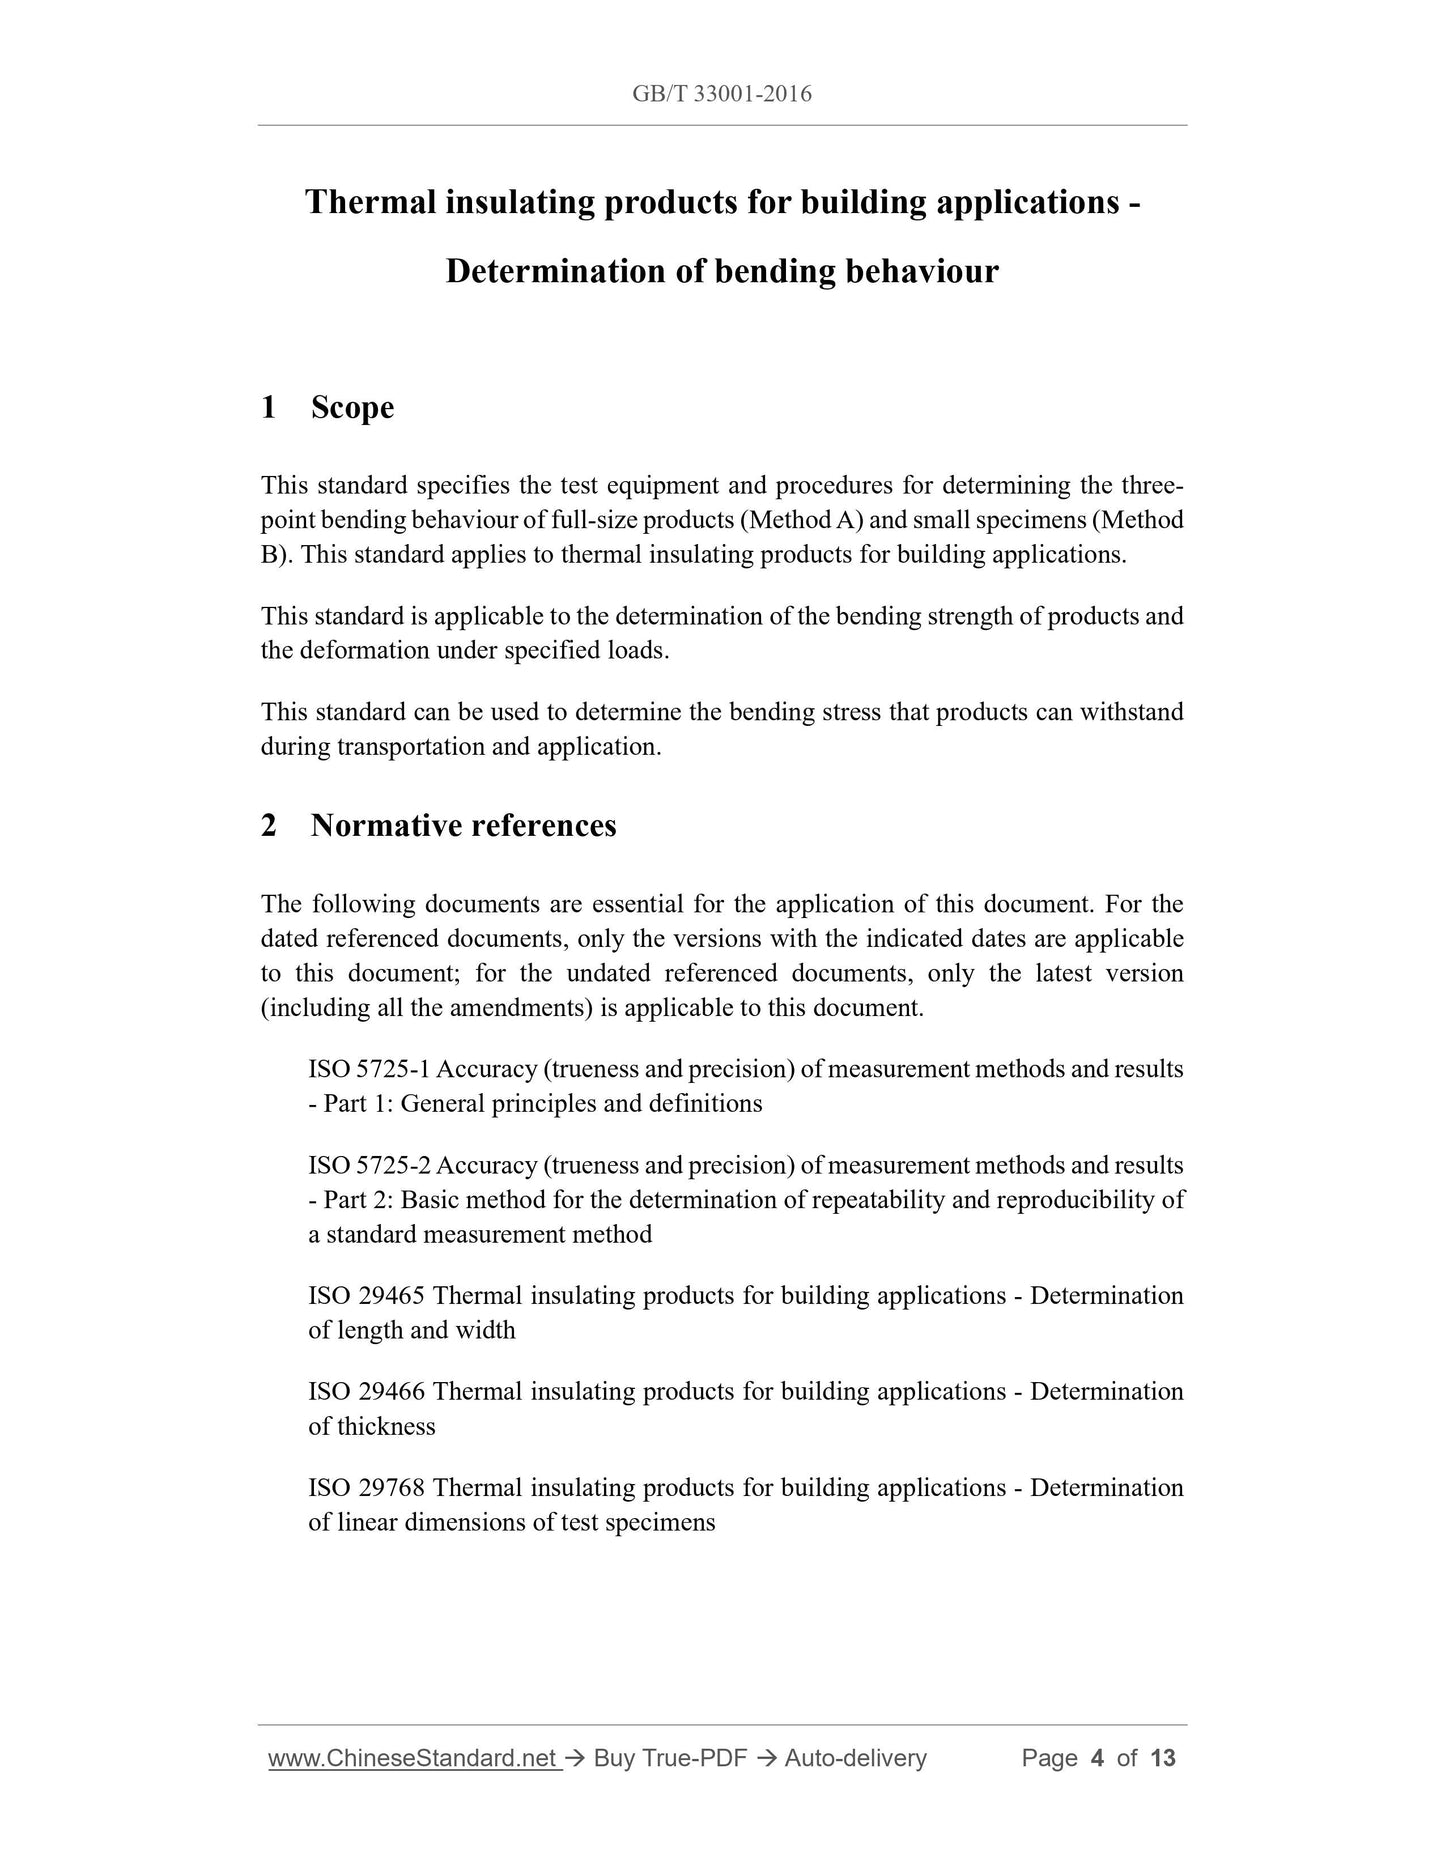
1 Scope
This standard specifies the test equipment and procedures for determining the three-
point bending behaviour of full-size products (Method A) and small specimens (Method
B). This standard applies to thermal insulating products for building applications.
This standard is applicable to the determination of the bending strength of products and
the deformation under specified loads.
This standard can be used to determine the bending stress that products can withstand
during transportation and application.
2 Normative references
The following documents are essential for the application of this document. For the
dated referenced documents, only the versions with the indicated dates are applicable
to this document; for the undated referenced documents, only the latest version
(including all the amendments) is applicable to this document.
ISO 5725-1 Accuracy (trueness and precision) of measurement methods and results
- Part 1: General principles and definitions
ISO 5725-2 Accuracy (trueness and precision) of measurement methods and results
- Part 2: Basic method for the determination of repeatability and reproducibility of
a standard measurement method
ISO 29465 Thermal insulating products for building applications - Determination
of length and width
ISO 29466 Thermal insulating products for building applications - Determination
of thickness
ISO 29768 Thermal insulating products for building applications - Determination
of linear dimensions of test specimens
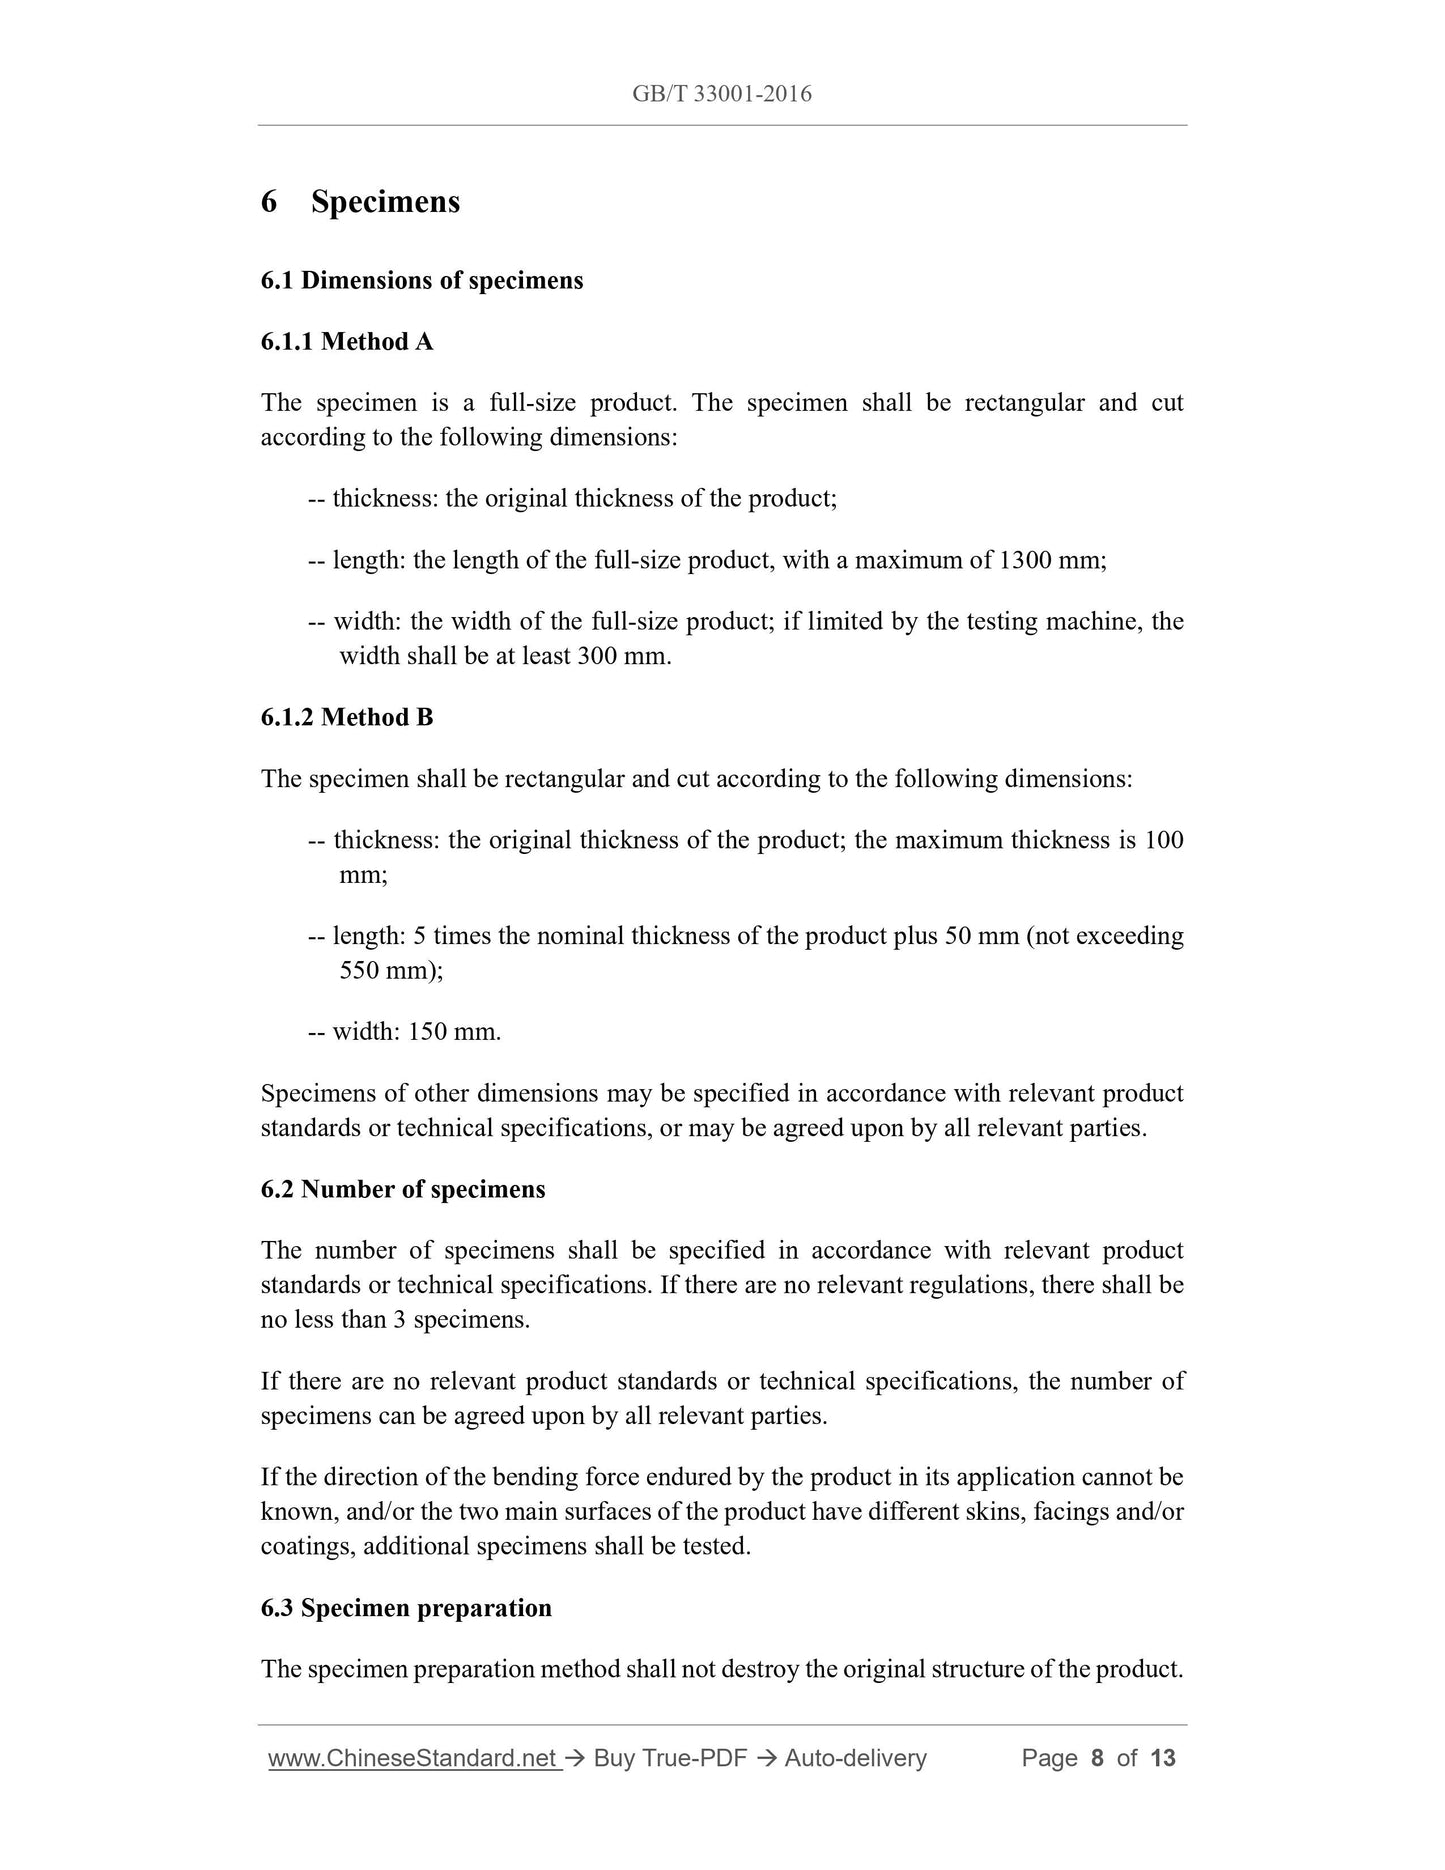
6 Specimens
6.1 Dimensions of specimens
6.1.1 Method A
The specimen is a full-size product. The specimen shall be rectangular and cut
according to the following dimensions:
-- thickness: the original thickness of the product;
-- length: the length of the full-size product, with a maximum of 1300 mm;
-- width: the width of the full-size product; if limited by the testing machine, the
width shall be at least 300 mm.
6.1.2 Method B
The specimen shall be rectangular and cut according to the following dimensions:
-- thickness: the original thickness of the product; the maximum thickness is 100
mm;
-- length: 5 times the nominal thickness of the product plus 50 mm (not exceeding
550 mm);
-- width: 150 mm.
Specimens of other dimensions may be specified in accordance with relevant product
standards or technical specifications, or may be agreed upon by all relevant parties.
6.2 Number of specimens
The number of specimens shall be specified in accordance with relevant product
standards or technical specifications. If there are no relevant regulations, there shall be
no less than 3 specimens.
If there are no relevant product standards or technical specifications, the number of
specimens can be agreed upon by all relevant parties.
If the direction of the bending force endured by the product in its application cannot be
known, and/or the two main surfaces of the product have different skins, facings and/or
coatings, additional specimens shall be tested.
6.3 Specimen preparation
The specimen preparation method shall not destroy the original structure of the product.
Any skins, facings and/or coatings shall be retained.
6.4 Conditioning of specimens
The specimens shall be placed in an environment of (23±5) ℃ for at least 6 hours. In
case of dispute, the specimens shall be placed in an environment of (23±2) ℃ and
(50±5) % relative humidity for the time specified in the relevant product standards, for
at least 6 h.
In tropical areas, different specimen conditioning and test environments can be used. In
this case, the temperature and relative humidity shall be (27±2) ℃ and (65±5) %
respectively, and shall be noted in the test report.
7 Procedure
7.1 Test environment
The test shall be carried out at (23±5) ℃. In case of dispute, the test shall be conducted
in an environment of (23±2) ℃ and (50±5) % relative humidity.
In tropical areas, different specimen conditioning and test environments can be used. In
this case, the temperature and relative humidity shall be (27±2) ℃ and (65±5) %
respectively, and shall be noted in the test report.
7.2 Test procedures
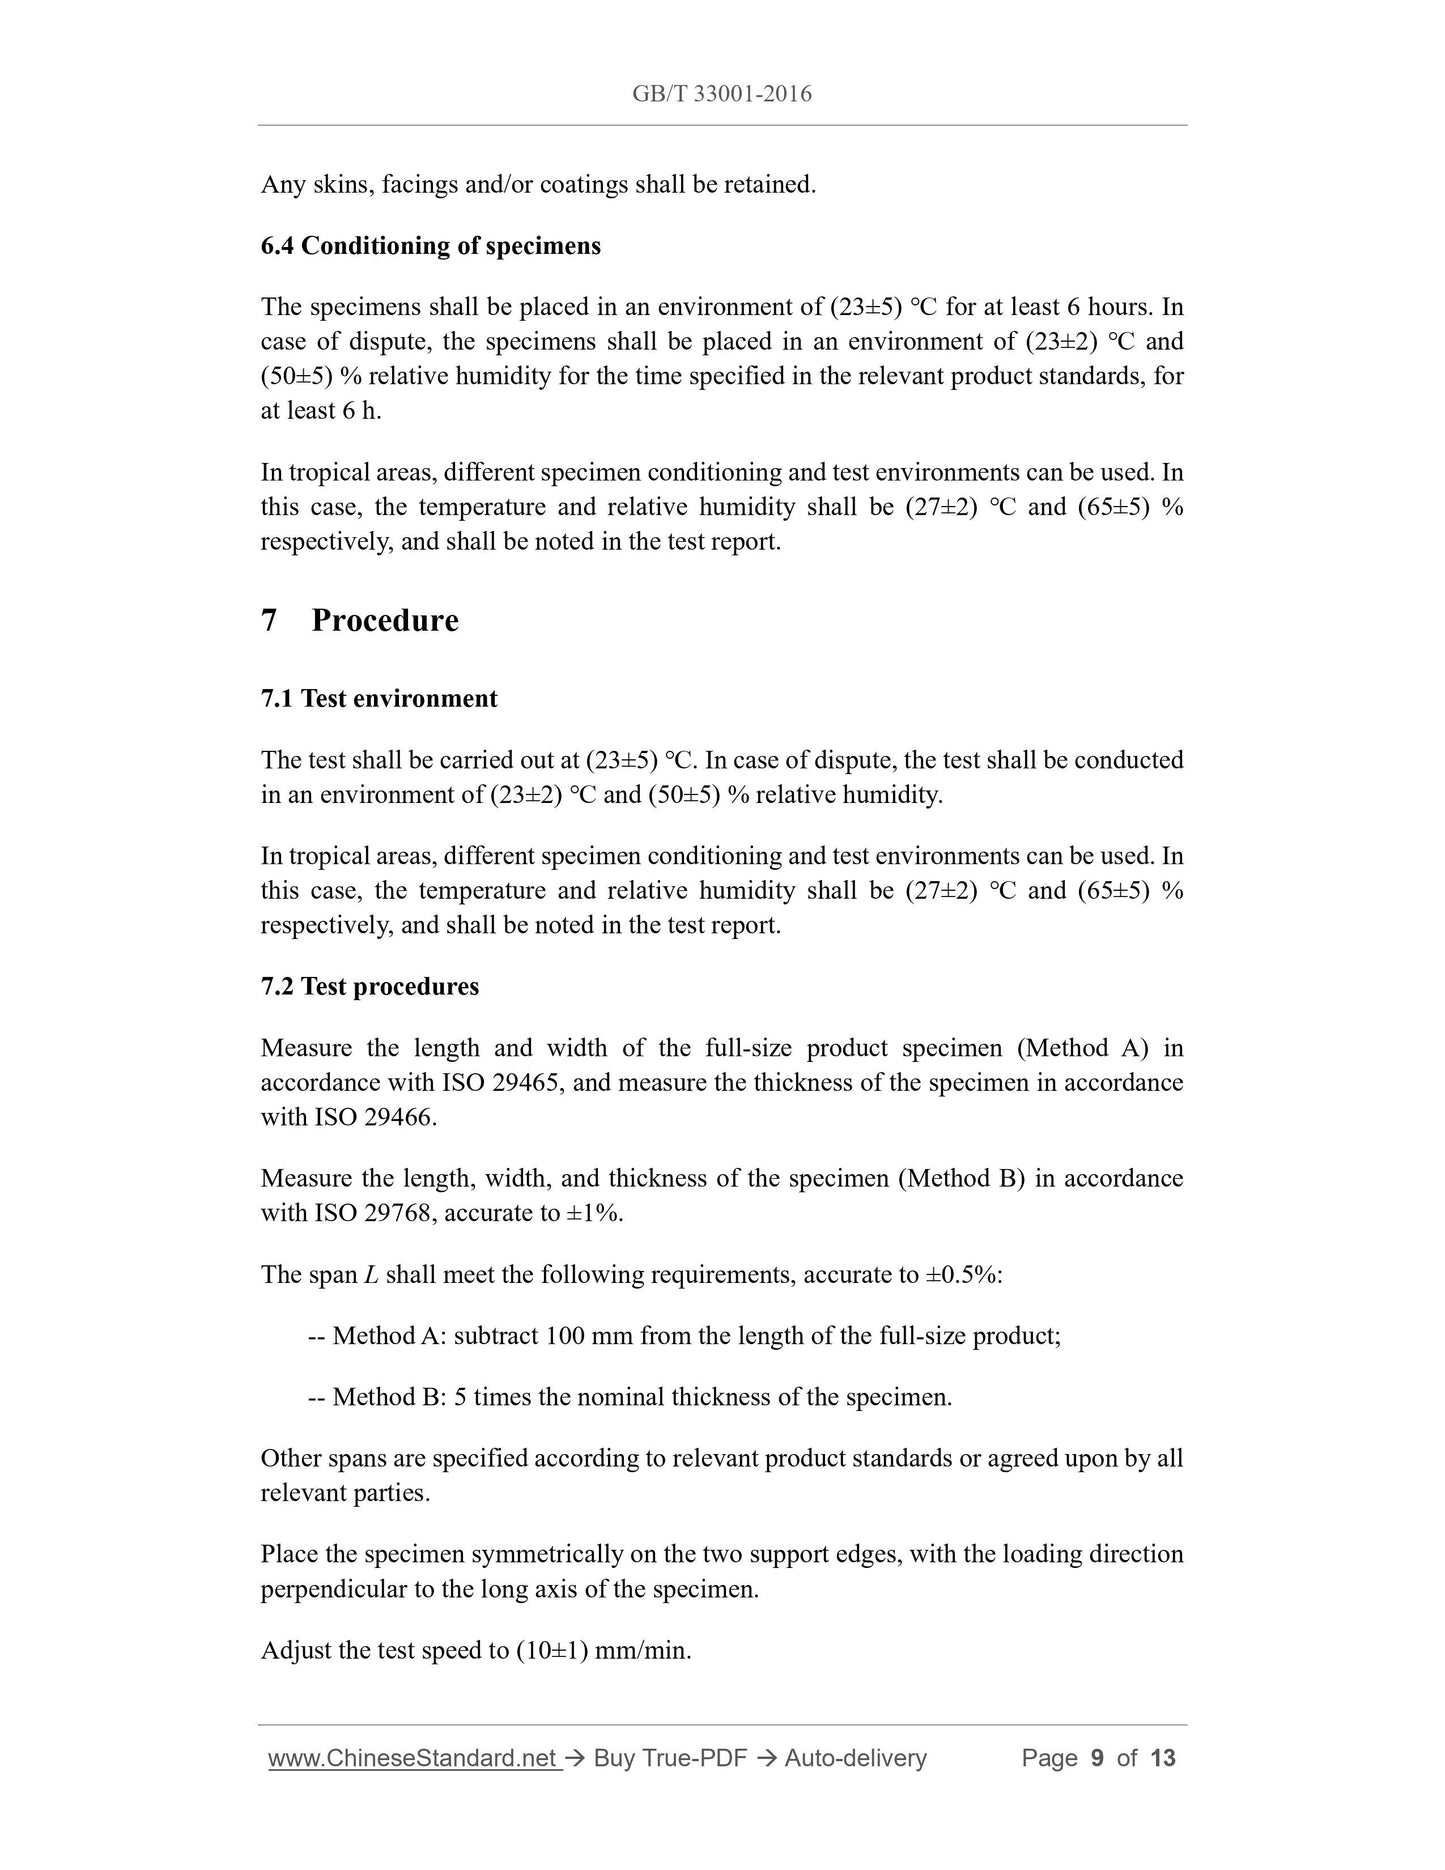
Measure the length and width of the full-size product specimen (Method A) in
accordance with ISO 29465, and measure the thickness of the specimen in accordance
with ISO 29466.
Measure the length, width, and thickness of the specimen (Method B) in accordance
with ISO 29768, accurate to ±1%.
The span L shall meet the following requirements, accurate to ±0.5%:
-- Method A: subtract 100 mm from the length of the full-size product;
-- Method B: 5 times the nominal thickness of the specimen.
Other spans are specified according to relevant product standards or agreed upon by all
relevant parties.
Place the specimen symmetrically on the two support edges, with the loading direction
perpendicular to the long axis of the specimen.
Adjust the test speed to (10±1) mm/min.
Record the force-deflection curve and mark the maximum force Fm (see Figure 3).
Record the specimen failure mode.
8 Calculation and expression of results
8.1 Overview
Take the average value of all measured values as the test result, rounded to 3 significant
figures.
The results shall not be used to extrapolate products of other thicknesses.
8.2 Bending strength
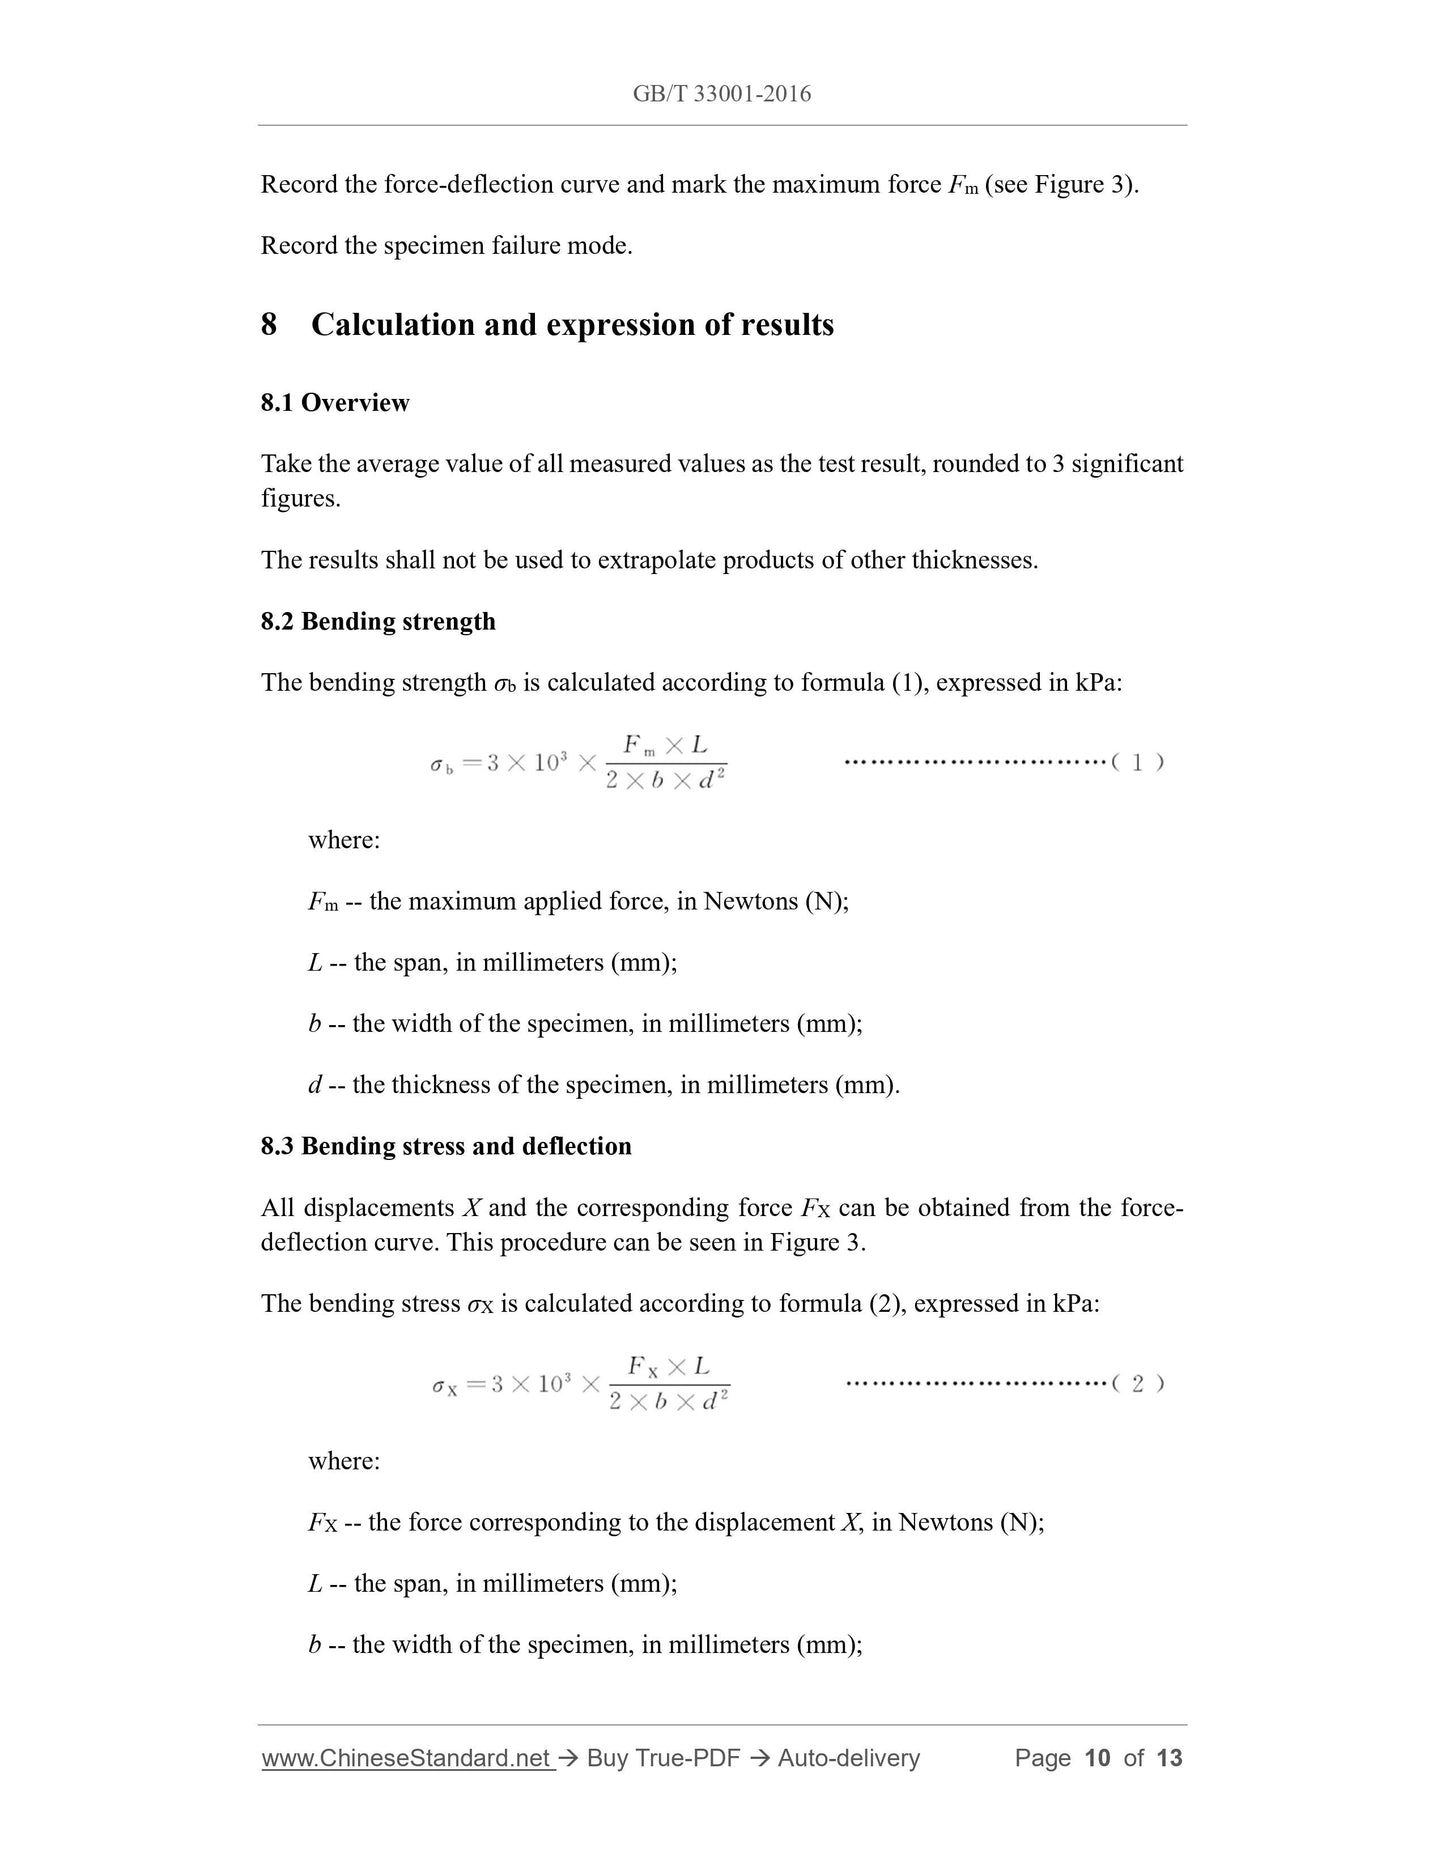
The bending strength σb is calculated according to formula (1), expressed in kPa:
where:
Fm -- the maximum applied force, in Newtons (N);
L -- the span, in millimeters (mm);
b -- the width of the specimen, in millimeters (mm);
d -- the thickness of the specimen, in millimeters (mm).
8.3 Bending stress and deflection
All displacements X and the corresponding force FX can be obtained from the force-
deflection curve. This procedure can be seen in Figure 3.
The bending stress σX is calculated according to formula (2), expressed in kPa:
where:
FX -- the force corresponding to the displacement X, in Newtons (N);
L -- the span, in millimeters (mm);
b -- the width of the specimen, in millimeters (mm);
10 Test report
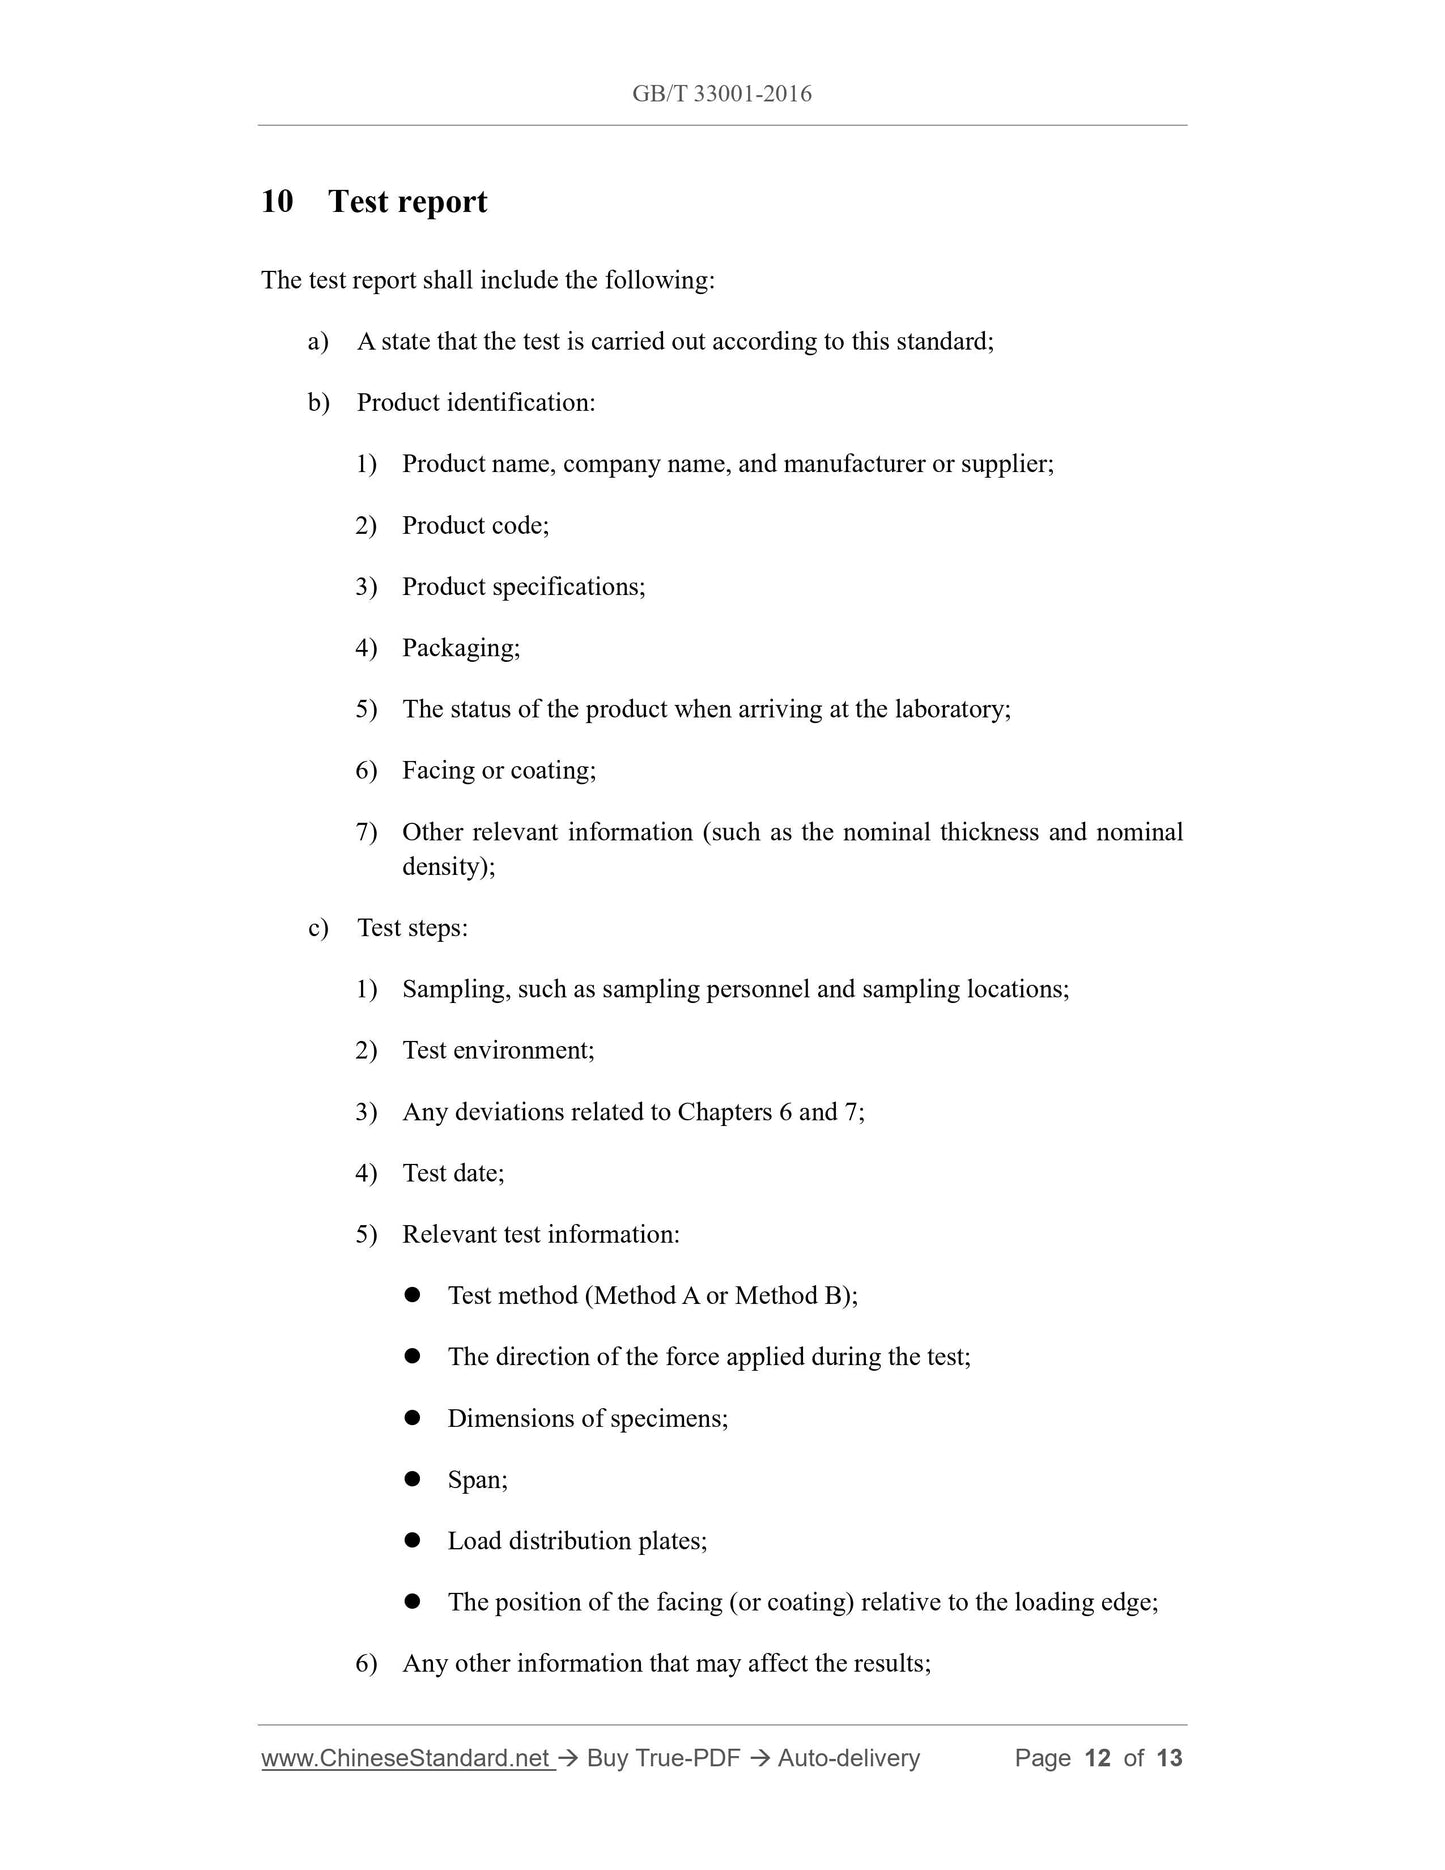
The test report shall include the following:
a) A state that the test is carried out according to this standard;
b) Product identification:
1) Product name, company name, and manufacturer or supplier;
2) Product code;
3) Product specifications;
4) Packaging;
5) The status of the product when arriving at the laboratory;
6) Facing or coating;
7) Other relevant information (such as the nominal thickness and nominal
density);
c) Test steps:
1) Sampling, such as sampling personnel and sampling locations;
2) Test environment;
3) Any deviations related to Chapters 6 and 7;
4) Test date;
5) Relevant test information:
Test method (Method A or Method B);
The direction of the force applied during the test;
Dimensions of specimens;
Span;
Load distribution plates;
The position of the facing (or coating) relative to the loading edge;
6) Any other information that may affect the results;
GB/T 33001-2016
GB
NATIONAL STANDARD OF THE
PEOPLE'S REPUBLIC OF CHINA
ICS 91.120.10
Q 25
GB/T 33001-2016 / ISO 12344:2010
Thermal insulating products for building applications -
Determination of bending behaviour
(ISO 12344:2010, IDT)
ISSUED ON: OCTOBER 13, 2016
IMPLEMENTED ON: SEPTEMBER 1, 2017
Issued by: General Administration of Quality Supervision, Inspection and
Quarantine of PRC;
Standardization Administration of PRC.
Table of Contents
Foreword ... 3
1 Scope ... 4
2 Normative references ... 4
3 Terms and definitions ... 5
4 Principle ... 5
5 Apparatus ... 6
6 Specimens ... 8
7 Procedure ... 9
8 Calculation and expression of results ... 10
9 Precision ... 11
10 Test report ... 12
Thermal insulating products for building applications -
Determination of bending behaviour
1 Scope
This standard specifies the test equipment and procedures for determining the three-
point bending behaviour of full-size products (Method A) and small specimens (Method
B). This standard applies to thermal insulating products for building applications.
This standard is applicable to the determination of the bending strength of products and
the deformation under specified loads.
This standard can be used to determine the bending stress that products can withstand
during transportation and application.
2 Normative references
The following documents are essential for the application of this document. For the
dated referenced documents, only the versions with the indicated dates are applicable
to this document; for the undated referenced documents, only the latest version
(including all the amendments) is applicable to this document.
ISO 5725-1 Accuracy (trueness and precision) of measurement methods and results
- Part 1: General principles and definitions
ISO 5725-2 Accuracy (trueness and precision) of measurement methods and results
- Part 2: Basic method for the determination of repeatability and reproducibility of
a standard measurement method
ISO 29465 Thermal insulating products for building applications - Determination
of length and width
ISO 29466 Thermal insulating products for building applications - Determination
of thickness
ISO 29768 Thermal insulating products for building applications - Determination
of linear dimensions of test specimens
6 Specimens
6.1 Dimensions of specimens
6.1.1 Method A
The specimen is a full-size product. The specimen shall be rectangular and cut
according to the following dimensions:
-- thickness: the original thickness of the product;
-- length: the length of the full-size product, with a maximum of 1300 mm;
-- width: the width of the full-size product; if limited by the testing machine, the
width shall be at least 300 mm.
6.1.2 Method B
The specimen shall be rectangular and cut according to the following dimensions:
-- thickness: the original thickness of the product; the maximum thickness is 100
mm;
-- length: 5 times the nominal thickness of the product plus 50 mm (not exceeding
550 mm);
-- width: 150 mm.
Specimens of other dimensions may be specified in accordance with relevant product
standards or technical specifications, or may be agreed upon by all relevant parties.
6.2 Number of specimens
The number of specimens shall be specified in accordance with relevant product
standards or technical specifications. If there are no relevant regulations, there shall be
no less than 3 specimens.
If there are no relevant product standards or technical specifications, the number of
specimens can be agreed upon by all relevant parties.
If the direction of the bending force endured by the product in its application cannot be
known, and/or the two main surfaces of the product have different skins, facings and/or
coatings, additional specimens shall be tested.
6.3 Specimen preparation
The specimen preparation method shall not destroy the original structure of the product.
Any skins, facings and/or coatings shall be retained.
6.4 Conditioning of specimens
The specimens shall be placed in an environment of (23±5) ℃ for at least 6 hours. In
case of dispute, the specimens shall be placed in an environment of (23±2) ℃ and
(50±5) % relative humidity for the time specified in the relevant product standards, for
at least 6 h.
In tropical areas, different specimen conditioning and test environments can be used. In
this case, the temperature and relative humidity shall be (27±2) ℃ and (65±5) %
respectively, and shall be noted in the test report.
7 Procedure
7.1 Test environment
The test shall be carried out at (23±5) ℃. In case of dispute, the test shall be conducted
in an environment of (23±2) ℃ and (50±5) % relative humidity.
In tropical areas, different specimen conditioning and test environments can be used. In
this case, the temperature and relative humidity shall be (27±2) ℃ and (65±5) %
respectively, and shall be noted in the test report.
7.2 Test procedures
Measure the length and width of the full-size product specimen (Method A) in
accordance with ISO 29465, and measure the thickness of the specimen in accordance
with ISO 29466.
Measure the length, width, and thickness of the specimen (Method B) in accordance
with ISO 29768, accurate to ±1%.
The span L shall meet the following requirements, accurate to ±0.5%:
-- Method A: subtract 100 mm from the length of the full-size product;
-- Method B: 5 times the nominal thickness of the specimen.
Other spans are specified according to relevant product standards or agreed upon by all
relevant parties.
Place the specimen symmetrically on the two support edges, with the loading direction
perpendicular to the long axis of the specimen.
Adjust the test speed to (10±1) mm/min.
Record the force-deflection curve and mark the maximum force Fm (see Figure 3).
Record the specimen failure mode.
8 Calculation and expression of results
8.1 Overview
Take the average value of all measured values as the test result, rounded to 3 significant
figures.
The results shall not be used to extrapolate products of other thicknesses.
8.2 Bending strength
The bending stre...
Share
