1
/
of
7
PayPal, credit cards. Download editable-PDF & invoice in 1 second!
GB/T 37636-2019 English PDF (GBT37636-2019)
GB/T 37636-2019 English PDF (GBT37636-2019)
Regular price
$120.00 USD
Regular price
Sale price
$120.00 USD
Unit price
/
per
Shipping calculated at checkout.
Couldn't load pickup availability
Delivery: 3 seconds. Download true-PDF + Invoice.
Get QUOTATION in 1-minute: Click GB/T 37636-2019
Historical versions: GB/T 37636-2019
Preview True-PDF (Reload/Scroll if blank)
GB/T 37636-2019: Welded steel pipes for offshore engineering pile
GB/T 37636-2019
NATIONAL STANDARD OF THE
PEOPLE’S REPUBLIC OF CHINA
ICS 77.140.75
H 48
Welded steel pipes for offshore engineering pile
ISSUED ON: JUNE 04, 2019
IMPLEMENTED ON: MAY 01, 2020
Issued by: State Administration for Market Regulation;
Standardization Administration of the People's Republic of
China.
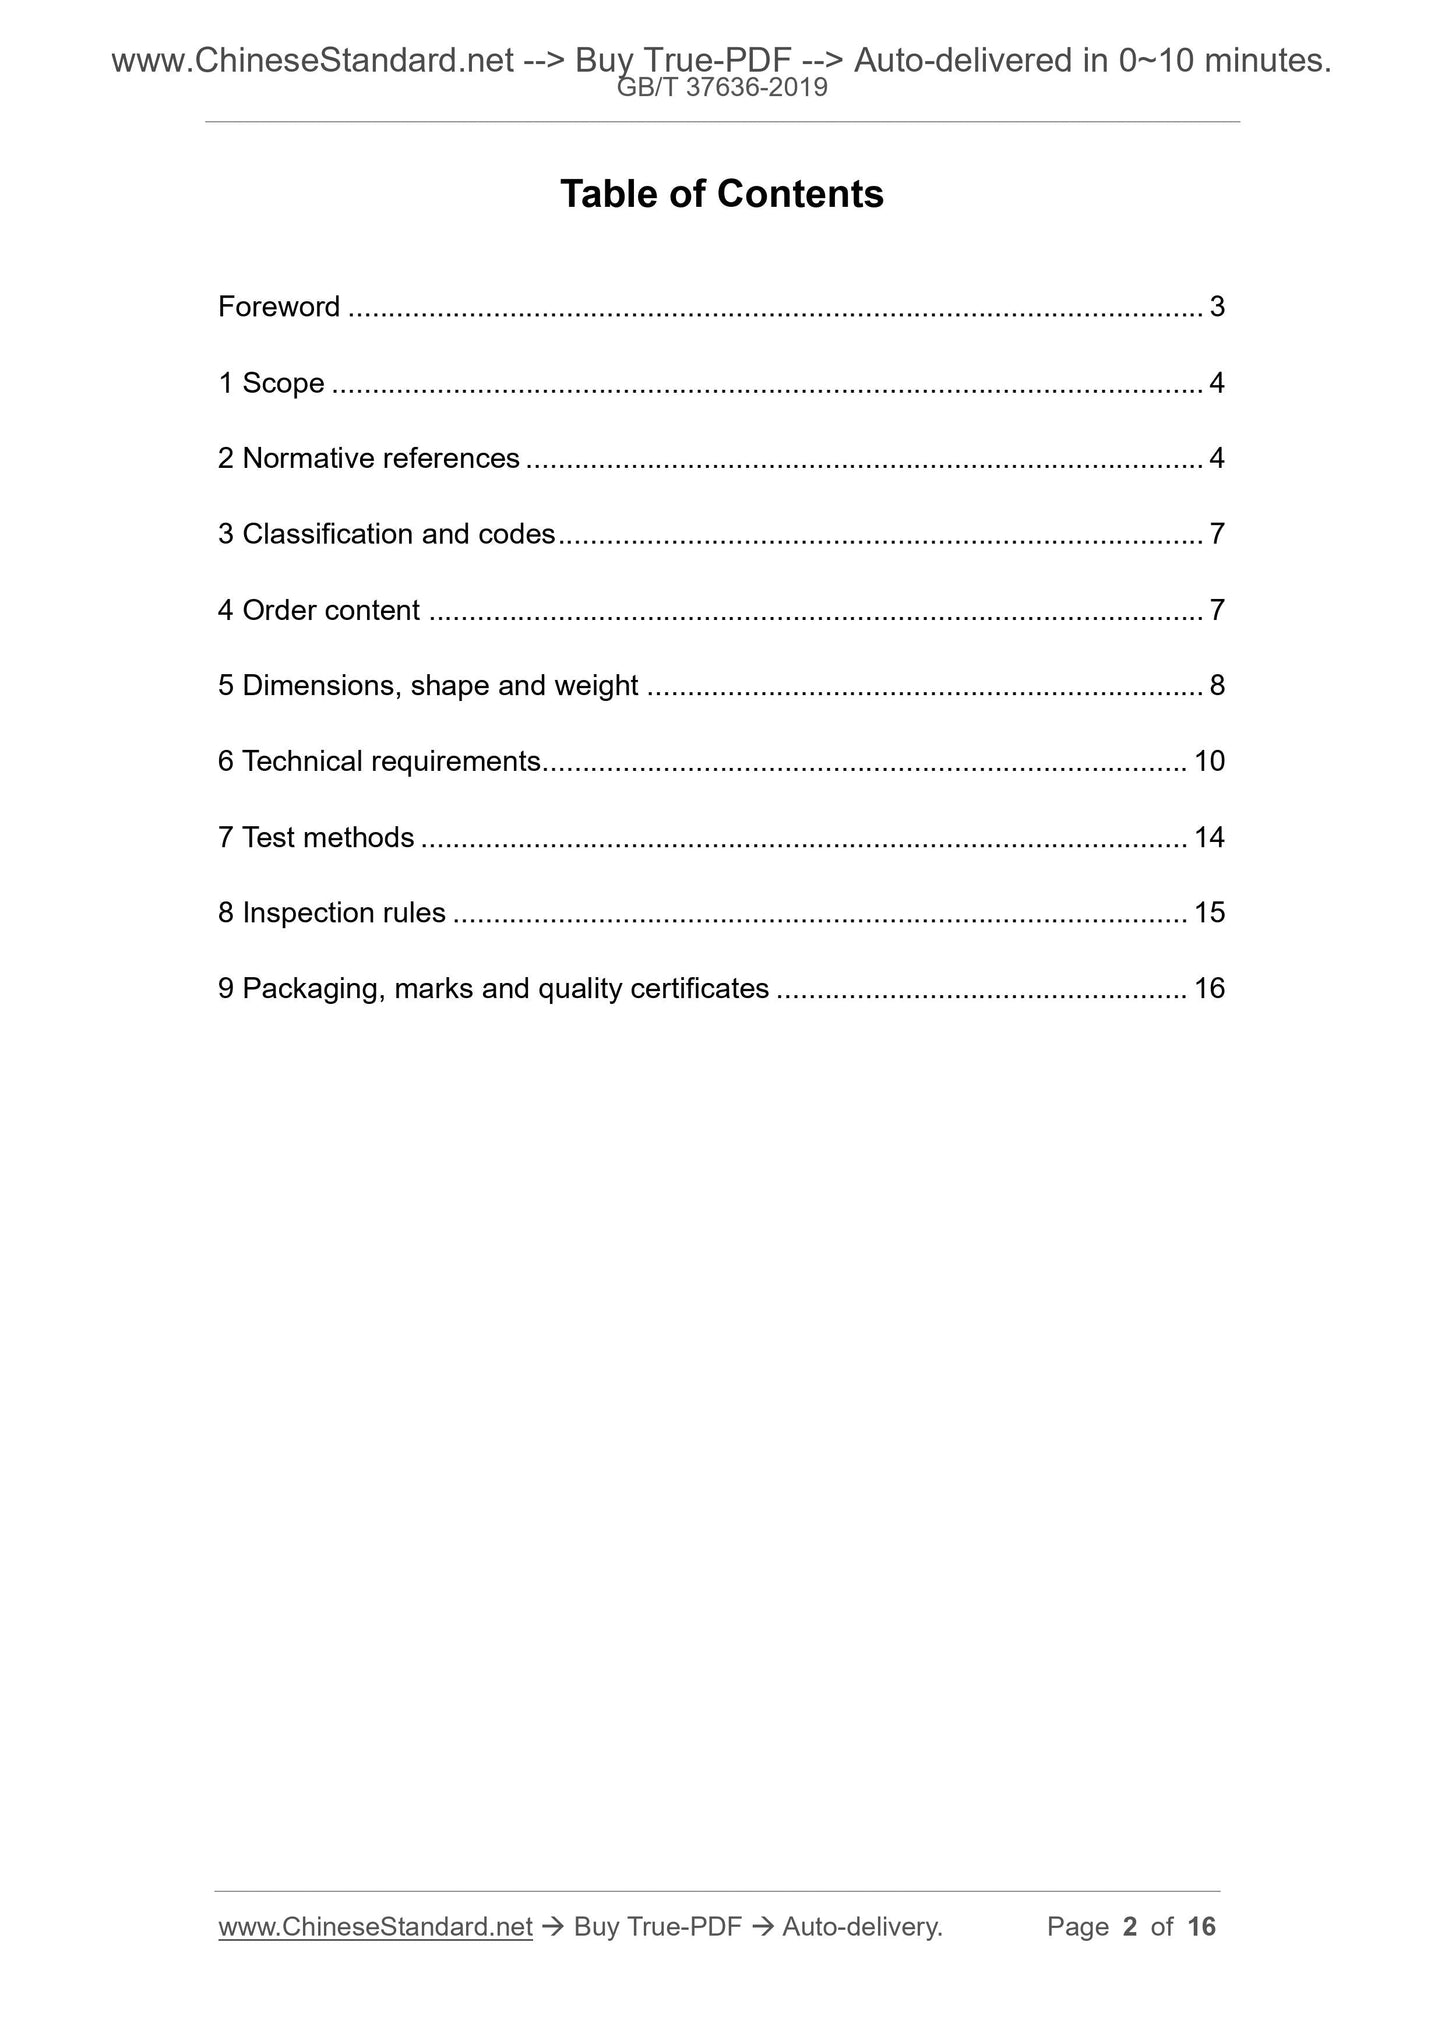
Table of Contents
Foreword ... 3
1 Scope ... 4
2 Normative references ... 4
3 Classification and codes ... 7
4 Order content ... 7
5 Dimensions, shape and weight ... 8
6 Technical requirements ... 10
7 Test methods ... 14
8 Inspection rules ... 15
9 Packaging, marks and quality certificates ... 16
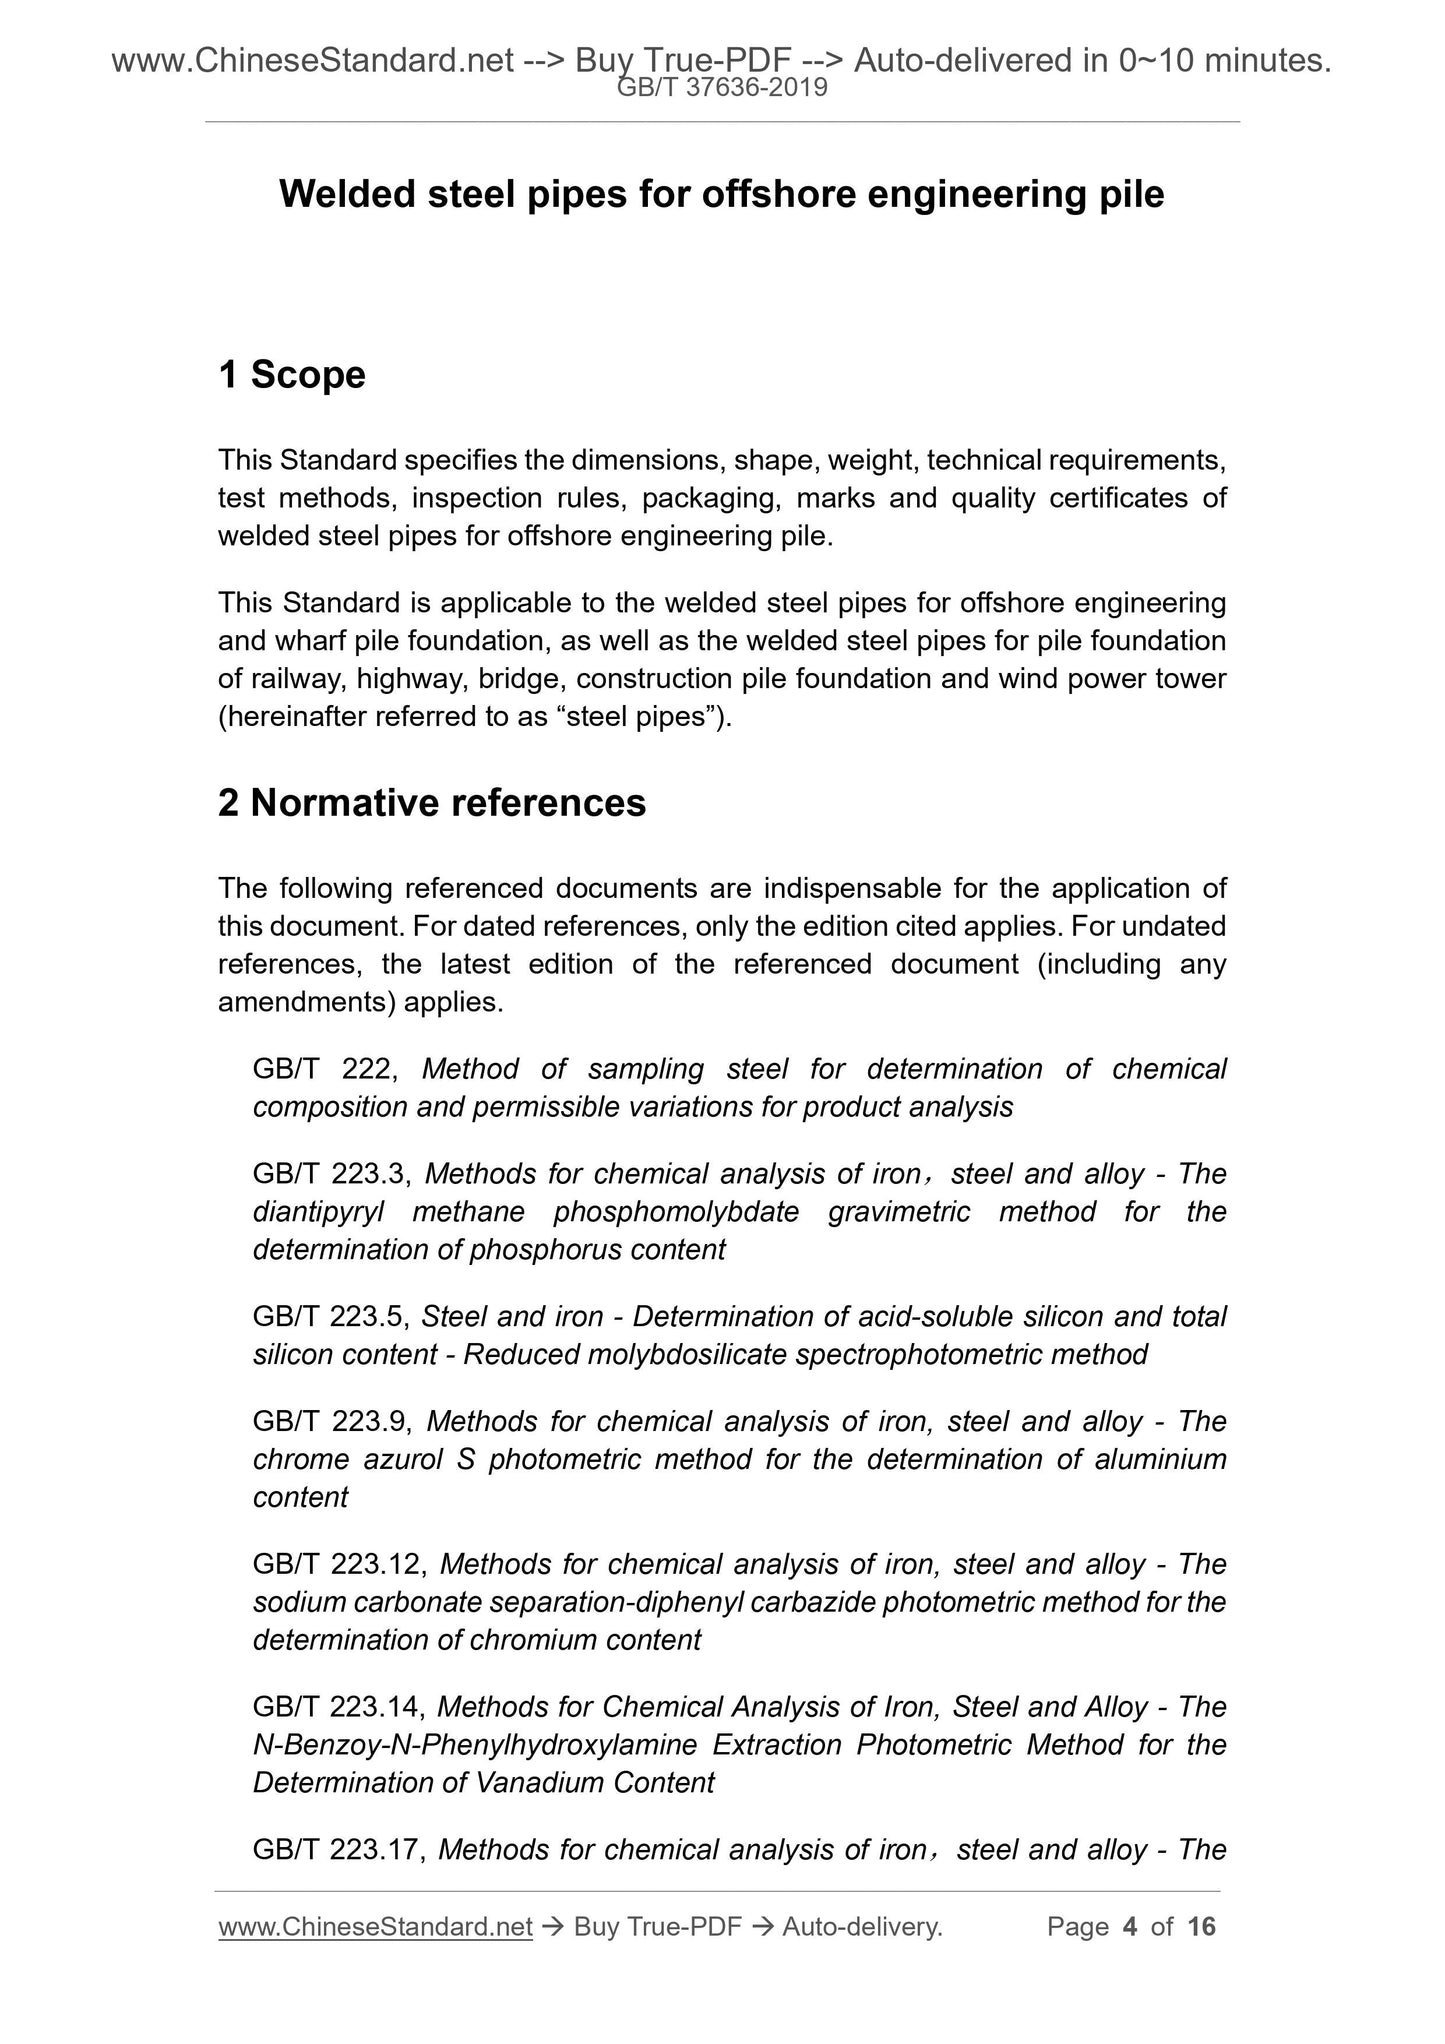
Welded steel pipes for offshore engineering pile
1 Scope
This Standard specifies the dimensions, shape, weight, technical requirements,
test methods, inspection rules, packaging, marks and quality certificates of
welded steel pipes for offshore engineering pile.
This Standard is applicable to the welded steel pipes for offshore engineering
and wharf pile foundation, as well as the welded steel pipes for pile foundation
of railway, highway, bridge, construction pile foundation and wind power tower
(hereinafter referred to as “steel pipes”).
2 Normative references
The following referenced documents are indispensable for the application of
this document. For dated references, only the edition cited applies. For undated
references, the latest edition of the referenced document (including any
amendments) applies.
GB/T 222, Method of sampling steel for determination of chemical
composition and permissible variations for product analysis
GB/T 223.3, Methods for chemical analysis of iron, steel and alloy - The
diantipyryl methane phosphomolybdate gravimetric method for the
determination of phosphorus content
GB/T 223.5, Steel and iron - Determination of acid-soluble silicon and total
silicon content - Reduced molybdosilicate spectrophotometric method
GB/T 223.9, Methods for chemical analysis of iron, steel and alloy - The
chrome azurol S photometric method for the determination of aluminium
content
GB/T 223.12, Methods for chemical analysis of iron, steel and alloy - The
sodium carbonate separation-diphenyl carbazide photometric method for the
determination of chromium content
GB/T 223.14, Methods for Chemical Analysis of Iron, Steel and Alloy - The
N-Benzoy-N-Phenylhydroxylamine Extraction Photometric Method for the
Determination of Vanadium Content
GB/T 223.17, Methods for chemical analysis of iron, steel and alloy - The
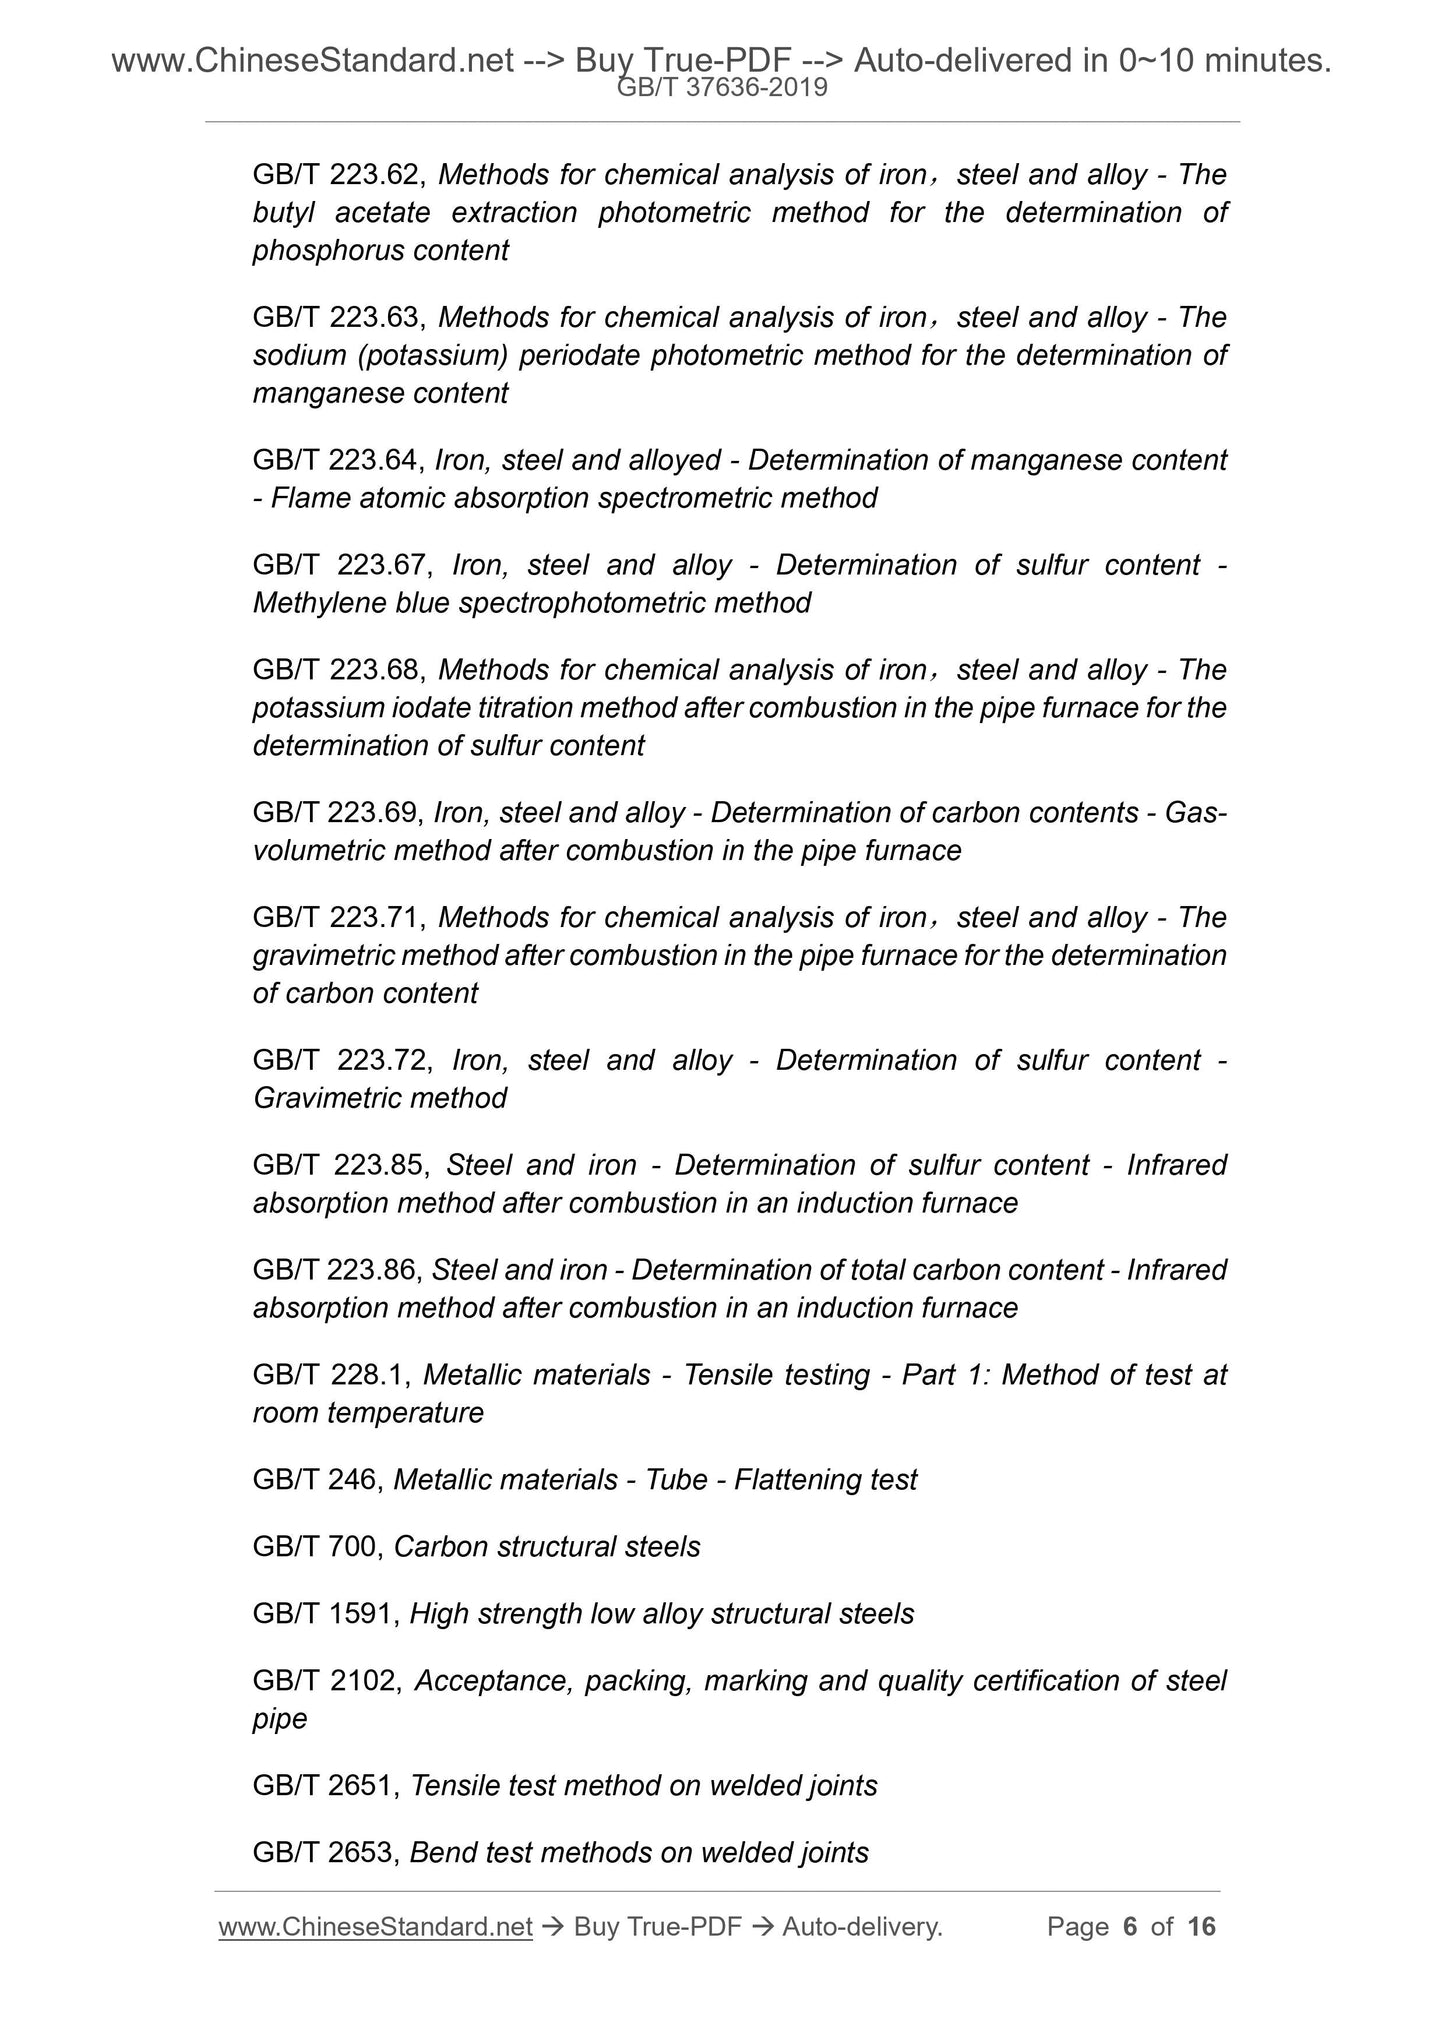
GB/T 223.62, Methods for chemical analysis of iron, steel and alloy - The
butyl acetate extraction photometric method for the determination of
phosphorus content
GB/T 223.63, Methods for chemical analysis of iron, steel and alloy - The
sodium (potassium) periodate photometric method for the determination of
manganese content
GB/T 223.64, Iron, steel and alloyed - Determination of manganese content
- Flame atomic absorption spectrometric method
GB/T 223.67, Iron, steel and alloy - Determination of sulfur content -
Methylene blue spectrophotometric method
GB/T 223.68, Methods for chemical analysis of iron, steel and alloy - The
potassium iodate titration method after combustion in the pipe furnace for the
determination of sulfur content
GB/T 223.69, Iron, steel and alloy - Determination of carbon contents - Gas-
volumetric method after combustion in the pipe furnace
GB/T 223.71, Methods for chemical analysis of iron, steel and alloy - The
gravimetric method after combustion in the pipe furnace for the determination
of carbon content
GB/T 223.72, Iron, steel and alloy - Determination of sulfur content -
Gravimetric method
GB/T 223.85, Steel and iron - Determination of sulfur content - Infrared
absorption method after combustion in an induction furnace
GB/T 223.86, Steel and iron - Determination of total carbon content - Infrared
absorption method after combustion in an induction furnace
GB/T 228.1, Metallic materials - Tensile testing - Part 1: Method of test at
room temperature
GB/T 246, Metallic materials - Tube - Flattening test
GB/T 700, Carbon structural steels
GB/T 1591, High strength low alloy structural steels
GB/T 2102, Acceptance, packing, marking and quality certification of steel
pipe
GB/T 2651, Tensile test method on welded joints
GB/T 2653, Bend test methods on welded joints
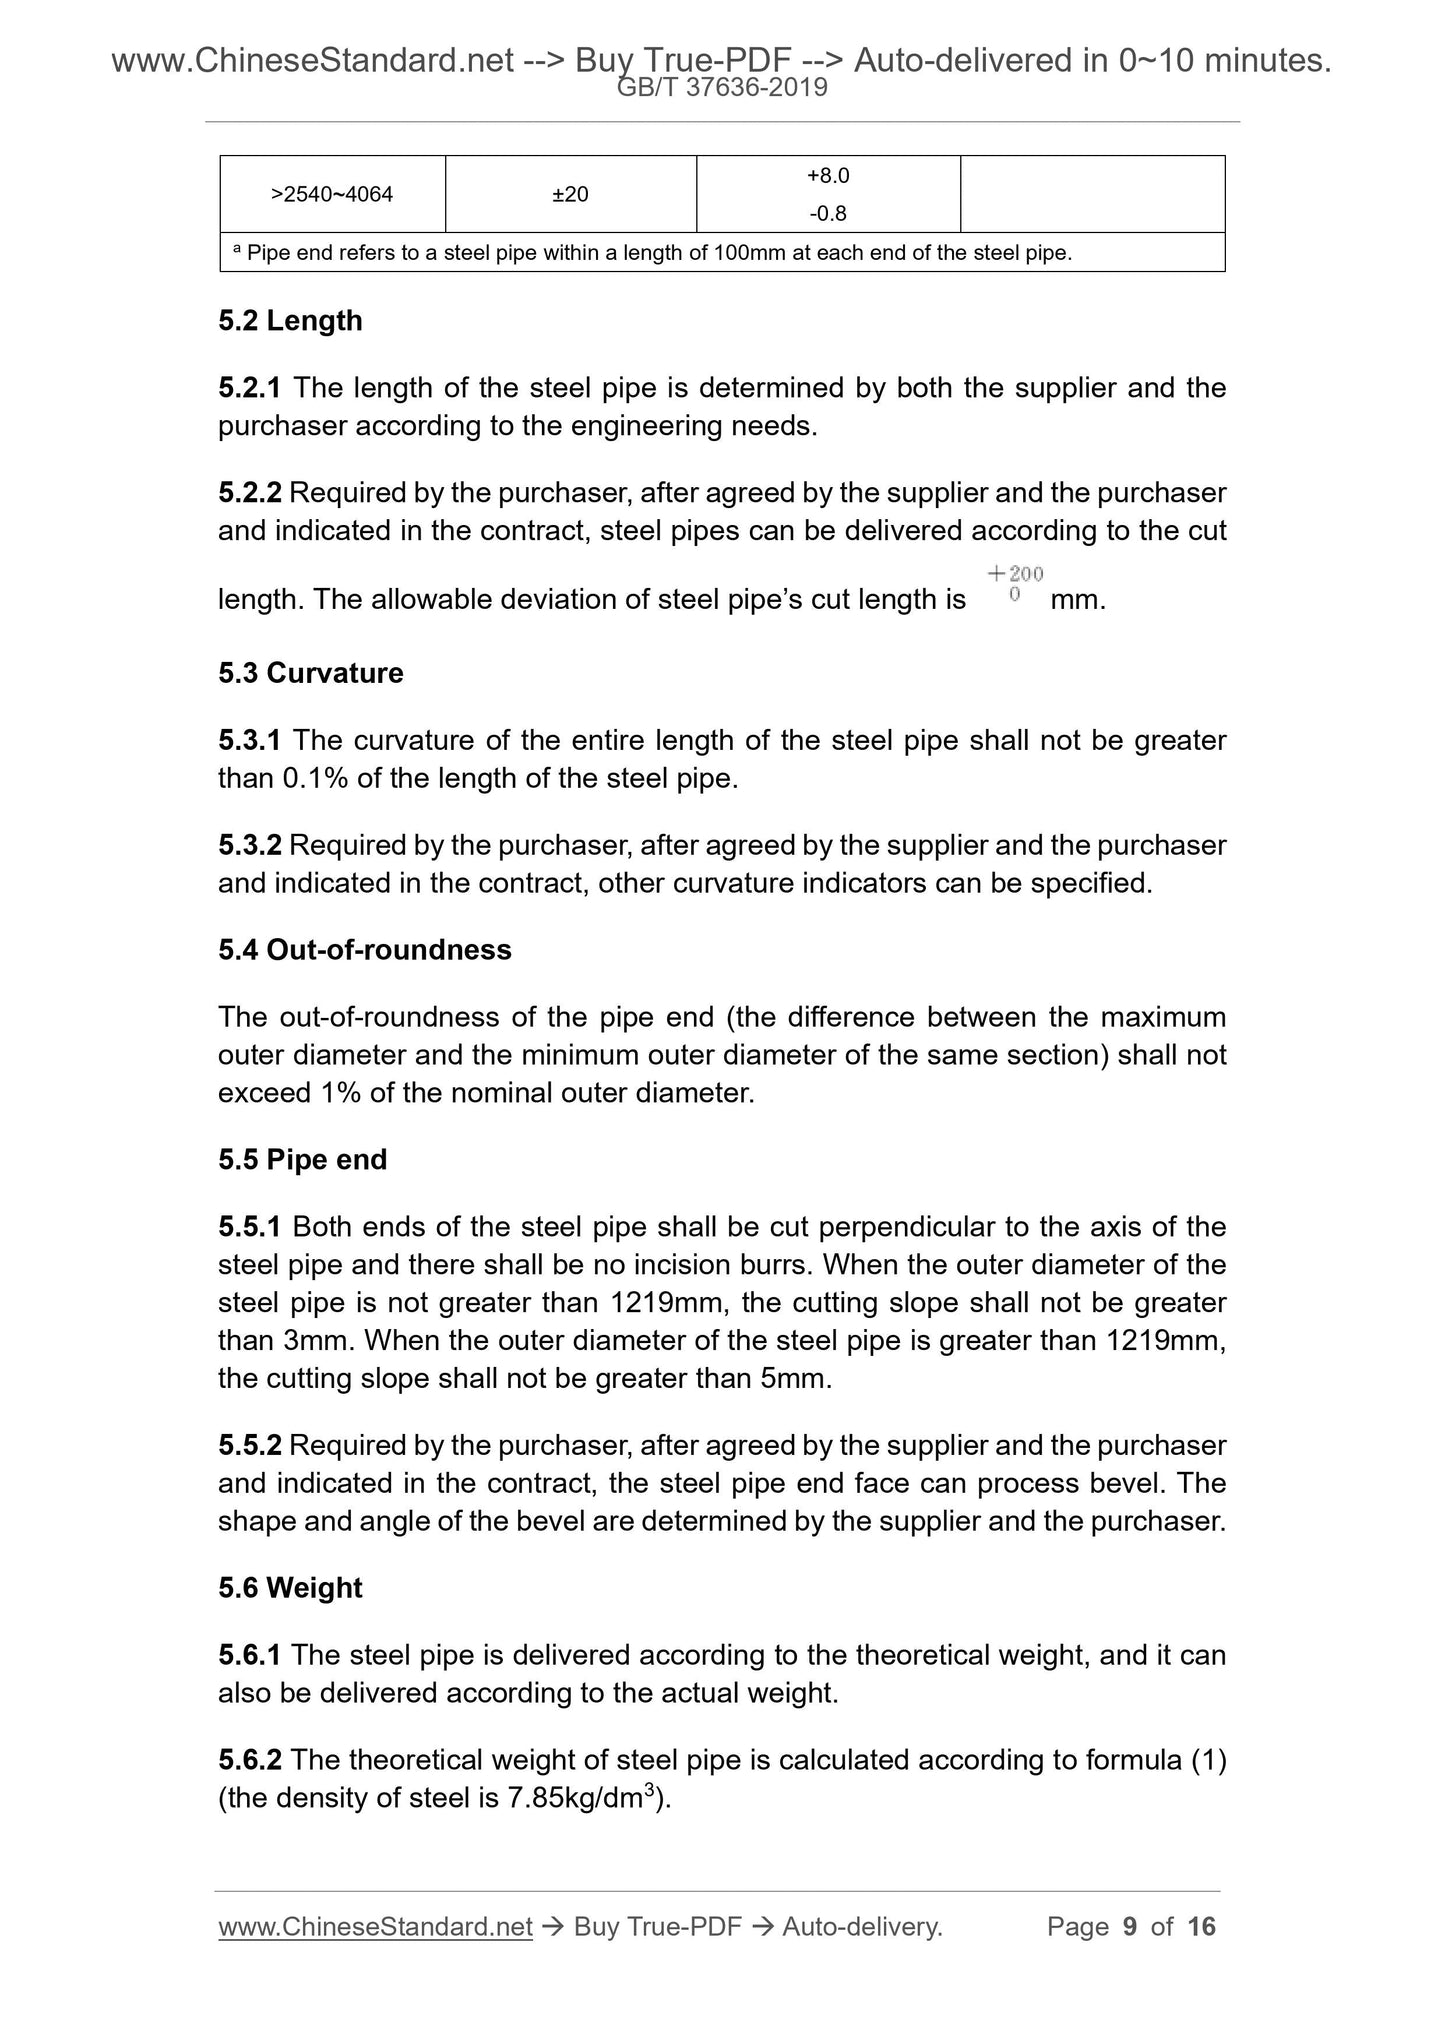
>2540~4064 ±20 +8.0 -0.8
a Pipe end refers to a steel pipe within a length of 100mm at each end of the steel pipe.
5.2 Length
5.2.1 The length of the steel pipe is determined by both the supplier and the
purchaser according to the engineering needs.
5.2.2 Required by the purchaser, after agreed by the supplier and the purchaser
and indicated in the contract, steel pipes can be delivered according to the cut
length. The allowable deviation of steel pipe’s cut length is mm.
5.3 Curvature
5.3.1 The curvature of the entire length of the steel pipe shall not be greater
than 0.1% of the length of the steel pipe.
5.3.2 Required by the purchaser, after agreed by the supplier and the purchaser
and indicated in the contract, other curvature indicators can be specified.
5.4 Out-of-roundness
The out-of-roundness of the pipe end (the difference between the maximum
outer diameter and the minimum outer diameter of the same section) shall not
exceed 1% of the nominal outer diameter.
5.5 Pipe end
5.5.1 Both ends of the steel pipe shall be cut perpendicular to the axis of the
steel pipe and there shall be no incision burrs. When the outer diameter of the
steel pipe is not greater than 1219mm, the cutting slope shall not be greater
than 3mm. When the outer diameter of the steel pipe is greater than 1219mm,
the cutting slope shall not be greater than 5mm.
5.5.2 Required by the purchaser, after agreed by the supplier and the purchaser
and indicated in the contract, the steel pipe end face can process bevel. The
shape and angle of the bevel are determined by the supplier and the purchaser.
5.6 Weight
5.6.1 The steel pipe is delivered according to the theoretical weight, and it can
also be delivered according to the actual weight.
5.6.2 The theoretical weight of steel pipe is calculated according to formula (1)
(the density of steel is 7.85kg/dm3).
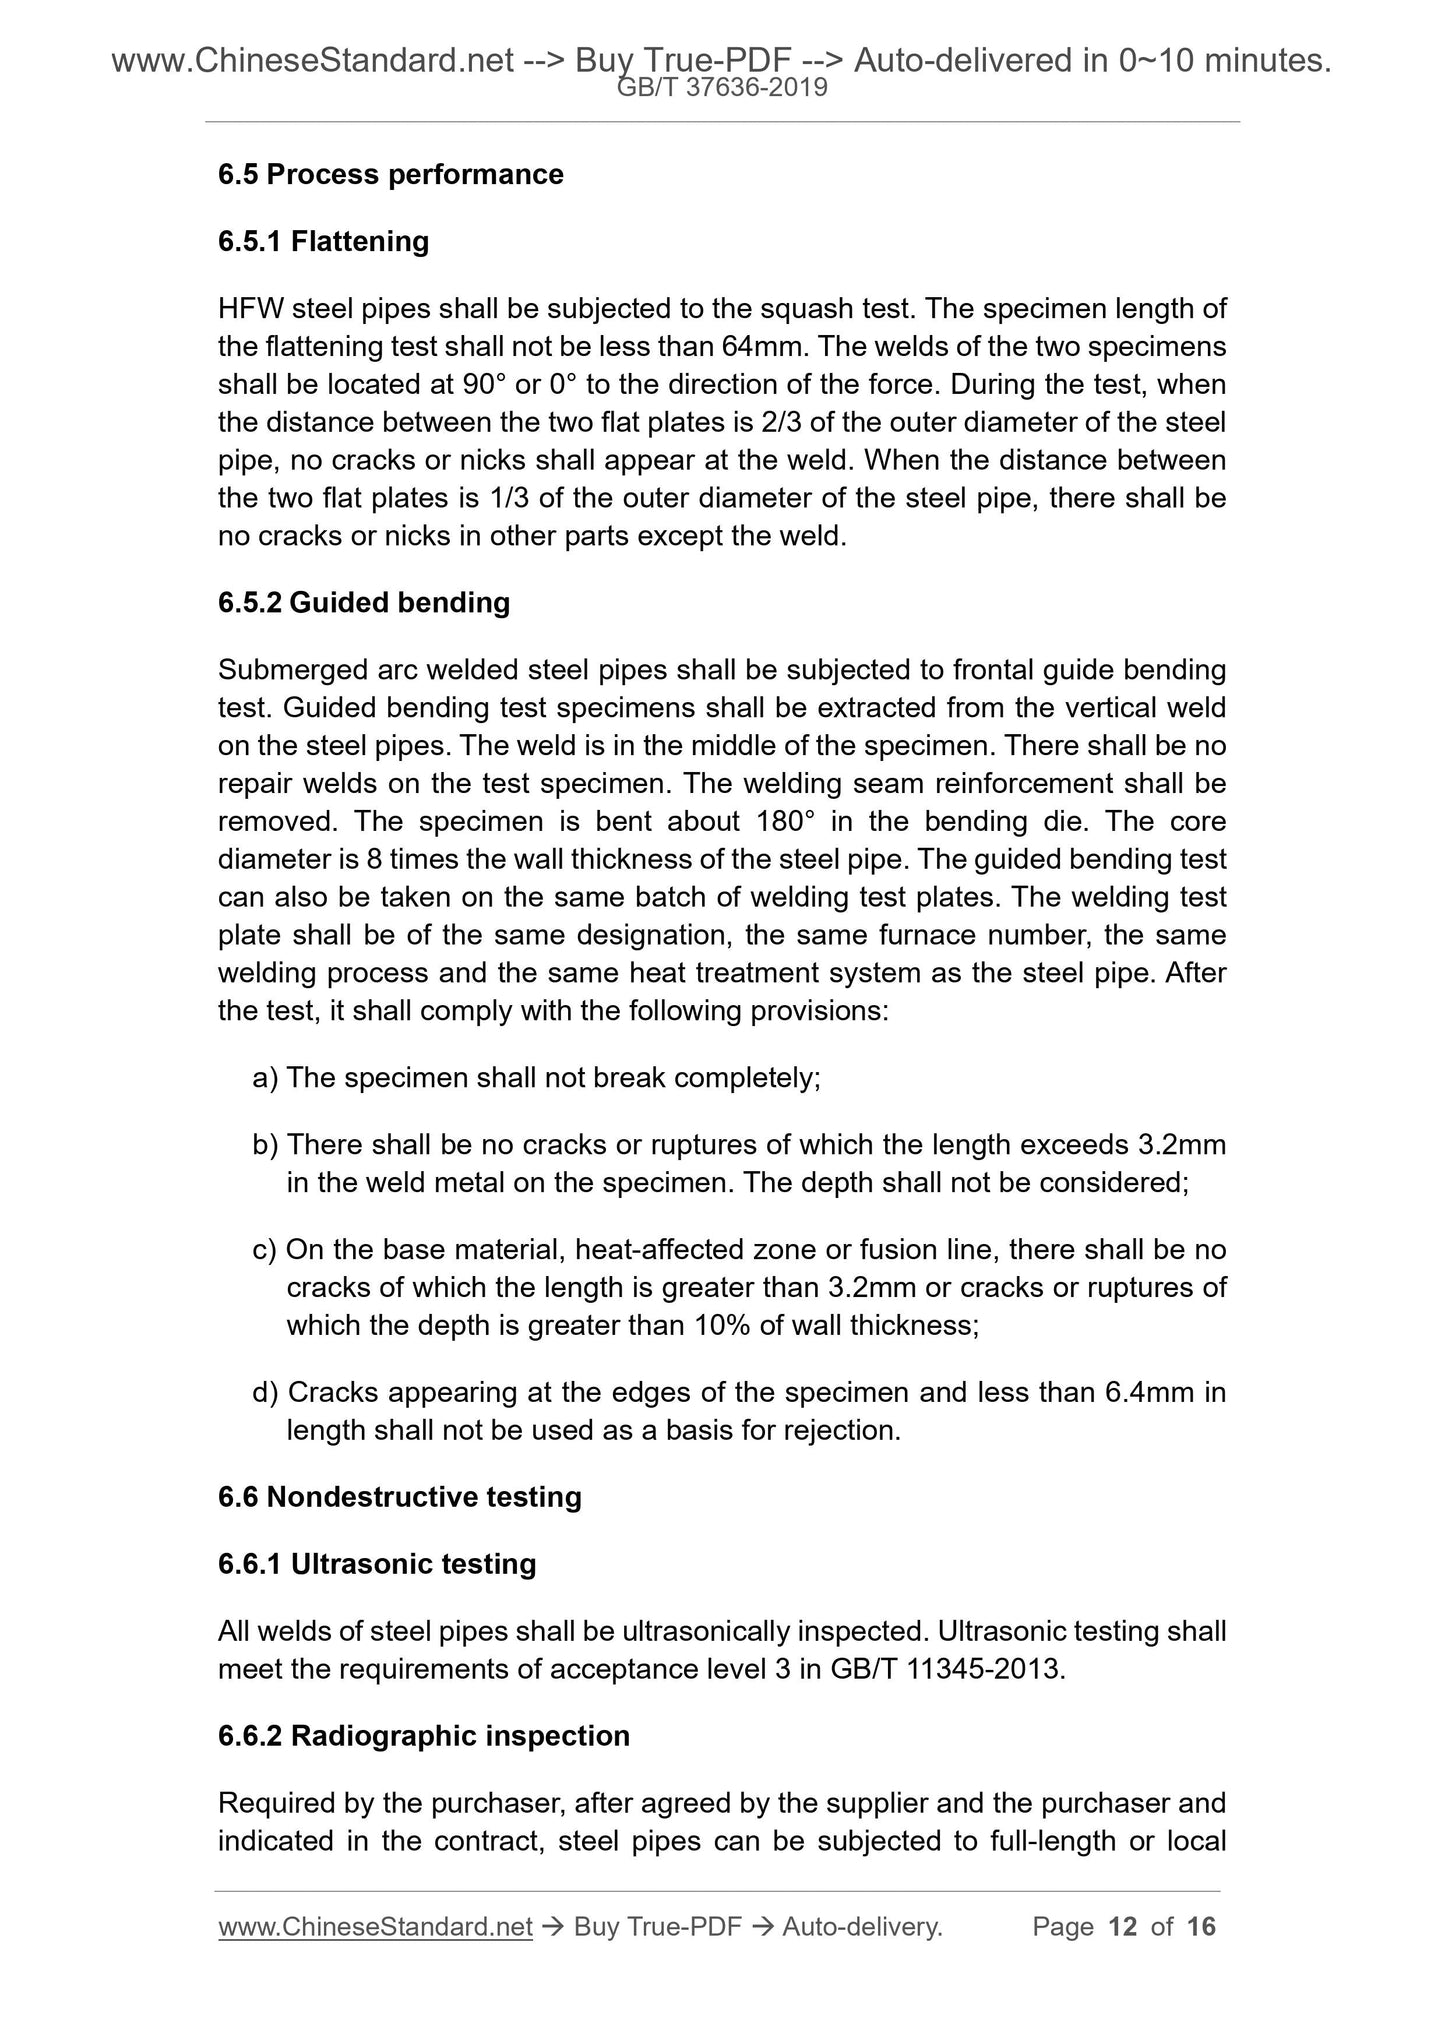
6.5 Process performance
6.5.1 Flattening
HFW steel pipes shall be subjected to the squash test. The specimen length of
the flattening test shall not be less than 64mm. The welds of the two specimens
shall be located at 90° or 0° to the direction of the force. During the test, when
the distance between the two flat plates is 2/3 of the outer diameter of the steel
pipe, no cracks or nicks shall appear at the weld. When the distance between
the two flat plates is 1/3 of the outer diameter of the steel pipe, there shall be
no cracks or nicks in other parts except the weld.
6.5.2 Guided bending
Submerged arc welded steel pipes shall be subjected to frontal guide bending
test. Guided bending test specimens shall be extracted from the vertical weld
on the steel pipes. The weld is in the middle of the specimen. There shall be no
repair welds on the test specimen. The welding seam reinforcement shall be
removed. The specimen is bent about 180° in the bending die. The core
diameter is 8 times the wall thickness of the steel pipe. The guided bending test
can also be taken on the same batch of welding test plates. The welding test
plate shall be of the same designation, the same fu...
Share
