1
/
of
6
www.ChineseStandard.us -- Field Test Asia Pte. Ltd.
GB/T 37781-2019 English PDF (GB/T37781-2019)
GB/T 37781-2019 English PDF (GB/T37781-2019)
Regular price
$230.00
Regular price
Sale price
$230.00
Unit price
/
per
Shipping calculated at checkout.
Couldn't load pickup availability
GB/T 37781-2019: Test methods for bending strength of glass
Delivery: 9 seconds. Download (& Email) true-PDF + Invoice.
Get Quotation: Click GB/T 37781-2019 (Self-service in 1-minute)
Historical versions (Master-website): GB/T 37781-2019
Preview True-PDF (Reload/Scroll-down if blank)
GB/T 37781-2019
NATIONAL STANDARD OF THE
PEOPLE’S REPUBLIC OF CHINA
ICS 81.040.10
Q 30
Test methods for bending strength of glass
ISSUED ON: AUGUST 30, 2019
IMPLEMENTED ON: JULY 01, 2020
Issued by: State Administration for Market Regulation;
Standardization Administration of the PRC.
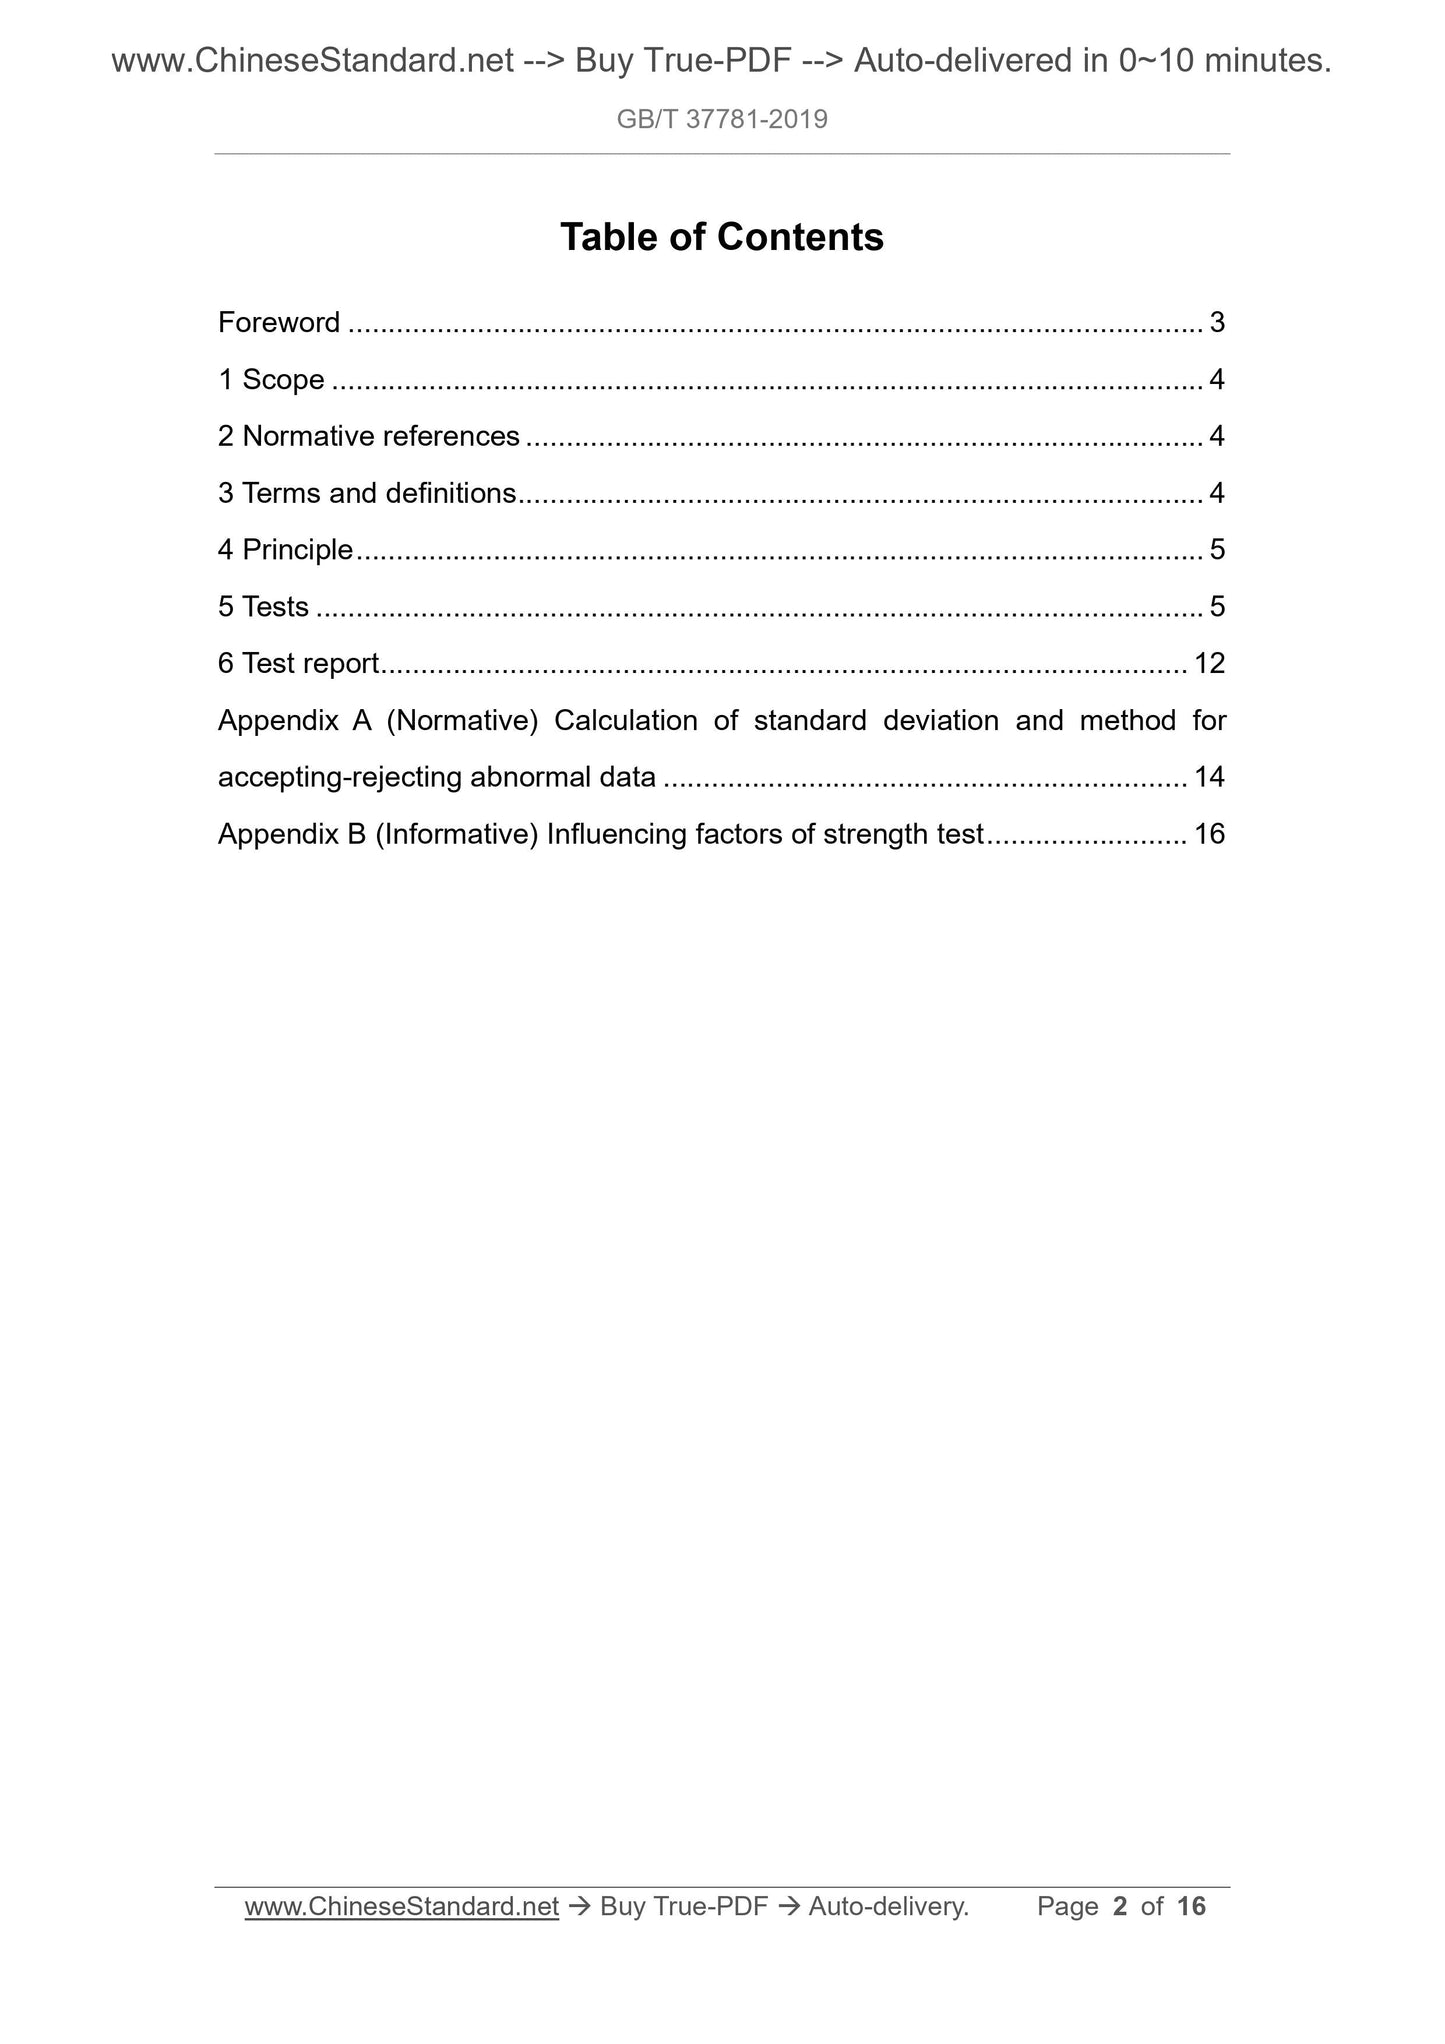
Table of Contents
Foreword ... 3
1 Scope ... 4
2 Normative references ... 4
3 Terms and definitions ... 4
4 Principle ... 5
5 Tests ... 5
6 Test report ... 12
Appendix A (Normative) Calculation of standard deviation and method for
accepting-rejecting abnormal data ... 14
Appendix B (Informative) Influencing factors of strength test ... 16
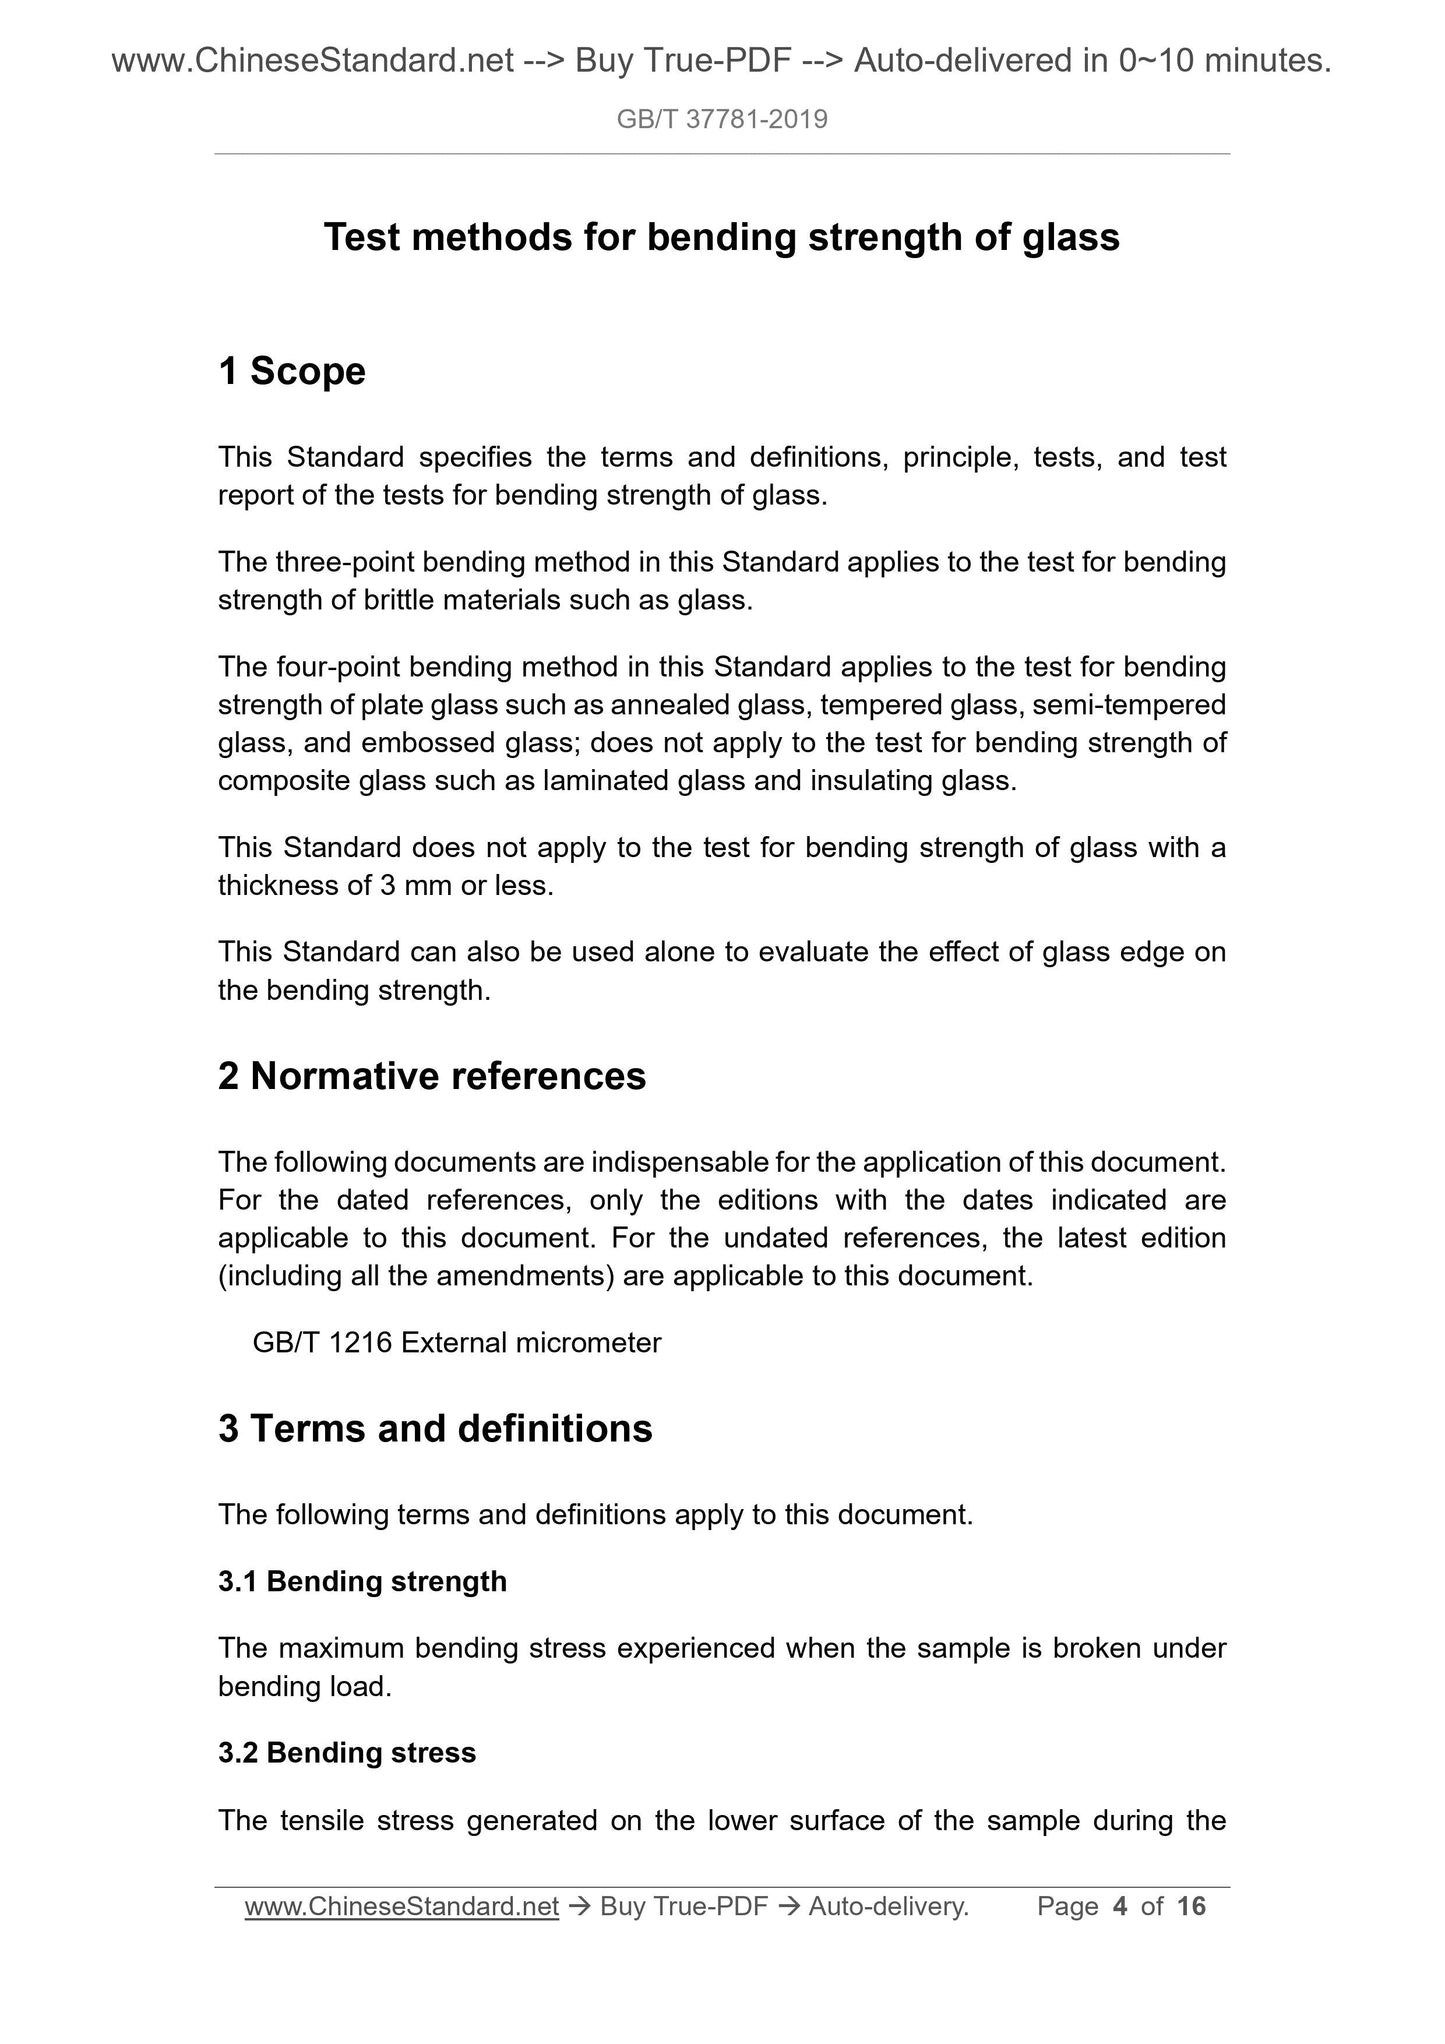
Test methods for bending strength of glass
1 Scope
This Standard specifies the terms and definitions, principle, tests, and test
report of the tests for bending strength of glass.
The three-point bending method in this Standard applies to the test for bending
strength of brittle materials such as glass.
The four-point bending method in this Standard applies to the test for bending
strength of plate glass such as annealed glass, tempered glass, semi-tempered
glass, and embossed glass; does not apply to the test for bending strength of
composite glass such as laminated glass and insulating glass.
This Standard does not apply to the test for bending strength of glass with a
thickness of 3 mm or less.
This Standard can also be used alone to evaluate the effect of glass edge on
the bending strength.
2 Normative references
The following documents are indispensable for the application of this document.
For the dated references, only the editions with the dates indicated are
applicable to this document. For the undated references, the latest edition
(including all the amendments) are applicable to this document.
GB/T 1216 External micrometer
3 Terms and definitions
The following terms and definitions apply to this document.
3.1 Bending strength
The maximum bending stress experienced when the sample is broken under
bending load.
3.2 Bending stress
The tensile stress generated on the lower surface of the sample during the
5.1.3.3 Before the test, it shall use a brush or a soft cloth to carefully clean the
upper press roller and the sample support, to remove the broken glass slag.
5.1.3.4 LOAD at a displacement speed of 5 mm/min; RECORD the maximum
load P at which the sample breaks.
5.1.4 Result calculation
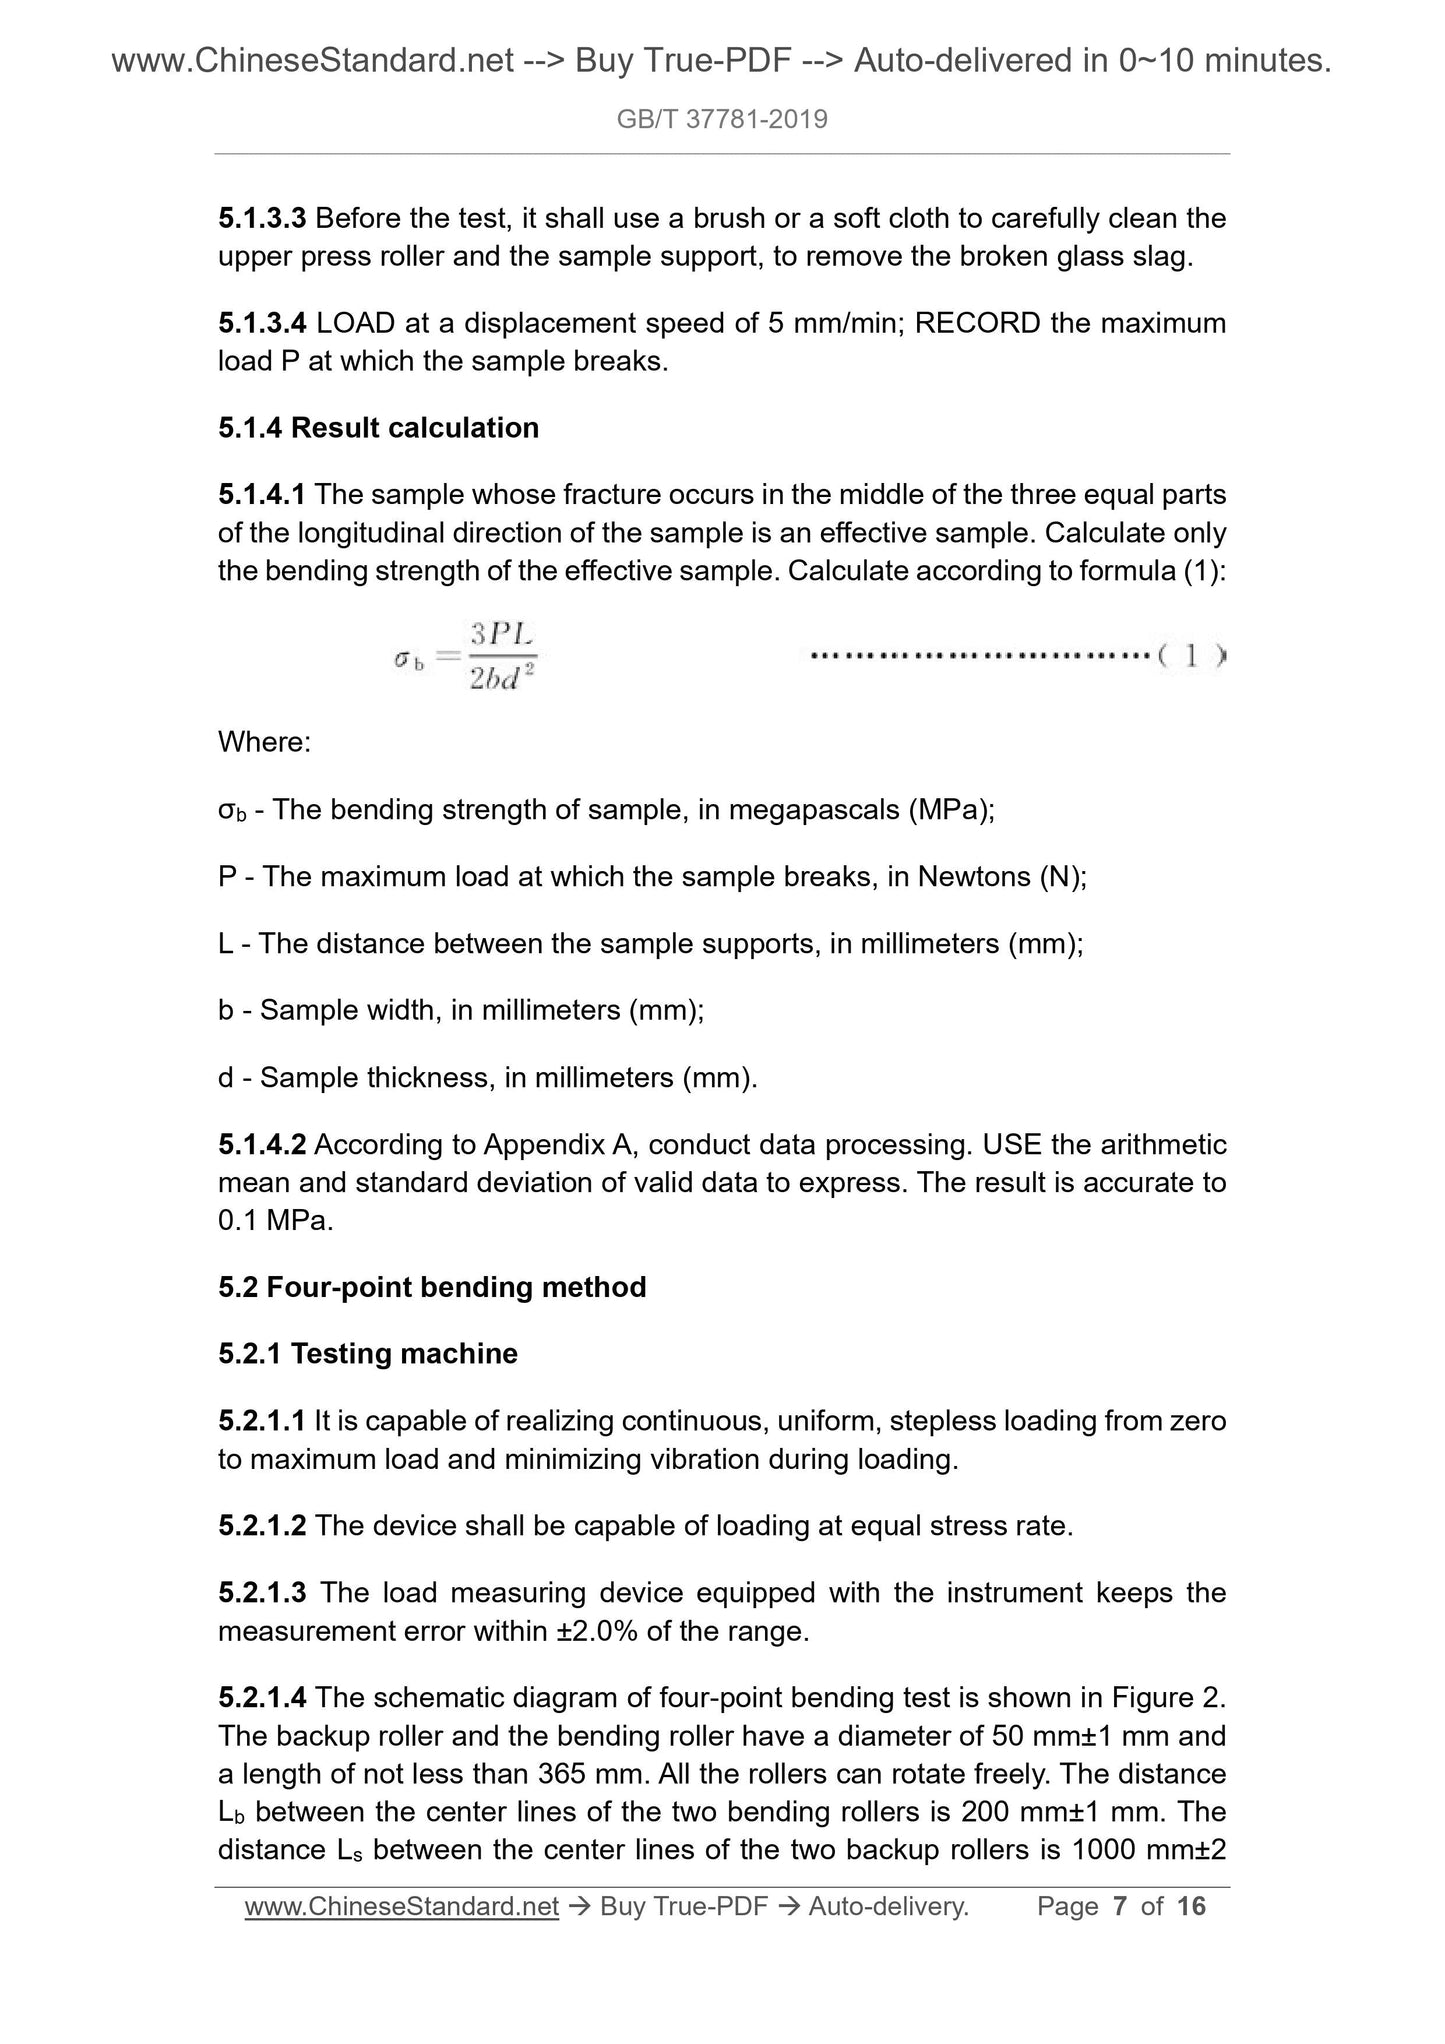
5.1.4.1 The sample whose fracture occurs in the middle of the three equal parts
of the longitudinal direction of the sample is an effective sample. Calculate only
the bending strength of the effective sample. Calculate according to formula (1):
Where:
σb - The bending strength of sample, in megapascals (MPa);
P - The maximum load at which the sample breaks, in Newtons (N);
L - The distance between the sample supports, in millimeters (mm);
b - Sample width, in millimeters (mm);
d - Sample thickness, in millimeters (mm).
5.1.4.2 According to Appendix A, conduct data processing. USE the arithmetic
mean and standard deviation of valid data to express. The result is accurate to
0.1 MPa.
5.2 Four-point bending method
5.2.1 Testing machine
5.2.1.1 It is capable of realizing continuous, uniform, stepless loading from zero
to maximum load and minimizing vibration during loading.
5.2.1.2 The device shall be capable of loading at equal stress rate.
5.2.1.3 The load measuring device equipped with the instrument keeps the
measurement error within ±2.0% of the range.
5.2.1.4 The schematic diagram of four-point bending test is shown in Figure 2.
The backup roller and the bending roller have a diameter of 50 mm±1 mm and
a length of not less than 365 mm. All the rollers can rotate freely. The distance
Lb between the center lines of the two bending rollers is 200 mm±1 mm. The
distance Ls between the center lines of the two backup rollers is 1000 mm±2
The side of the sample edge shall be perpendicular to the surface. The sample
shall be prepared 24 h before the start of the test; before the test, stored in the
test environment for at least 4 h.
5.2.3 Test procedures
5.2.3.1 Measurement of sample width
The width measurement is accurate to 1 mm. The width is measured at least 3
times at different positions of the sample and averaged.
5.2.3.2 Measurement of sample thickness
USE a Vernier caliper in accordance with GB/T 1216 to measure the sample
thickness, accurate to 0.02 mm. The thickness is measured at the 4 corners of
the sample and averaged.
5.2.3.3 Bending test
According to the requirements of Figure 2, place the sample. In order to prevent
the debris from scattering, a layer of self-adhesive film is attached to the upper
surface of the sample, to facilitate the determination of the source of the fracture.
PLACE a rubber mat [with a thickness of 3 mm, a hardness of (40±10)IRHC]
between the sample and the bending roller and the backup roller. The bending
test shall be carried out at an ambient temperature of (23±5)°C and a relative
humidity of 40%~70%. In order to avoid the influence of thermal stress, during
the test, the ambient temperature change shall not exceed 1 °C. During the test,
at a loading rate of (2±0.4)MPa/s, apply a uniform load to the sample until the
sample breaks. RECORD the maximum load Fmax and the time taken from the
beginning of loading to the failure of the sample.
5.2.4 Result calculation
5.2.4.1 Bending strength of sample
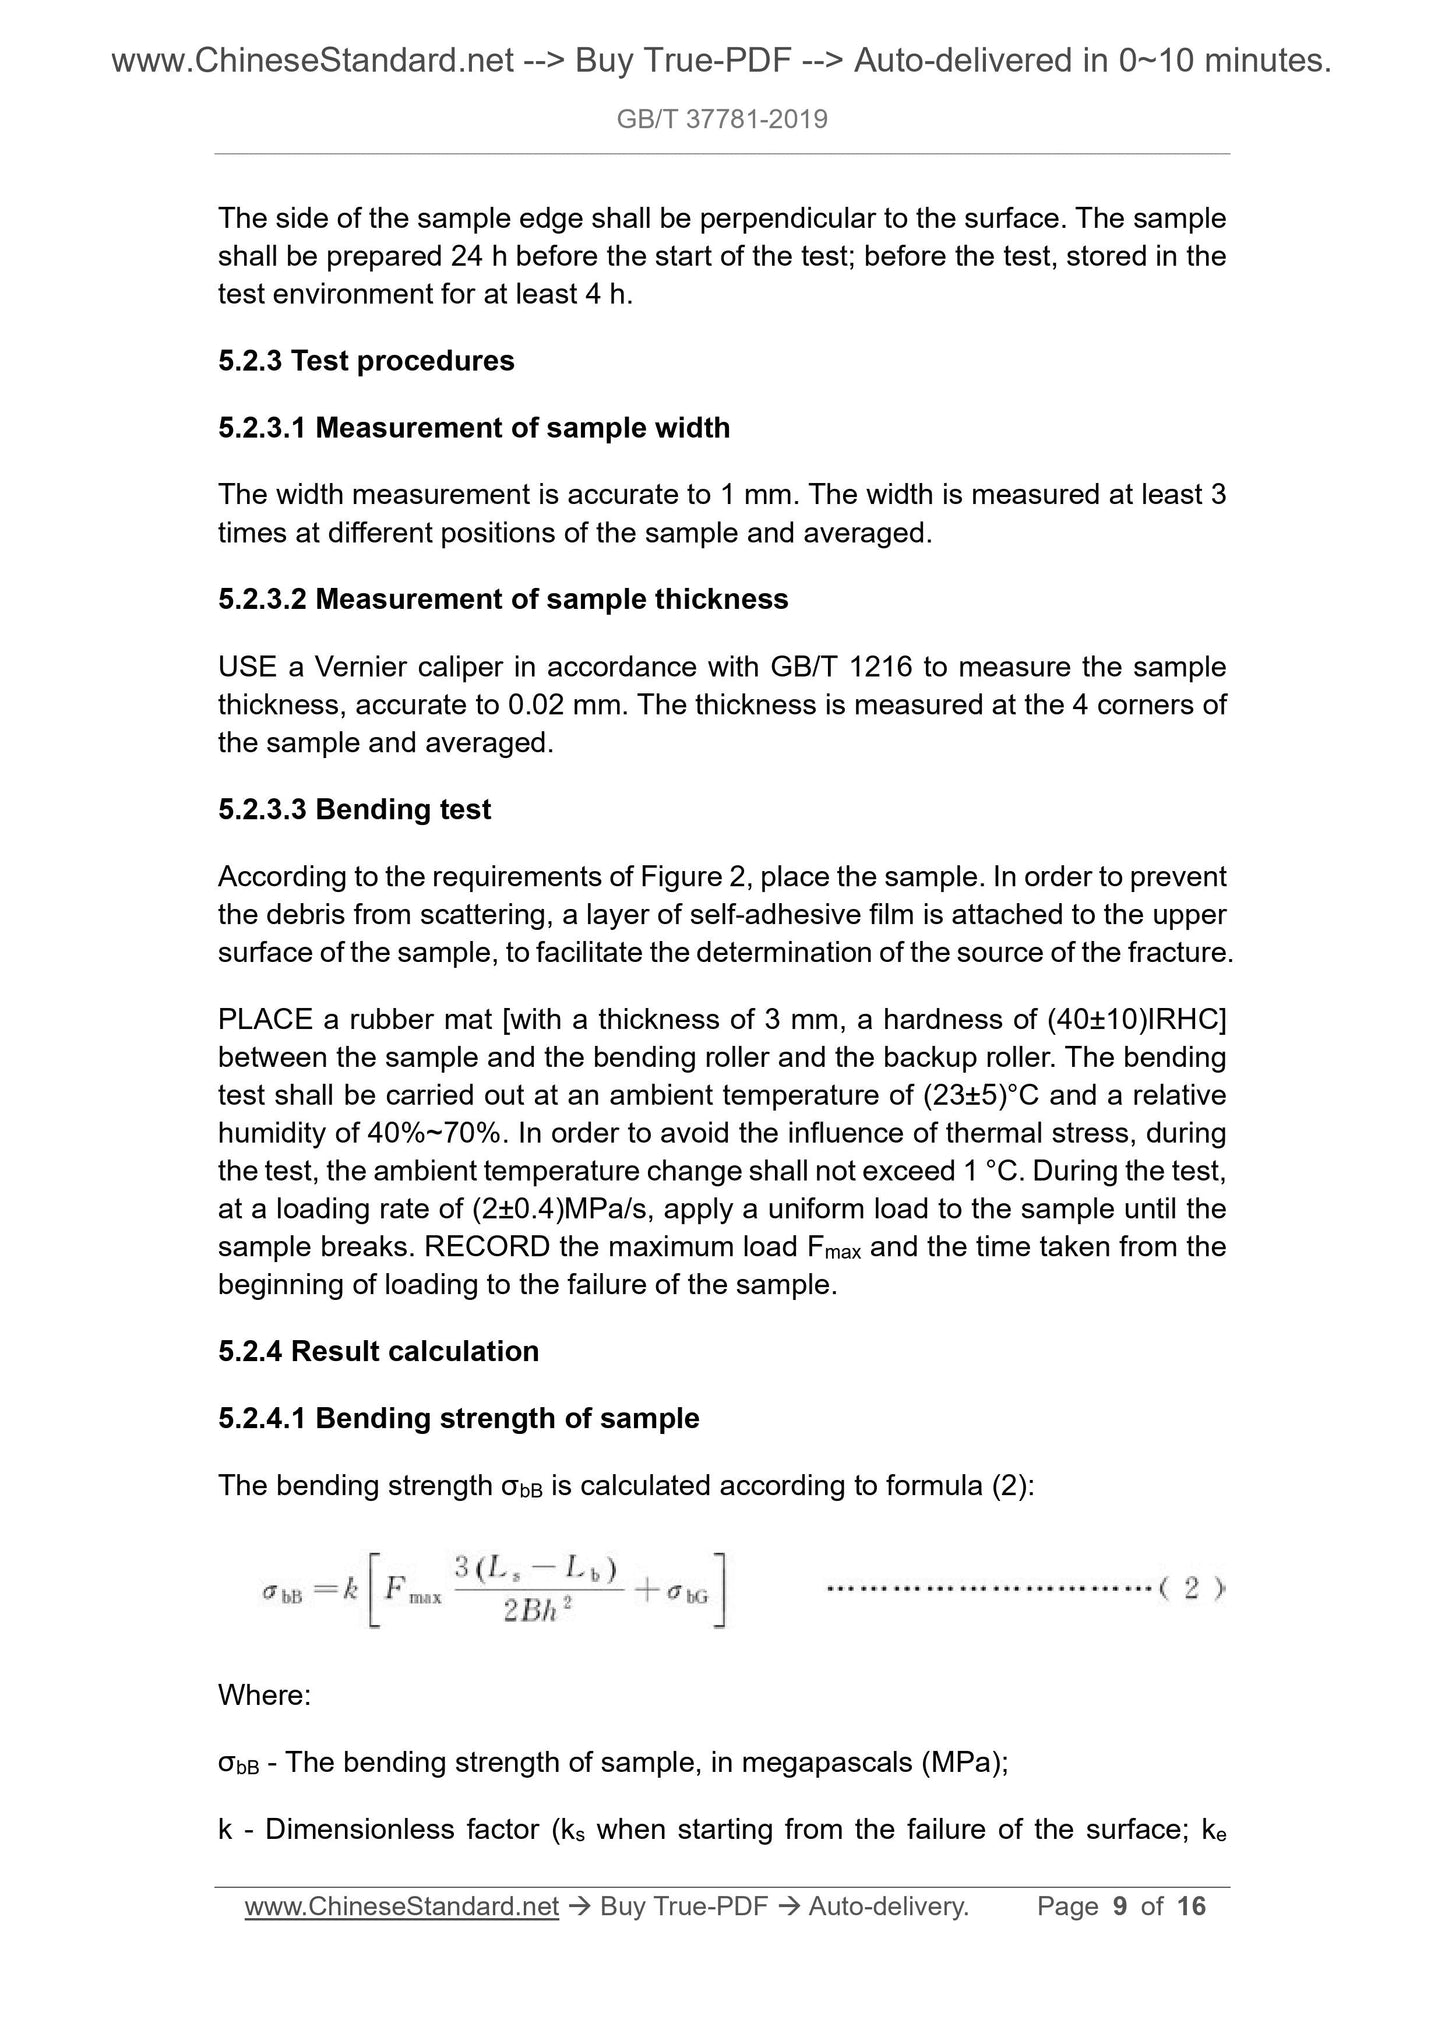
The bending strength σbB is calculated according to formula (2):
Where:
σbB - The bending strength of sample, in megapascals (MPa);
k - Dimensionless factor (ks when starting from the failure of the surface; ke
The choice of three-point bending method or four-point bending method to
measure the bending strength of glass may be agreed between the supplier
and the purchaser; may also be determined according to the influencing factors
of the strength test. See Appendix B.
6 Test report
It shall include the following:
a) Type, specification, quantity, and number of glass.
b) Pretreatment and surface state of the surface of the sample under test,
including the treatment sequence. For embossed samples, it shall indicate
which surface is subjected to tensile stress (non-embossed or embossed
surface).
c) Edge processing method.
d) Internal stress of annealed or prestressed glass samples, including stress
properties. MARK the degree of prestress if possible.
e) Loading rate.
f) For each sample, it shall include the following information:
1) The thickness is accurate to 0.05 mm. For the embossed sample on
one or both sides, it shall measure the maximum thickness (plate
thickness), minimum thickness (center thickness), and average
thickness, accurate to 0.05 mm;
2) The width is in millimeters, accurate to 1 mm;
3) The maximum load corresponding to the moment of break is accurate
to 1 N;
4) Three-point bending strength σb, in megapascals, is accurate to 0.1
MPa;
5) Four-point edge bending strength σbB, in megapascals, is accurate to
0.1 MPa;
6) The time taken from loading to failure is in seconds, accurate to 1 s;
7) Whether the sample failure starts at the sample edge or starts at the
center portion.
GB/T 37781-2019
NATIONAL STANDARD OF THE
PEOPLE’S REPUBLIC OF CHINA
ICS 81.040.10
Q 30
Test methods for bending strength of glass
ISSUED ON: AUGUST 30, 2019
IMPLEMENTED ON: JULY 01, 2020
Issued by: State Administration for Market Regulation;
Standardization Administration of the PRC.
Table of Contents
Foreword ... 3
1 Scope ... 4
2 Normative references ... 4
3 Terms and definitions ... 4
4 Principle ... 5
5 Tests ... 5
6 Test report ... 12
Appendix A (Normative) Calculation of standard deviation and method for
accepting-rejecting abnormal data ... 14
Appendix B (Informative) Influencing factors of strength test ... 16
Test methods for bending strength of glass
1 Scope
This Standard specifies the terms and definitions, principle, tests, and test
report of the tests for bending strength of glass.
The three-point bending method in this Standard applies to the test for bending
strength of brittle materials such as glass.
The four-point bending method in this Standard applies to the test for bending
strength of plate glass such as annealed glass, tempered glass, semi-tempered
glass, and embossed glass; does not apply to the test for bending strength of
composite glass such as laminated glass and insulating glass.
This Standard does not apply to the test for bending strength of glass with a
thickness of 3 mm or less.
This Standard can also be used alone to evaluate the effect of glass edge on
the bending strength.
2 Normative references
The following documents are indispensable for the application of this document.
For the dated references, only the editions with the dates indicated are
applicable to this document. For the undated references, the latest edition
(including all the amendments) are applicable to this document.
GB/T 1216 External micrometer
3 Terms and definitions
The following terms and definitions apply to this document.
3.1 Bending strength
The maximum bending stress experienced when the sample is broken under
bending load.
3.2 Bending stress
The tensile stress generated on the lower surface of the sample during the
5.1.3.3 Before the test, it shall use a brush or a soft cloth to carefully clean the
upper press roller and the sample support, to remove the broken glass slag.
5.1.3.4 LOAD at a displacement speed of 5 mm/min; RECORD the maximum
load P at which the sample breaks.
5.1.4 Result calculation
5.1.4.1 The sample whose fracture occurs in the middle of the three equal parts
of the longitudinal direction of the sample is an effective sample. Calculate only
the bending strength of the effective sample. Calculate according to formula (1):
Where:
σb - The bending strength of sample, in megapascals (MPa);
P - The maximum load at which the sample breaks, in Newtons (N);
L - The distance between the sample supports, in millimeters (mm);
b - Sample width, in millimeters (mm);
d - Sample thickness, in millimeters (mm).
5.1.4.2 According to Appendix A, conduct data processing. USE the arithmetic
mean and standard deviation of valid data to express. The result is accurate to
0.1 MPa.
5.2 Four-point bending method
5.2.1 Testing machine
5.2.1.1 It is capable of realizing continuous, uniform, stepless loading from zero
to maximum load and minimizing vibration during loading.
5.2.1.2 The device shall be capable of loading at equal stress rate.
5.2.1.3 The load measuring device equipped with the instrument keeps the
measurement error within ±2.0% of the range.
5.2.1.4 The schematic diagram of four-point bending test is shown in Figure 2.
The backup roller and the bending roller have a diameter of 50 mm±1 mm and
a length of not less than 365 mm. All the rollers can rotate freely. The distance
Lb between the center lines of the two bending rollers is 200 mm±1 mm. The
distance Ls between the center lines of the two backup rollers is 1000 mm±2
The side of the sample edge shall be perpendicular to the surface. The sample
shall be prepared 24 h before the start of the test; before the test, stored in the
test environment for at least 4 h.
5.2.3 Test procedures
5.2.3.1 Measurement of sample width
The width measurement is accurate to 1 mm. The width is measured at least 3
times at different positions of the sample and averaged.
5.2.3.2 Measurement of sample thickness
USE a Vernier caliper in accordance with GB/T 1216 to measure the sample
thickness, accurate to 0.02 mm. The thickness is measured at the 4 corners of
the sample and averaged.
5.2.3.3 Bending test
According to the requirements of Figure 2, place the sample. In order to prevent
the debris from scattering, a layer of self-adhesive film is attached to the upper
surface of the sample, to facilitate the determination of the source of the fracture.
PLACE a rubber mat [with a thickness of 3 mm, a hardness of (40±10)IRHC]
between the sample and the bending roller and the backup roller. The bending
test shall be carried out at an ambient temperature of (23±5)°C and a relative
humidity of 40%~70%. In order to avoid the influence of thermal stress, during
the test, the ambient temperature change shall not exceed 1 °C. During the test,
at a loading rate of (2±0.4)MPa/s, apply a uniform load to the sample until the
sample breaks. RECORD the maximum load Fmax and the time taken from the
beginning of loading to the failure of the sample.
5.2.4 Result calculation
5.2.4.1 Bending strength of sample
The bending strength σbB is calculated according to formula (2):
Where:
σbB - The bending strength of sample, in megapascals (MPa);
k - Dimensionless factor (ks when starting from the failure of the surface; ke
The choice of three-point bending method or four-point bending method to
measure the bending strength of glass may be agreed between the supplier
and the purchaser; may also be determined according to the influencing factors
of the strength test. See Appendix B.
6 Test report
It shall include the following:
a) Type, specification, quantity, and number of glass.
b) Pretreatment and surface state of the surface of the sample under test,
including the treatment sequence. For embossed samples, it shall indicate
which surface is subjected to tensile stress (non-embossed or embossed
surface).
c) Edge processing method.
d) Internal stress of annealed or prestressed glass samples, including stress
properties. MARK the degree of prestress if possible.
e) Loading rate.
f) For each sample, it shall include the following information:
1) The thickness is accurate to 0.05 mm. For the embossed sample on
one or both sides, it shall measure the maximum thickness (plate
thickness), minimum thickness (center thickness), and average
thickness, accurate to 0.05 mm;
2) The wi...
Share
