1
/
of
6
www.ChineseStandard.us -- Field Test Asia Pte. Ltd.
GB/T 37910.2-2019 English PDF (GB/T37910.2-2019)
GB/T 37910.2-2019 English PDF (GB/T37910.2-2019)
Regular price
$160.00
Regular price
Sale price
$160.00
Unit price
/
per
Shipping calculated at checkout.
Couldn't load pickup availability
GB/T 37910.2-2019: Non-destructive testing of welds -- Acceptance levels for radiographic testing -- Part 2: Aluminium and its alloys
Delivery: 9 seconds. Download (& Email) true-PDF + Invoice.
Get Quotation: Click GB/T 37910.2-2019 (Self-service in 1-minute)
Historical versions (Master-website): GB/T 37910.2-2019
Preview True-PDF (Reload/Scroll-down if blank)
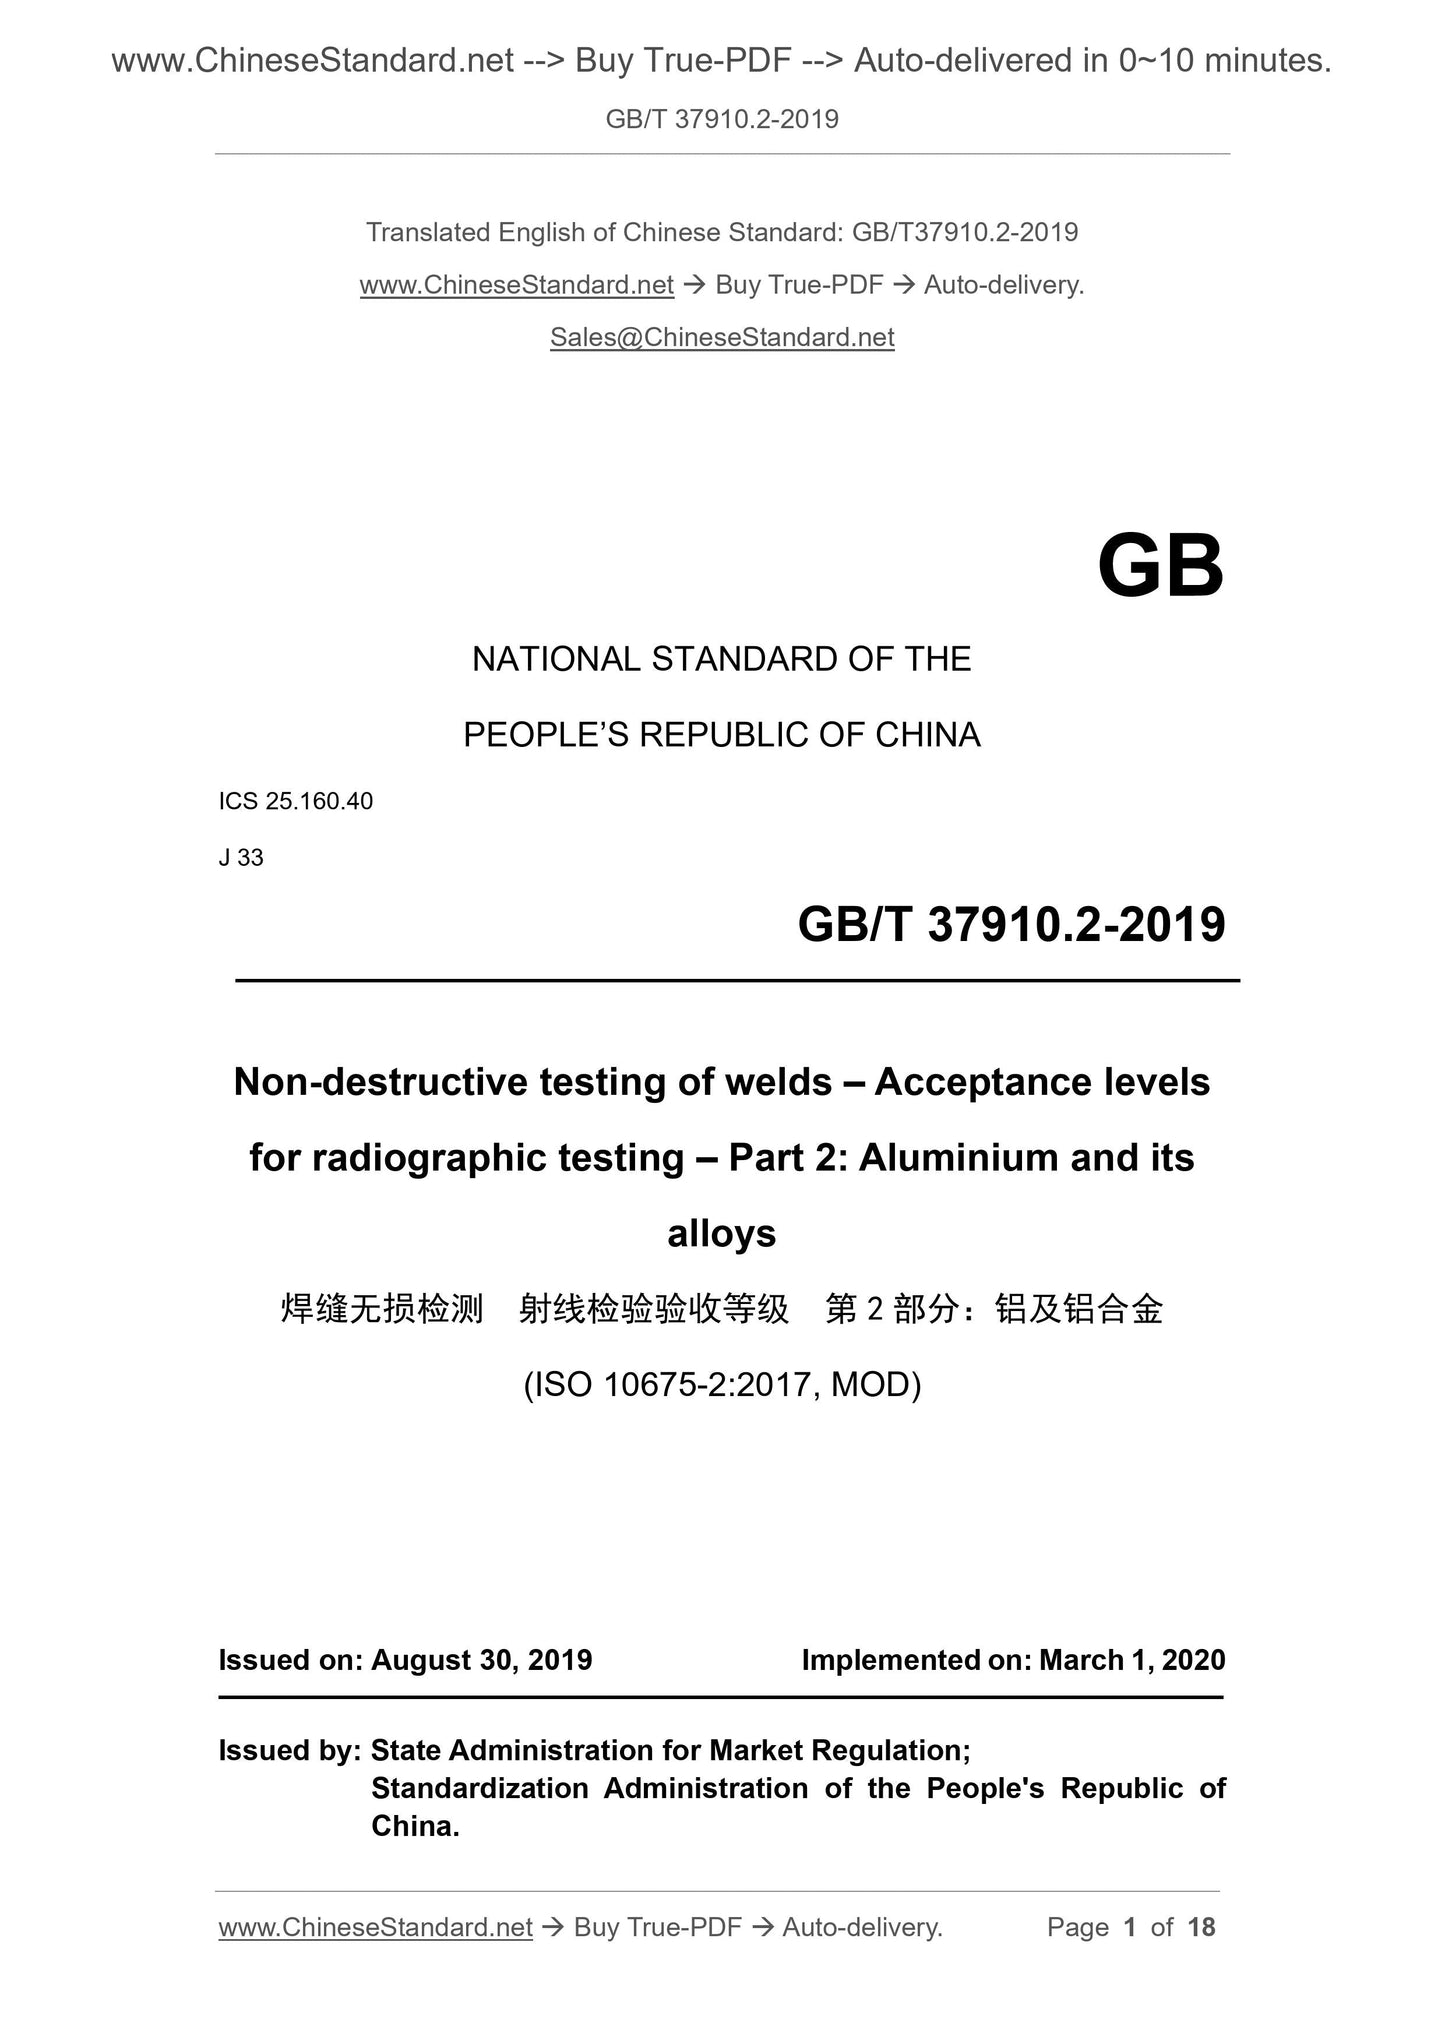
GB/T 37910.2-2019
NATIONAL STANDARD OF THE
PEOPLE’S REPUBLIC OF CHINA
ICS 25.160.40
J 33
Non-destructive testing of welds – Acceptance levels
for radiographic testing – Part 2: Aluminium and its
alloys
(ISO 10675-2:2017, MOD)
ISSUED ON: AUGUST 30, 2019
IMPLEMENTED ON: MARCH 1, 2020
Issued by: State Administration for Market Regulation;
Standardization Administration of the People's Republic of
China.
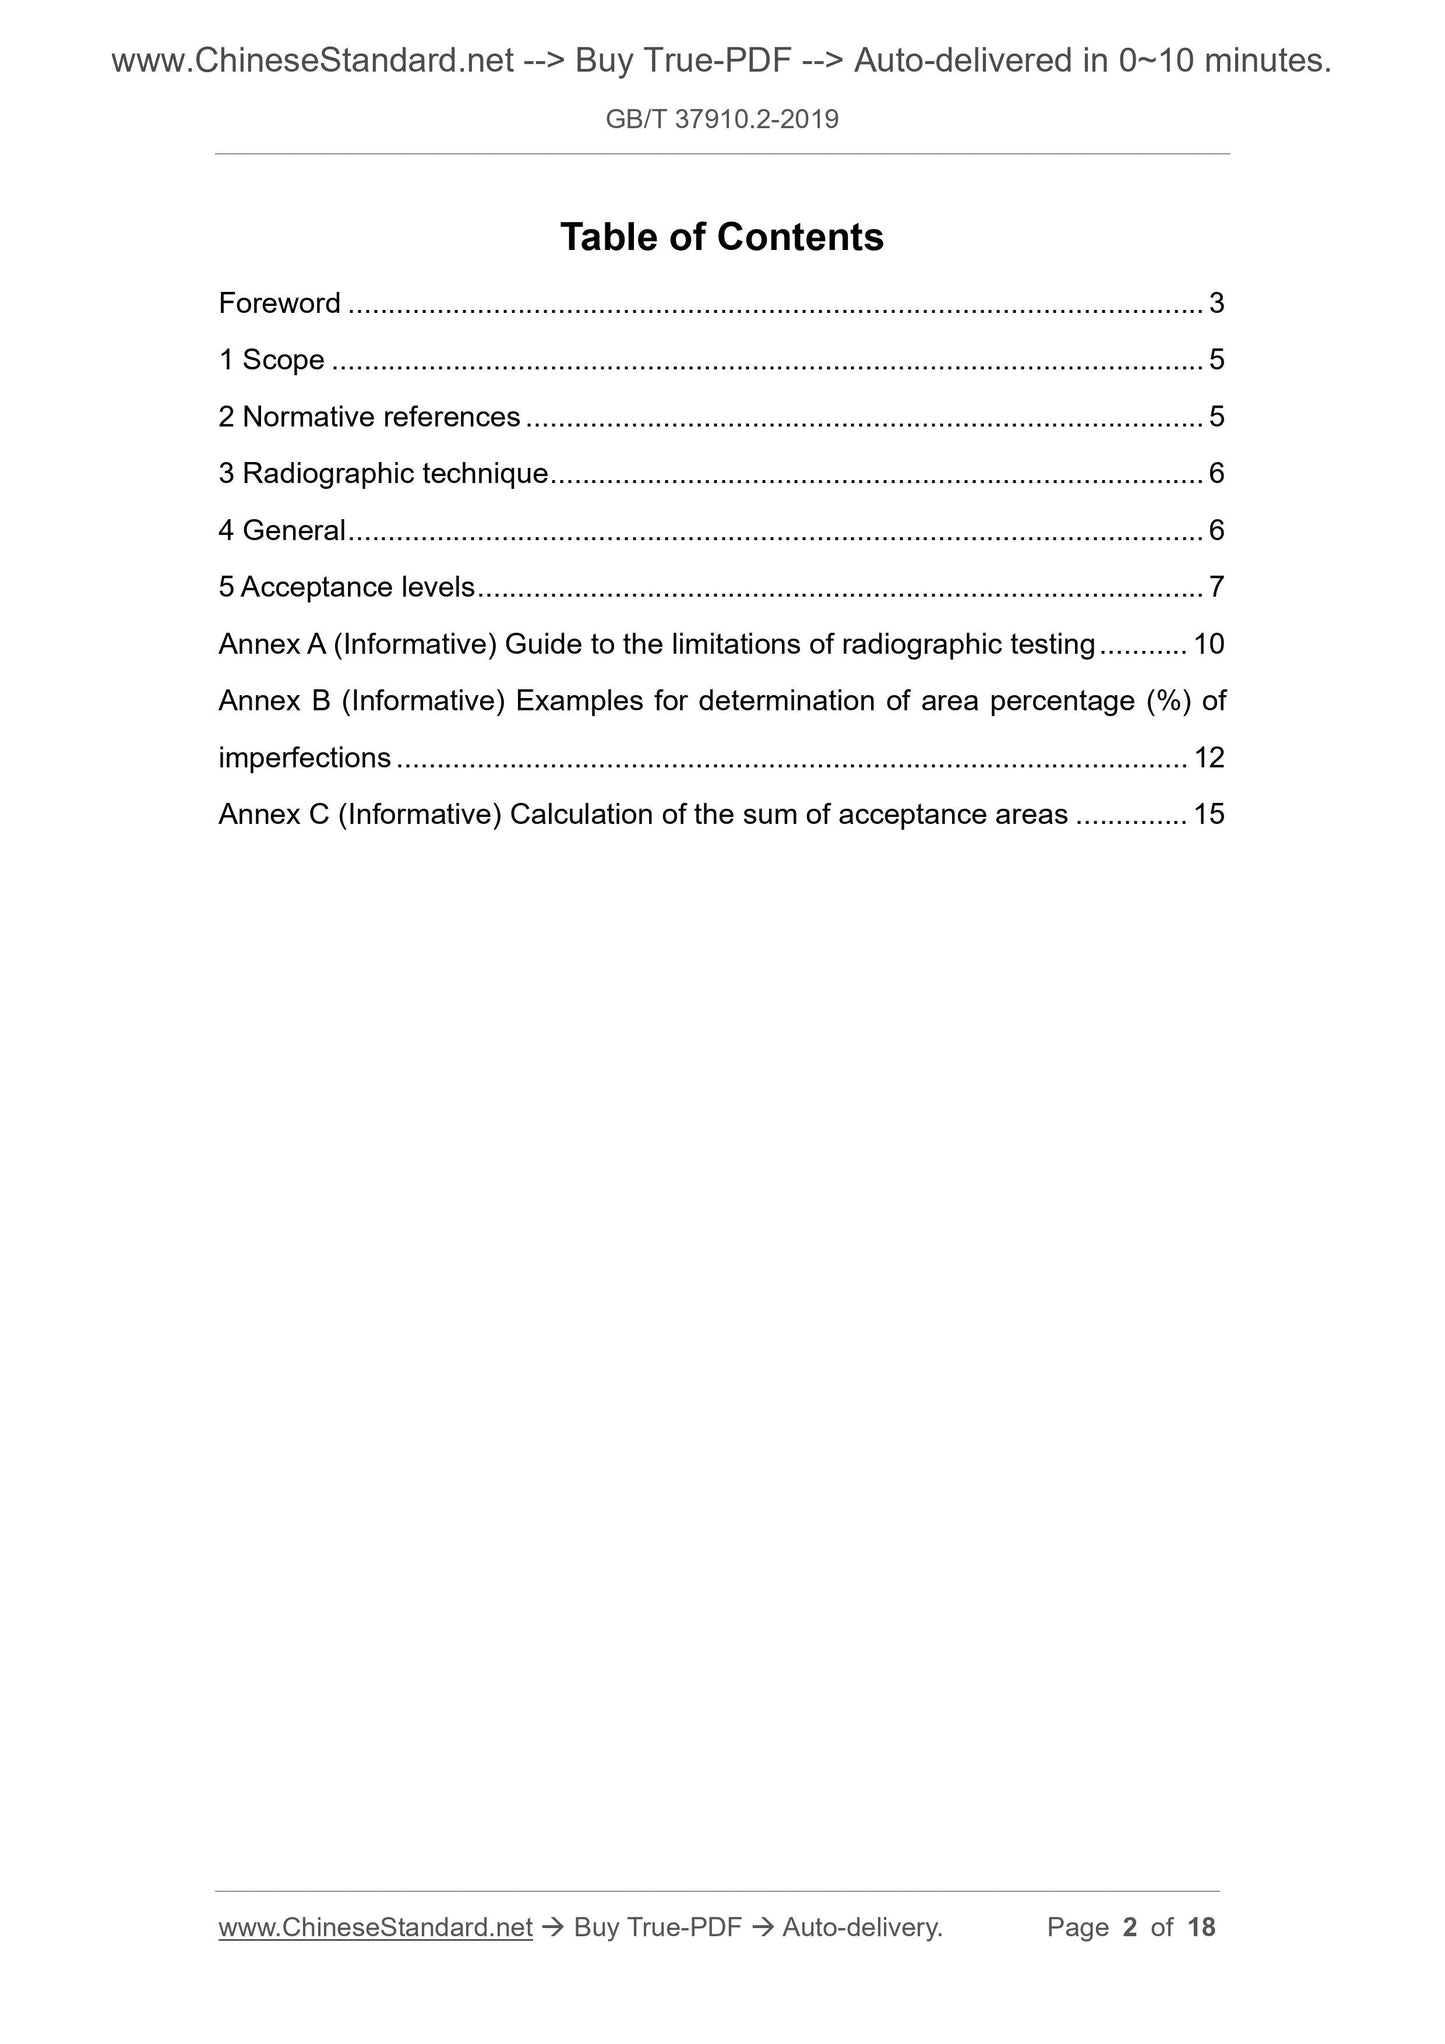
Table of Contents
Foreword ... 3
1 Scope ... 5
2 Normative references ... 5
3 Radiographic technique ... 6
4 General ... 6
5 Acceptance levels ... 7
Annex A (Informative) Guide to the limitations of radiographic testing ... 10
Annex B (Informative) Examples for determination of area percentage (%) of
imperfections ... 12
Annex C (Informative) Calculation of the sum of acceptance areas ... 15
Foreword
GB/T 37910, Non-destructive testing of welds – Acceptance levels for radiographic
testing, comprises the following two parts:
-- Part 1: Steel, nickel, titanium and their alloys;
-- Part 2: Aluminium and its alloys;
This Part is the 2nd part of GB/T 37910.
This Part was drafted in accordance with the rules given in GB/T 1.1-2009.
This Part was redrafted by modifying and adopting ISO 10675-2:2017, Non-destructive
testing of welds – Acceptance levels for radiographic testing – Part 2: Aluminium and
its alloy.
The significant technical changes and their reasons with respect to ISO 10675-2:2017
are as follows:
-- with respect to normative references, some adjustments are made in this Part
resulting in some technical differences, in order to adapt to the technical
conditions in China. The adjustments are intensively reflected in “Normative
references” of Clause 2. This Part:
uses GB/T 3323.1 modifying and adopting the international standard to
replace ISO 17636-1 (see Clauses 1 and 3, and Annex A);
uses GB/T 3323.2 modifying and adopting the international standard to
replace ISO 17636-2 (see Clauses 1 and 3, and Annex A);
uses GB/T 32259 modifying and adopting the international standard to
replace ISO 17637 (see Clause 4);
uses GB/T 6417.1 identically adopting the international standard to replace
ISO 6520-1 (see Clause 5, and Tables 2, 3 and A.1).
-- in accordance with ISO 10042, it adds the acceptance requirements that
uniformly distributed pores, clustered pores and linear pores shall meet gas
pores for the convenience of use (see 2b ~ 2e, 3 and 4 of Table 3);
-- in accordance with ISO 10042, it adds the acceptance requirements for oxide
inclusions and defines the requirements for the total length of imperfections
within the evaluation area for the convenience of use (see 6 of Table 3);
-- in accordance with ISO 10042, it adds the acceptance requirements for lack of
fusion and lack of penetration and defines the requirements for the length of a
single imperfection itself within the evaluation area for the convenience of use
Non-destructive testing of welds – Acceptance levels
for radiographic testing – Part 2: Aluminium and its
alloy
1 Scope
This Part specifies acceptance levels for indications from imperfections in aluminium
butt welds detected by radiographic testing. If agreed, the acceptance levels can be
applied to other types of welds or materials.
The acceptance levels can be related to welding standards, application standards,
specifications or codes. This Part assumes that the radiographic testing has been
carried out in accordance with GB/T 3323.1 or GB/T 3323.2. When assessing whether
a weld meets the requirements specified for a weld quality level, the sizes of
imperfections permitted by this Part are compared with the dimensions of indications
revealed by a radiograph made of the weld.
2 Normative references
The following referenced documents are indispensable for the application of this Part.
For dated references, only the edition dated applies to this Part. For undated
references, the latest edition of the referenced documents (including all amendments)
applies to this Part.
GB/T 3323.1, Non-destructive testing of welds – Radiographic testing – Part 1: X-
and gamma-ray techniques with film (GB/T 3323.1-2019, ISO 17636-1:2013, MOD)
GB/T 3323.2, Non-destructive testing of welds – Radiographic testing – Part 2: X-
and gamma-ray techniques with digital detectors (GB/T 3323.2-2019, ISO 17636-
2:2013, MOD)
GB/T 6417.1, Welding and allied processes – Classification of geometric
imperfections in metallic materials – Part 1: Fusion welding (GB/T 6417.1-2005,
ISO 6520-1:1998, IDT)
GB/T 32259, Non-destructive testing of welds – Visual testing of fusion-welded
joints (GB/T 32259-2015, ISO 17637:2003, MOD)
When quantification of undercut and/or excessive penetration by radiographic testing
is required, specific procedures using test exposures may be applied in order to
establish a basis for approximate quantification in accordance with the requirements
of ISO 10042. This shall be specified.
5 Acceptance levels
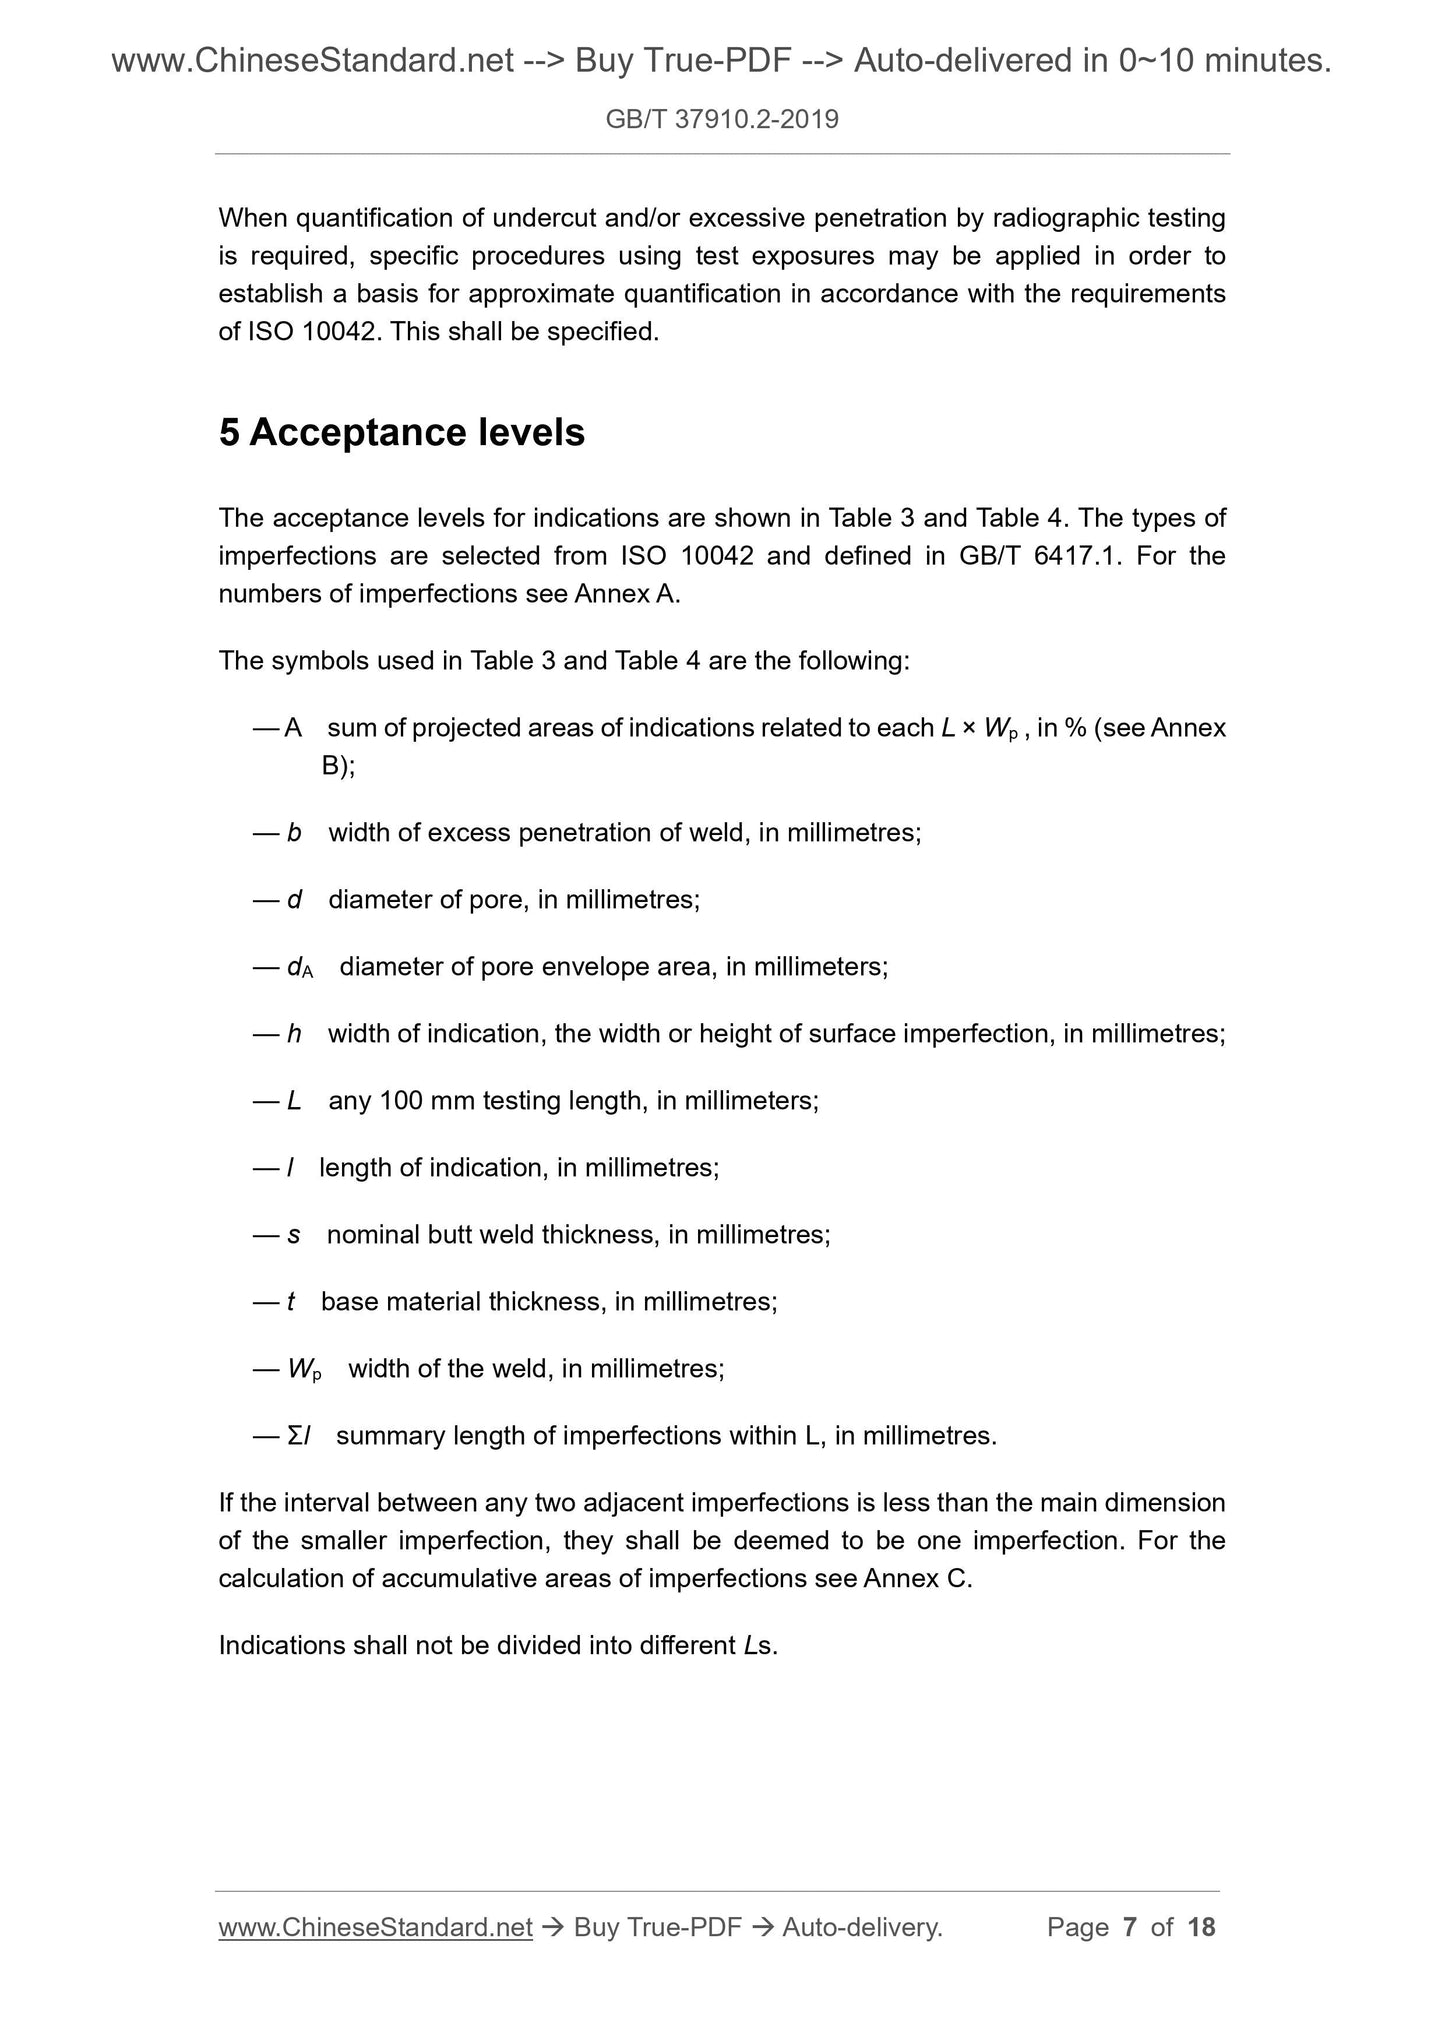
The acceptance levels for indications are shown in Table 3 and Table 4. The types of
imperfections are selected from ISO 10042 and defined in GB/T 6417.1. For the
numbers of imperfections see Annex A.
The symbols used in Table 3 and Table 4 are the following:
— A sum of projected areas of indications related to each L × Wp , in % (see Annex
B);
— b width of excess penetration of weld, in millimetres;
— d diameter of pore, in millimetres;
— dA diameter of pore envelope area, in millimeters;
— h width of indication, the width or height of surface imperfection, in millimetres;
— L any 100 mm testing length, in millimeters;
— l length of indication, in millimetres;
— s nominal butt weld thickness, in millimetres;
— t base material thickness, in millimetres;
— Wp width of the weld, in millimetres;
— Σl summary length of imperfections within L, in millimetres.
If the interval between any two adjacent imperfections is less than the main dimension
of the smaller imperfection, they shall be deemed to be one imperfection. For the
calculation of accumulative areas of imperfections see Annex C.
Indications shall not be divided into different Ls.
Annex A
(Informative)
Guide to the limitations of radiographic testing
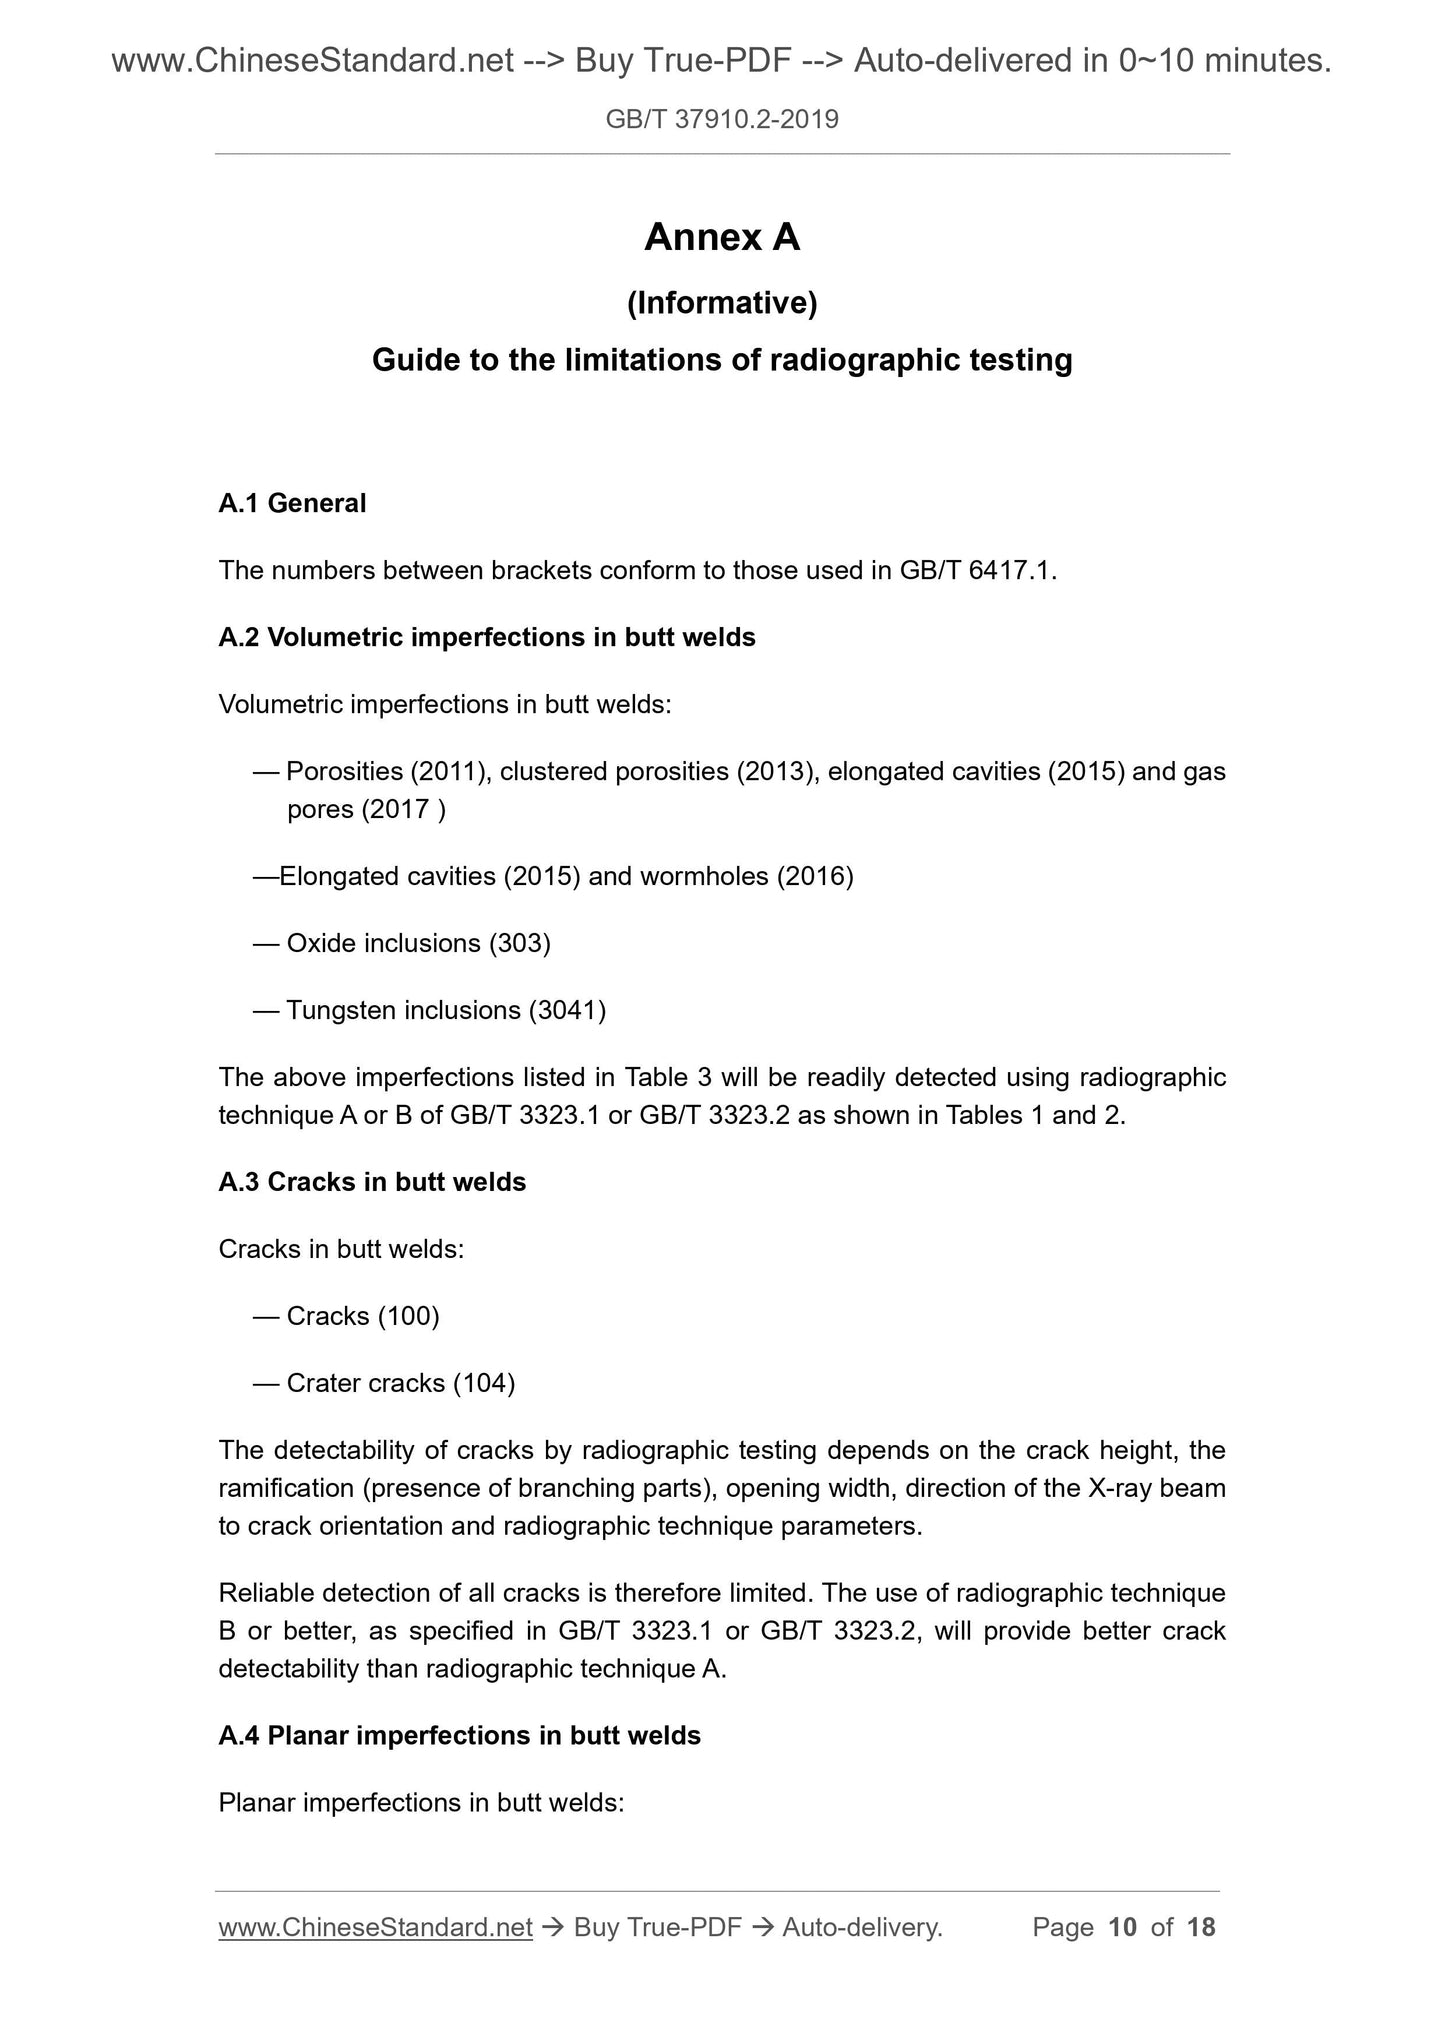
A.1 General
The numbers between brackets conform to those used in GB/T 6417.1.
A.2 Volumetric imperfections in butt welds
Volumetric imperfections in butt welds:
— Porosities (2011), clustered porosities (2013), elongated cavities (2015) and gas
pores (2017 )
—Elongated cavities (2015) and wormholes (2016)
— Oxide inclusions (303)
— Tungsten inclusions (3041)
The above imperfections listed in Table 3 will be readily detected using radiographic
technique A or B of GB/T 3323.1 or GB/T 3323.2 as shown in Tables 1 and 2.
A.3 Cracks in butt welds
Cracks in butt welds:
— Cracks (100)
— Crater cracks (104)
The detectability of cracks by radiographic testing depends on the crack height, the
ramification (presence of branching parts), opening width, direction of the X-ray beam
to crack orientation and radiographic technique parameters.
Reliable detection of all cracks is therefore limited. The use of radiographic technique
B or better, as specified in GB/T 3323.1 or GB/T 3323.2, will provide better crack
detectability than radiographic technique A.
A.4 Planar imperfections in butt welds
Planar imperfections in butt welds:
GB/T 37910.2-2019
NATIONAL STANDARD OF THE
PEOPLE’S REPUBLIC OF CHINA
ICS 25.160.40
J 33
Non-destructive testing of welds – Acceptance levels
for radiographic testing – Part 2: Aluminium and its
alloys
(ISO 10675-2:2017, MOD)
ISSUED ON: AUGUST 30, 2019
IMPLEMENTED ON: MARCH 1, 2020
Issued by: State Administration for Market Regulation;
Standardization Administration of the People's Republic of
China.
Table of Contents
Foreword ... 3
1 Scope ... 5
2 Normative references ... 5
3 Radiographic technique ... 6
4 General ... 6
5 Acceptance levels ... 7
Annex A (Informative) Guide to the limitations of radiographic testing ... 10
Annex B (Informative) Examples for determination of area percentage (%) of
imperfections ... 12
Annex C (Informative) Calculation of the sum of acceptance areas ... 15
Foreword
GB/T 37910, Non-destructive testing of welds – Acceptance levels for radiographic
testing, comprises the following two parts:
-- Part 1: Steel, nickel, titanium and their alloys;
-- Part 2: Aluminium and its alloys;
This Part is the 2nd part of GB/T 37910.
This Part was drafted in accordance with the rules given in GB/T 1.1-2009.
This Part was redrafted by modifying and adopting ISO 10675-2:2017, Non-destructive
testing of welds – Acceptance levels for radiographic testing – Part 2: Aluminium and
its alloy.
The significant technical changes and their reasons with respect to ISO 10675-2:2017
are as follows:
-- with respect to normative references, some adjustments are made in this Part
resulting in some technical differences, in order to adapt to the technical
conditions in China. The adjustments are intensively reflected in “Normative
references” of Clause 2. This Part:
uses GB/T 3323.1 modifying and adopting the international standard to
replace ISO 17636-1 (see Clauses 1 and 3, and Annex A);
uses GB/T 3323.2 modifying and adopting the international standard to
replace ISO 17636-2 (see Clauses 1 and 3, and Annex A);
uses GB/T 32259 modifying and adopting the international standard to
replace ISO 17637 (see Clause 4);
uses GB/T 6417.1 identically adopting the international standard to replace
ISO 6520-1 (see Clause 5, and Tables 2, 3 and A.1).
-- in accordance with ISO 10042, it adds the acceptance requirements that
uniformly distributed pores, clustered pores and linear pores shall meet gas
pores for the convenience of use (see 2b ~ 2e, 3 and 4 of Table 3);
-- in accordance with ISO 10042, it adds the acceptance requirements for oxide
inclusions and defines the requirements for the total length of imperfections
within the evaluation area for the convenience of use (see 6 of Table 3);
-- in accordance with ISO 10042, it adds the acceptance requirements for lack of
fusion and lack of penetration and defines the requirements for the length of a
single imperfection itself within the evaluation area for the convenience of use
Non-destructive testing of welds – Acceptance levels
for radiographic testing – Part 2: Aluminium and its
alloy
1 Scope
This Part specifies acceptance levels for indications from imperfections in aluminium
butt welds detected by radiographic testing. If agreed, the acceptance levels can be
applied to other types of welds or materials.
The acceptance levels can be related to welding standards, application standards,
specifications or codes. This Part assumes that the radiographic testing has been
carried out in accordance with GB/T 3323.1 or GB/T 3323.2. When assessing whether
a weld meets the requirements specified for a weld quality level, the sizes of
imperfections permitted by this Part are compared with the dimensions of indications
revealed by a radiograph made of the weld.
2 Normative references
The following referenced documents are indispensable for the application of this Part.
For dated references, only the edition dated applies to this Part. For undated
references, the latest edition of the referenced documents (including all amendments)
applies to this Part.
GB/T 3323.1, Non-destructive testing of welds – Radiographic testing – Part 1: X-
and gamma-ray techniques with film (GB/T 3323.1-2019, ISO 17636-1:2013, MOD)
GB/T 3323.2, Non-destructive testing of welds – Radiographic testing – Part 2: X-
and gamma-ray techniques with digital detectors (GB/T 3323.2-2019, ISO 17636-
2:2013, MOD)
GB/T 6417.1, Welding and allied processes – Classification of geometric
imperfections in metallic materials – Part 1: Fusion welding (GB/T 6417.1-2005,
ISO 6520-1:1998, IDT)
GB/T 32259, Non-destructive testing of welds – Visual testing of fusion-welded
joints (GB/T 32259-2015, ISO 17637:2003, MOD)
When quantification of undercut and/or excessive penetration by radiographic testing
is required, specific procedures using test exposures may be applied in order to
establish a basis for approximate quantification in accordance with the requirements
of ISO 10042. This shall be specified.
5 Acceptance levels
The acceptance levels for indications are shown in Table 3 and Table 4. The types of
imperfections are selected from ISO 10042 and defined in GB/T 6417.1. For the
numbers of imperfections see Annex A.
The symbols used in Table 3 and Table 4 are the following:
— A sum of projected areas of indications related to each L × Wp , in % (see Annex
B);
— b width of excess penetration of weld, in millimetres;
— d diameter of pore, in millimetres;
— dA diameter of pore envelope area, in millimeters;
— h width of indication, the width or height of surface imperfection, in millimetres;
— L any 100 mm testing length, in millimeters;
— l length of indication, in millimetres;
— s nominal butt weld thickness, in millimetres;
— t base material thickness, in millimetres;
— Wp width of the weld, in millimetres;
— Σl summary length of imperfections within L, in millimetres.
If the interval between any two adjacent imperfections is less than the main dimension
of the smaller imperfection, they shall be deemed to be one imperfection. For the
calculation of accumulative areas of imperfections see Annex C.
Indications shall not be divided into different Ls.
Annex A
(Informative)
Guide to the limitations of radiographic testing
A.1 General
The numbers between brackets conform to those used in GB/T 6417.1.
A.2 Volumetric imperfections in butt welds
Volumetric imperfections in butt welds:
— Porosities (2011), clustered porosities (2013), elongated cavities (2015) and gas
pores (2017 )
—Elongated cavities (2015) and wormholes (2016)
— Oxide inclusions (3...
Share
