1
/
of
5
www.ChineseStandard.us -- Field Test Asia Pte. Ltd.
GB/T 40406-2021 English PDF (GB/T40406-2021)
GB/T 40406-2021 English PDF (GB/T40406-2021)
Regular price
$110.00
Regular price
Sale price
$110.00
Unit price
/
per
Shipping calculated at checkout.
Couldn't load pickup availability
GB/T 40406-2021: Standard test method for static modulus of elasticity and poisson’s ratio of carbon materials in compression
Delivery: 9 seconds. Download (& Email) true-PDF + Invoice.
Get Quotation: Click GB/T 40406-2021 (Self-service in 1-minute)
Historical versions (Master-website): GB/T 40406-2021
Preview True-PDF (Reload/Scroll-down if blank)
GB/T 40406-2021
GB
NATIONAL STANDARD OF THE
PEOPLE’S REPUBLIC OF CHINA
ICS 29.050
CCS Q 50
Standard test method for static modulus of elasticity
and poisson's ratio of carbon materials in
compression
ISSUED ON: AUGUST 20, 2021
IMPLEMENTED ON: MARCH 1, 2022
Issued by: State Administration for Market Regulation;
Standardization Administration of PRC.
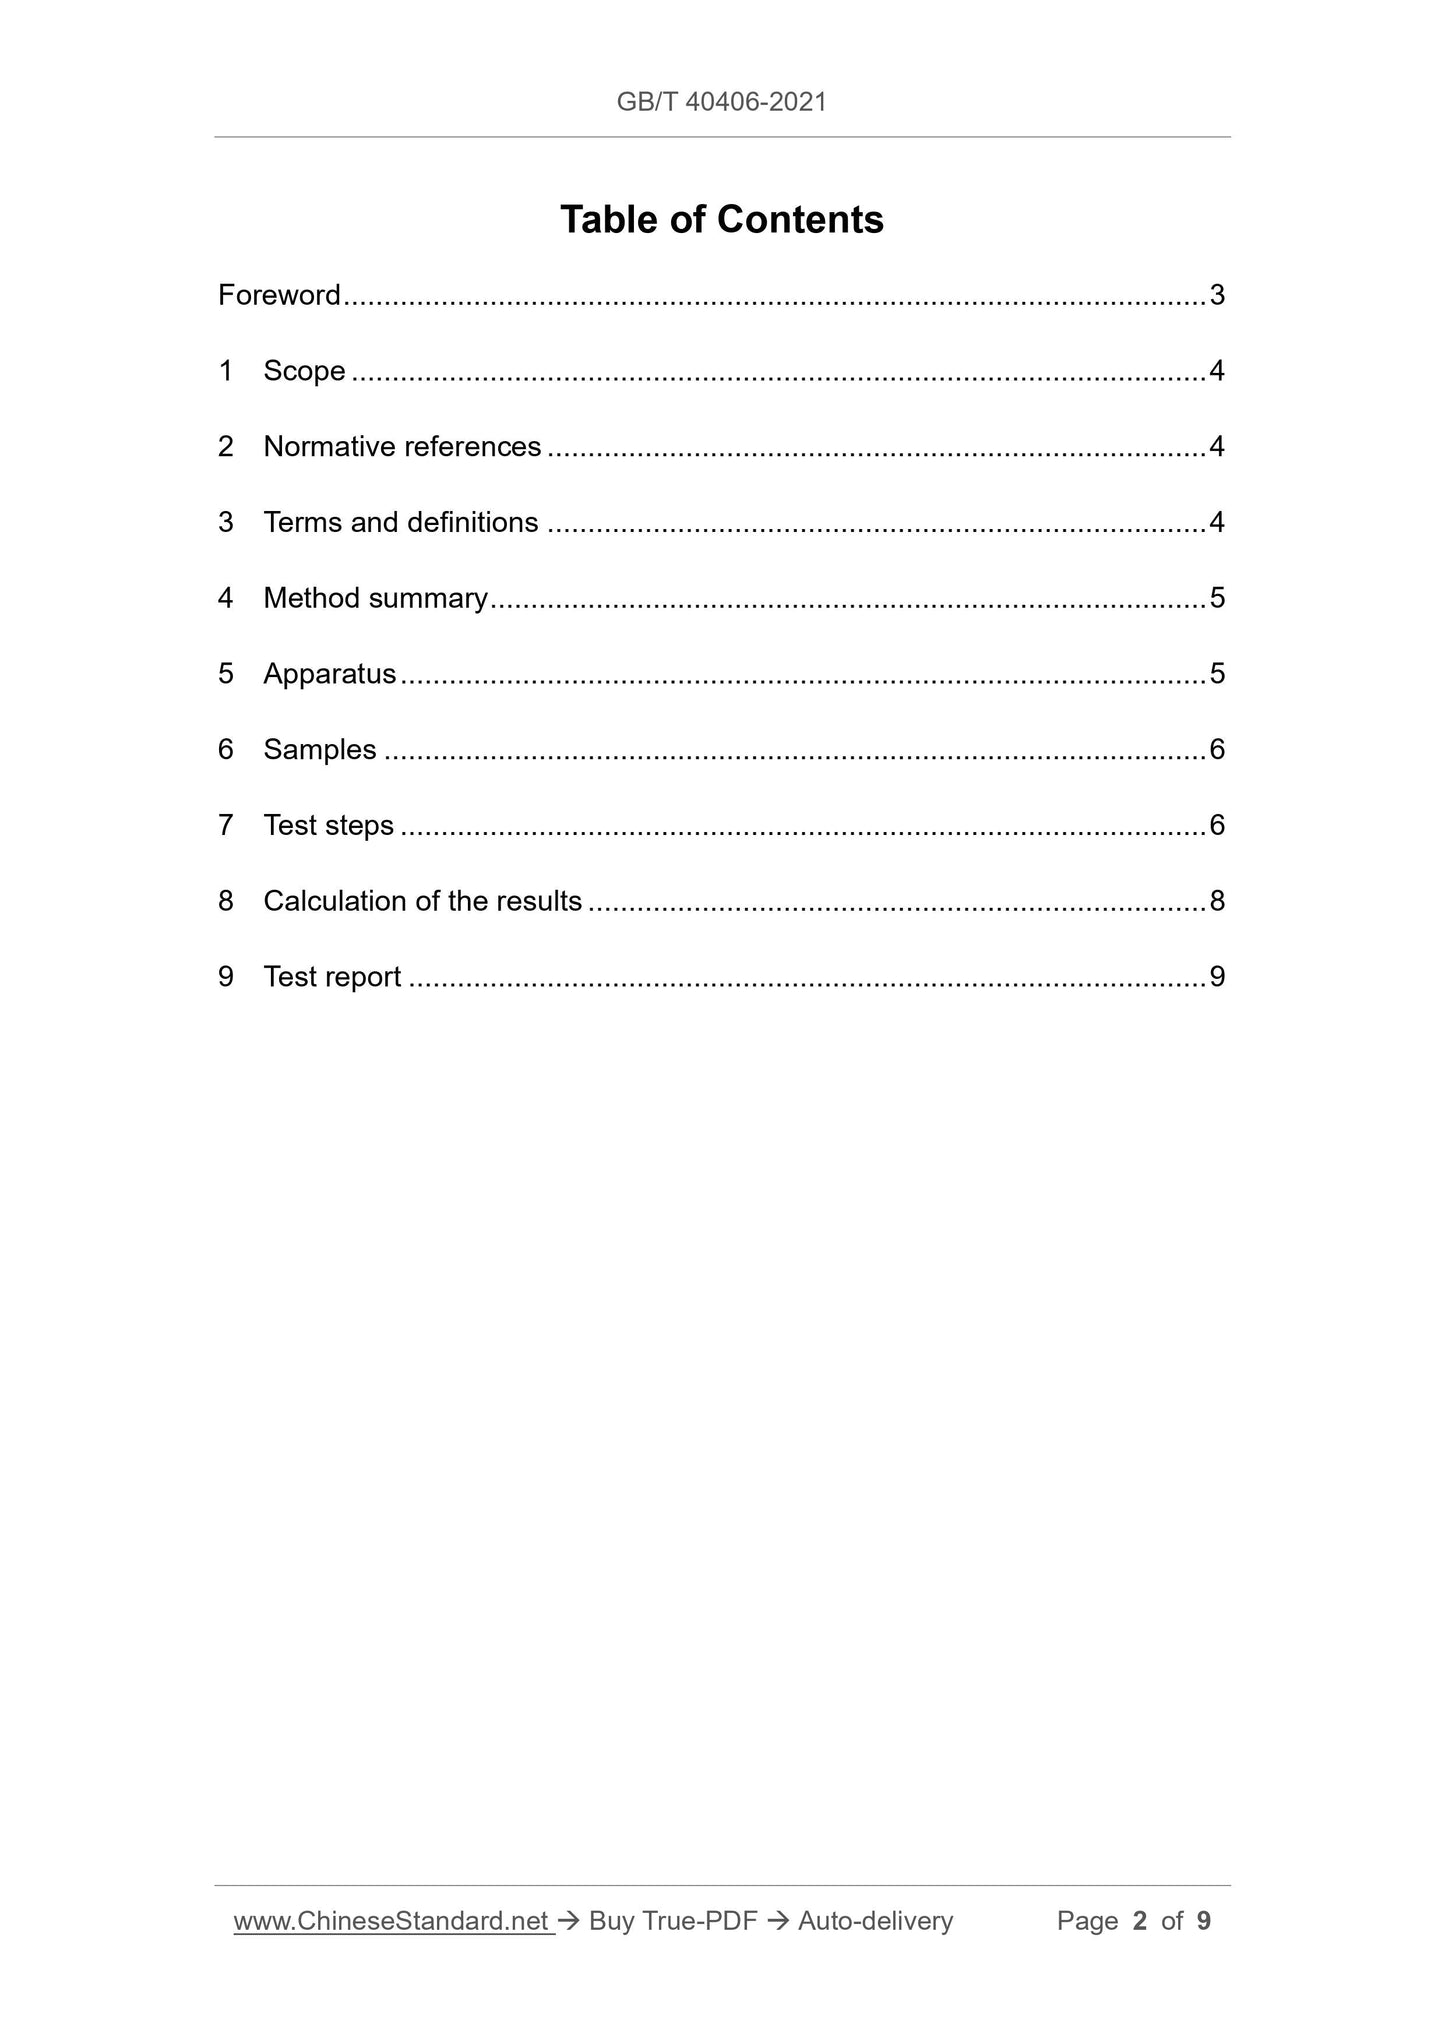
Table of Contents
Foreword ... 3
1 Scope ... 4
2 Normative references ... 4
3 Terms and definitions ... 4
4 Method summary ... 5
5 Apparatus ... 5
6 Samples ... 6
7 Test steps ... 6
8 Calculation of the results ... 8
9 Test report ... 9
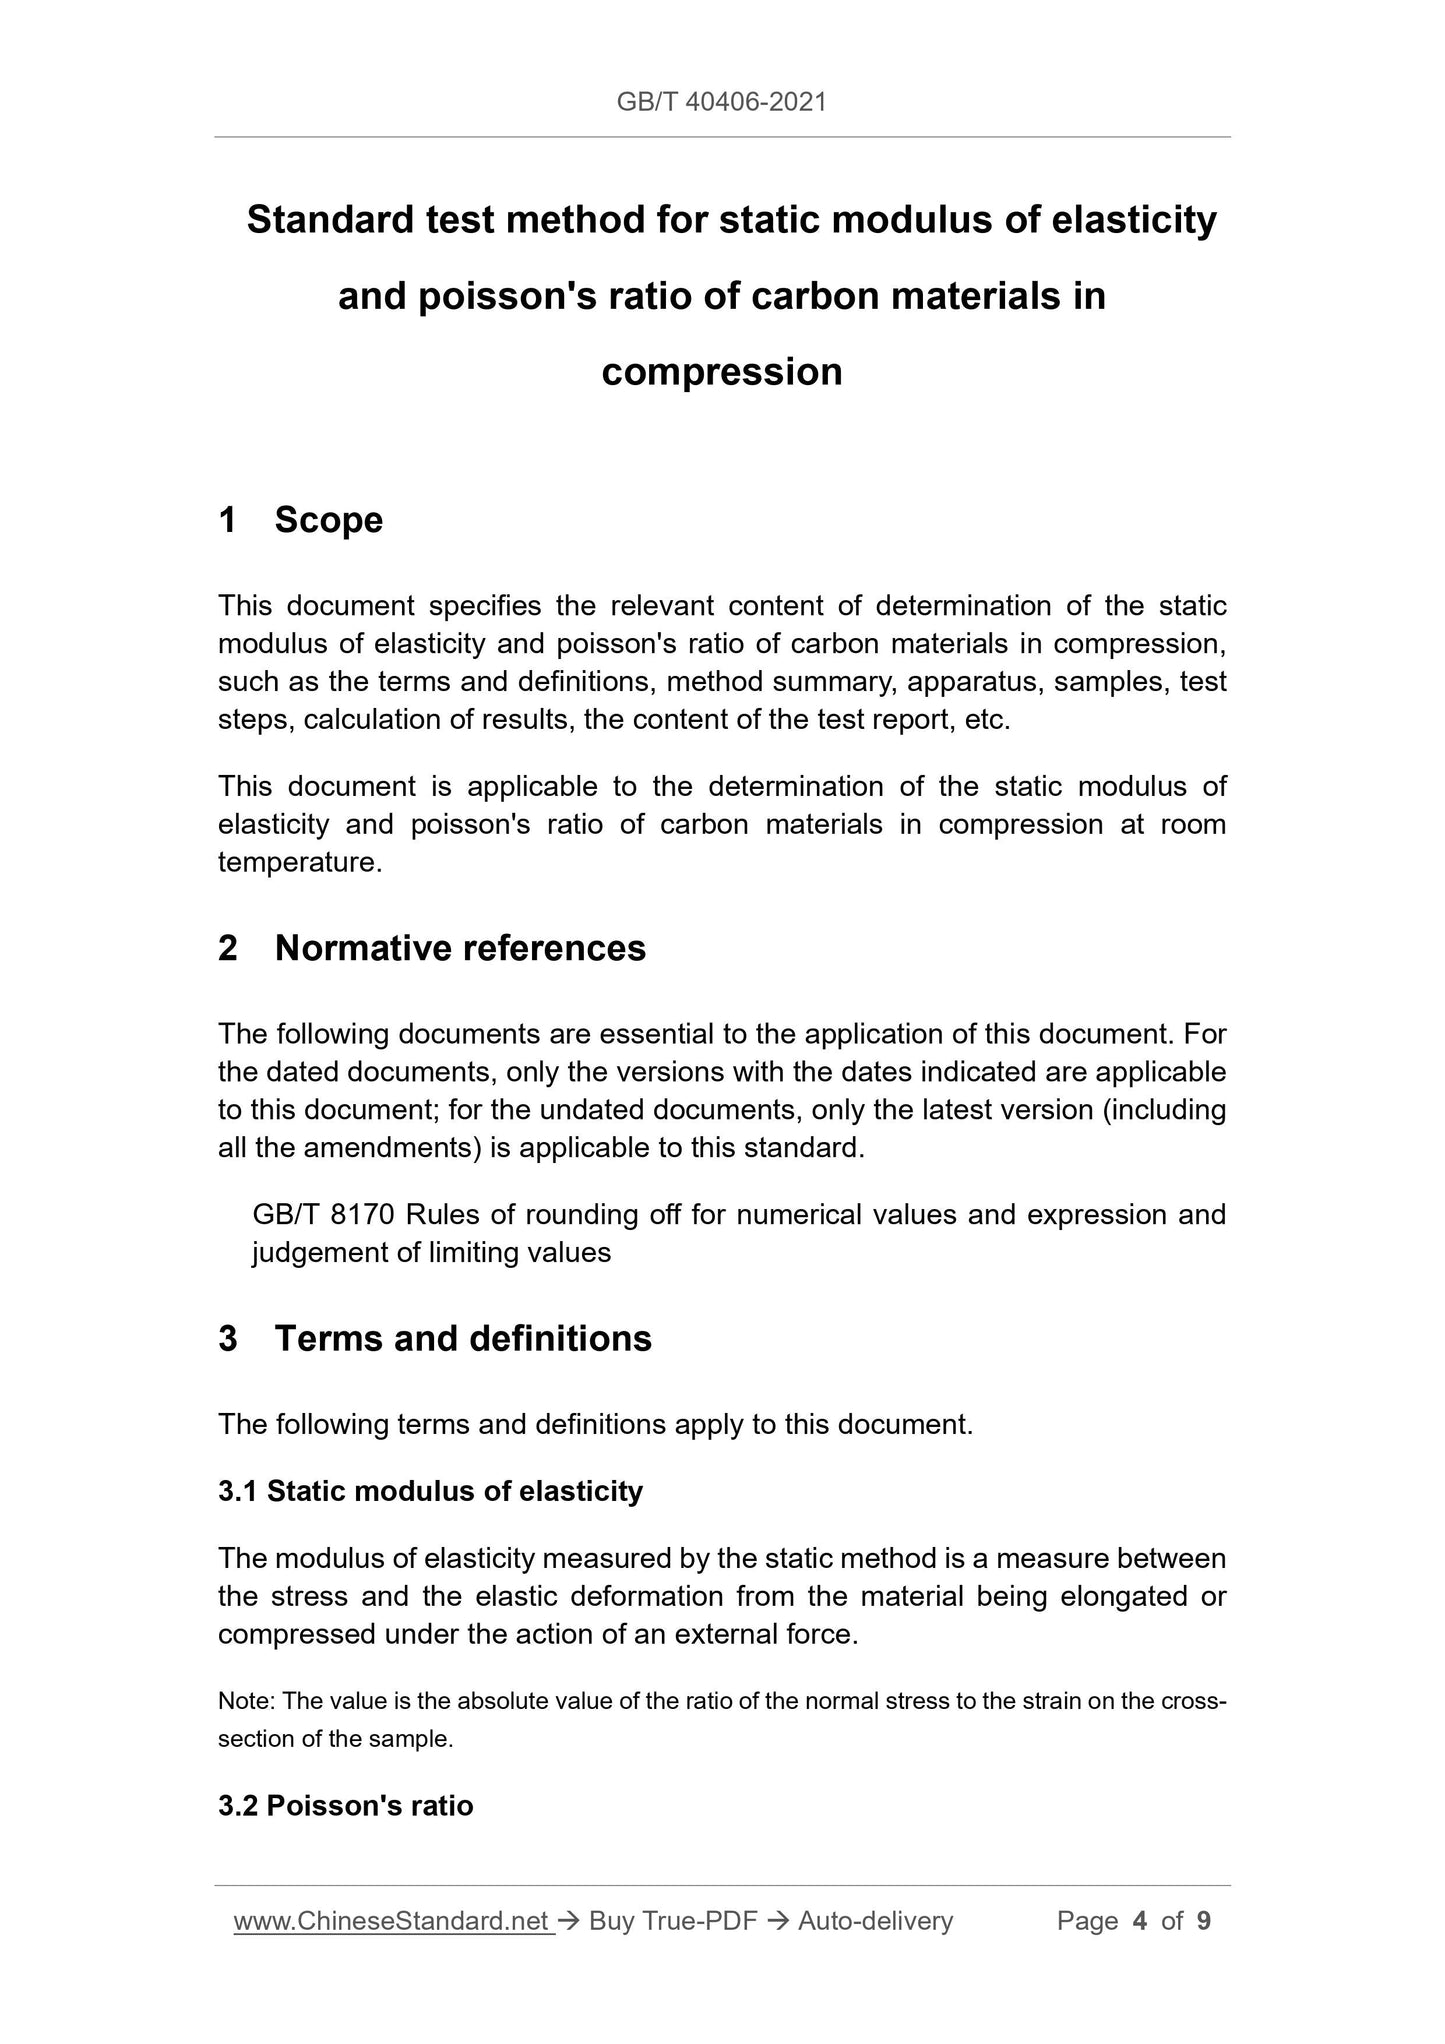
Standard test method for static modulus of elasticity
and poisson's ratio of carbon materials in
compression
1 Scope
This document specifies the relevant content of determination of the static
modulus of elasticity and poisson's ratio of carbon materials in compression,
such as the terms and definitions, method summary, apparatus, samples, test
steps, calculation of results, the content of the test report, etc.
This document is applicable to the determination of the static modulus of
elasticity and poisson's ratio of carbon materials in compression at room
temperature.
2 Normative references
The following documents are essential to the application of this document. For
the dated documents, only the versions with the dates indicated are applicable
to this document; for the undated documents, only the latest version (including
all the amendments) is applicable to this standard.
GB/T 8170 Rules of rounding off for numerical values and expression and
judgement of limiting values
3 Terms and definitions
The following terms and definitions apply to this document.
3.1 Static modulus of elasticity
The modulus of elasticity measured by the static method is a measure between
the stress and the elastic deformation from the material being elongated or
compressed under the action of an external force.
Note: The value is the absolute value of the ratio of the normal stress to the strain on the cross-
section of the sample.
3.2 Poisson's ratio
5.4 Drying oven: the highest temperature is 300 °C, and the accuracy is ±5 °C.
5.5 Vernier caliper: measuring range 0 mm~200 mm, accuracy 0.02 mm.
5.6 Adhesive: It shall become a hard Adhesive after curing, such as 502 glue,
etc.
5.7 Electric soldering iron, solder wire, PTFE film, fine sandpaper, tweezers,
alcohol, etc.
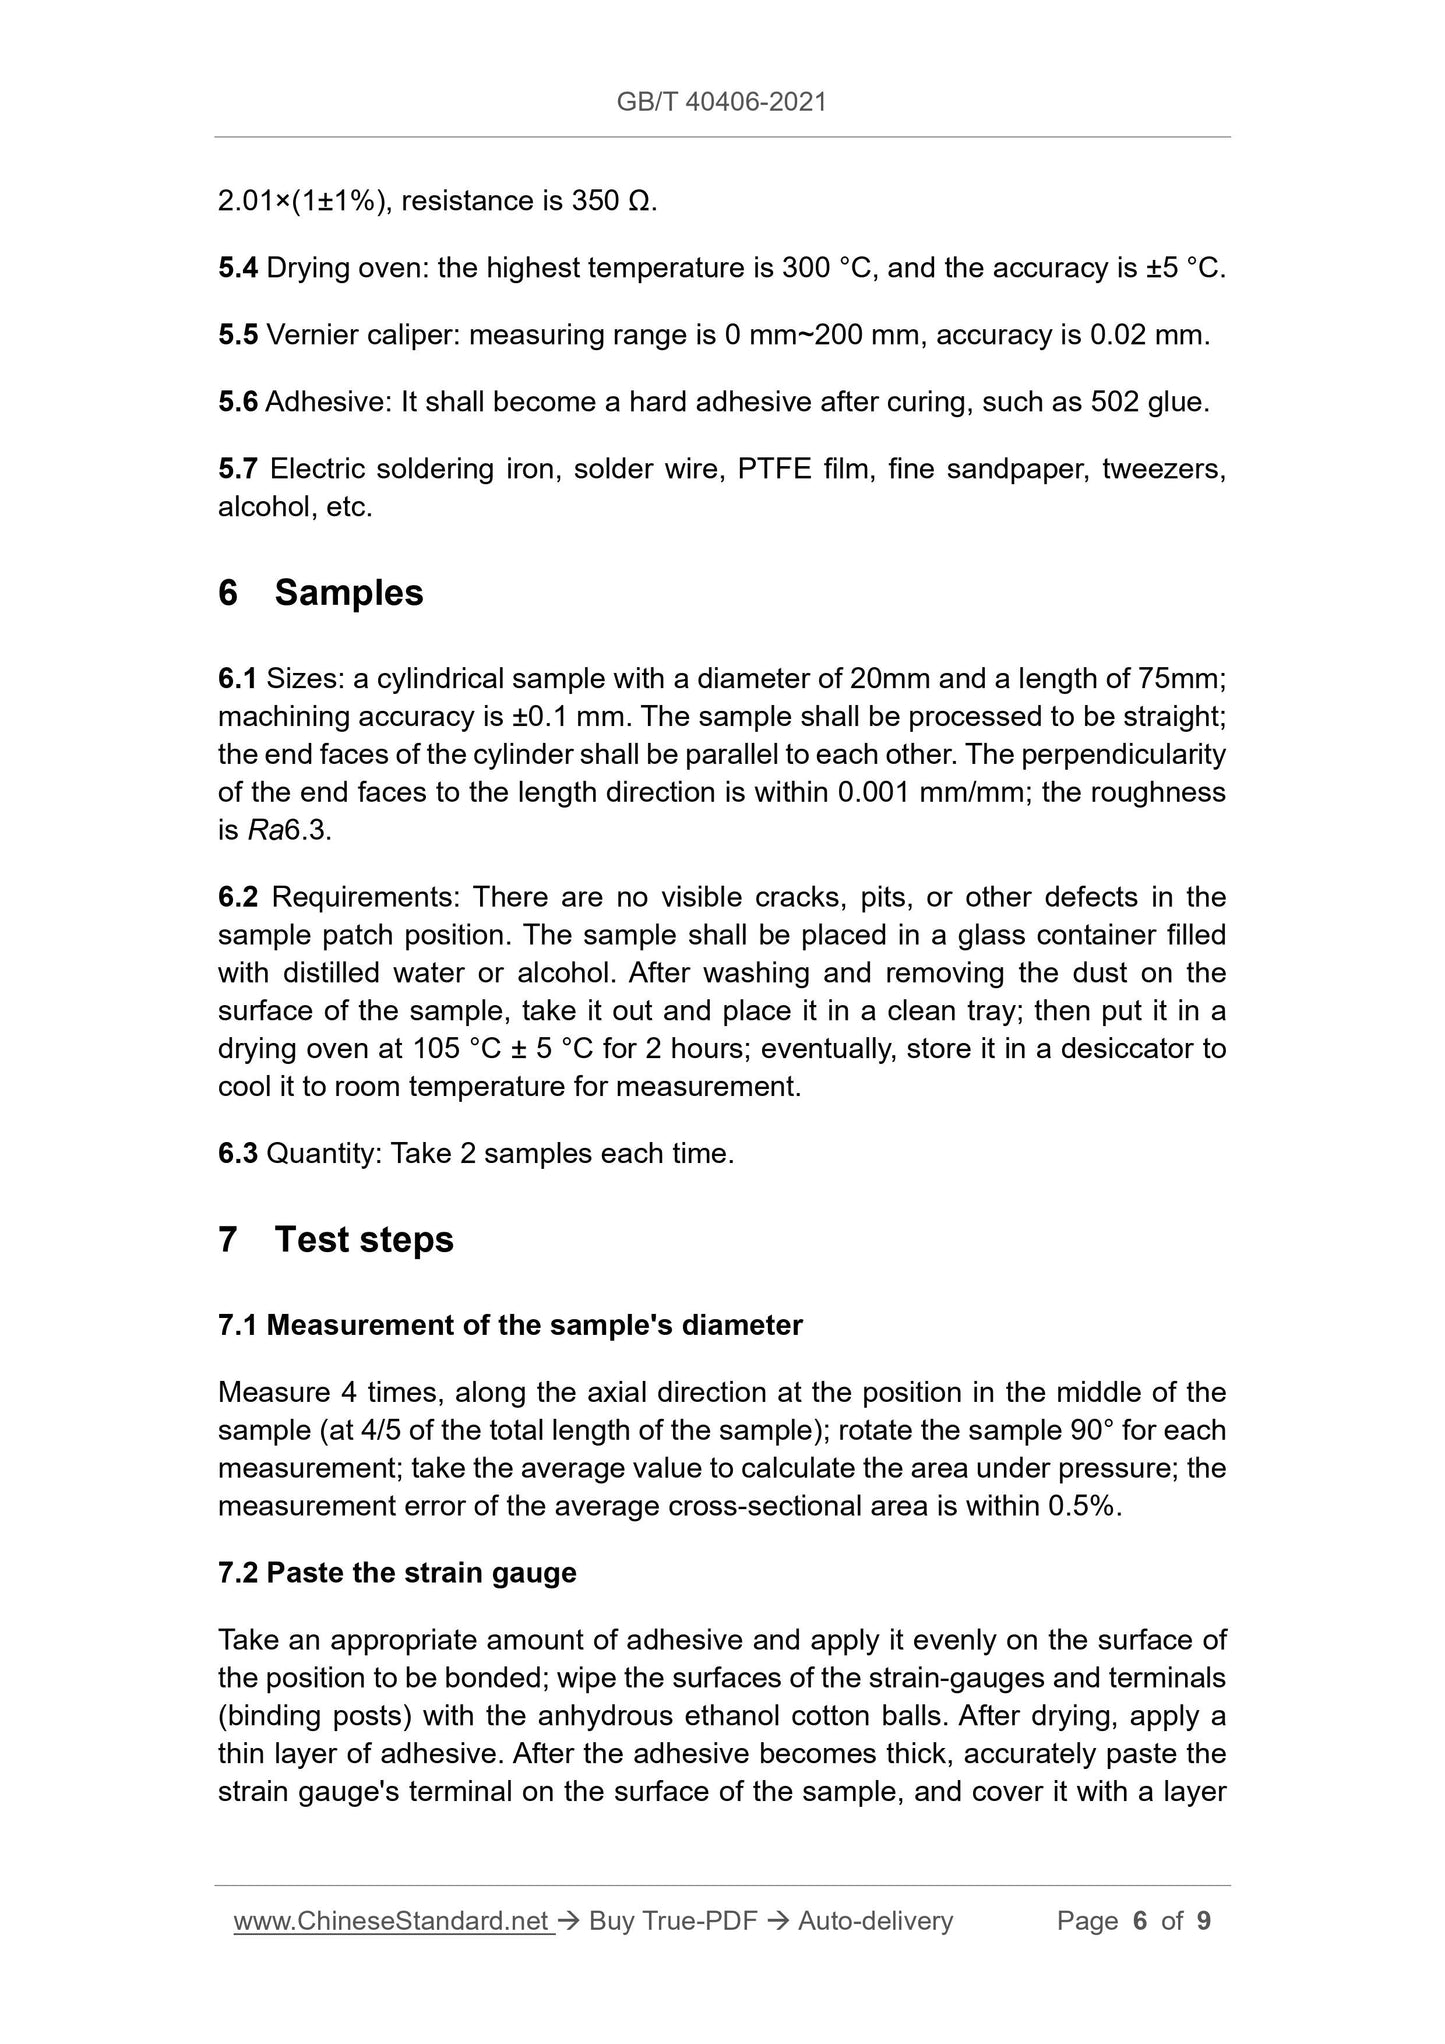
6 Samples
6.1 Sizes: a cylindrical sample with a diameter of 20mm and a length of 75mm;
machining accuracy ±0.1 mm. The sample shall be processed to be straight;
the end faces of the cylinder shall be parallel to each other. The perpendicularity
of the end faces to the length direction is within 0.001 mm/mm; the roughness
is Ra6.3.
6.2 Requirements: There are no visible cracks, pits, or other defects in the
sample patch position. The sample shall be placed in a glass container filled
with distilled water or alcohol. After washing and removing the dust on the
surface of the sample, take it out and place it in a clean tray; then put it in a
drying oven at 105 °C ± 5 °C for 2 hours; eventually, store it in a desiccator
to cool it to room temperature for measurement.
6.3 Quantity: Take 2 samples each time.
7 Test steps
7.1 Measurement of the sample's diameter
Measure 4 times along the axial direction at the position in the middle of the
sample (at 4/5 of the total length of the sample); rotate the sample 90° for each
measurement; take the average value to calculate the area under pressure; the
measurement error of the average cross-sectional area is within 0.5%.
7.2 Paste the strain gauge
Take an appropriate amount of adhesive and apply it evenly on the surface of
the position to be bonded; wipe the surfaces of the strain-gauges and terminals
(binding posts) with the anhydrous ethanol cotton balls. After drying, apply a
thin layer of adhesive. After the adhesive becomes thick, accurately paste the
strain gauge's terminal on the surface of the sample, and cover it with a layer
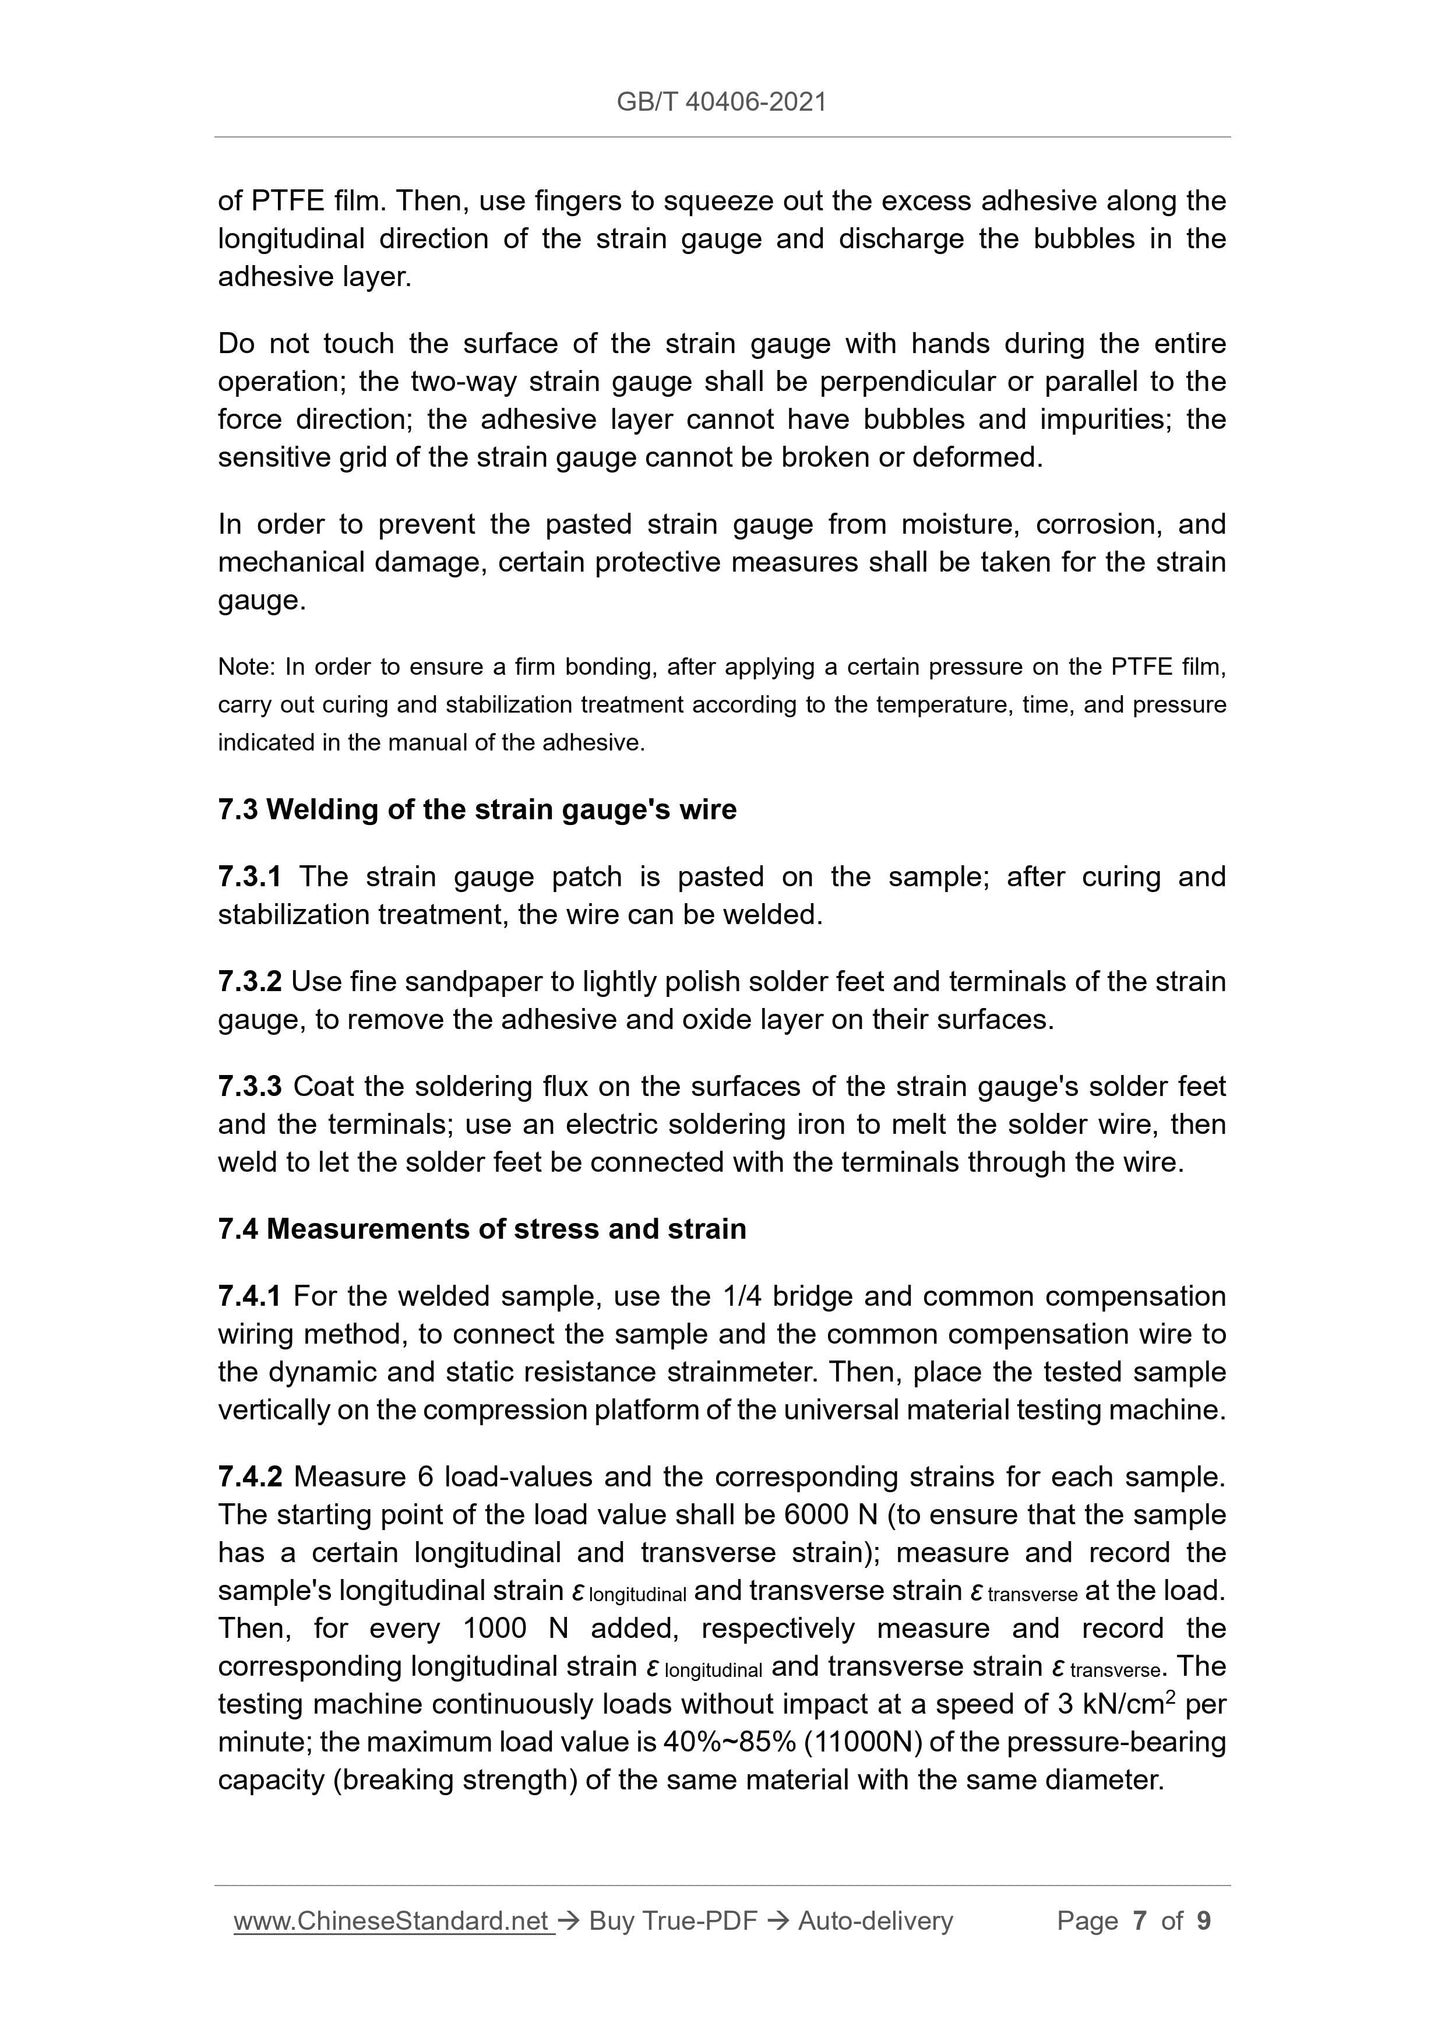
of PTFE film. Then, use your fingers to squeeze out the excess adhesive along
the longitudinal direction of the strain gauge and discharge the bubbles in the
adhesive layer.
Do not touch the surface of the strain gauge with your hands during the entire
operation; the two-way strain gauge shall be perpendicular or parallel to the
force direction; the adhesive layer cannot have bubbles and impurities; the
sensitive grid of the strain gauge cannot be broken or deformed.
In order to prevent the pasted strain gauge from moisture, corrosion, and
mechanical damage, certain protective measures shall be taken for the strain
gauge.
Note: In order to ensure a firm bonding, after applying a certain pressure on the PTFE film,
carry out curing and stabilization treatment according to the temperature, time, and pressure
indicated in the manual of the adhesive.
7.3 Welding of the strain gauge's wire
7.3.1 The strain gauge patch is pasted on the sample, after curing and
stabilization treatment, the wire can be welded.
7.3.2 Use fine sandpaper to lightly polish solder feet and terminals of the strain
gauge, to remove the adhesive and oxide layer on their surfaces.
7.3.3 Coat the soldering flux on the surfaces of the strain gauge's solder feet
and the terminals; use an electric soldering iron to melt the solder wire, then
weld to let the solder feet be connected with the terminals through the wire.
7.4 Measurements of stress and strain
7.4.1 For the welded sample, use the 1/4 bridge and common compensation
wiring method, to connect the sample and the common compensation wire to
the dynamic and static resistance strainmeter. Then, place the tested sample
vertically on the compression platform of the universal material testing machine.
7.4.2 Measure 6 load values and the corresponding strains for each sample.
The starting point of the load value shall be 6000 N (to ensure that the sample
has a certain longitudinal and transverse strain); measure and record the
sample's longitudinal strain ε longitudinal and transverse strain ε transverse at the load.
Then, for every 1000 N added, respectively measure and record the
corresponding longitudinal strain ε longitudinal and transverse strain ε transverse. The
testing machine continuously loads without impact at a speed of 3 kN/cm2 per
minute; the maximum load value is 40%~85% (11000N) of the pressure-bearing
capacity (breaking strength) of the same material with the same diameter.
Share
