1
/
of
6
PayPal, credit cards. Download editable-PDF & invoice in 1 second!
GB/T 42359-2023 English PDF (GBT42359-2023)
GB/T 42359-2023 English PDF (GBT42359-2023)
Regular price
$230.00 USD
Regular price
Sale price
$230.00 USD
Unit price
/
per
Shipping calculated at checkout.
Couldn't load pickup availability
Delivery: 3 seconds. Download true-PDF + Invoice.
Get QUOTATION in 1-minute: Click GB/T 42359-2023
Historical versions: GB/T 42359-2023
Preview True-PDF (Reload/Scroll if blank)
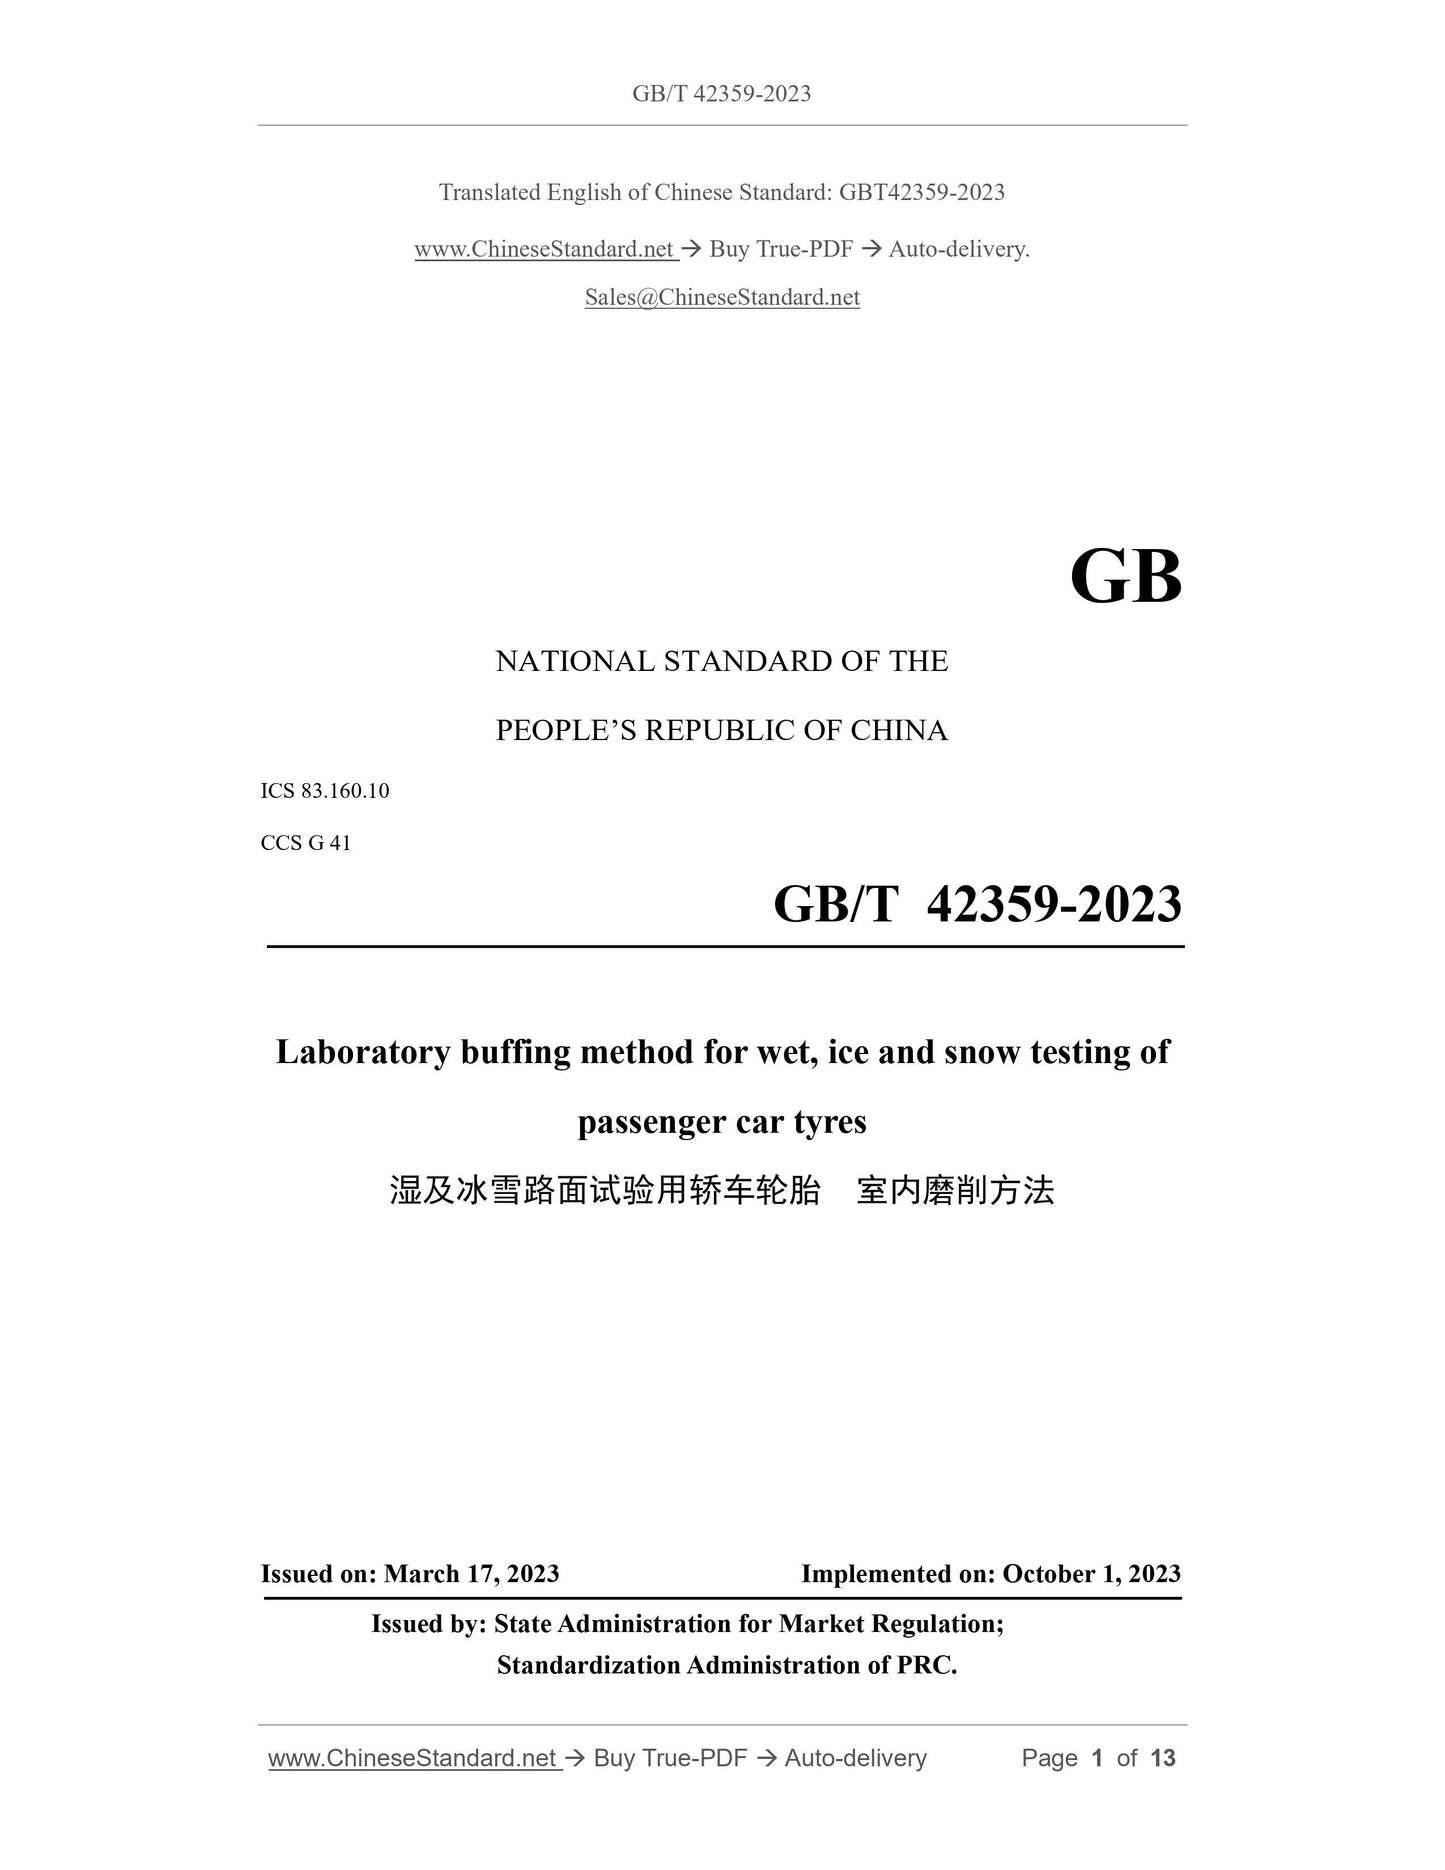
GB/T 42359-2023: Laboratory buffing method for wet, ice and snow testing of passenger car tyres
GB/T 42359-2023
GB
NATIONAL STANDARD OF THE
PEOPLE’S REPUBLIC OF CHINA
ICS 83.160.10
CCS G 41
Laboratory buffing method for wet, ice and snow testing of
passenger car tyres
ISSUED ON: MARCH 17, 2023
IMPLEMENTED ON: OCTOBER 1, 2023
Issued by: State Administration for Market Regulation;
Standardization Administration of PRC.
Table of Contents
Foreword ... 3
1 Scope ... 4
2 Normative references ... 4
3 Terms and definitions ... 4
4 Equipment and instruments ... 5
5 Preparation before grinding ... 6
6 Grinding conditions ... 8
7 Grinding procedures ... 8
8 Judgment rules of grinding inspection ... 9
9 Tyre grinding test report ... 11
Appendix A (Informative) Pattern depth gauge ... 12
Laboratory buffing method for wet, ice and snow testing of
passenger car tyres
1 Scope
This document describes the laboratory buffing method for passenger car tyres used for
relative grip performance testing on wet, ice and snow roads, including test equipment
and instruments, preparations before grinding, grinding conditions, grinding procedures,
judgment rules of grinding inspection, and grinding test report.
This document applies to the laboratory buffing of new passenger car pneumatic tyres
for testing.
2 Normative references
The following documents contain the provisions which, through normative reference in
this document, constitute the essential provisions of this document. For the dated
referenced documents, only the versions with the indicated dates are applicable to this
document; for the undated referenced documents, only the latest version (including all
the amendments) is applicable to this document.
GB/T 2978 Size designation, dimensions, inflation pressure and load capacity for
passenger car tyres
GB/T 3487 Rims for passenger car
GB/T 6326 Tyre terms and definitions
GB/T 8170 Rules of rounding off for numerical values and expression and judgment
of limiting values
3 Terms and definitions
The terms and definitions defined in GB/T 6326 and the followings apply to this
document.
3.1 groove depth
The vertical distance from the lowest point of the groove bottom to the tangent of the
tread.
3.2 target groove depth
The groove depth that is expected to be formed after a tyre is ground.
3.3 groove depth after buffing
The groove depth that is actually formed after a tyre is ground.
4 Equipment and instruments
4.1 Tyre grinding equipment
Tyre grinding equipment shall include:
a) A spindle device, which is used to install tyres;
b) A driving device, which is used to drive tyres to rotate;
c) An inflation and pressure regulating device, which is used to quickly inflate
and deflate tyres and control the stability of the air pressure when the tyres are
running;
d) A grinding device, which is used to grind tyres.
4.2 Inflation pressure gauge or air pressure sensor
A hand-held inflation pressure gauge or an air pressure sensor installed on the special
grinding equipment for tyres, and the accuracy shall be ±5 kPa.
4.3 Rim
4.3.1 The width of the rim shall comply with the measuring rim width stipulated in
GB/T 2978 or related industry technical documents.
NOTE: The relevant industry technical documents are only applicable to the specifications of passenger
car tyres that are not within the scope of GB/T 2978.
4.3.2 The specified diameter and the inner contour of the rim shall comply with the
provisions of GB/T 3487. In order to facilitate loading and unloading and to ensure that
the bead of the tyre is in place correctly, other requirements for the rim are as follows:
a) The fillet radius of the bead seat of the rim is less than 2.5 mm;
b) The rim flange height is not less than 9.6 mm, but not higher than the flange
height of the measuring rim;
c) The bead seat of the tyre may not have peaks.
4.3.3 The difference between the diameters of the two bead seats of the rim shall be less
than 0.1 mm.
4.3.4 When the rim is installed on the equipment, the maximum radial circle runout
tolerance (the bead seat part) and the maximum transverse circle runout tolerance (the
inner surface of the rim) at the bead seat of the rim shall be less than 0.25 mm.
4.3.5 The rim shall be rigid enough to ensure that the deflection in any direction of the
bead seat shall be less than 0.13 mm when running under the working air pressure
(inflation pressure during tyre size measurement and grinding).
4.4 Pattern depth measuring instrument
The measurement accuracy of the pattern depth measuring instrument shall be ±0.02
mm. It is advisable to use a pattern depth gauge, see Appendix A.
4.5 Surface roughness measuring instrument
The accuracy of the surface roughness measuring instrument shall be ±0.05 μm.
5 Preparation before grinding
5.1 The tyre shall be parked for at least 24 hours after vulcanization.
5.2 The tyre shall be parked at an operating ambient temperature of 5 °C~40 °C for at
least 3 hours before grinding.
5.3 The tyre shall be installed on the rim specified in 4.3. Lubricant can be used when
installing the tyre.
5.4 Inflate the tyre with the working air pressure; for snow and ice tyres, the working
air pressure shall be 240 kPa±5 kPa, and for other tyres, it shall be 220 kPa±5 kPa;
observe whether the tyre and rim slip through trial grinding.
5.5 Mark the groove depth measuring points on the tyre. The mark shall be at a position
where the groove is obvious and easy to measure, and try to avoid the position that
affects the measurement of the groove depth (such as the position of the tread wear
indicator). The measuring point position shall be marked according to the following
requirements.
a) Tyre circumferential markings. The tyre circumferential marks are distributed
at 5 points at approximately equal intervals, as shown in Figure 1.
b) Tyre transverse markings. For tyres with significant longitudinal groove
patterns, mark n+4 marking points in the transverse direction of the tyre (n is
the number of longitudinal grooves). Among them, there is one mark point in
in 5.5 one by one, and record the groove depth.
6 Grinding conditions
6.1 The working environment temperature for tyre grinding shall be 5 °C~40 °C.
6.2 During the grinding process, it shall be ensured that the tyre always maintains the
working air pressure specified in 5.4.
6.3 During the grinding process, the surface temperature of the tyre (including the
temperature in the groove) shall be monitored, and the tyre surface temperature should
not exceed 110 °C during grinding.
7 Grinding procedures
7.1 The preparation and inspection shall be carried out according to the regulations in
Chapter 5 and Chapter 6.
7.2 During the grinding process, the groove depth of each marking point shall be
measured. When measuring, the surface of the tyre in and around the marking point
groove shall be cleaned to remove the adhered rubber powder and reduce the
measurement error.
7.3 Adjust the grinding device so that the groove depth of each marked point reaches
the target groove depth specified in Table 1, and on both sides, the contour of the tyre
shoulder after grinding shall be a curve that naturally transitions from the outermost
main groove to the shoulder.
7.4 Use the groove depth measuring instrument to measure the marked points one by
one and record the groove depth.
7.5 Use the surface roughness measuring instrument, it shall find the suitable position
NEAR the 3 transverse measuring position...
Share
