1
/
of
7
PayPal, credit cards. Download editable-PDF and invoice in 1 second!
GB/T 42677-2023 English PDF (GB/T42677-2023)
GB/T 42677-2023 English PDF (GB/T42677-2023)
Regular price
$170.00 USD
Regular price
Sale price
$170.00 USD
Unit price
/
per
Shipping calculated at checkout.
Couldn't load pickup availability
Delivery: 3 seconds. Download true-PDF + Invoice.
Get QUOTATION in 1-minute: Click GB/T 42677-2023
Historical versions: GB/T 42677-2023
Preview True-PDF (Reload/Scroll if blank)
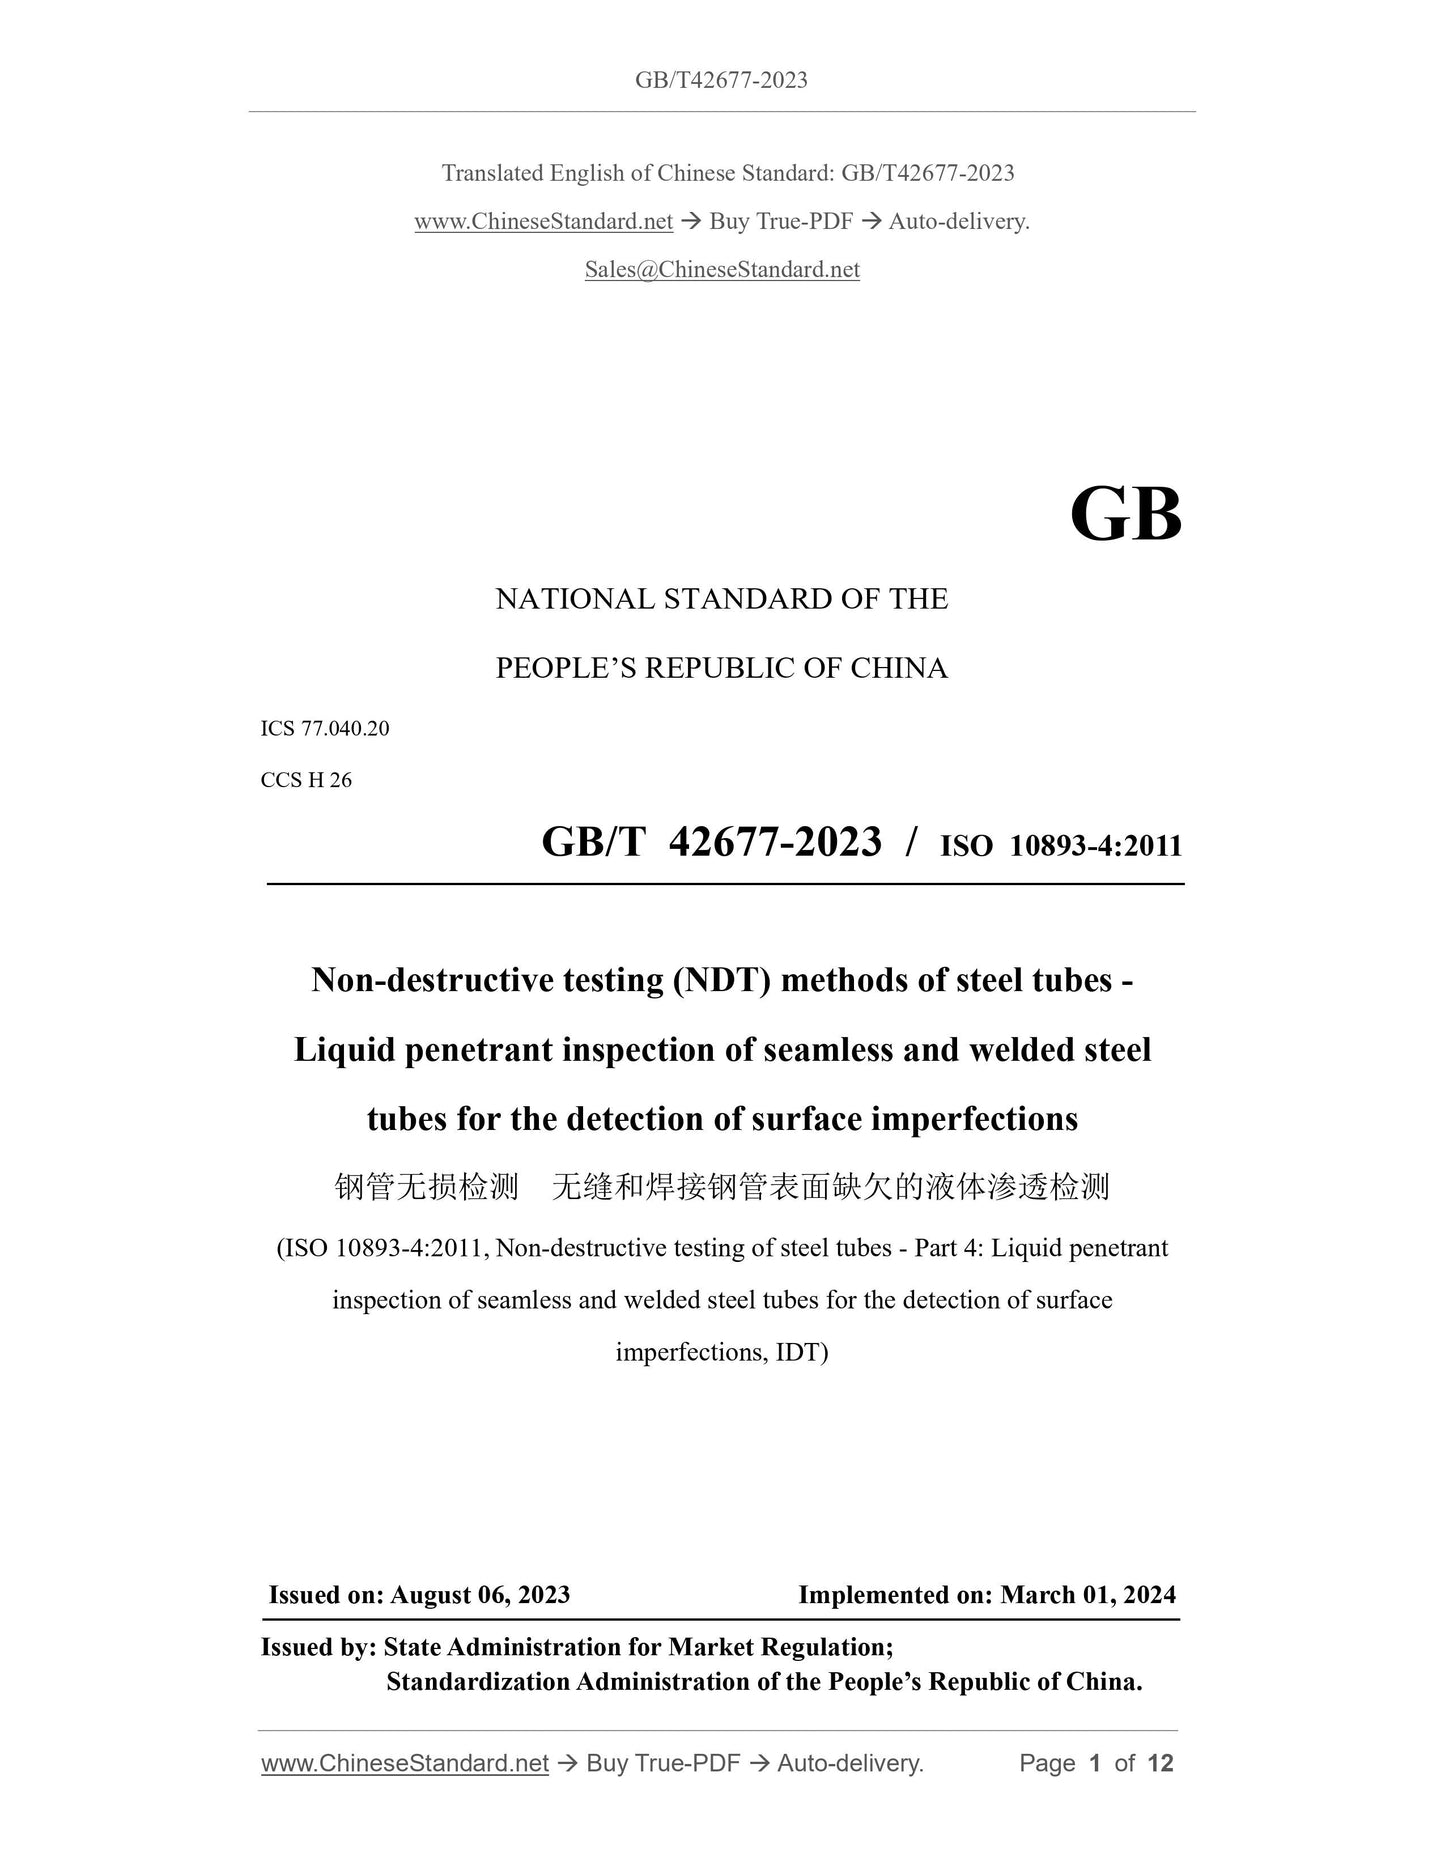
GB/T 42677-2023: Non-destructive testing (NDT) methods of steel tubes - Liquid penetrant inspection of seamless and welded steel tubes for the detection of surface imperfections
GB/T 42677-2023
GB
NATIONAL STANDARD OF THE
PEOPLE’S REPUBLIC OF CHINA
ICS 77.040.20
CCS H 26
GB/T 42677-2023 / ISO 10893-4:2011
Non-destructive testing (NDT) methods of steel tubes -
Liquid penetrant inspection of seamless and welded steel
tubes for the detection of surface imperfections
(ISO 10893-4:2011, Non-destructive testing of steel tubes - Part 4: Liquid penetrant
inspection of seamless and welded steel tubes for the detection of surface
imperfections, IDT)
ISSUED ON: AUGUST 06, 2023
IMPLEMENTED ON: MARCH 01, 2024
Issued by: State Administration for Market Regulation;
Standardization Administration of the People’s Republic of China.
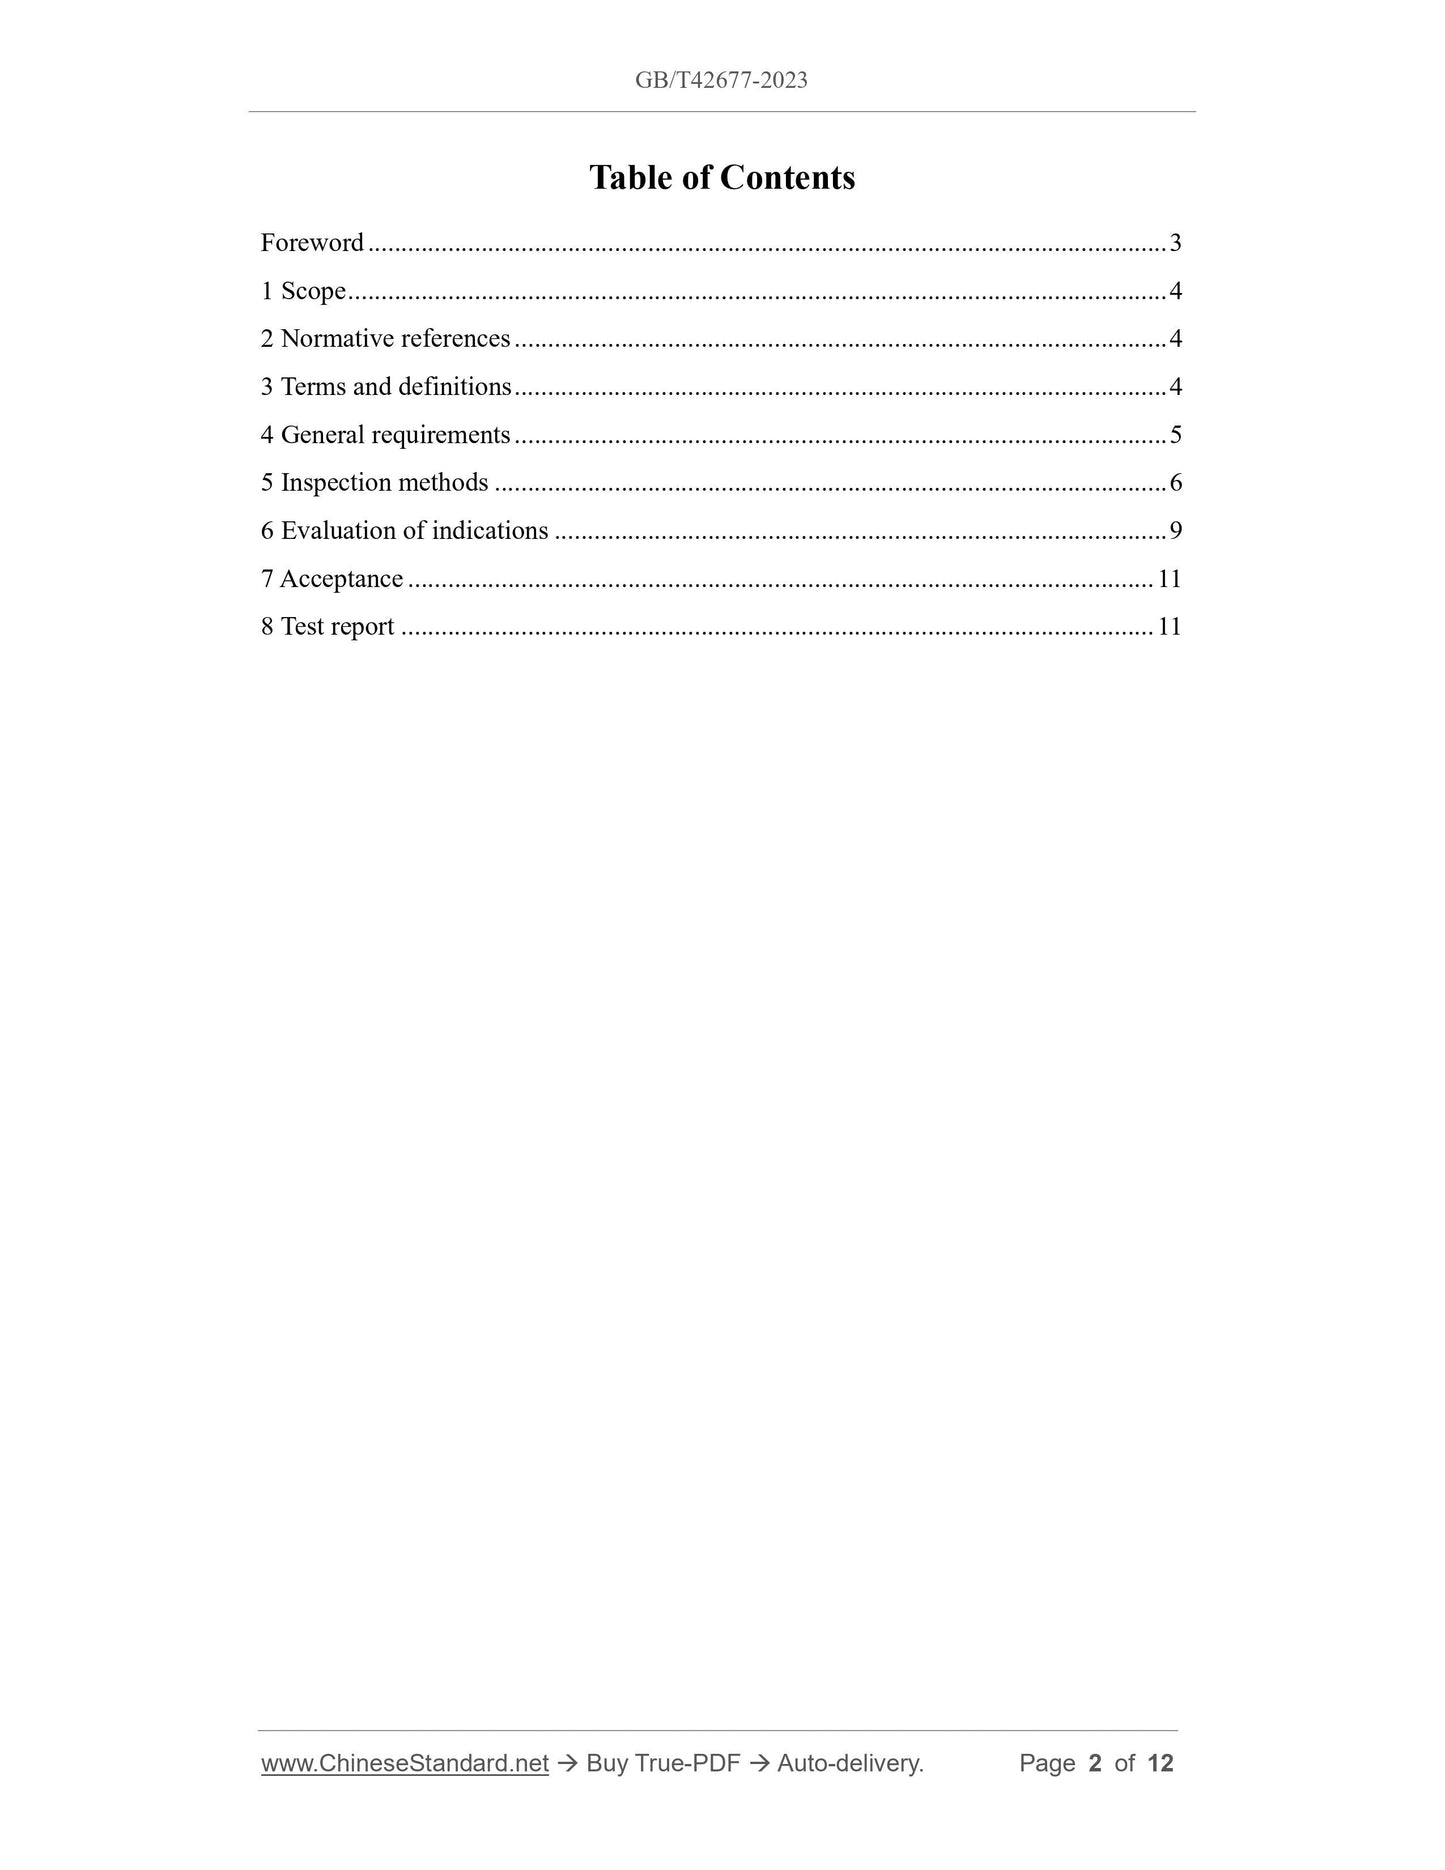
Table of Contents
Foreword ... 3
1 Scope ... 4
2 Normative references ... 4
3 Terms and definitions ... 4
4 General requirements ... 5
5 Inspection methods ... 6
6 Evaluation of indications ... 9
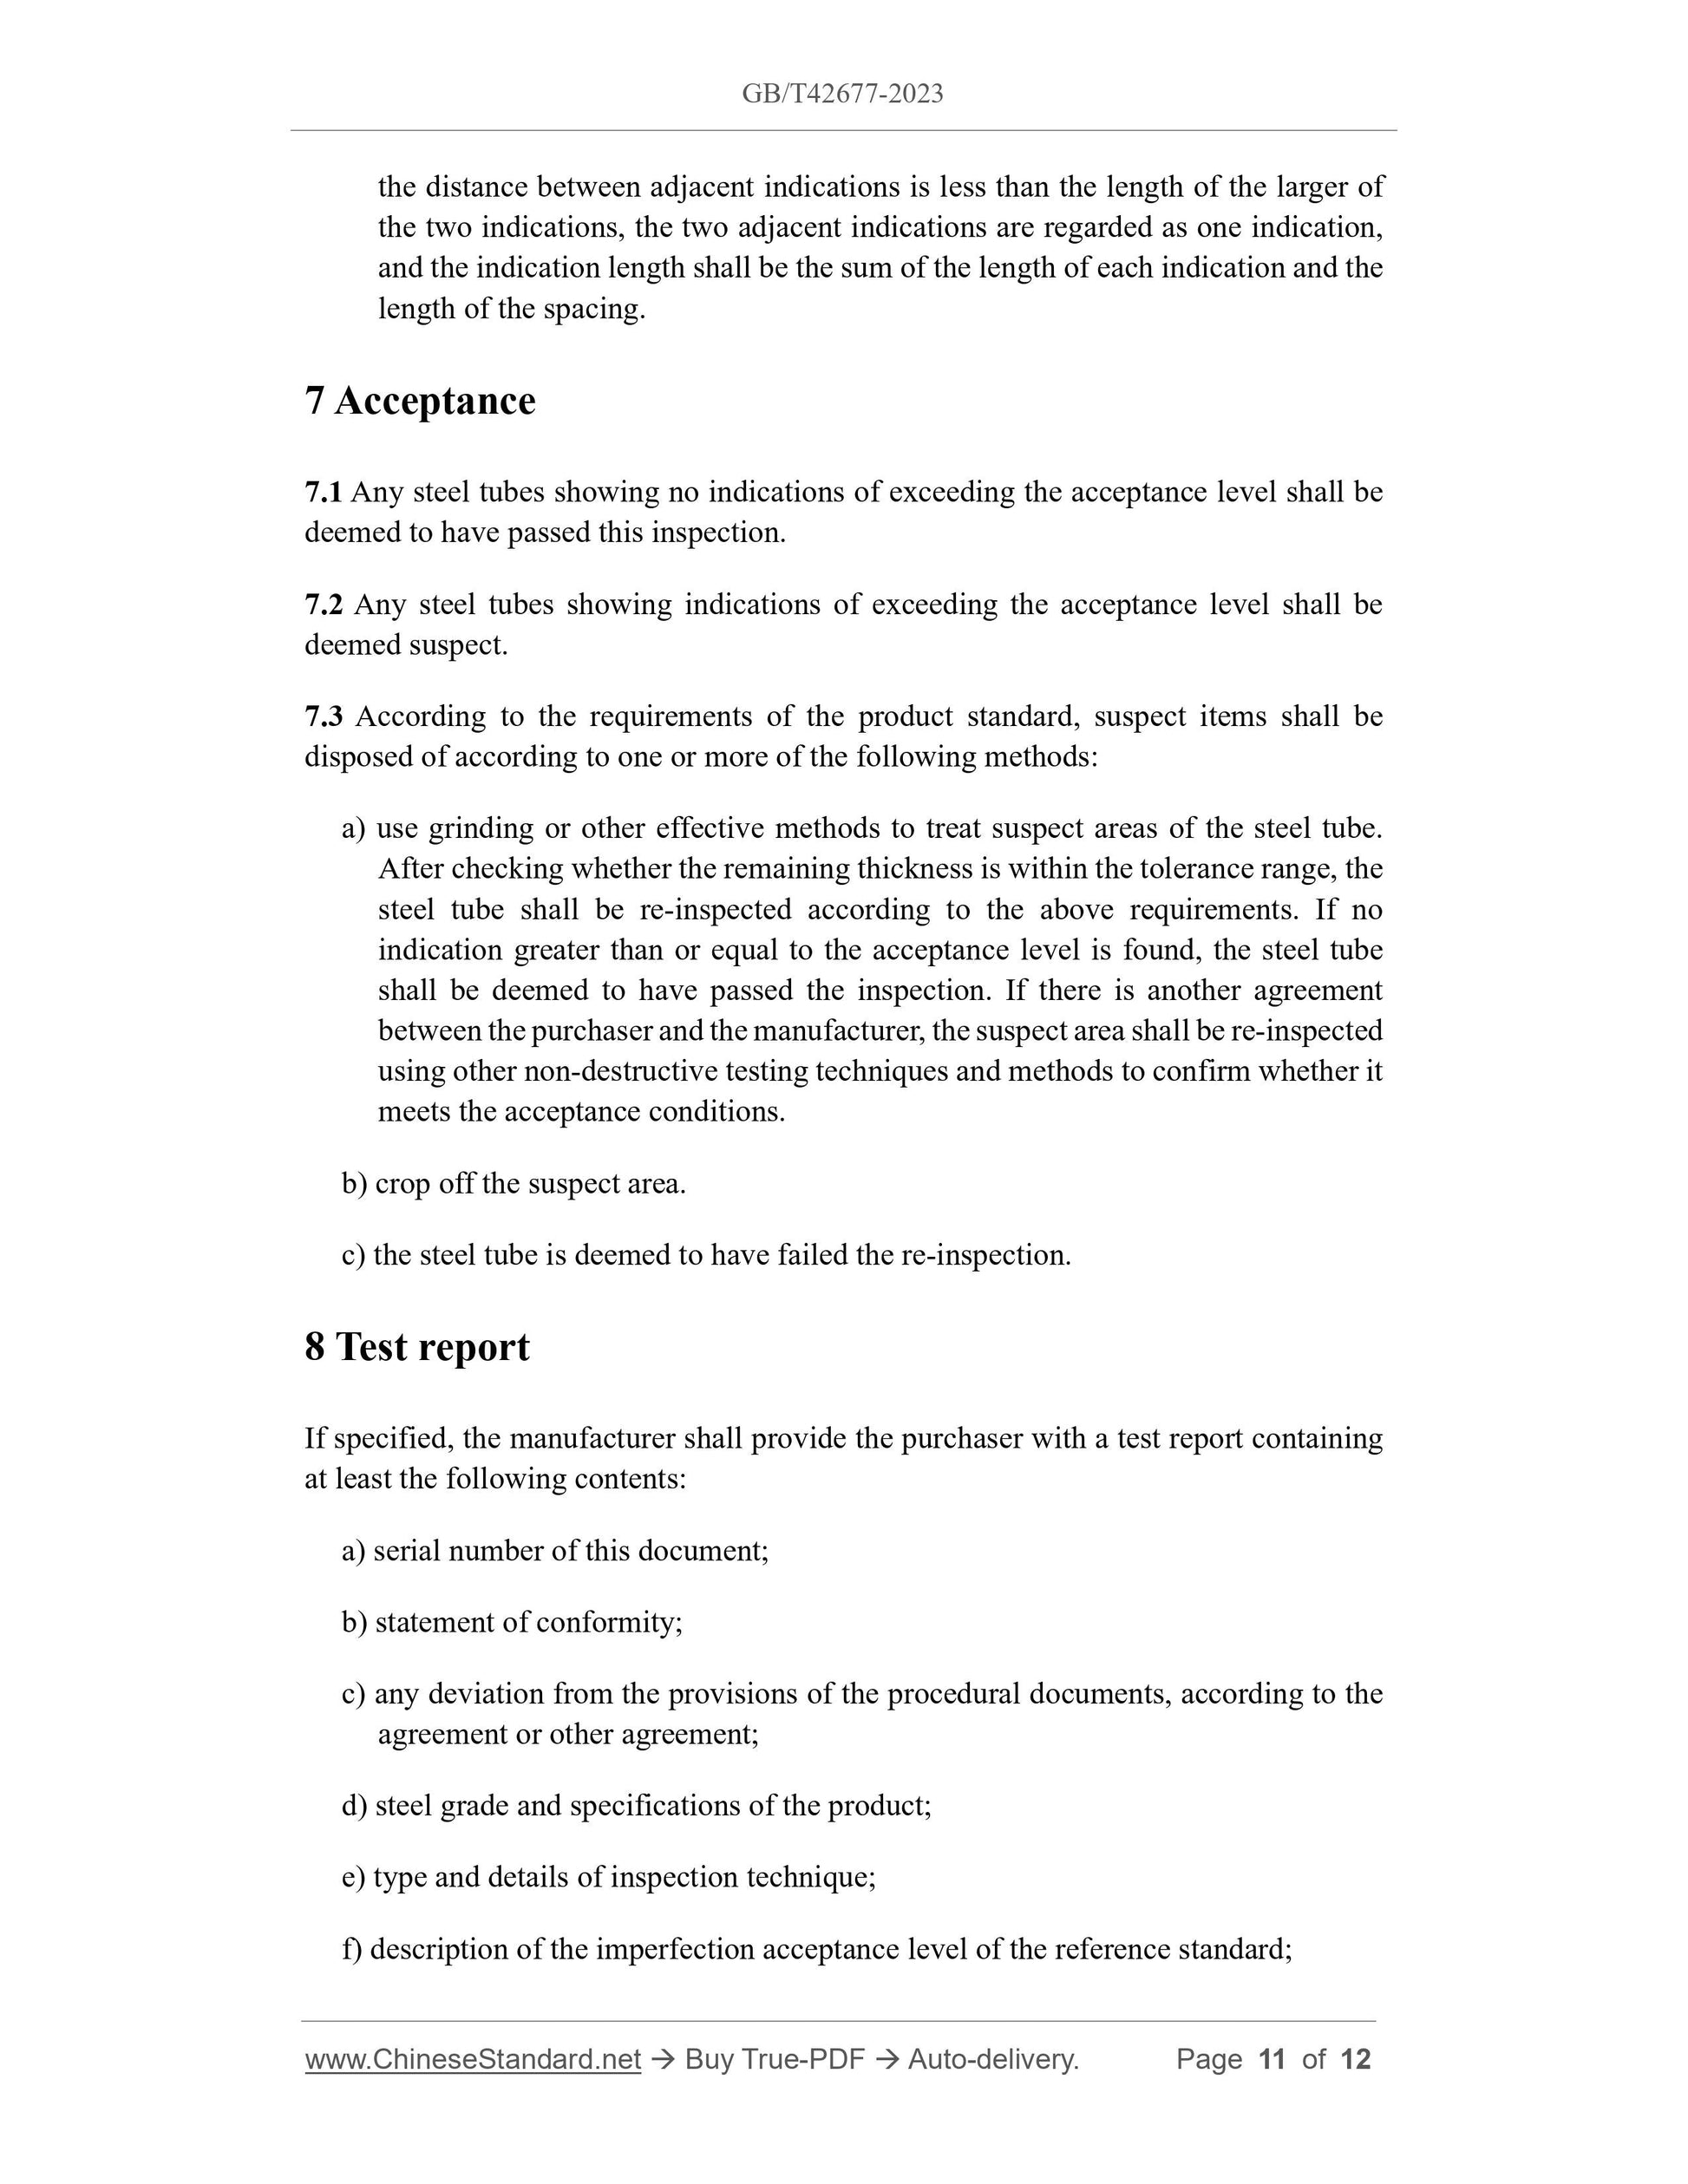
7 Acceptance ... 11
8 Test report ... 11
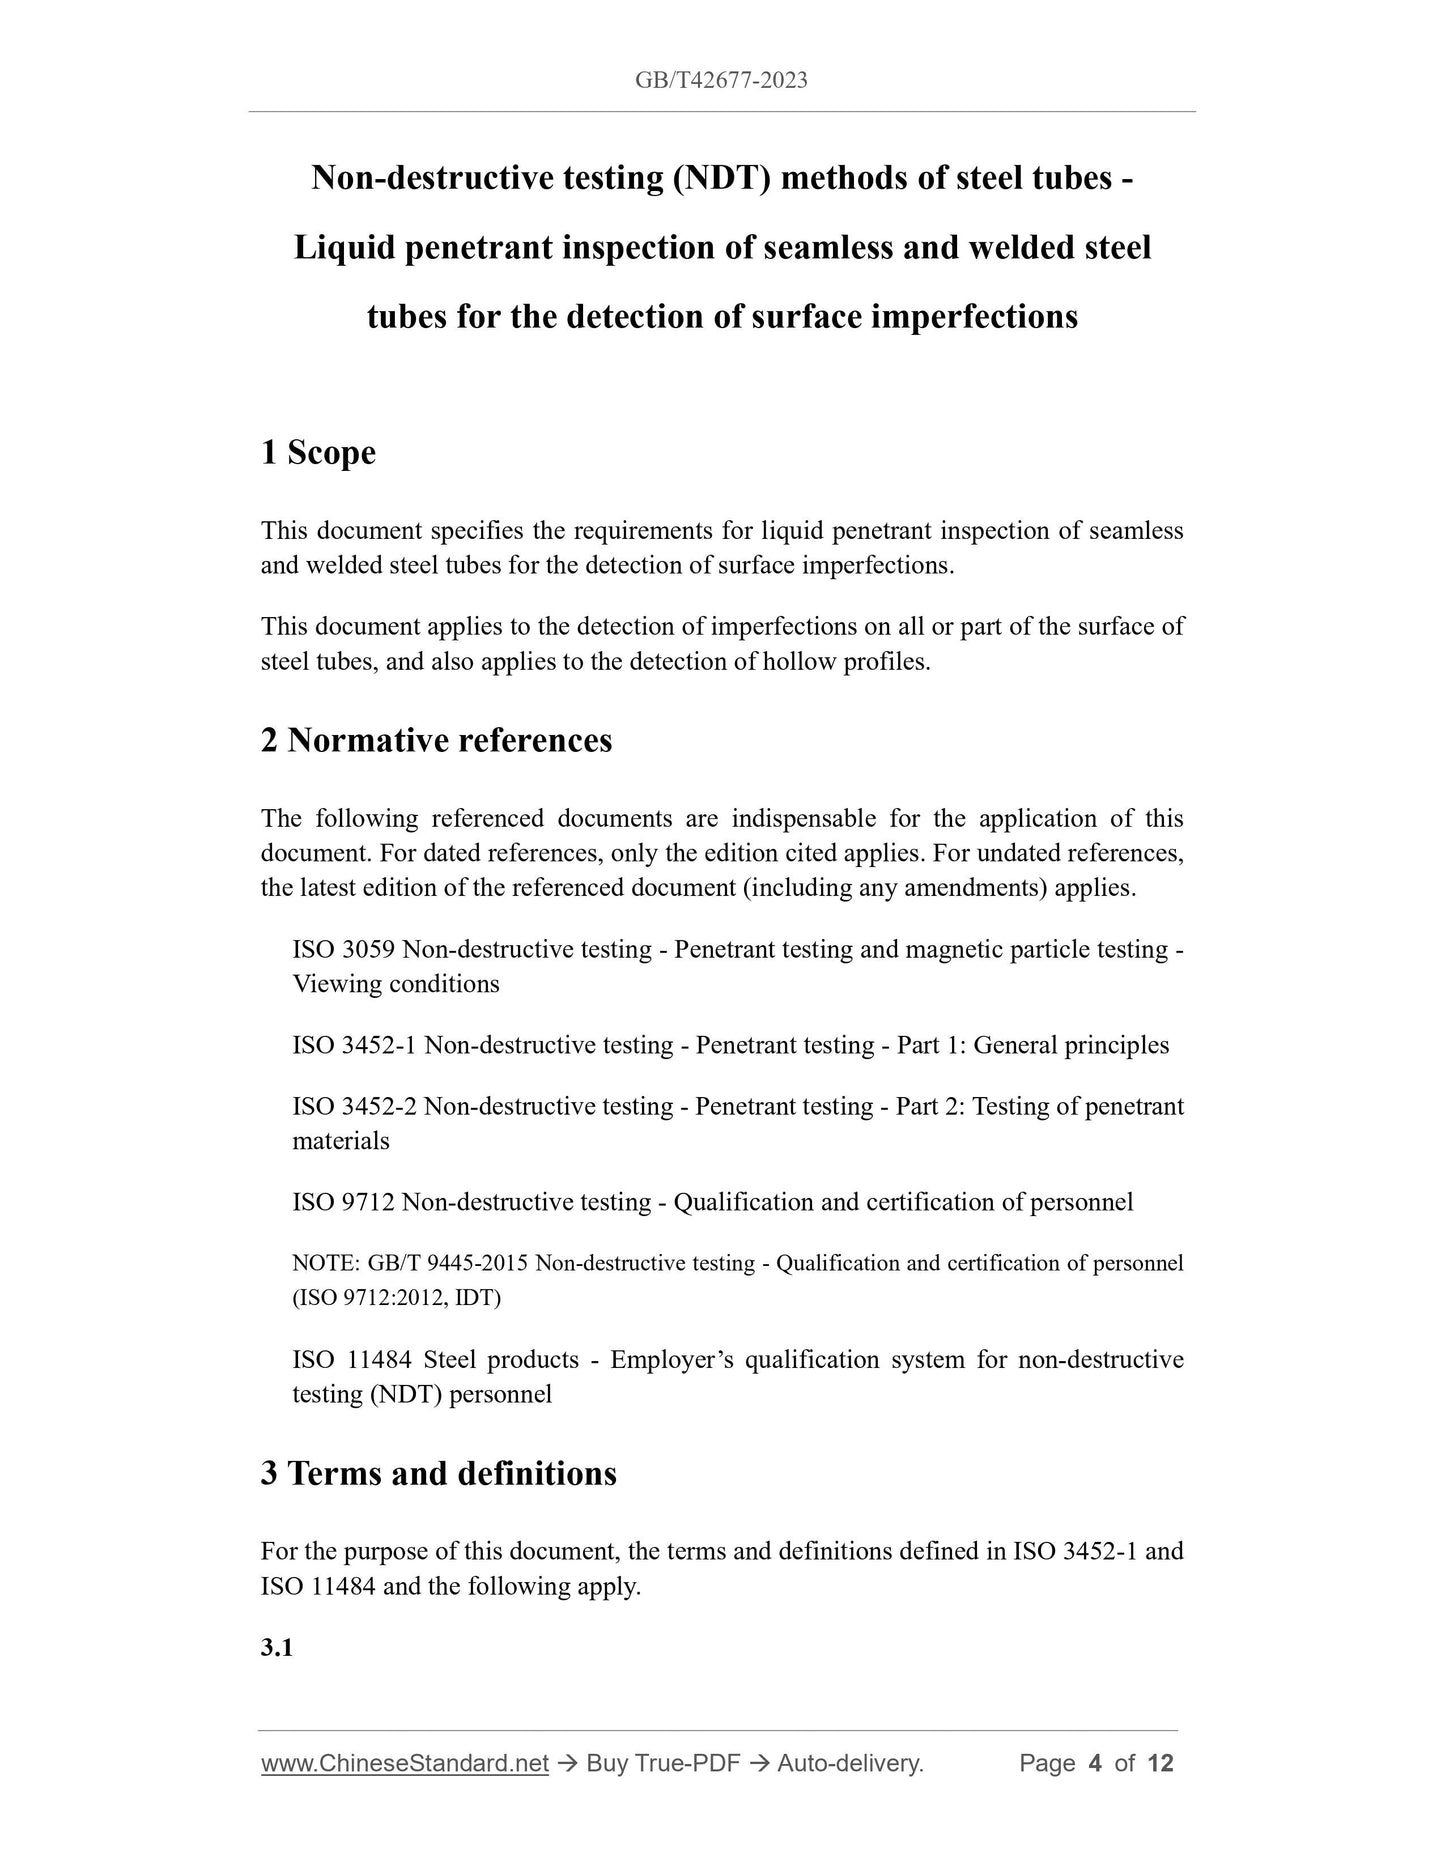
Non-destructive testing (NDT) methods of steel tubes -
Liquid penetrant inspection of seamless and welded steel
tubes for the detection of surface imperfections
1 Scope
This document specifies the requirements for liquid penetrant inspection of seamless
and welded steel tubes for the detection of surface imperfections.
This document applies to the detection of imperfections on all or part of the surface of
steel tubes, and also applies to the detection of hollow profiles.
2 Normative references
The following referenced documents are indispensable for the application of this
document. For dated references, only the edition cited applies. For undated references,
the latest edition of the referenced document (including any amendments) applies.
ISO 3059 Non-destructive testing - Penetrant testing and magnetic particle testing -
Viewing conditions
ISO 3452-1 Non-destructive testing - Penetrant testing - Part 1: General principles
ISO 3452-2 Non-destructive testing - Penetrant testing - Part 2: Testing of penetrant
materials
ISO 9712 Non-destructive testing - Qualification and certification of personnel
NOTE: GB/T 9445-2015 Non-destructive testing - Qualification and certification of personnel
(ISO 9712:2012, IDT)
ISO 11484 Steel products - Employer’s qualification system for non-destructive
testing (NDT) personnel
3 Terms and definitions
For the purpose of this document, the terms and definitions defined in ISO 3452-1 and
ISO 11484 and the following apply.
3.1
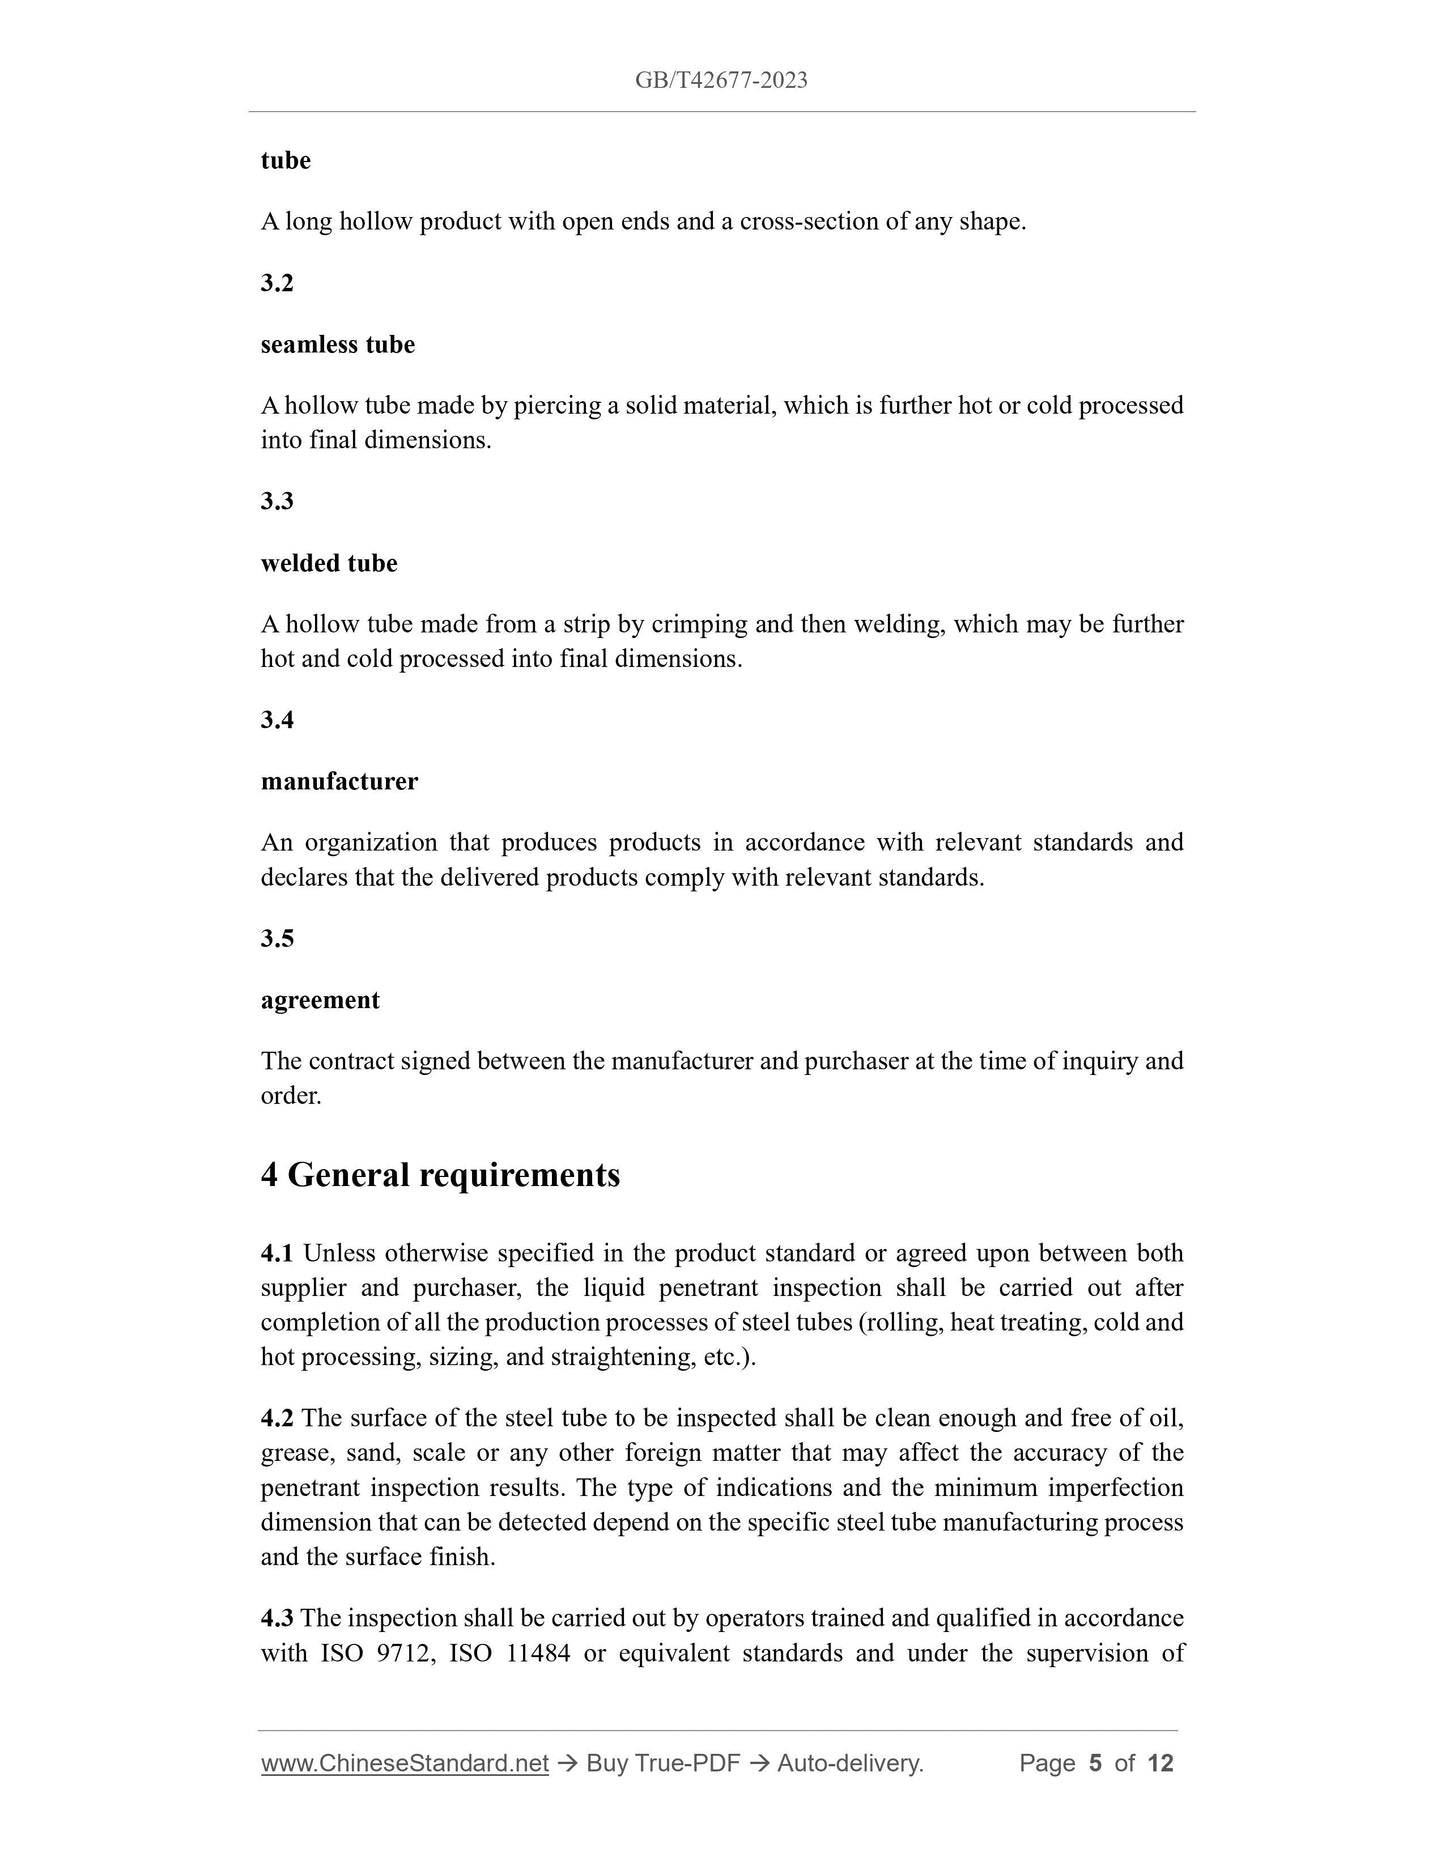
tube
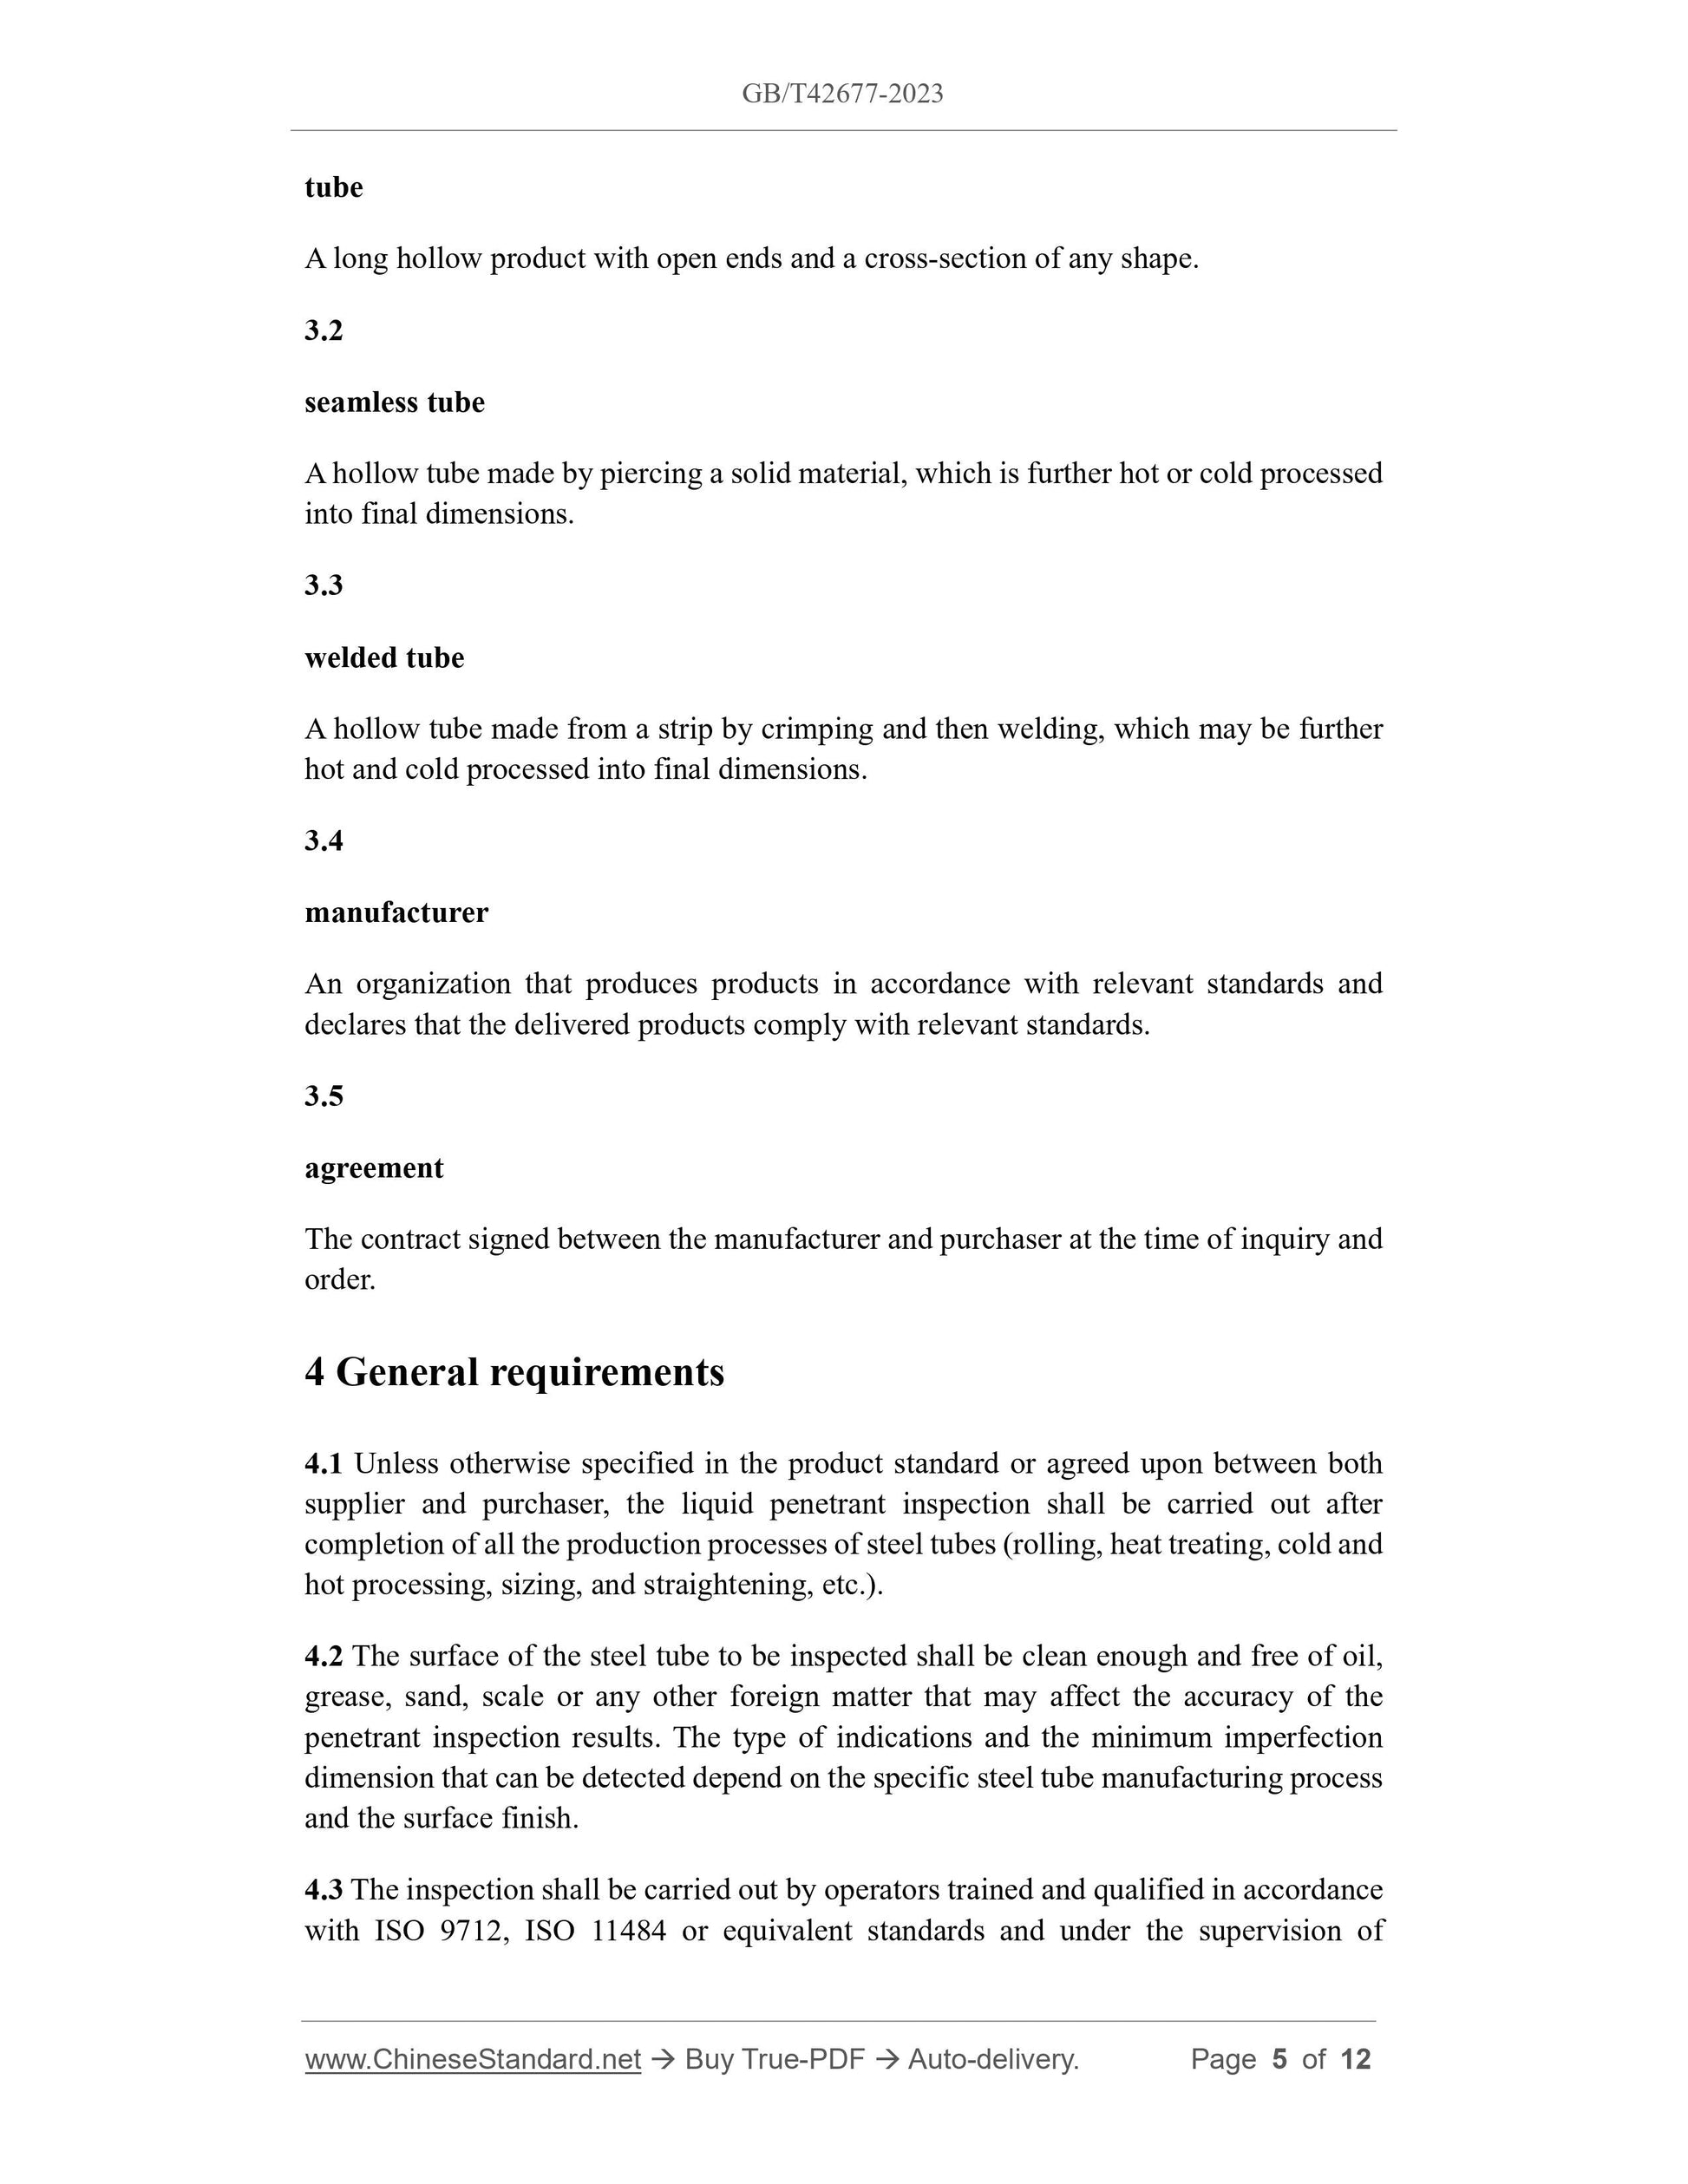
A long hollow product with open ends and a cross-section of any shape.
3.2
seamless tube
A hollow tube made by piercing a solid material, which is further hot or cold processed
into final dimensions.
3.3
welded tube
A hollow tube made from a strip by crimping and then welding, which may be further
hot and cold processed into final dimensions.
3.4
manufacturer
An organization that produces products in accordance with relevant standards and
declares that the delivered products comply with relevant standards.
3.5
agreement
The contract signed between the manufacturer and purchaser at the time of inquiry and
order.
4 General requirements
4.1 Unless otherwise specified in the product standard or agreed upon between both
supplier and purchaser, the liquid penetrant inspection shall be carried out after
completion of all the production processes of steel tubes (rolling, heat treating, cold and
hot processing, sizing, and straightening, etc.).
4.2 The surface of the steel tube to be inspected shall be clean enough and free of oil,
grease, sand, scale or any other foreign matter that may affect the accuracy of the
penetrant inspection results. The type of indications and the minimum imperfection
dimension that can be detected depend on the specific steel tube manufacturing process
and the surface finish.
4.3 The inspection shall be carried out by operators trained and qualified in accordance
with ISO 9712, ISO 11484 or equivalent standards and under the supervision of
competent personnel authorized by the manufacturer. In the case of third-party
inspection, this item shall be agreed upon between the supplier and purchaser.
The employer shall issue operating authorization certificates in accordance with
procedural documents. NDT operations shall be authorized by a level 3 NDT personnel
approved by the employer.
NOTE: The definitions of level 1, level 2, and level 3 can be found in the corresponding standards,
such as ISO 9712 and ISO 11484.
5 Inspection methods
5.1 General
5.1.1 A liquid penetrant is applied to the surface of the workpiece being inspected and
penetrates into the opening imperfections, and excess penetrant is removed; the surface
being inspected is dried and a developer is applied. The developer is used to adsorb the
penetrant penetrates into the imperfections and provide a high-contrast background for
indications. The indication of the penetrant can be a colored indication (visible under
white light) or a fluorescent indication (visible under ultraviolet light). For these two
penetrant inspection techniques, the following three penetrants can be used:
a) water washable type;
b) post-emulsifying type;
c) solvent removable type.
NOTE: The term “penetrant material” used in this document includes all penetrants, solvents,
cleaning agents, developers, etc. used in the inspection process.
5.1.2 For each steel tube to be inspected or each inspection position, it shall select one
of three types of penetrating materials for the inspection using colored penetrant
technique or fluorescent penetrant technique.
The general principles and verification methods for liquid penetrant inspection as
described in ISO 3059, ISO 3452-1, ISO 3452-2 shall be used.
5.2 Detection of imperfections and their classification
The liquid penetrant inspection is an effective means of detecting surface opening
imperfections (referred to as “surface imperfections” in this document). Typical surface
imperfections that can be detected by this method are cracks, seams, laps, cold shuts,
laminations, and porosity.
The liquid penetrant inspection cannot determine the nature, shape, and dimensions of
imperfections. The dimensions of the penetrant indication do not directly represent the
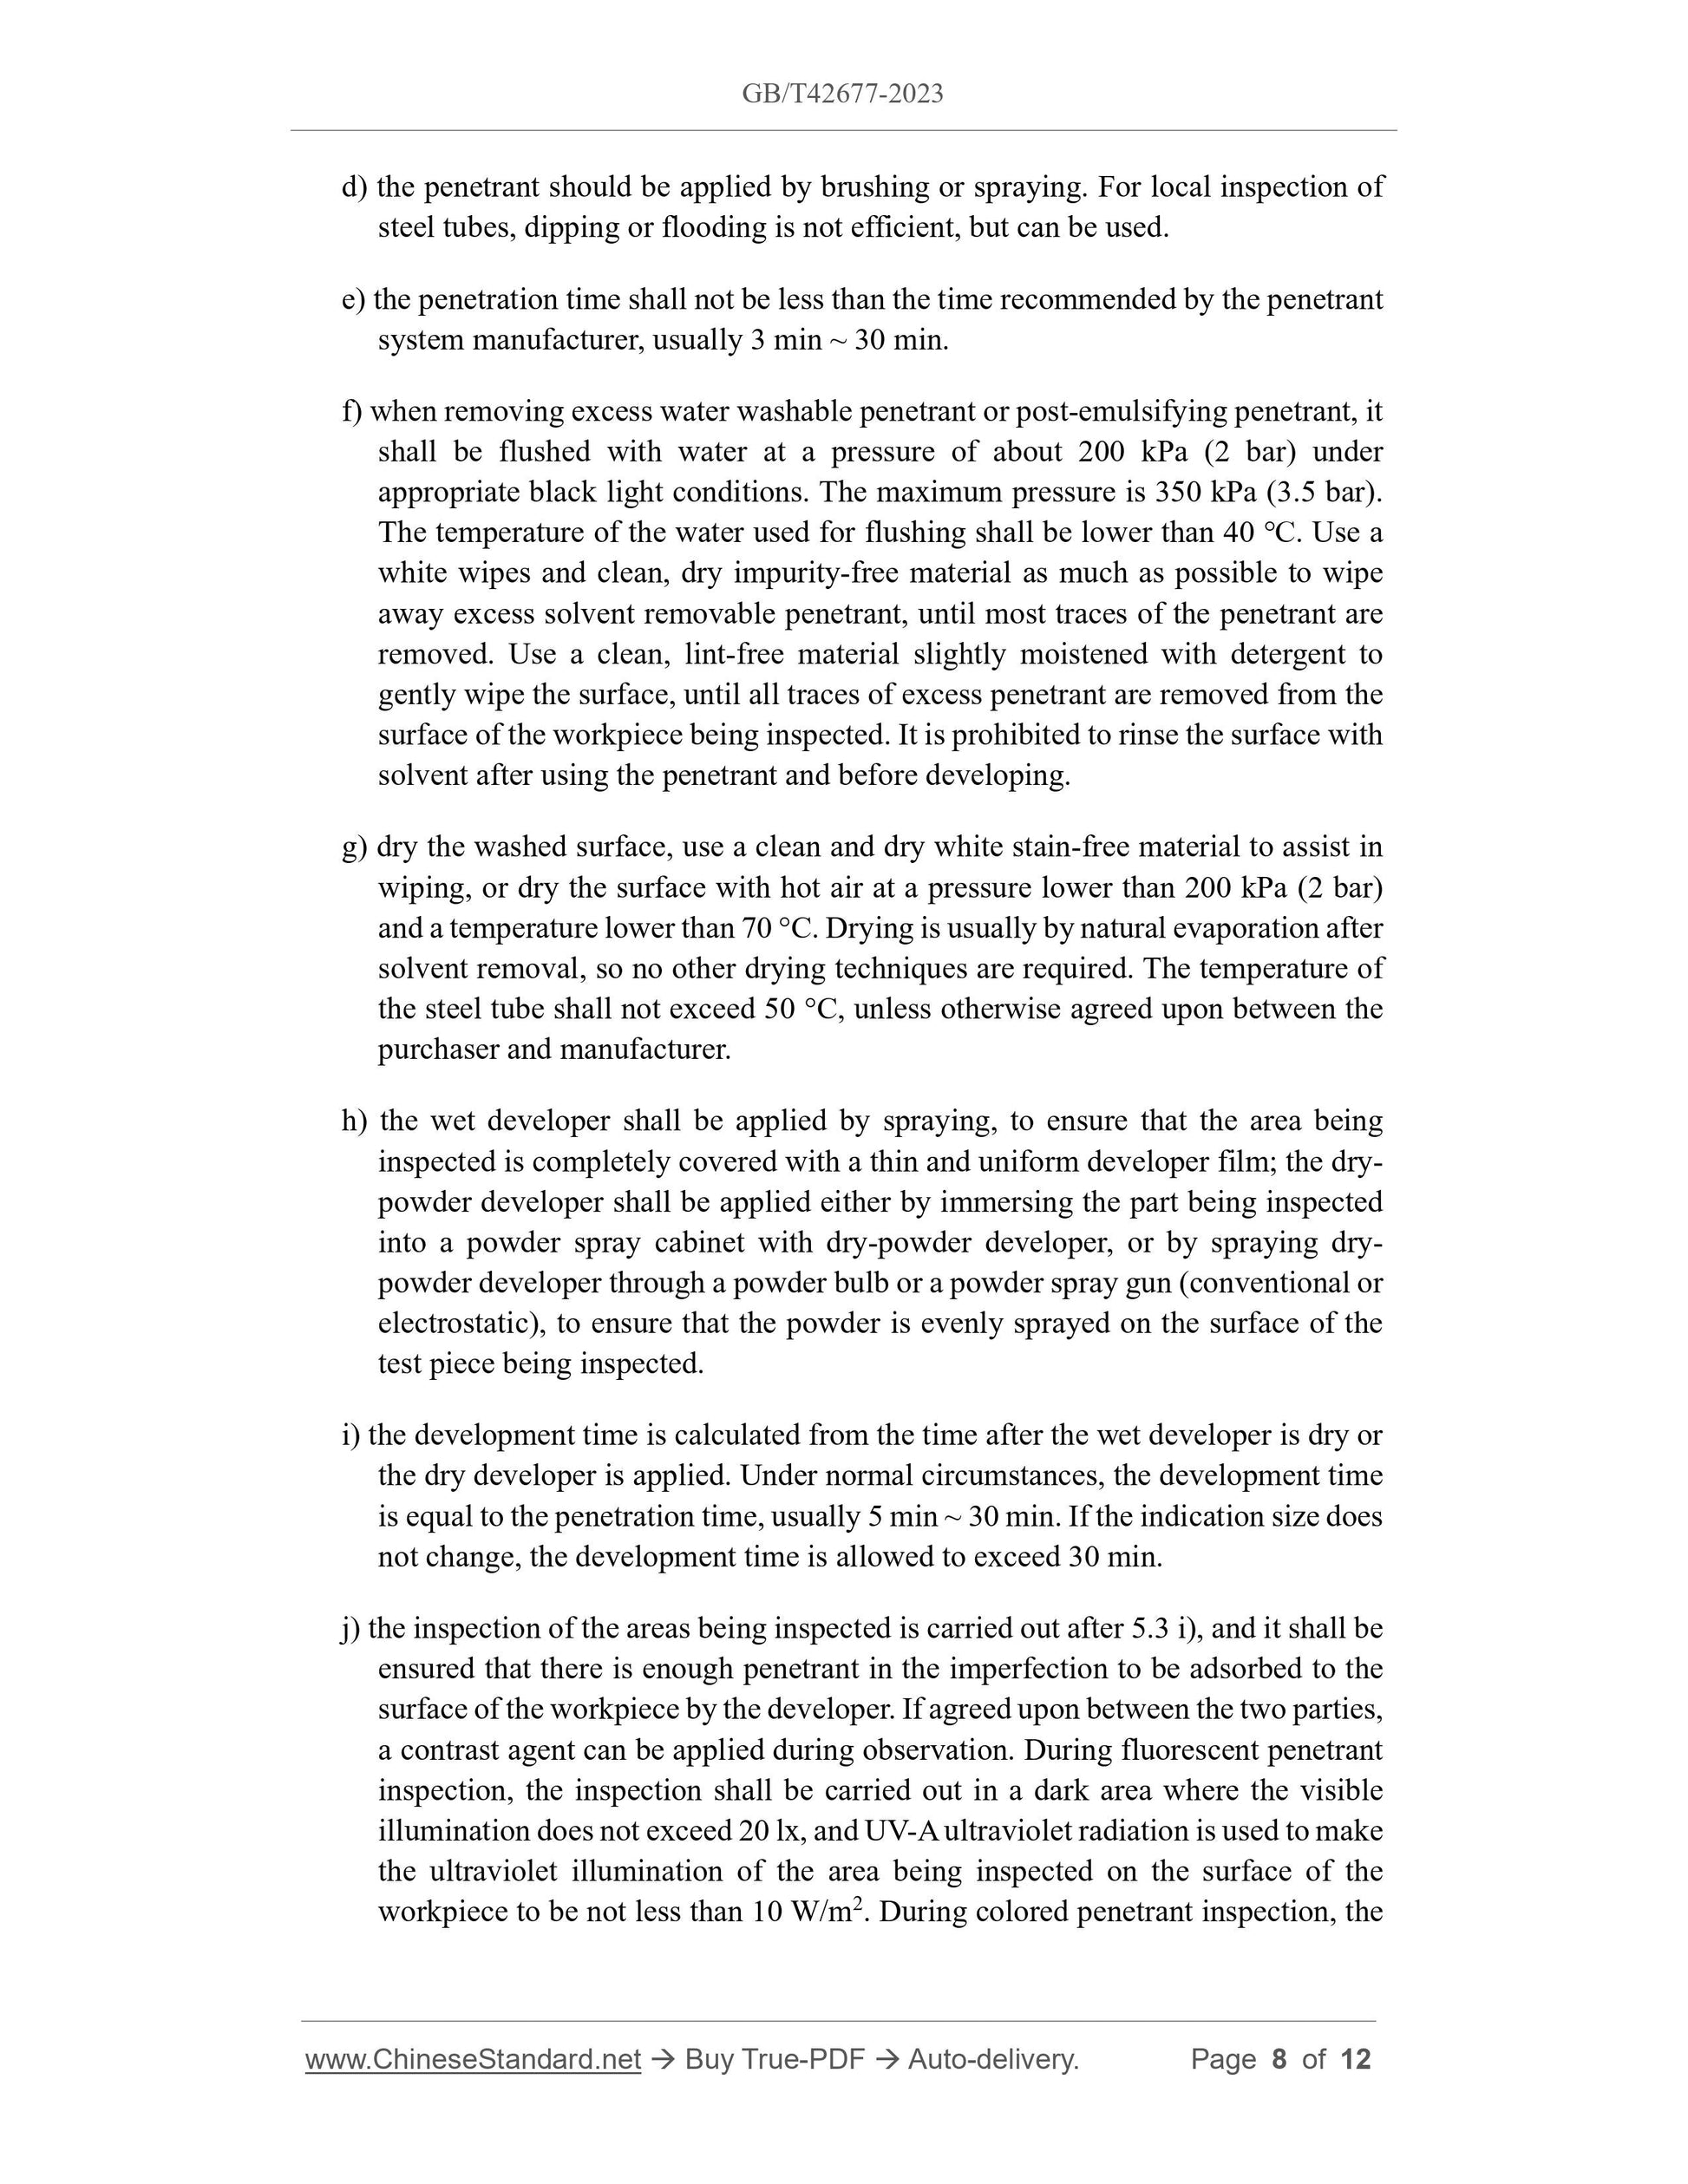
d) the penetrant should be applied by brushing or spraying. For local inspection of
steel tubes, dipping or flooding is not efficient, but can be used.
e) the penetration time shall not be less than the time recommended by the penetrant
system manufacturer, usually 3 min ~ 30 min.
f) when removing excess water washable penetrant or post-emulsifying penetrant, it
shall be flushed with water at a pressure of about 200 kPa (2 bar) under
appropriate black light conditions. The maximum pressure is 350 kPa (3.5 bar).
The temperature of the water used for flushing shall be lower than 40 ℃. Use a
white wipes and clean, dry impurity-free material as much as possible to wipe
away excess solvent removable penetrant, until most traces of the penetrant are
removed. Use a clean, lint-free material slightly moistened with detergent to
gently wipe the surface, until all traces of excess penetrant are removed from the
surface of the workpiece being inspected. It is prohibited to rinse the surface with
solvent after using the penetrant and before developing.
g) dry the washed surface, use a clean and dry white stain-free material to assist in
wiping, or dry the surface with hot air at a pressure lower than 200 kPa (2 bar)
and a temperature lower ...
Share
