1
/
of
5
PayPal, credit cards. Download editable-PDF and invoice in 1 second!
GB/T 5125-2008 English PDF (GBT5125-2008)
GB/T 5125-2008 English PDF (GBT5125-2008)
Regular price
$155.00 USD
Regular price
Sale price
$155.00 USD
Unit price
/
per
Shipping calculated at checkout.
Couldn't load pickup availability
Delivery: 3 seconds. Download true-PDF + Invoice.
Get QUOTATION in 1-minute: Click GB/T 5125-2008
Historical versions: GB/T 5125-2008
Preview True-PDF (Reload/Scroll if blank)
GB/T 5125-2008: Method for deep drawing cups testing of non-ferrous metals
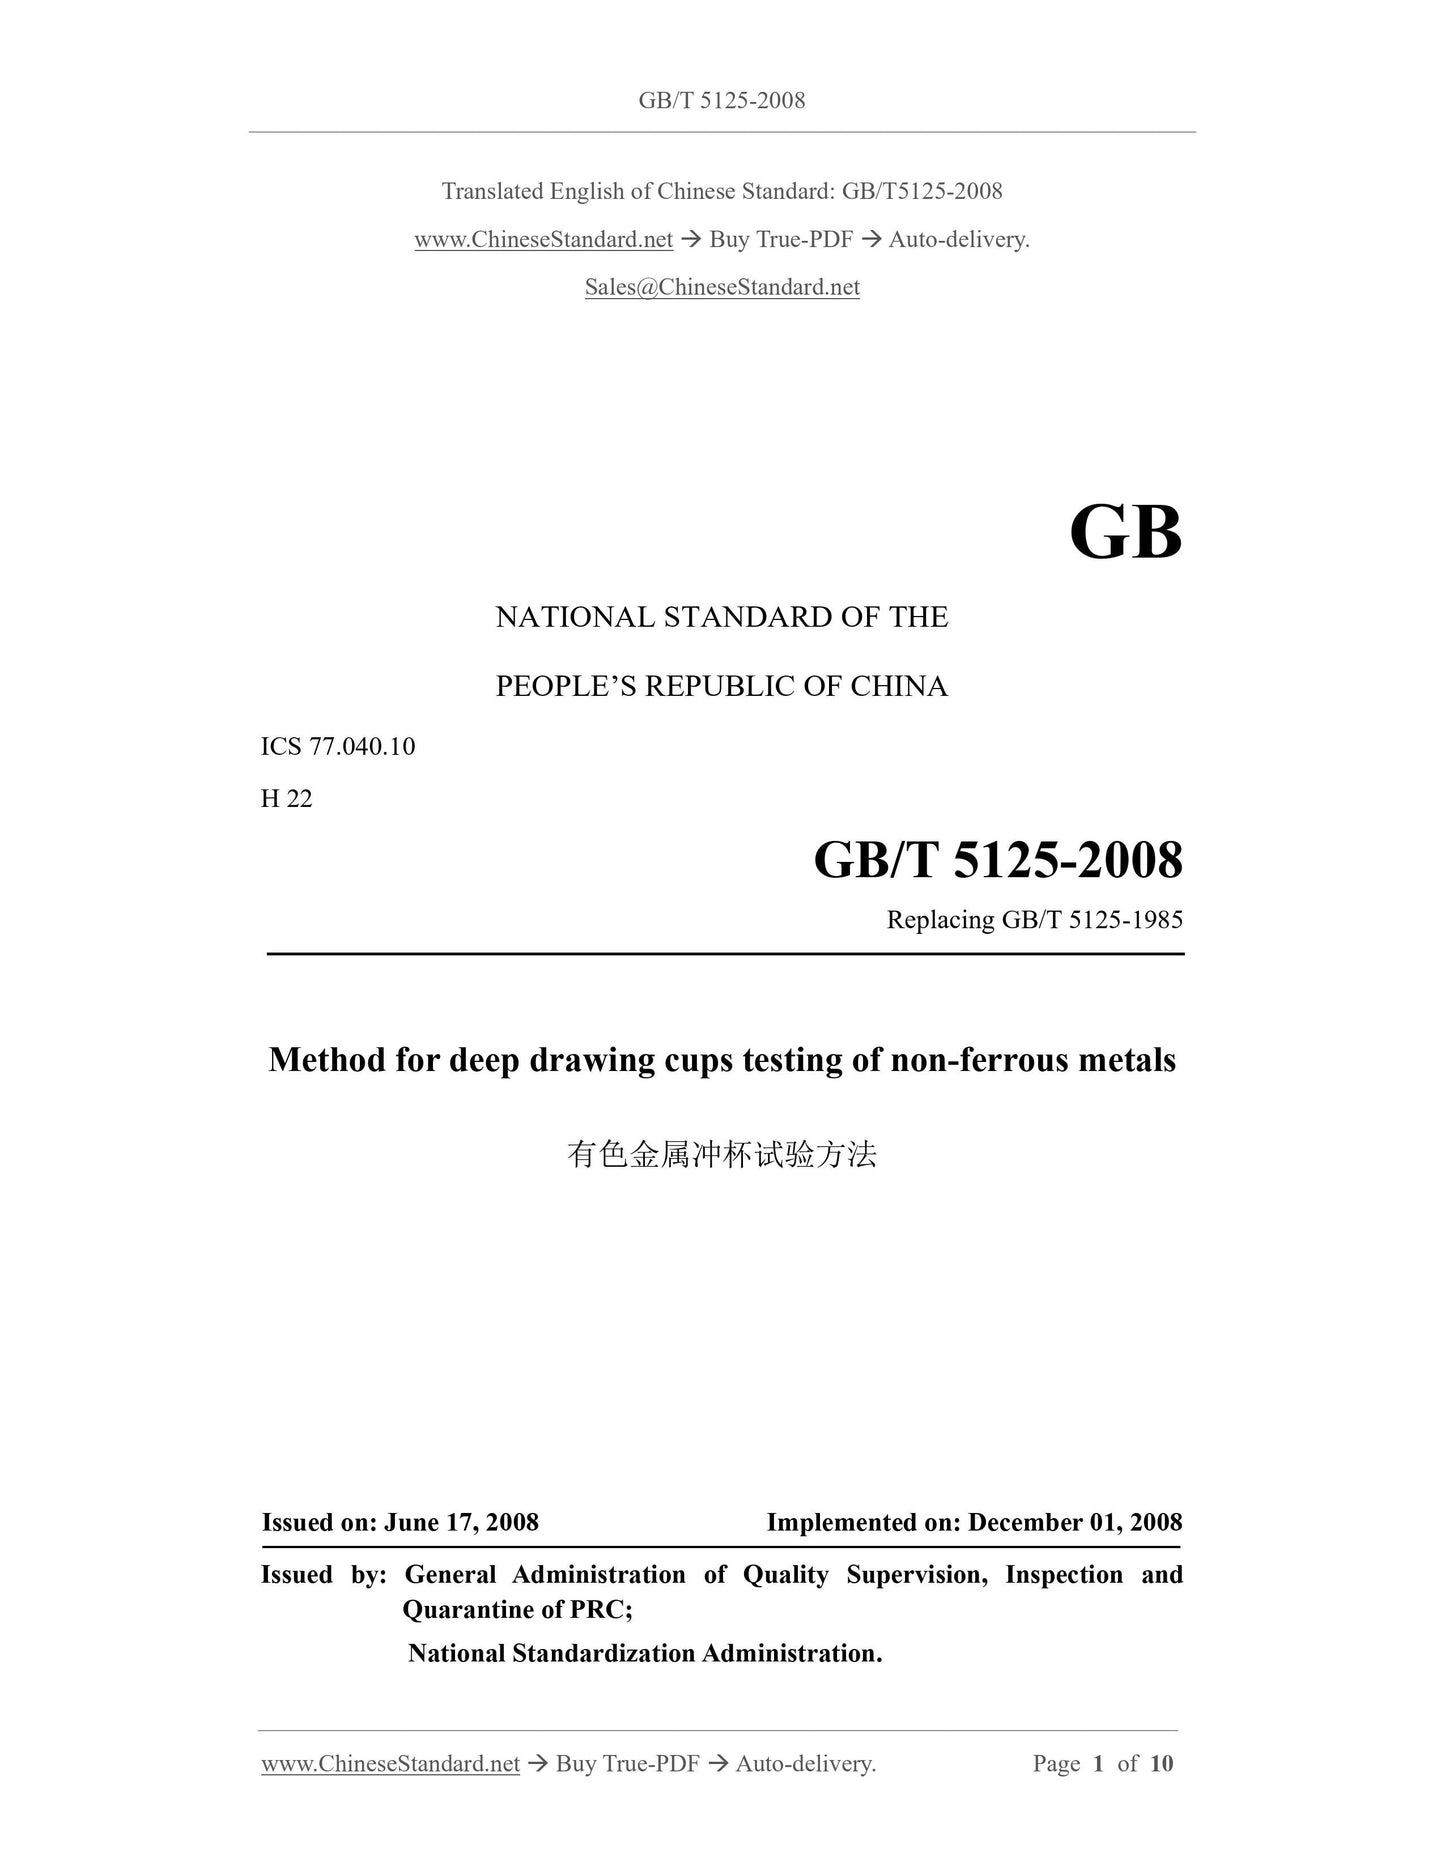
GB/T 5125-2008
GB
NATIONAL STANDARD OF THE
PEOPLE’S REPUBLIC OF CHINA
ICS 77.040.10
H 22
Replacing GB/T 5125-1985
Method for deep drawing cups testing of non-ferrous metals
ISSUED ON: JUNE 17, 2008
IMPLEMENTED ON: DECEMBER 01, 2008
Issued by: General Administration of Quality Supervision, Inspection and
Quarantine of PRC;
National Standardization Administration.
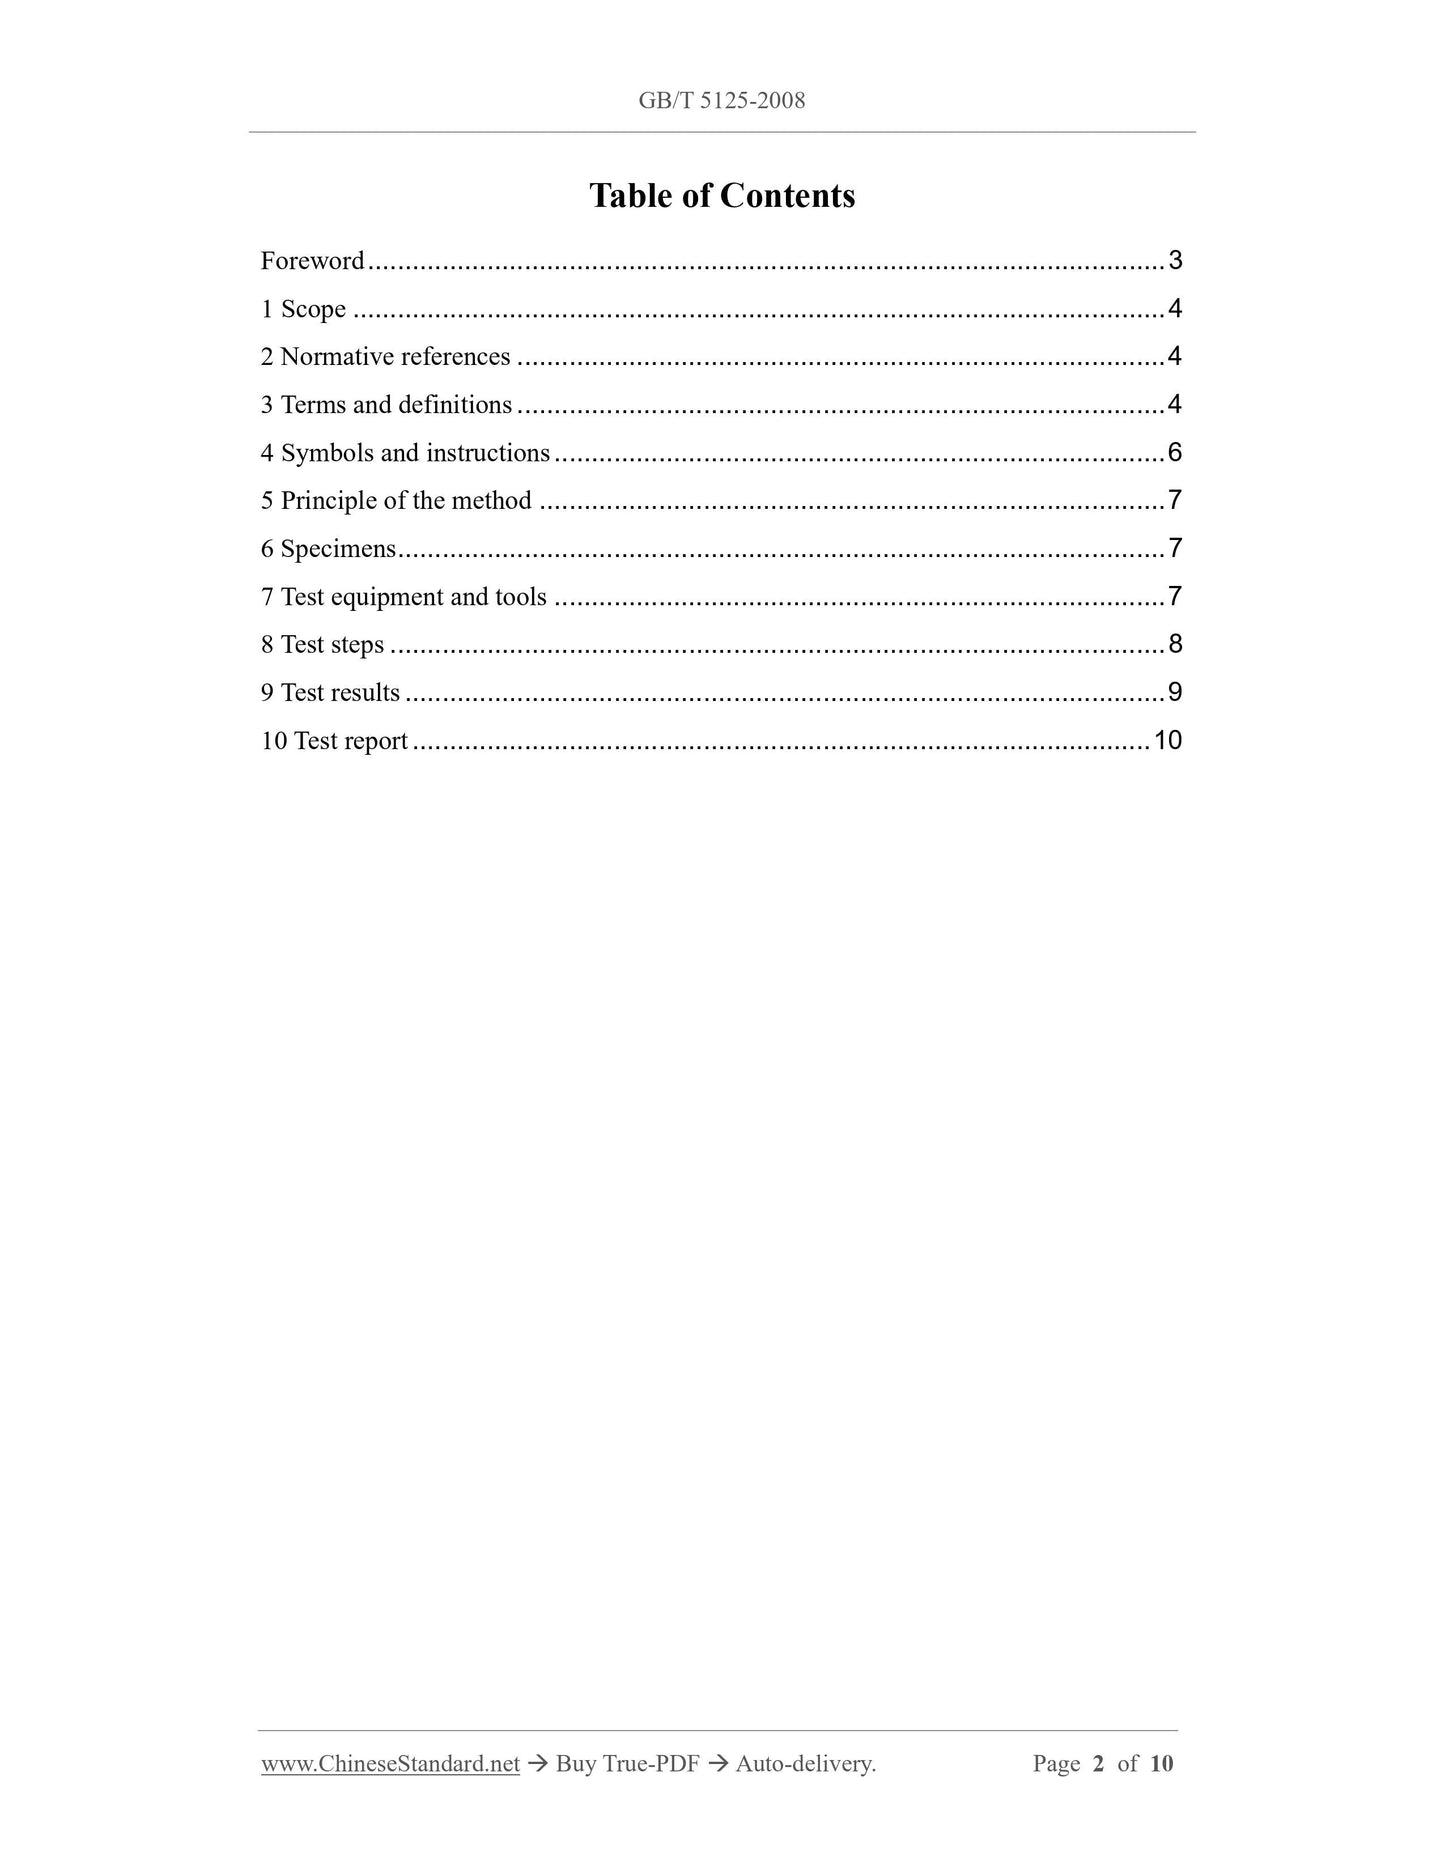
Table of Contents
Foreword ... 3
1 Scope ... 4
2 Normative references ... 4
3 Terms and definitions ... 4
4 Symbols and instructions ... 6
5 Principle of the method ... 7
6 Specimens ... 7
7 Test equipment and tools ... 7
8 Test steps ... 8
9 Test results ... 9
10 Test report ... 10
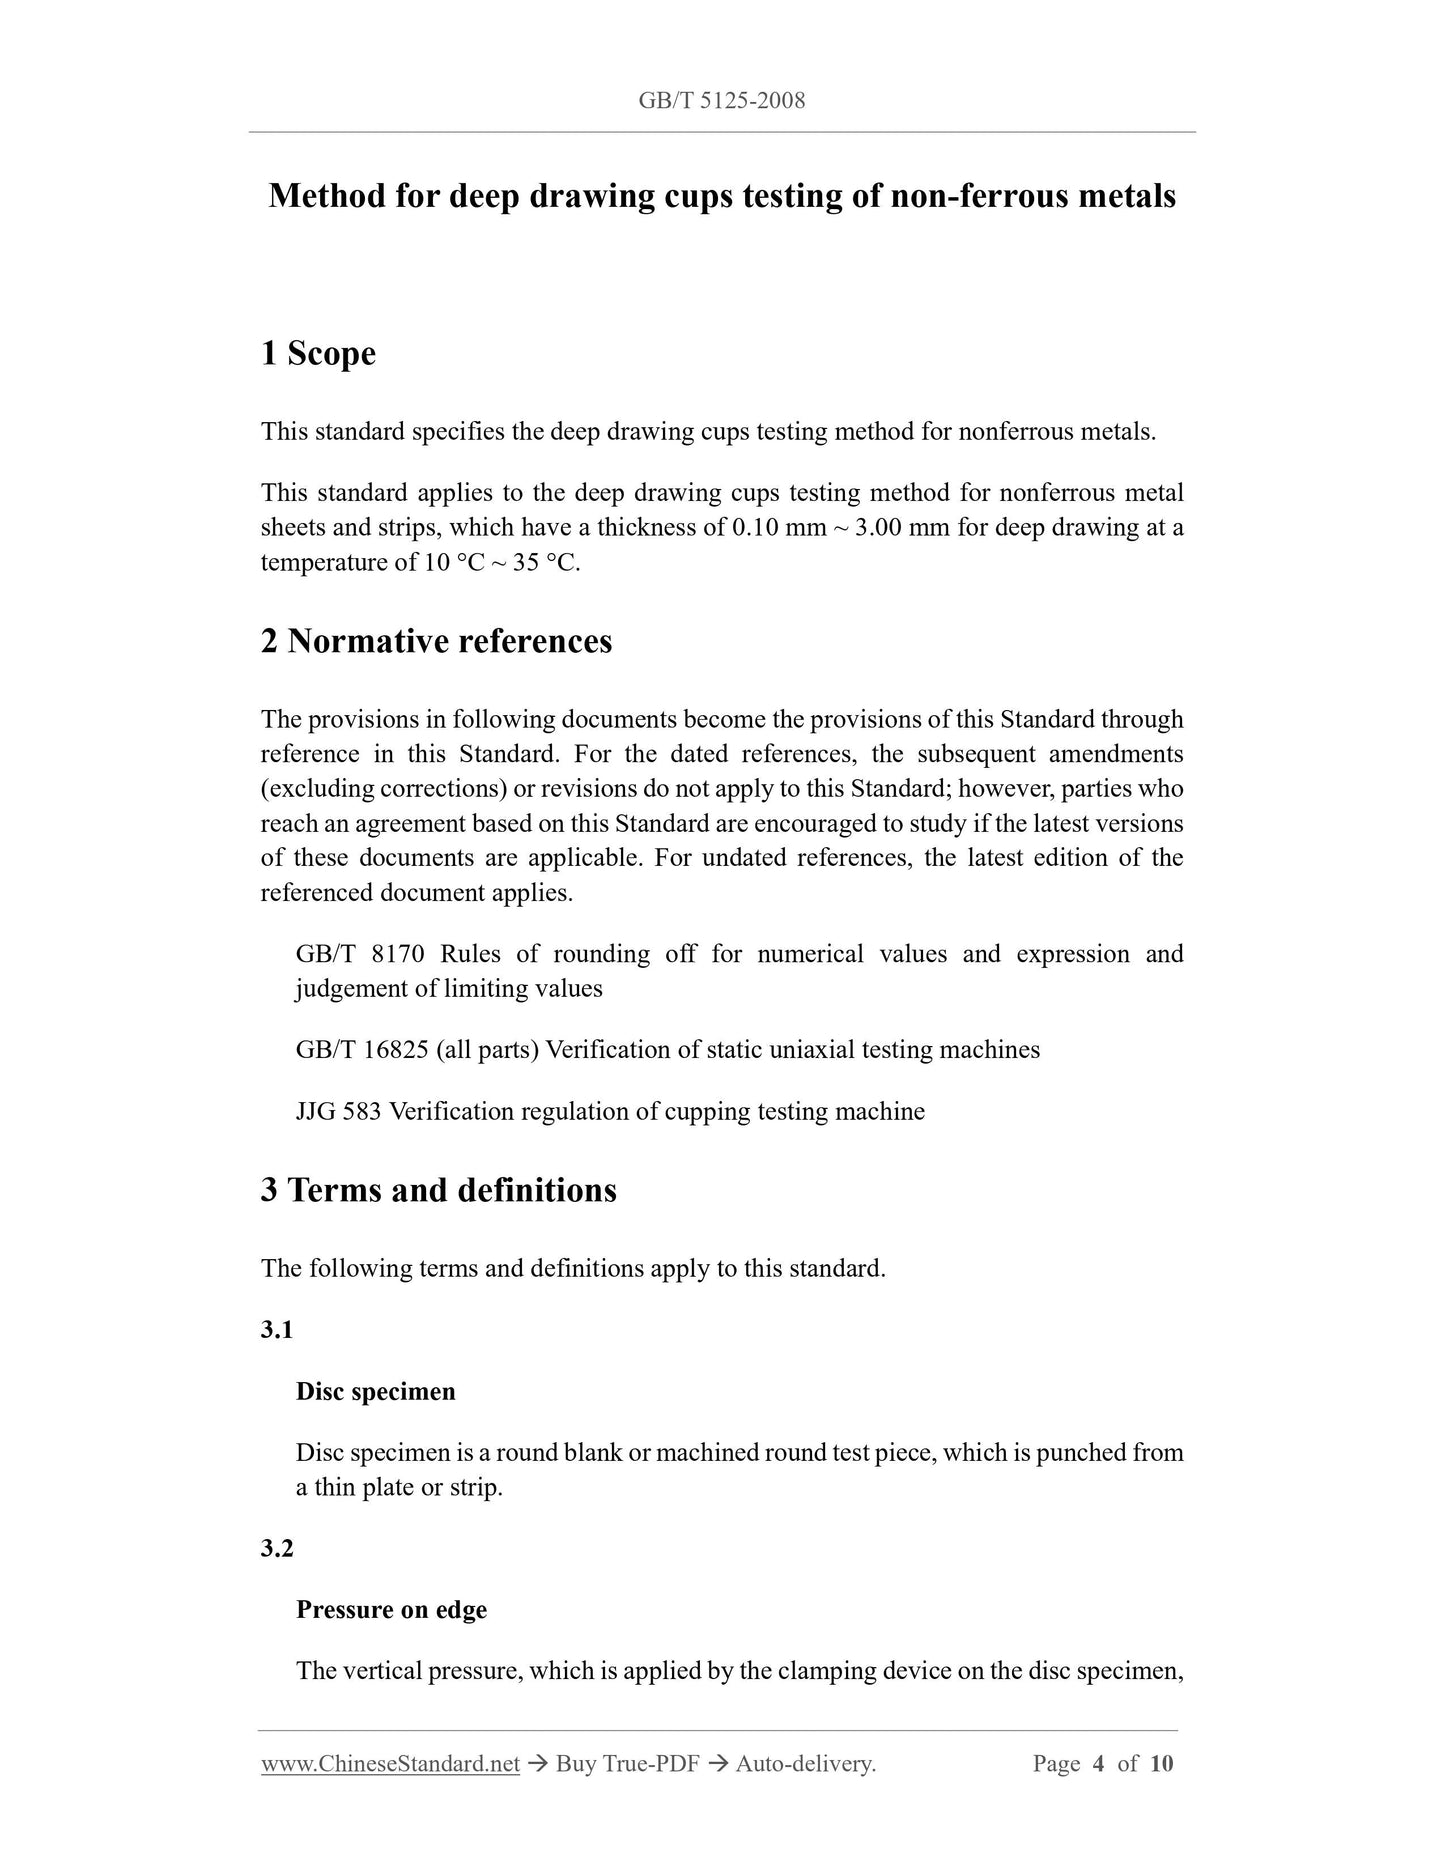
Method for deep drawing cups testing of non-ferrous metals
1 Scope
This standard specifies the deep drawing cups testing method for nonferrous metals.
This standard applies to the deep drawing cups testing method for nonferrous metal
sheets and strips, which have a thickness of 0.10 mm ~ 3.00 mm for deep drawing at a
temperature of 10 °C ~ 35 °C.
2 Normative references
The provisions in following documents become the provisions of this Standard through
reference in this Standard. For the dated references, the subsequent amendments
(excluding corrections) or revisions do not apply to this Standard; however, parties who
reach an agreement based on this Standard are encouraged to study if the latest versions
of these documents are applicable. For undated references, the latest edition of the
referenced document applies.
GB/T 8170 Rules of rounding off for numerical values and expression and
judgement of limiting values
GB/T 16825 (all parts) Verification of static uniaxial testing machines
JJG 583 Verification regulation of cupping testing machine
3 Terms and definitions
The following terms and definitions apply to this standard.
3.1
Disc specimen
Disc specimen is a round blank or machined round test piece, which is punched from
a thin plate or strip.
3.2
Pressure on edge
The vertical pressure, which is applied by the clamping device on the disc specimen,
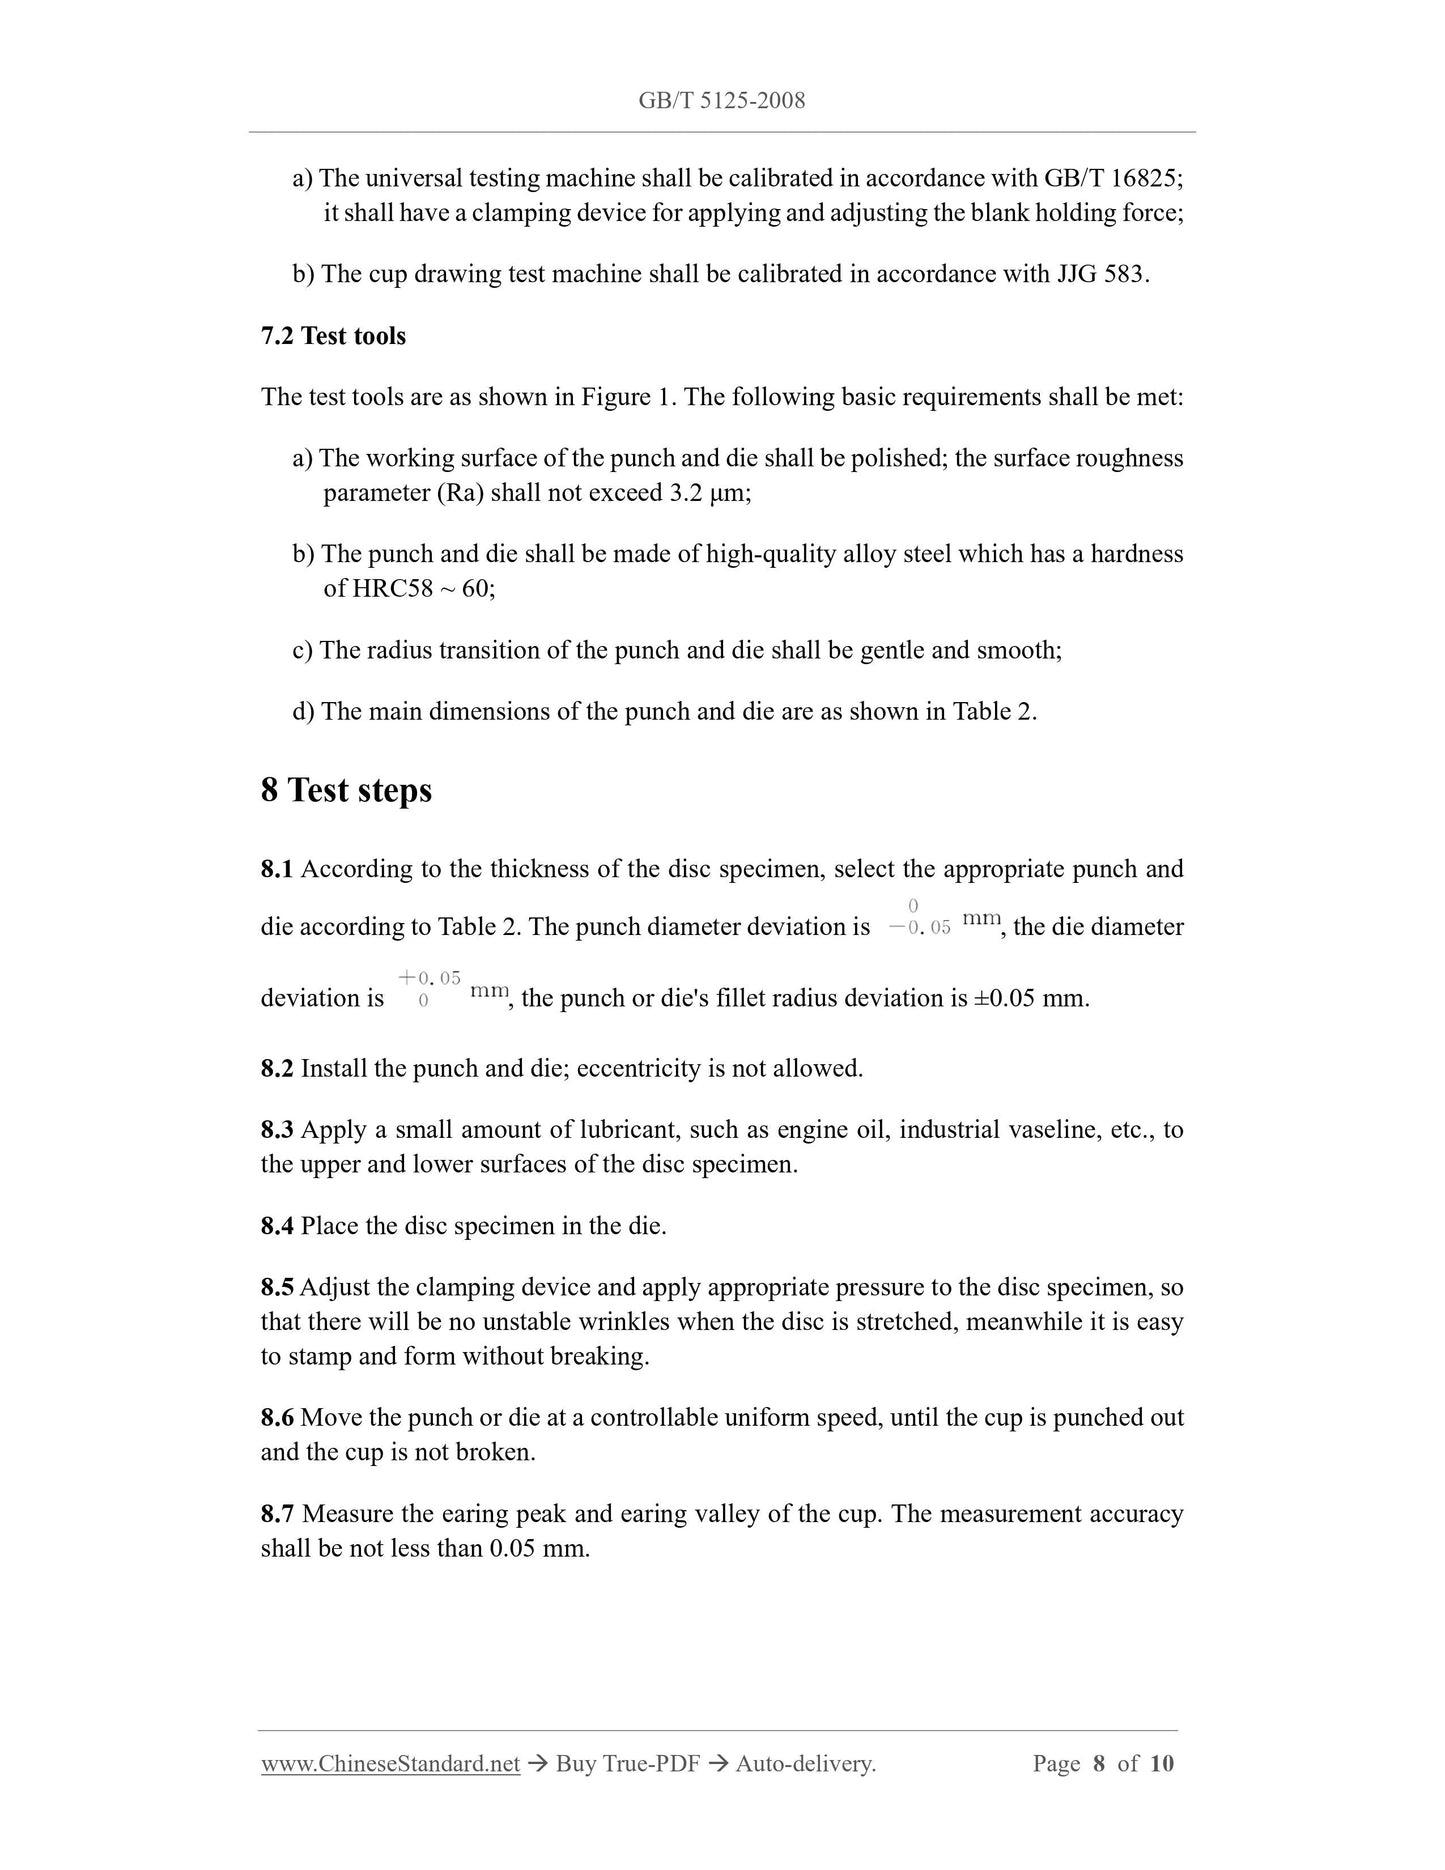
a) The universal testing machine shall be calibrated in accordance with GB/T 16825;
it shall have a clamping device for applying and adjusting the blank holding force;
b) The cup drawing test machine shall be calibrated in accordance with JJG 583.
7.2 Test tools
The test tools are as shown in Figure 1. The following basic requirements shall be met:
a) The working surface of the punch and die shall be polished; the surface roughness
parameter (Ra) shall not exceed 3.2 μm;
b) The punch and die shall be made of high-quality alloy steel which has a hardness
of HRC58 ~ 60;
c) The radius transition of the punch and die shall be gentle and smooth;
d) The main dimensions of the punch and die are as shown in Table 2.
8 Test steps
8.1 According to the thickness of the disc specimen, select the appropriate punch and
die according to Table 2. The punch diameter deviation is , the die diameter
deviation is , the punch or die's fillet radius deviation is ±0.05 mm.
8.2 Install the punch and die; eccentricity is not allowed.
8.3 Apply a small amount of lubricant, such as engine oil, industrial vaseline, etc., to
the upper and lower surfaces of the disc specimen.
8.4 Place the disc specimen in the die.
8.5 Adjust the clamping device and apply appropriate pressure to the disc specimen, so
that there will be no unstable wrinkles when the disc is stretched, meanwhile it is easy
to stamp and form without breaking.
8.6 Move the punch or die at a controllable uniform speed, until the cup is punched out
and the cup is not broken.
8.7 Measure the earing peak and earing valley of the cup. The measurement accuracy
shall be not less than 0.05 mm.
Share
