1
/
of
8
www.ChineseStandard.us -- Field Test Asia Pte. Ltd.
GB/T 5168-2020 English PDF (GB/T5168-2020)
GB/T 5168-2020 English PDF (GB/T5168-2020)
Regular price
$285.00
Regular price
Sale price
$285.00
Unit price
/
per
Shipping calculated at checkout.
Couldn't load pickup availability
GB/T 5168-2020: Microstructure and macrostructure examination for titanium and titanium alloys
Delivery: 9 seconds. Download (& Email) true-PDF + Invoice.
Get Quotation: Click GB/T 5168-2020 (Self-service in 1-minute)
Historical versions (Master-website): GB/T 5168-2020
Preview True-PDF (Reload/Scroll-down if blank)
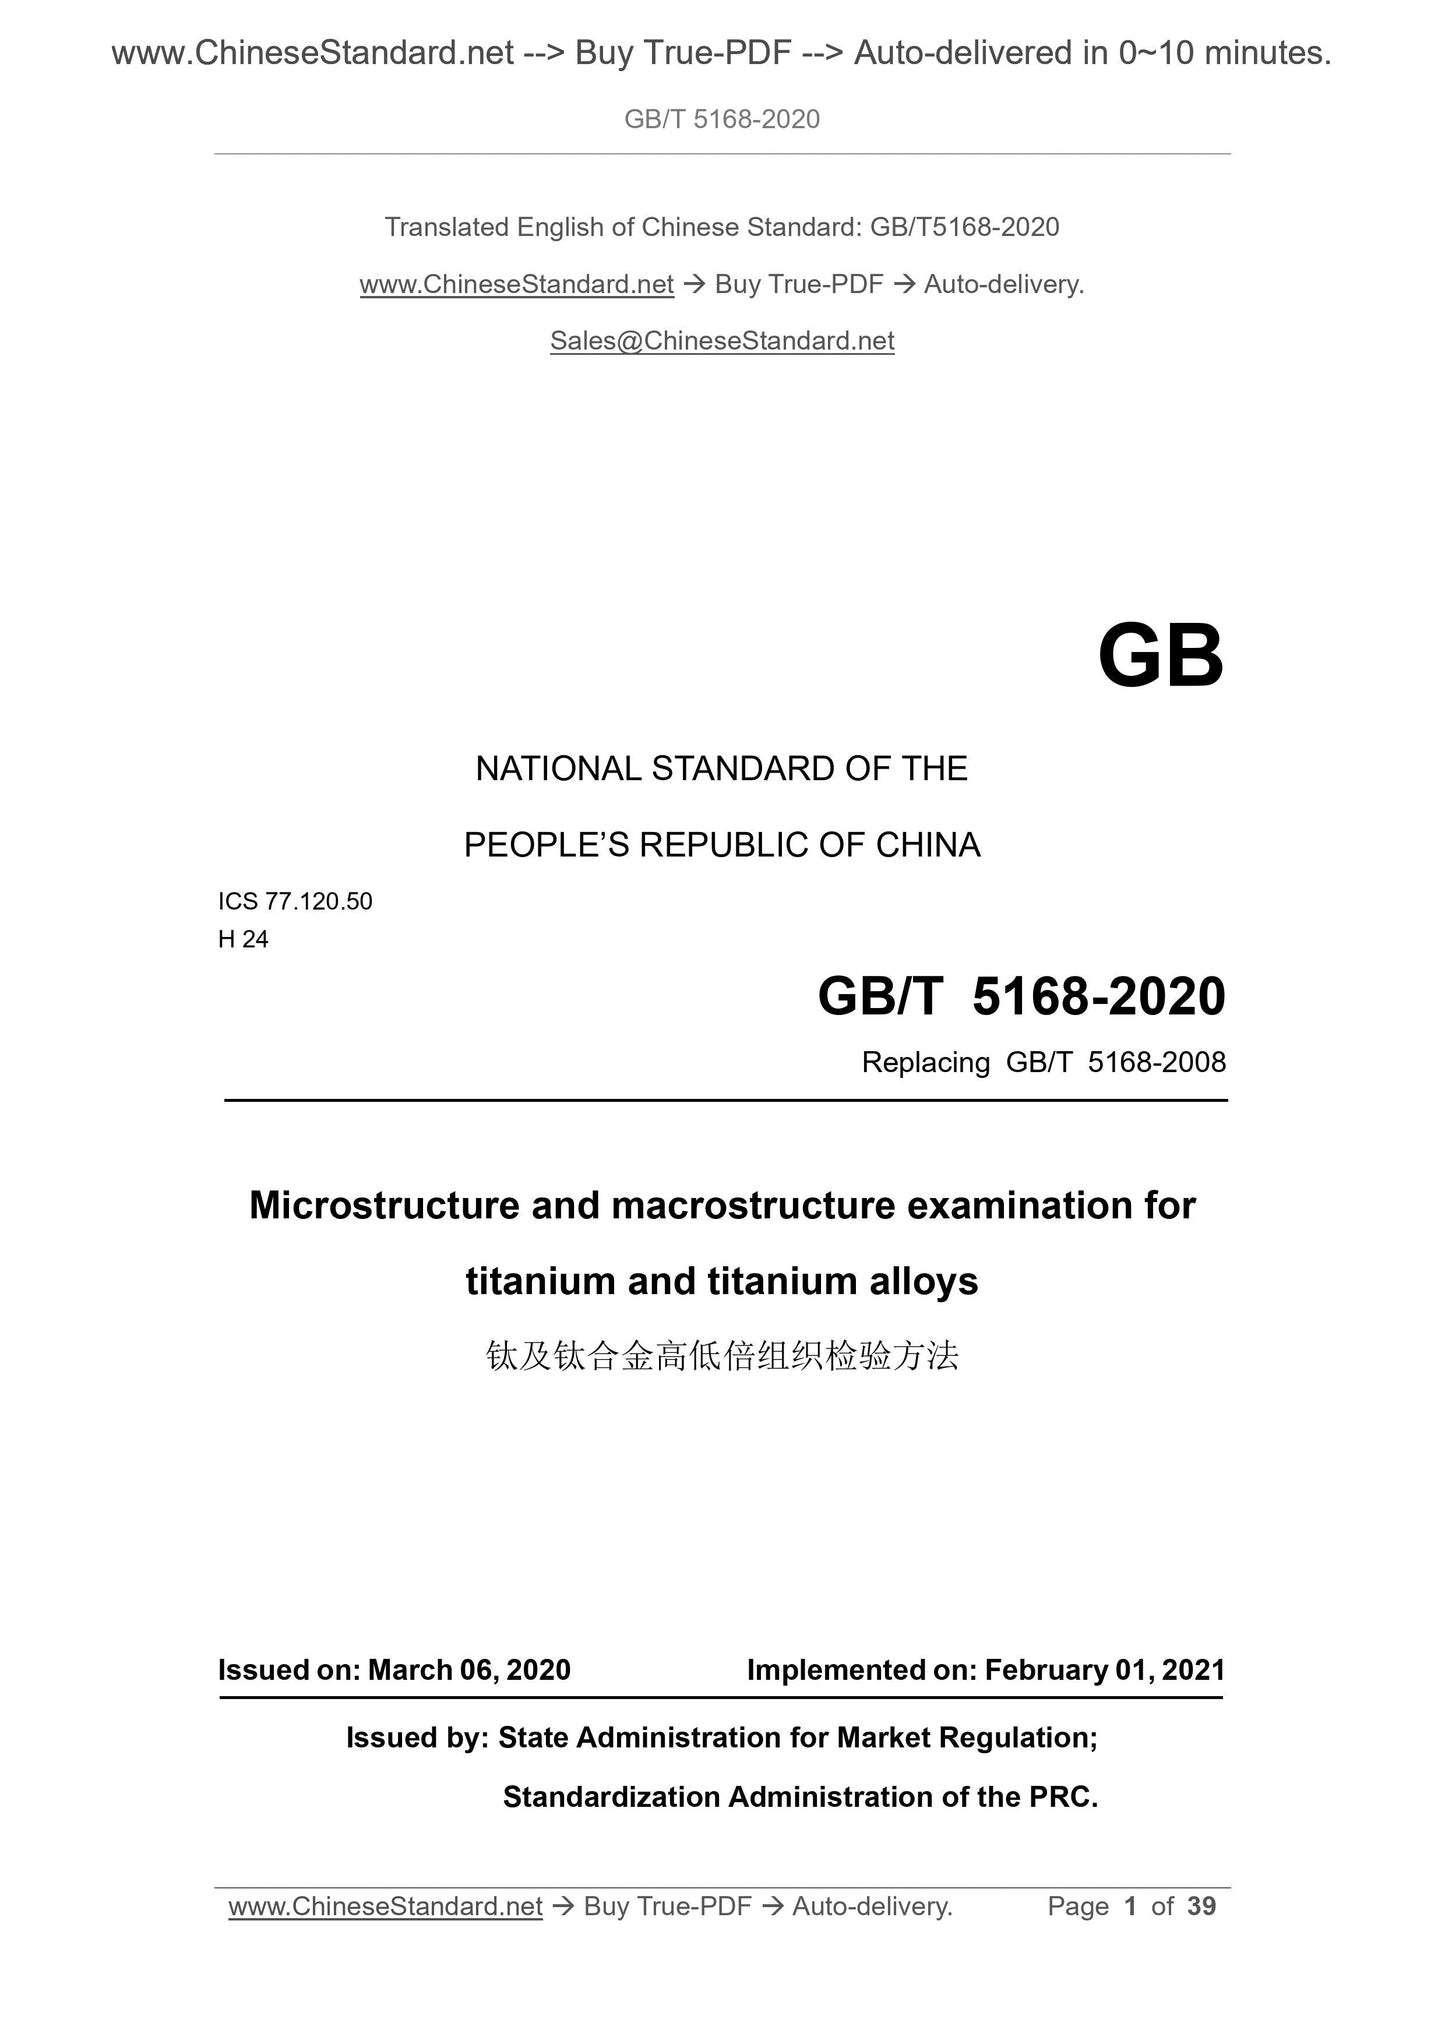
GB/T 5168-2020
GB
NATIONAL STANDARD OF THE
PEOPLE’S REPUBLIC OF CHINA
ICS 77.120.50
H 24
Replacing GB/T 5168-2008
Microstructure and macrostructure examination for
titanium and titanium alloys
ISSUED ON: MARCH 06, 2020
IMPLEMENTED ON: FEBRUARY 01, 2021
Issued by: State Administration for Market Regulation;
Standardization Administration of the PRC.
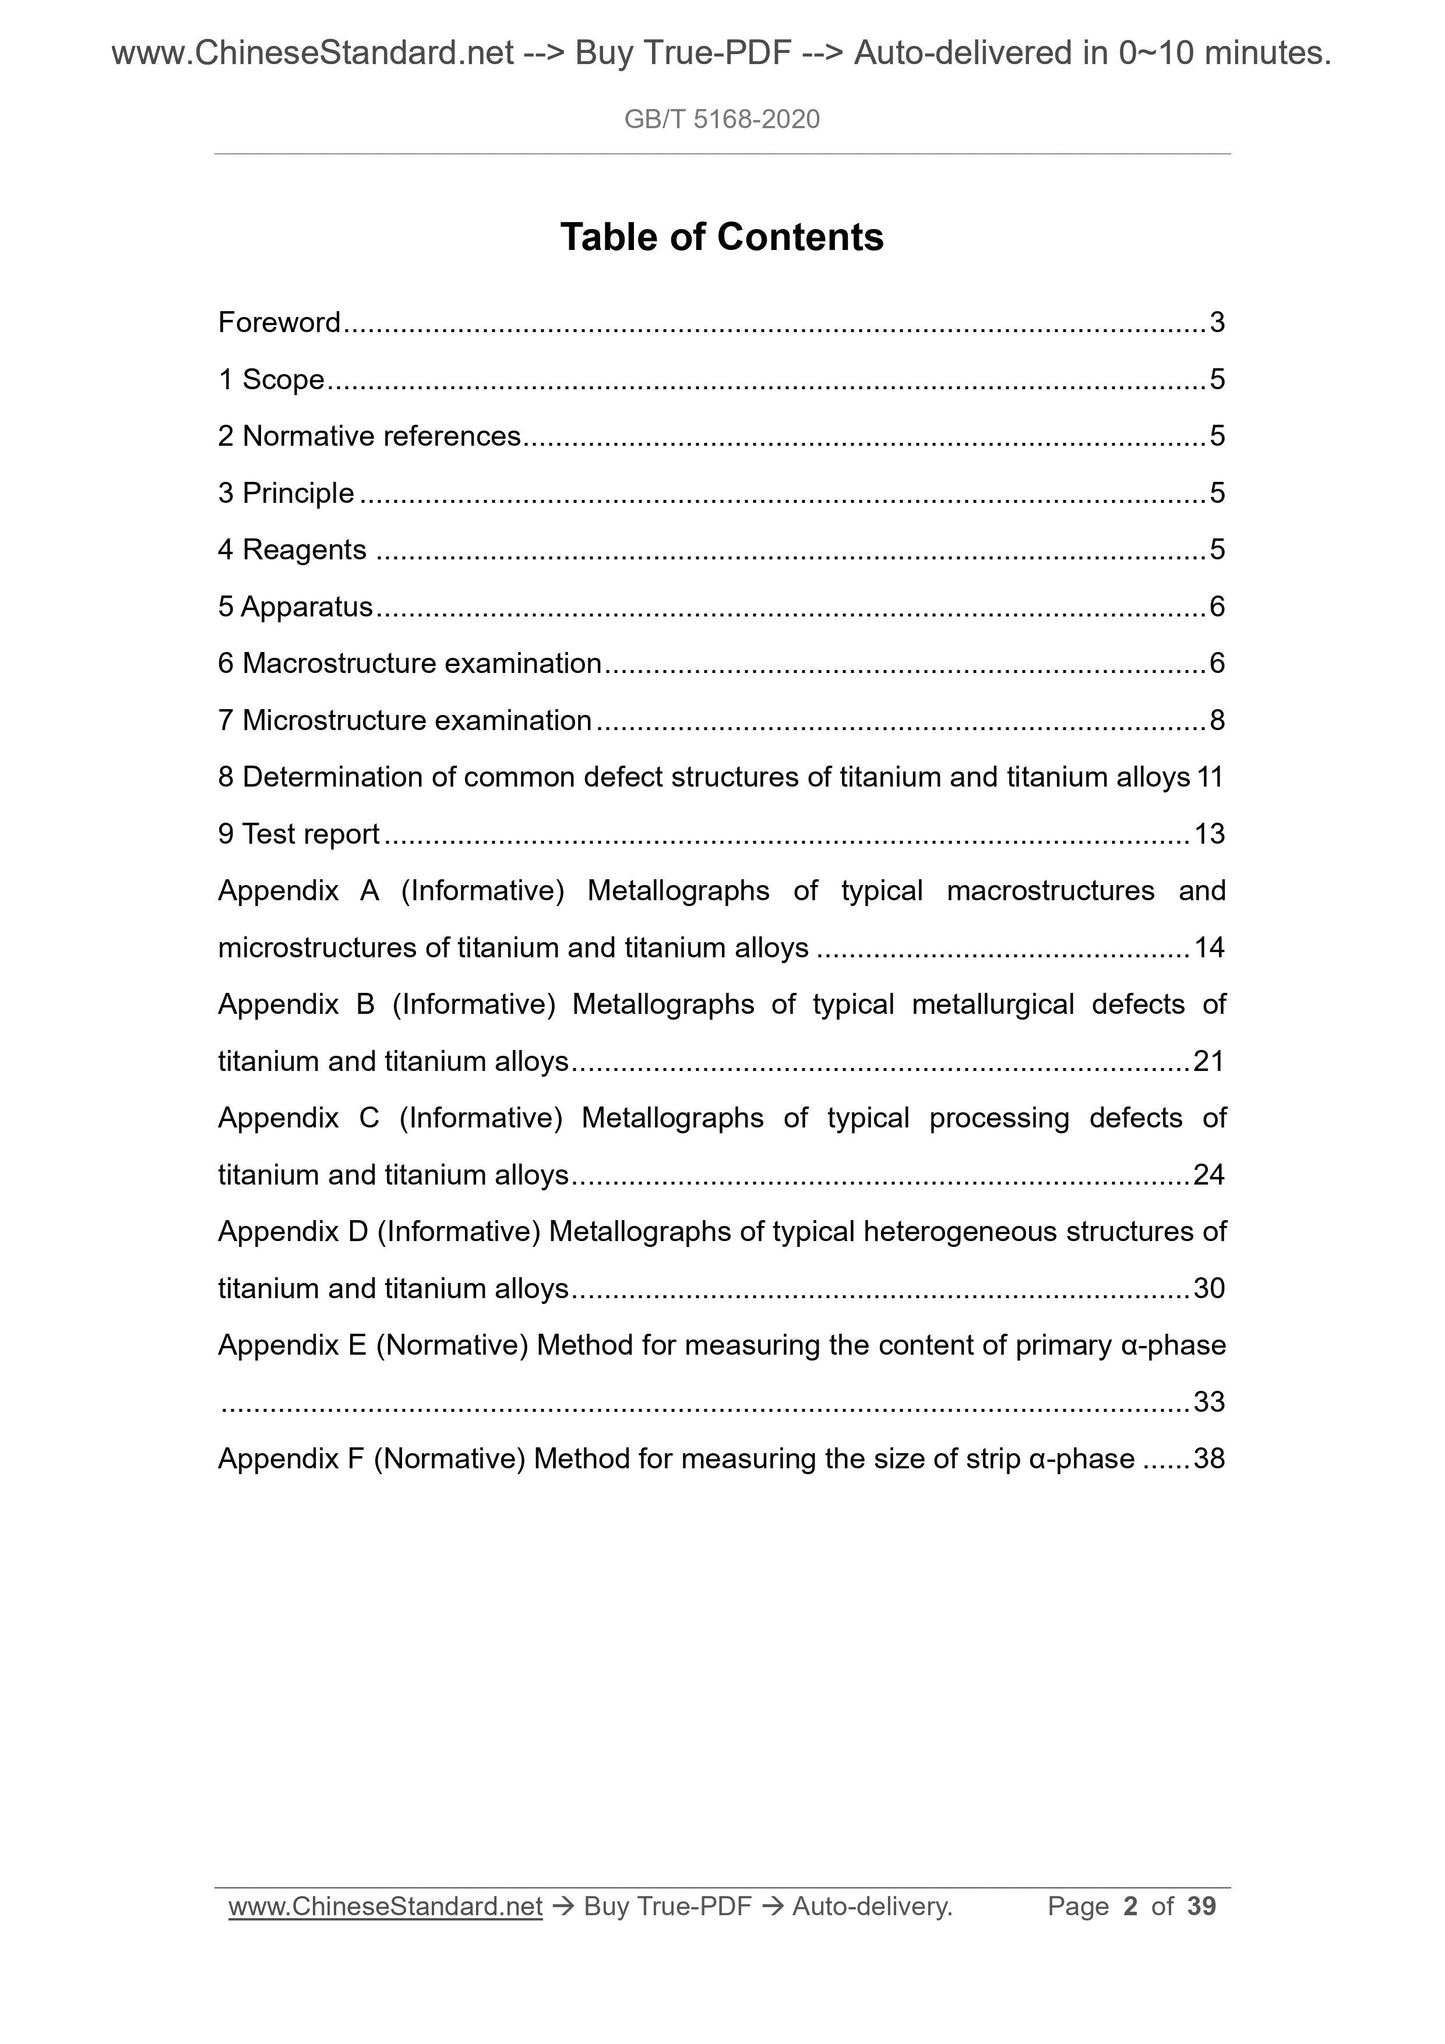
Table of Contents
Foreword ... 3
1 Scope ... 5
2 Normative references ... 5
3 Principle ... 5
4 Reagents ... 5
5 Apparatus ... 6
6 Macrostructure examination ... 6
7 Microstructure examination ... 8
8 Determination of common defect structures of titanium and titanium alloys 11
9 Test report ... 13
Appendix A (Informative) Metallographs of typical macrostructures and
microstructures of titanium and titanium alloys ... 14
Appendix B (Informative) Metallographs of typical metallurgical defects of
titanium and titanium alloys ... 21
Appendix C (Informative) Metallographs of typical processing defects of
titanium and titanium alloys ... 24
Appendix D (Informative) Metallographs of typical heterogeneous structures of
titanium and titanium alloys ... 30
Appendix E (Normative) Method for measuring the content of primary α-phase
... 33
Appendix F (Normative) Method for measuring the size of strip α-phase ... 38
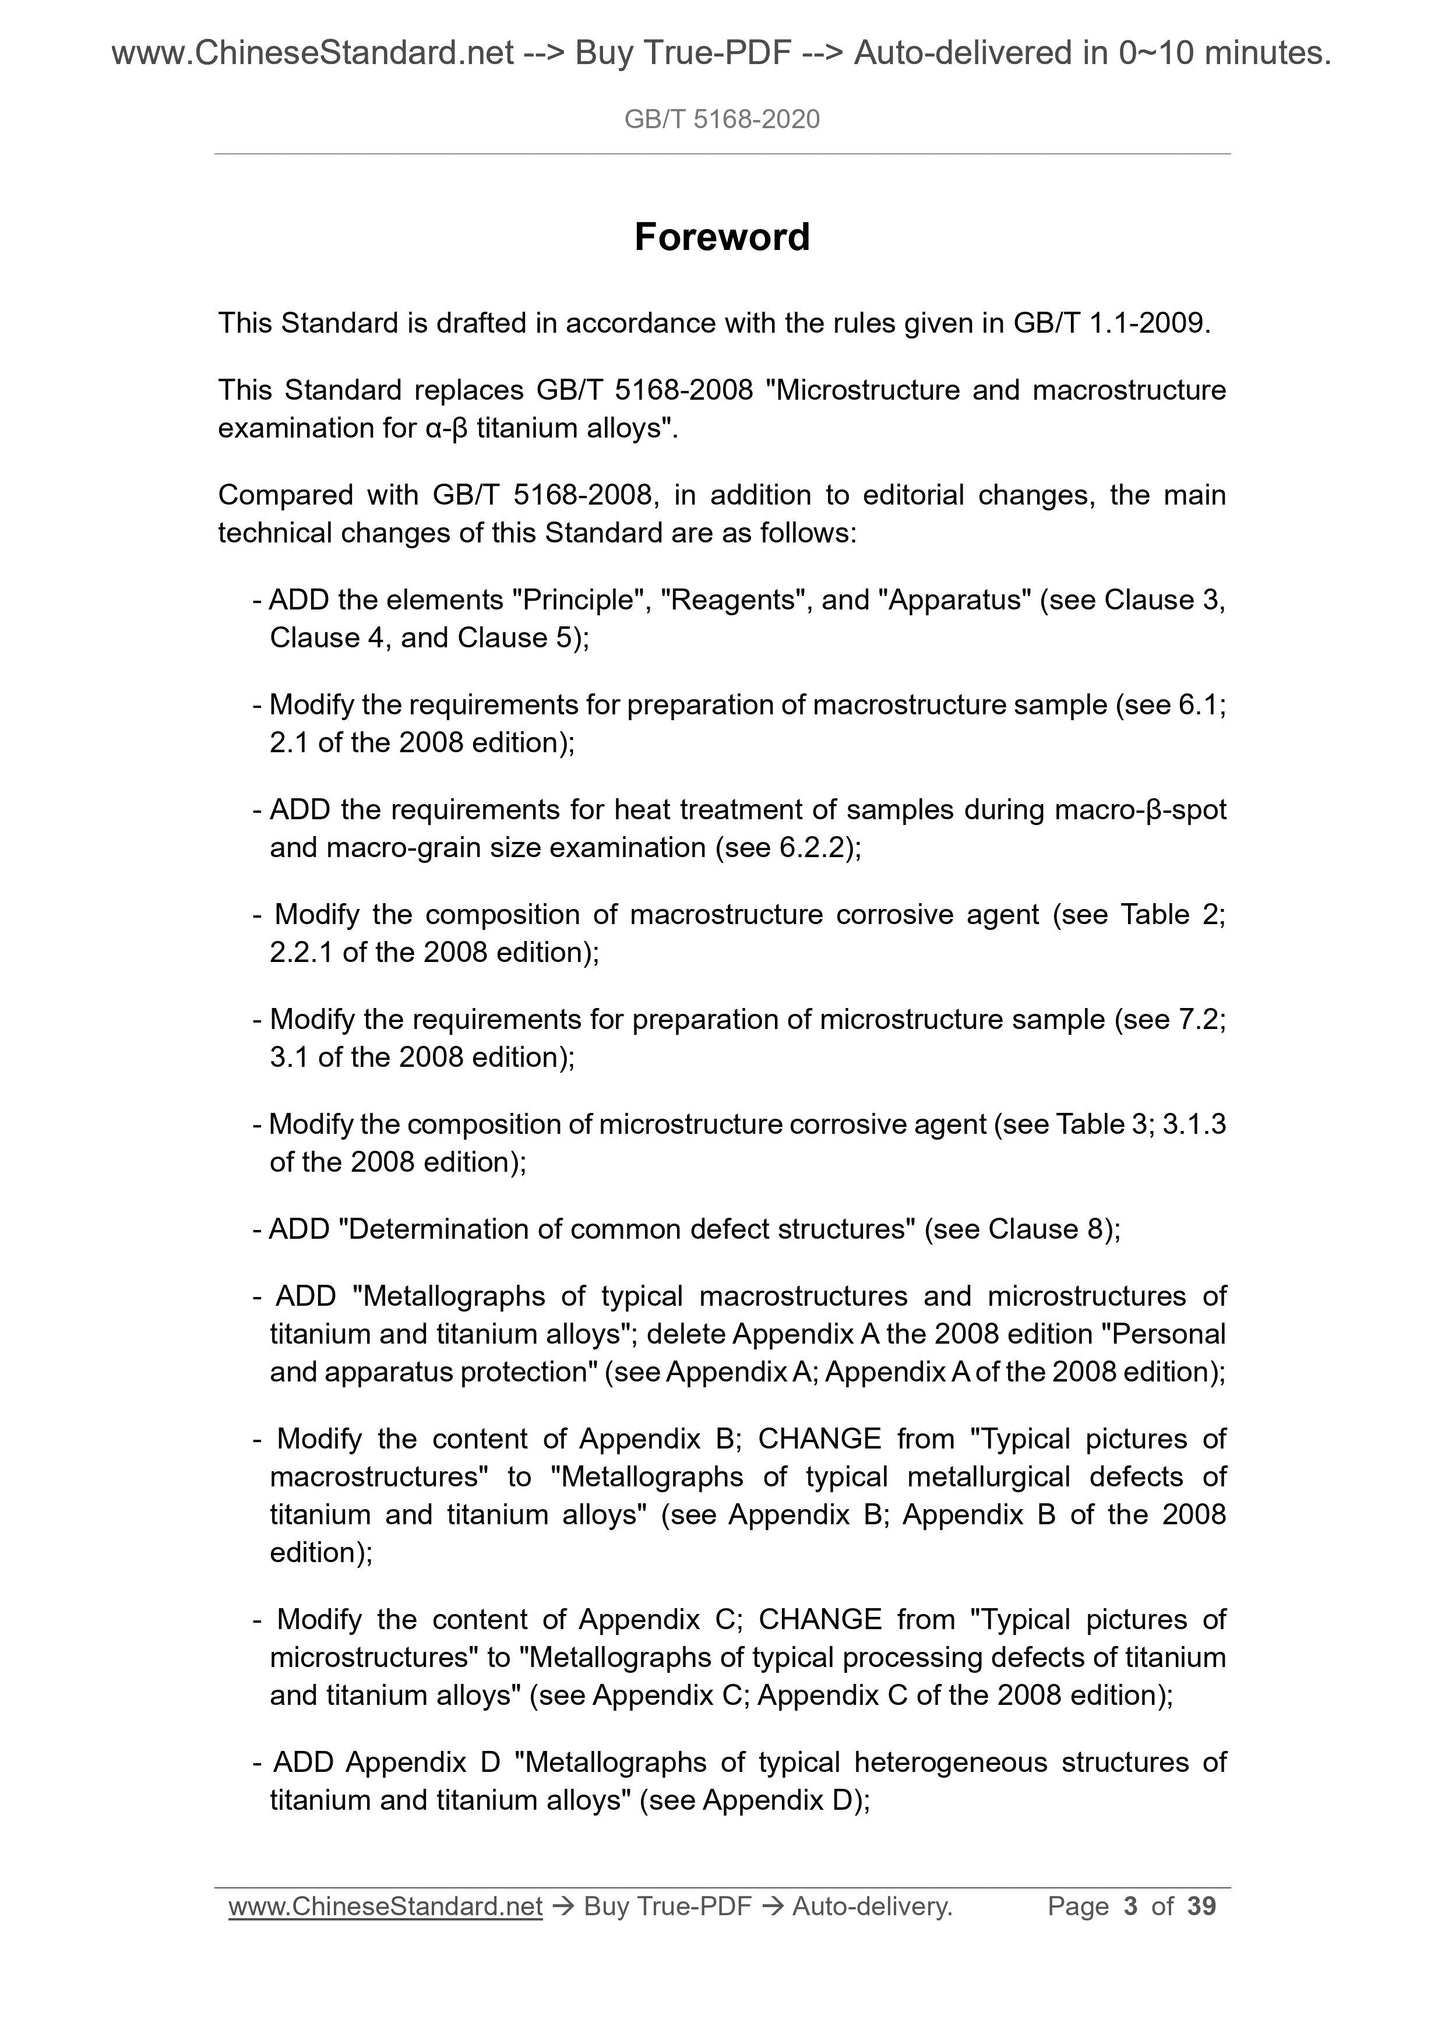
Foreword
This Standard is drafted in accordance with the rules given in GB/T 1.1-2009.
This Standard replaces GB/T 5168-2008 "Microstructure and macrostructure
examination for α-β titanium alloys".
Compared with GB/T 5168-2008, in addition to editorial changes, the main
technical changes of this Standard are as follows:
- ADD the elements "Principle", "Reagents", and "Apparatus" (see Clause 3,
Clause 4, and Clause 5);
- Modify the requirements for preparation of macrostructure sample (see 6.1;
2.1 of the 2008 edition);
- ADD the requirements for heat treatment of samples during macro-β-spot
and macro-grain size examination (see 6.2.2);
- Modify the composition of macrostructure corrosive agent (see Table 2;
2.2.1 of the 2008 edition);
- Modify the requirements for preparation of microstructure sample (see 7.2;
3.1 of the 2008 edition);
- Modify the composition of microstructure corrosive agent (see Table 3; 3.1.3
of the 2008 edition);
- ADD "Determination of common defect structures" (see Clause 8);
- ADD "Metallographs of typical macrostructures and microstructures of
titanium and titanium alloys"; delete Appendix A the 2008 edition "Personal
and apparatus protection" (see Appendix A; Appendix A of the 2008 edition);
- Modify the content of Appendix B; CHANGE from "Typical pictures of
macrostructures" to "Metallographs of typical metallurgical defects of
titanium and titanium alloys" (see Appendix B; Appendix B of the 2008
edition);
- Modify the content of Appendix C; CHANGE from "Typical pictures of
microstructures" to "Metallographs of typical processing defects of titanium
and titanium alloys" (see Appendix C; Appendix C of the 2008 edition);
- ADD Appendix D "Metallographs of typical heterogeneous structures of
titanium and titanium alloys" (see Appendix D);
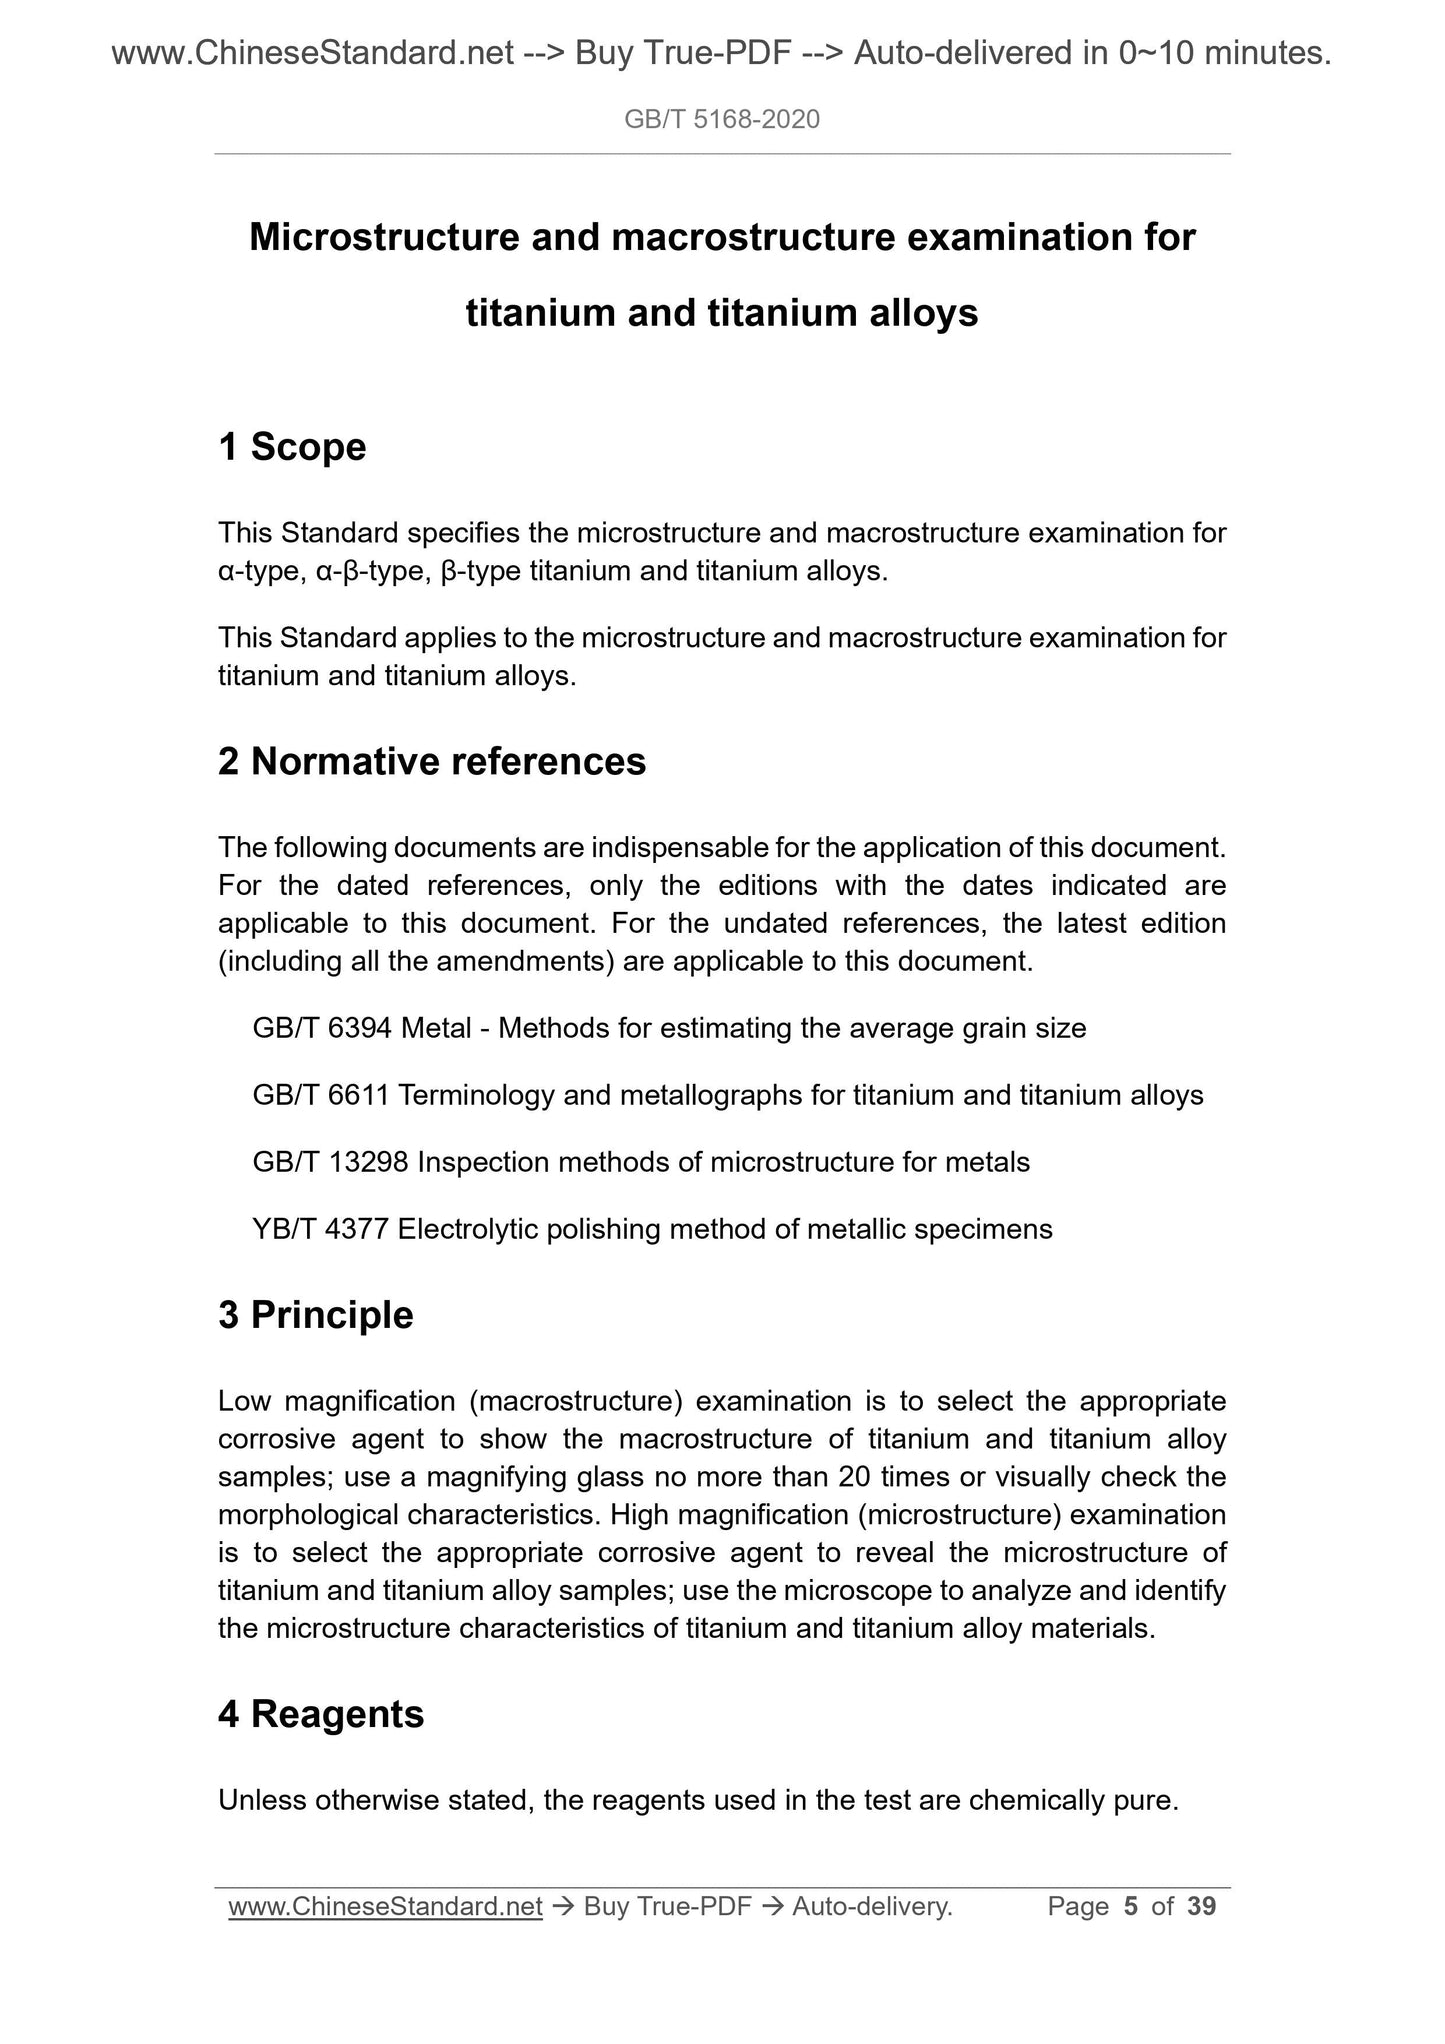
Microstructure and macrostructure examination for
titanium and titanium alloys
1 Scope
This Standard specifies the microstructure and macrostructure examination for
α-type, α-β-type, β-type titanium and titanium alloys.
This Standard applies to the microstructure and macrostructure examination for
titanium and titanium alloys.
2 Normative references
The following documents are indispensable for the application of this document.
For the dated references, only the editions with the dates indicated are
applicable to this document. For the undated references, the latest edition
(including all the amendments) are applicable to this document.
GB/T 6394 Metal - Methods for estimating the average grain size
GB/T 6611 Terminology and metallographs for titanium and titanium alloys
GB/T 13298 Inspection methods of microstructure for metals
YB/T 4377 Electrolytic polishing method of metallic specimens
3 Principle
Low magnification (macrostructure) examination is to select the appropriate
corrosive agent to show the macrostructure of titanium and titanium alloy
samples; use a magnifying glass no more than 20 times or visually check the
morphological characteristics. High magnification (microstructure) examination
is to select the appropriate corrosive agent to reveal the microstructure of
titanium and titanium alloy samples; use the microscope to analyze and identify
the microstructure characteristics of titanium and titanium alloy materials.
4 Reagents
Unless otherwise stated, the reagents used in the test are chemically pure.
4.1 Ammonium bifluoride (ρ=1.52 g/cm3).
4.2 Hydrofluoric acid (ρ=1.15 g/mL).
4.3 Nitric acid (ρ=1.40 g/mL).
4.4 Hydrochloric acid (ρ=1.19 g/mL).
4.5 Hydrogen peroxide (ρ=1.10 g/mL).
4.6 Glacial acetic acid (ρ=1.05 g/mL).
4.7 Glycerol (glycerin) (ρ=1.3 g/mL).
5 Apparatus
5.1 Microstructure and macrostructure examination related equipment includes
sample preparation equipment (metallographic cutting machine, inlay machine,
grinding-polishing machine, electrolytic polishing corrosion equipment, etc.),
metallographic microscope, and photographic system, etc. It shall all meet the
relevant safety and technical requirements.
5.2 The metallographic grinding-polishing machine shall be equipped with water
inlet and drainage channels; or select fully-automatic sample preparation
equipment.
5.3 The metallographic microscope shall be qualified by measurement
calibration. The photographic system shall ensure the traceability of the image
size. If there is a scale in the eyepiece, the micrometer shall be used for
calibration. The micrometer shall be subject to verification according to the
measurement requirements.
6 Macrostructure examination
6.1 Sampling
6.1.1 Macrostructure samples shall be cut according to product technical
requirements or the provisions of Table 1.
6.1.2 During the sample cutting process, appropriate measures shall be taken,
to avoid changes in the sample surface and internal tissues.
7.1.1 According to product technical requirements or test purposes, samples
shall be cut from representative locations or samples that have undergone
macrostructure examination. During the cutting process, plastic deformation
and microstructure changes caused by heat shall be prevented.
7.1.2 Recommended sample size: The area of the surface to be examined is
less than 400 mm2. The height is preferably 15 mm~20 mm.
7.1.3 According to different examination purposes, select a reasonable surface
to be examined and clearly mark. Longitudinal section is selected for the
surface to be examined of the structure of extruded or rolled pipe. Transverse
section, which is perpendicular to the main deformation direction, is selected
for the surface to be examined of the structure of other processed products.
7.2 Sample inlay
7.2.1 When checking the surface structure of processed products, or when the
sample is small, irregular in shape, porous, etc., the sample shall be inlaid.
7.2.2 Inlay methods include hot inlay, cold inlay, and mechanical clamping,
which can be selected according to the sample and examination requirements.
For specific operations, see GB/T 13298.
7.3 Sample grinding
7.3.1 Choose sandpaper or millstones with different grain sizes from coarse to
fine; PLACE the samples on the grinder and grind in turn, to remove the
processing traces of the samples.
7.3.2 During the grinding process, water can be added for cooling, to prevent
producing overheated structure.
7.4 Sample polishing
7.4.1 Titanium and titanium alloys are usually mechanically-polished. If the
polishing effect cannot meet the requirements, chemical polishing or electrolytic
polishing can be selected; or a combination of several polishing methods.
7.4.2 During mechanical polishing, it shall select the appropriate polishing fabric
and polishing agent. The specific requirements are as follows:
a) During rough polishing, add polishing agents such as alumina, diamond,
silicon oxide with a particle size of about 10 μm to the polishing disc. The
polishing of pure titanium samples can be repeated 2 times~3 times by
mechanical polishing plus corrosion of microscopic corrosive agent.
b) During elaborate polishing, polishing agents such as alumina, diamond,
7.6.2 Choose different magnifications from low to high for structure observation.
According to product technical requirements or sample structures, choose the
appropriate magnification.
7.6.3 Observe the full range of the surface to be examined of the sample.
According to the test purposes or product technical requirements, select a
representative field of view to judge the results.
7.6.4 Common microstructure can be identified and judged according to GB/T
6611. For typical microstructures, metallurgical defects, processing defects,
and heterogeneous structures of titanium alloys, refer to Appendix A, Appendix
B, Appendix C, and Appendix D.
7.6.5 The measurement of the primary α-phase content is carried out in
accordance with the provisions of Appendix E.
7.6.6 The measurement of the size of the strip α-phase is carried out in
accordance with the provisions of Appendix F.
8 Determination of common defect structures of
titanium and titanium alloys
8.1 Metallurgical defects
8.1.1 Inclusions can be divided into high-density inclusions, low-density
inclusions, and hard α inclusions. Inclusions in macrostructure generally appear
as bright spots or intermittent stripes. The microhardness of this area is quite
different from the matrix area.
8.1.2 The segregation is divided into α segregation, β segregation (β-spot), and
Ti-rich segregation, as follows:
a) α segregation: Macrostructure generally shows bright points, bright bands,
or bright spots. Microstructure has more α-phase content in this area than
matrix structures.
b) β segregation (β-spot): Macrostructure generally appears as bright points,
bright bands, or bright spots, and can also appear as dark points or dark
spots. In the microstructure, the content of primary α-phase is relatively
small in this area; or the Widmanstatten structure appears, and there are
obvious β grain boundaries.
c) Ti-rich segregation: Macrostructure appears as bright or dark strips.
Microstructure shows dense α structure or Widmanstatten structure.
Appendix F
(Normative)
Method for measuring the size of strip α-phase
F.1 Overview
F.1.1 The measurement method of this appendix measures the size of the strip
α-phase in daily examination, to ensure that the measurement results meet the
requirements.
F.1.2 The strip α-phase is fibrous or elongated. Its aspect ratio is generally
greater than 3.
F.2 Measurement method
F.2.1 TAKE 3 equal line segments from the upper, middle, and lower parts of
the sample test surface. TAKE 5 fields of view (a total of 15 fields of view) at the
quintiles of the line segment respectively, to observe and measure the strip α-
phase.
F.2.2 For a straight-line strip α-phase, its length is the straight-line distance of
the strip.
F.2.3 For an irregularly curved strip α-phase, its length is the straight-line
distance at both ends of the strip.
F.2.4 The adjacent strips with phase interface are not counted as a single strip.
According to their phase interfaces, measure their lengths separately.
F.3 Example
F.3.1 The common types of different types of strip α-phase are shown in Figure
F.1.
F.3.2 In Figure F.1, L1, L2, and L3 are all straight-line strip α-phases.
F.3.3 In Figure F.1, L4 is an irregularly curved strip α-phase.
F.3.4 In Figure F.1, L2 and L3 are adjacent strip α-phases with phase interface,
which shall be measured separately.
GB/T 5168-2020
GB
NATIONAL STANDARD OF THE
PEOPLE’S REPUBLIC OF CHINA
ICS 77.120.50
H 24
Replacing GB/T 5168-2008
Microstructure and macrostructure examination for
titanium and titanium alloys
ISSUED ON: MARCH 06, 2020
IMPLEMENTED ON: FEBRUARY 01, 2021
Issued by: State Administration for Market Regulation;
Standardization Administration of the PRC.
Table of Contents
Foreword ... 3
1 Scope ... 5
2 Normative references ... 5
3 Principle ... 5
4 Reagents ... 5
5 Apparatus ... 6
6 Macrostructure examination ... 6
7 Microstructure examination ... 8
8 Determination of common defect structures of titanium and titanium alloys 11
9 Test report ... 13
Appendix A (Informative) Metallographs of typical macrostructures and
microstructures of titanium and titanium alloys ... 14
Appendix B (Informative) Metallographs of typical metallurgical defects of
titanium and titanium alloys ... 21
Appendix C (Informative) Metallographs of typical processing defects of
titanium and titanium alloys ... 24
Appendix D (Informative) Metallographs of typical heterogeneous structures of
titanium and titanium alloys ... 30
Appendix E (Normative) Method for measuring the content of primary α-phase
... 33
Appendix F (Normative) Method for measuring the size of strip α-phase ... 38
Foreword
This Standard is drafted in accordance with the rules given in GB/T 1.1-2009.
This Standard replaces GB/T 5168-2008 "Microstructure and macrostructure
examination for α-β titanium alloys".
Compared with GB/T 5168-2008, in addition to editorial changes, the main
technical changes of this Standard are as follows:
- ADD the elements "Principle", "Reagents", and "Apparatus" (see Clause 3,
Clause 4, and Clause 5);
- Modify the requirements for preparation of macrostructure sample (see 6.1;
2.1 of the 2008 edition);
- ADD the requirements for heat treatment of samples during macro-β-spot
and macro-grain size examination (see 6.2.2);
- Modify the composition of macrostructure corrosive agent (see Table 2;
2.2.1 of the 2008 edition);
- Modify the requirements for prep...
Share
