1
/
of
9
PayPal, credit cards. Download editable-PDF & invoice in 1 second!
GB/T 5686.5-2008 English PDF (GBT5686.5-2008)
GB/T 5686.5-2008 English PDF (GBT5686.5-2008)
Regular price
$180.00 USD
Regular price
Sale price
$180.00 USD
Unit price
/
per
Shipping calculated at checkout.
Couldn't load pickup availability
Delivery: 3 seconds. Download true-PDF + Invoice.Newer version: (Replacing this standard) GB/T 5686.5-2023
Get QUOTATION in 1-minute: Click GB/T 5686.5-2008
Historical versions: GB/T 5686.5-2008
Preview True-PDF (Reload/Scroll if blank)
GB/T 5686.5-2008: Ferromanganese, ferromanganese-silicon, nitrogen-bearing ferromanganese and manganese metal -- Determination of carbon content -- The infrared absorption method, the gasometric method, the gravimetric and the coulometric method
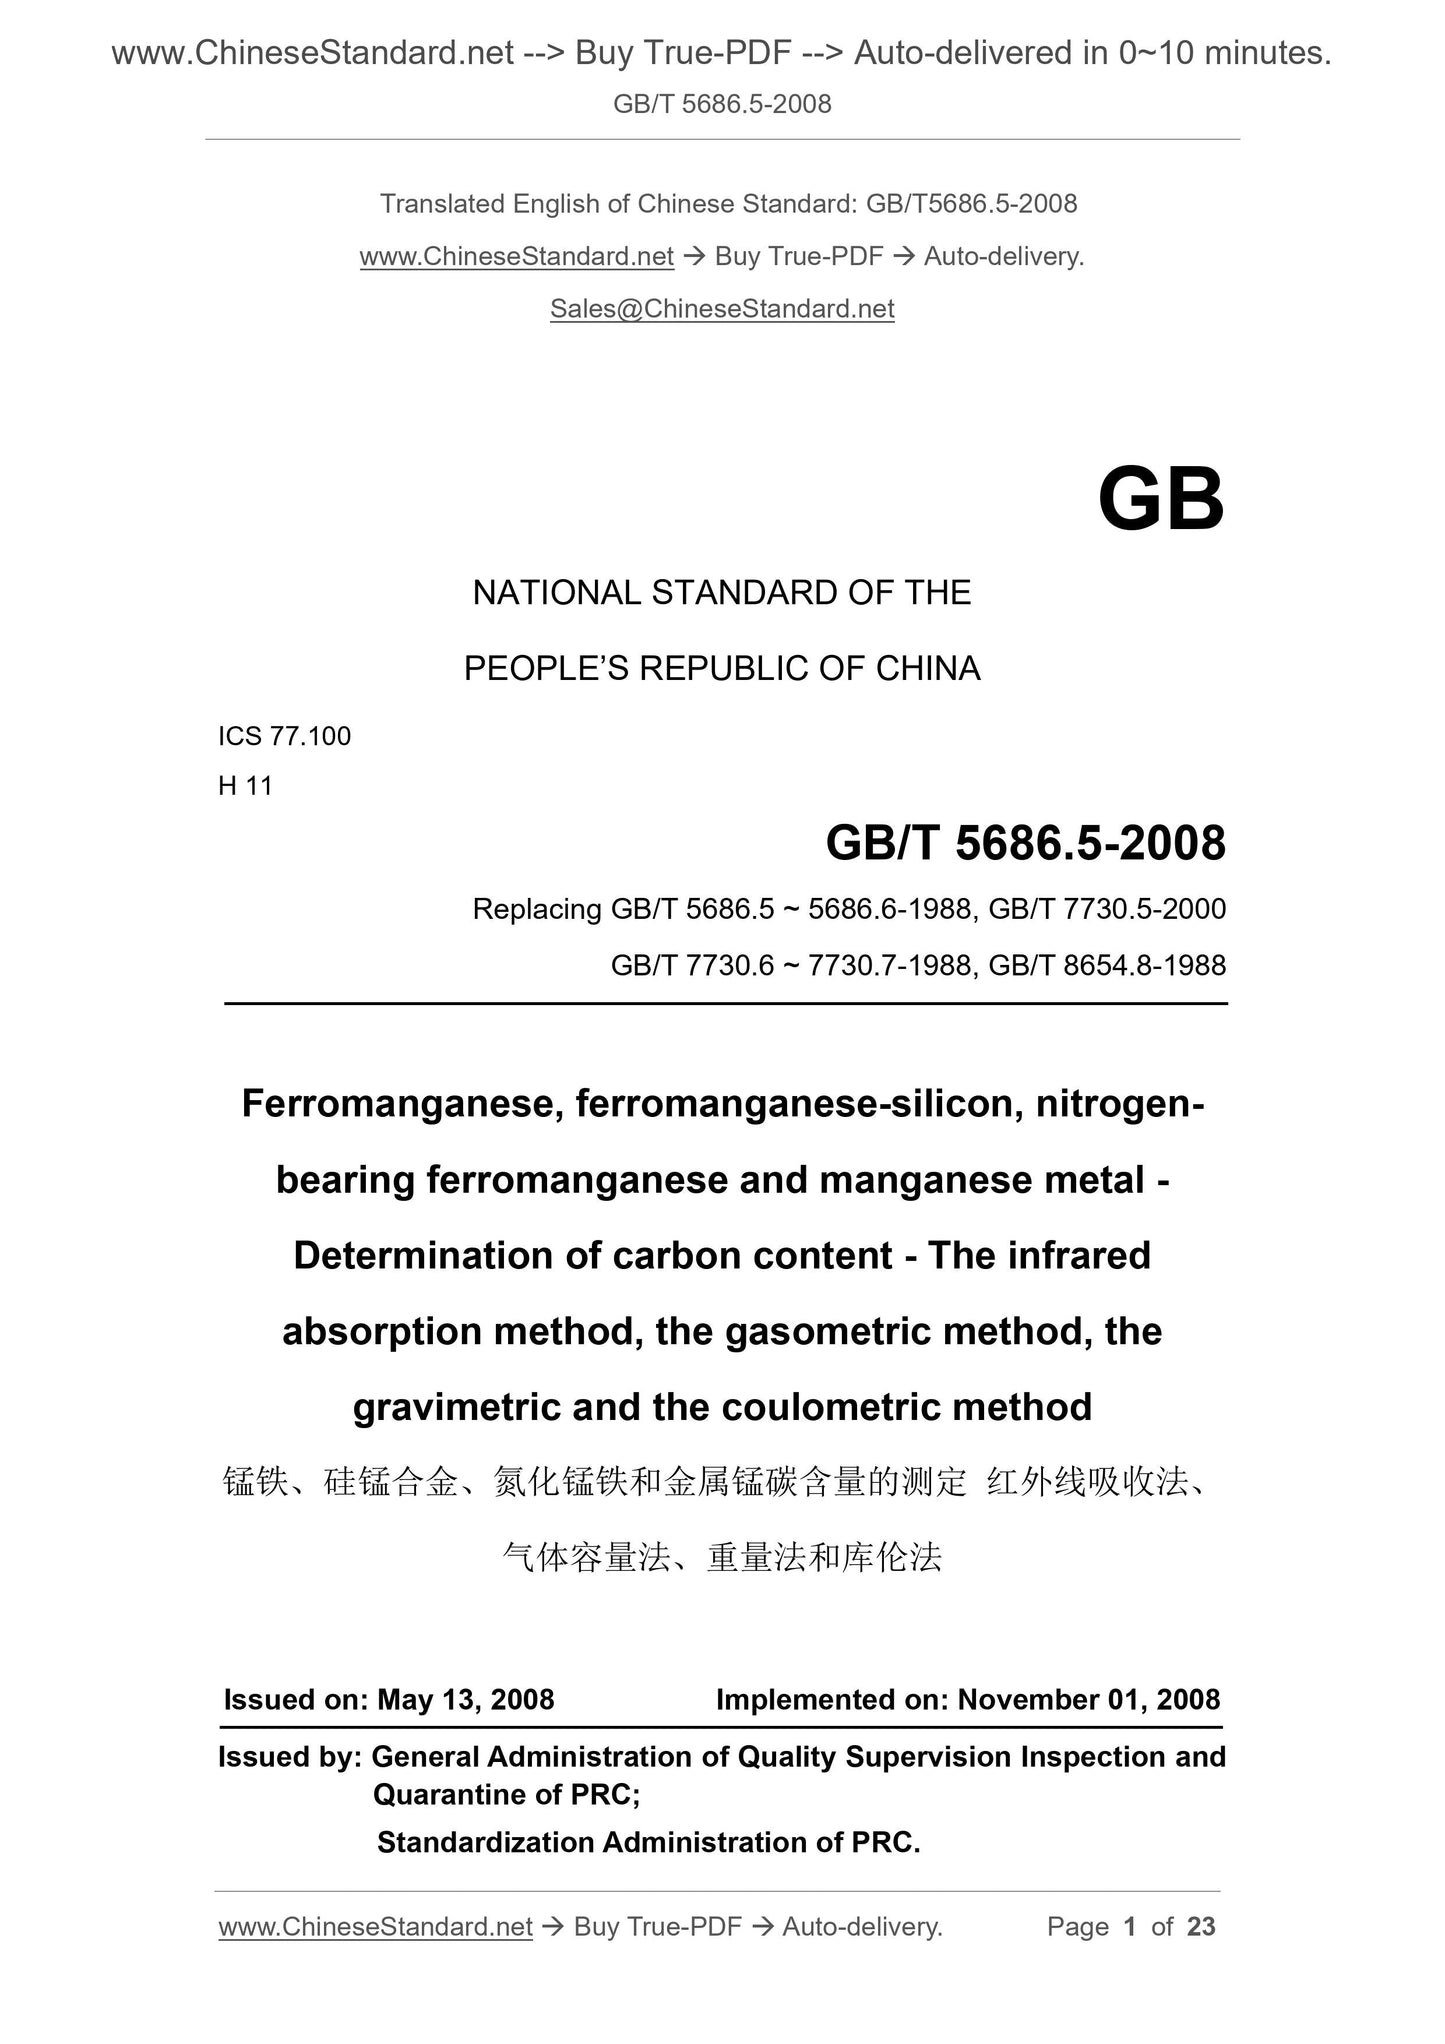
GB/T 5686.5-2008
GB
NATIONAL STANDARD OF THE
PEOPLE’S REPUBLIC OF CHINA
ICS 77.100
H 11
Replacing GB/T 5686.5 ~ 5686.6-1988, GB/T 7730.5-2000
GB/T 7730.6 ~ 7730.7-1988, GB/T 8654.8-1988
Ferromanganese, ferromanganese-silicon, nitrogen-
bearing ferromanganese and manganese metal -
Determination of carbon content - The infrared
absorption method, the gasometric method, the
gravimetric and the coulometric method
ISSUED ON: MAY 13, 2008
IMPLEMENTED ON: NOVEMBER 01, 2008
Issued by: General Administration of Quality Supervision Inspection and
Quarantine of PRC;
Standardization Administration of PRC.
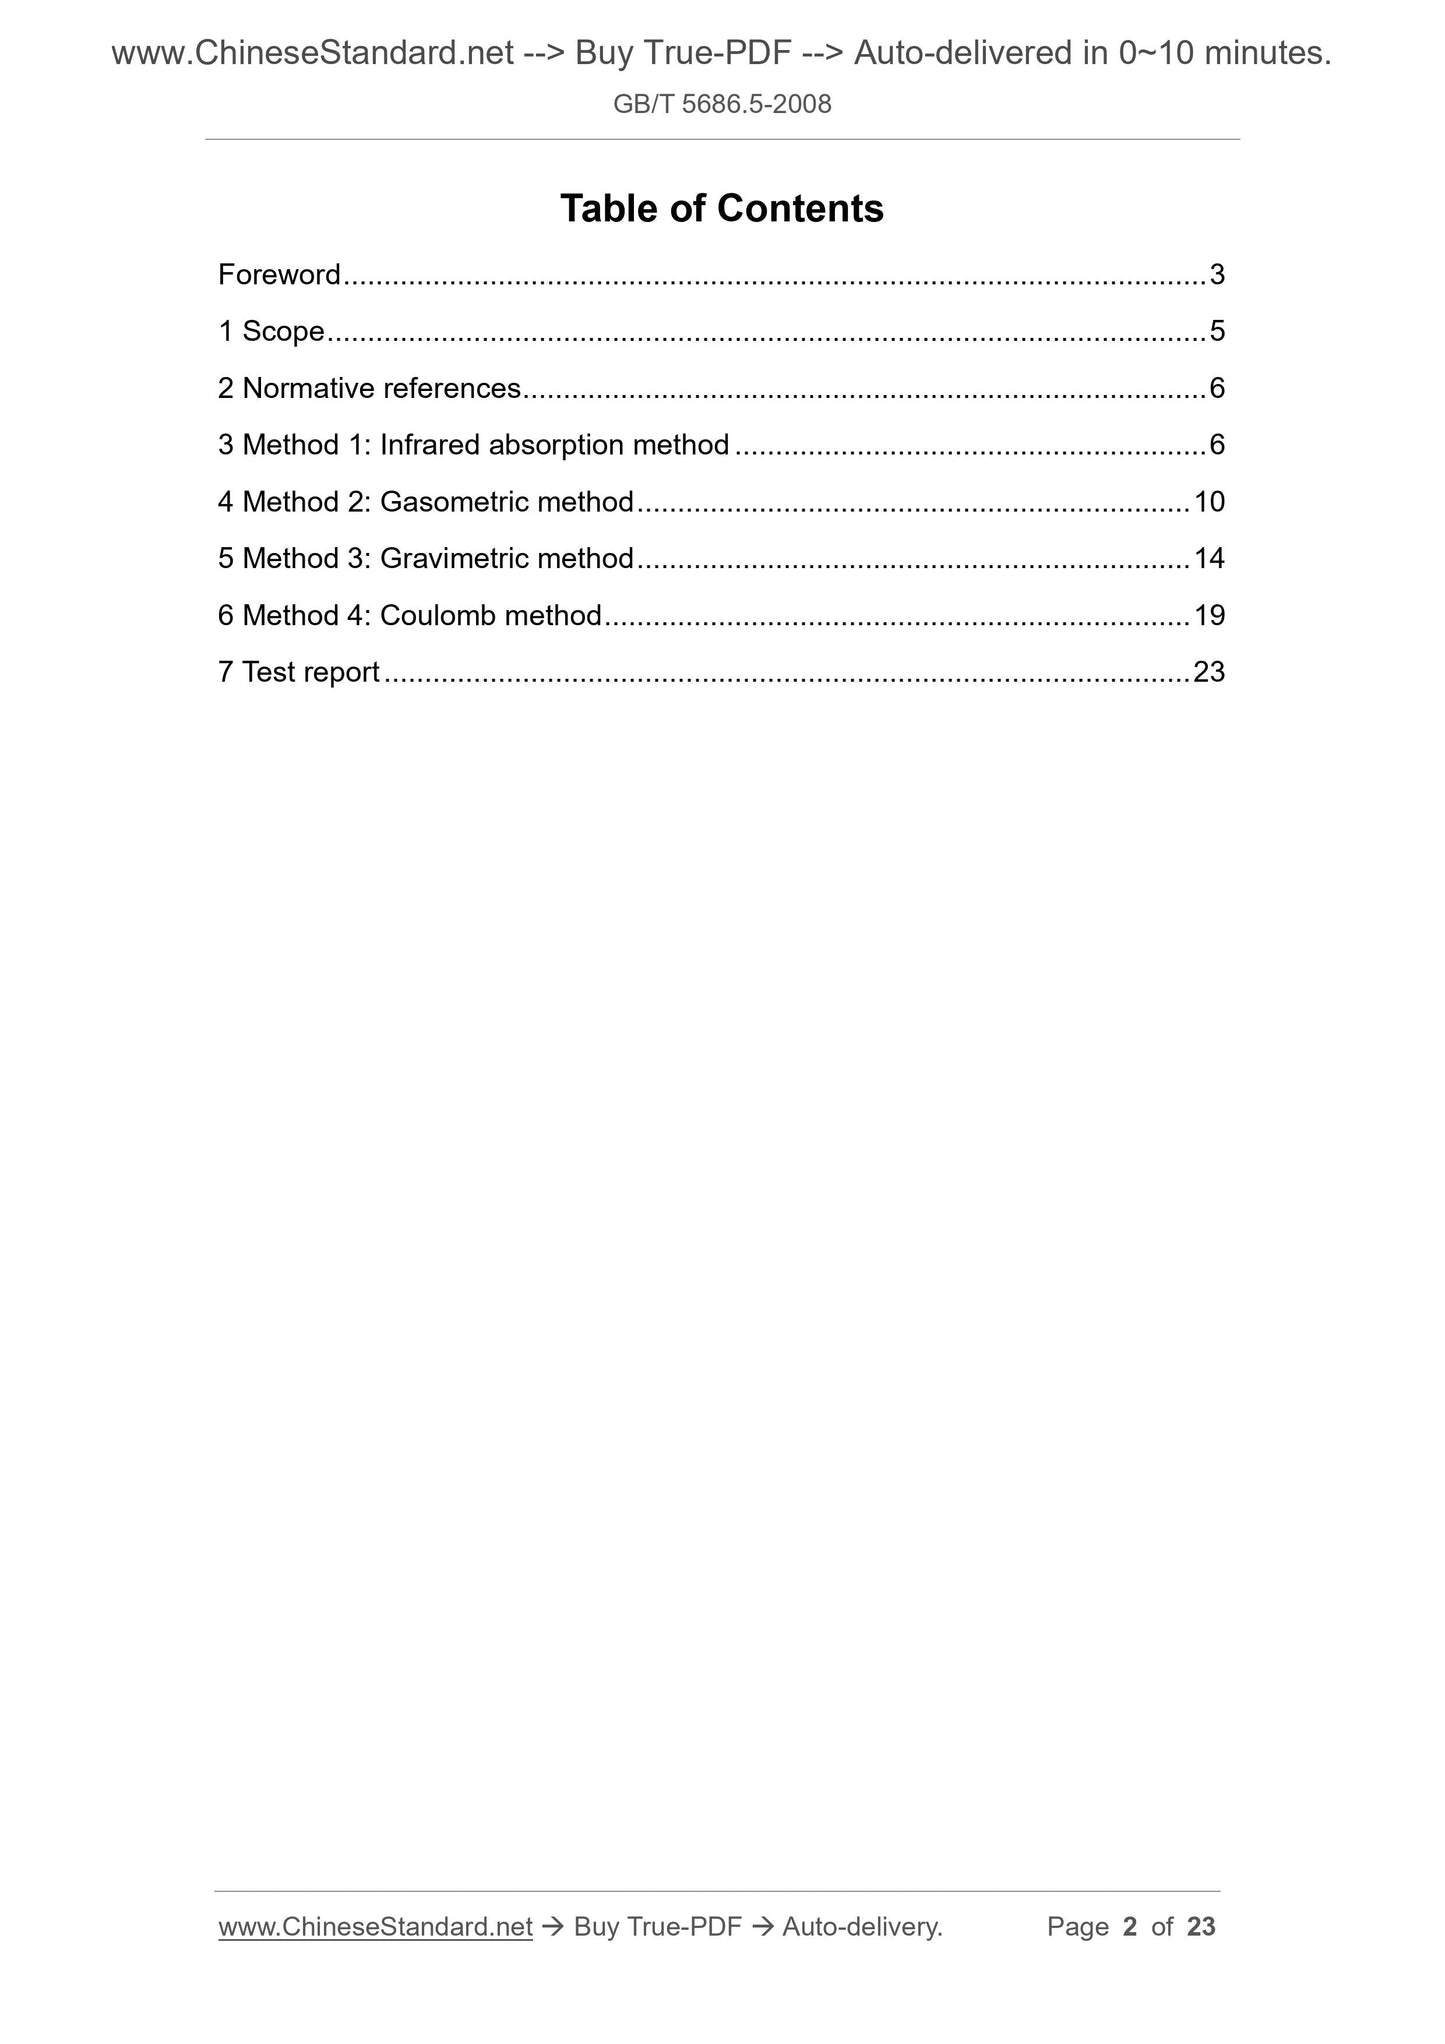
Table of Contents
Foreword ... 3
1 Scope ... 5
2 Normative references ... 6
3 Method 1: Infrared absorption method ... 6
4 Method 2: Gasometric method ... 10
5 Method 3: Gravimetric method ... 14
6 Method 4: Coulomb method ... 19
7 Test report ... 23
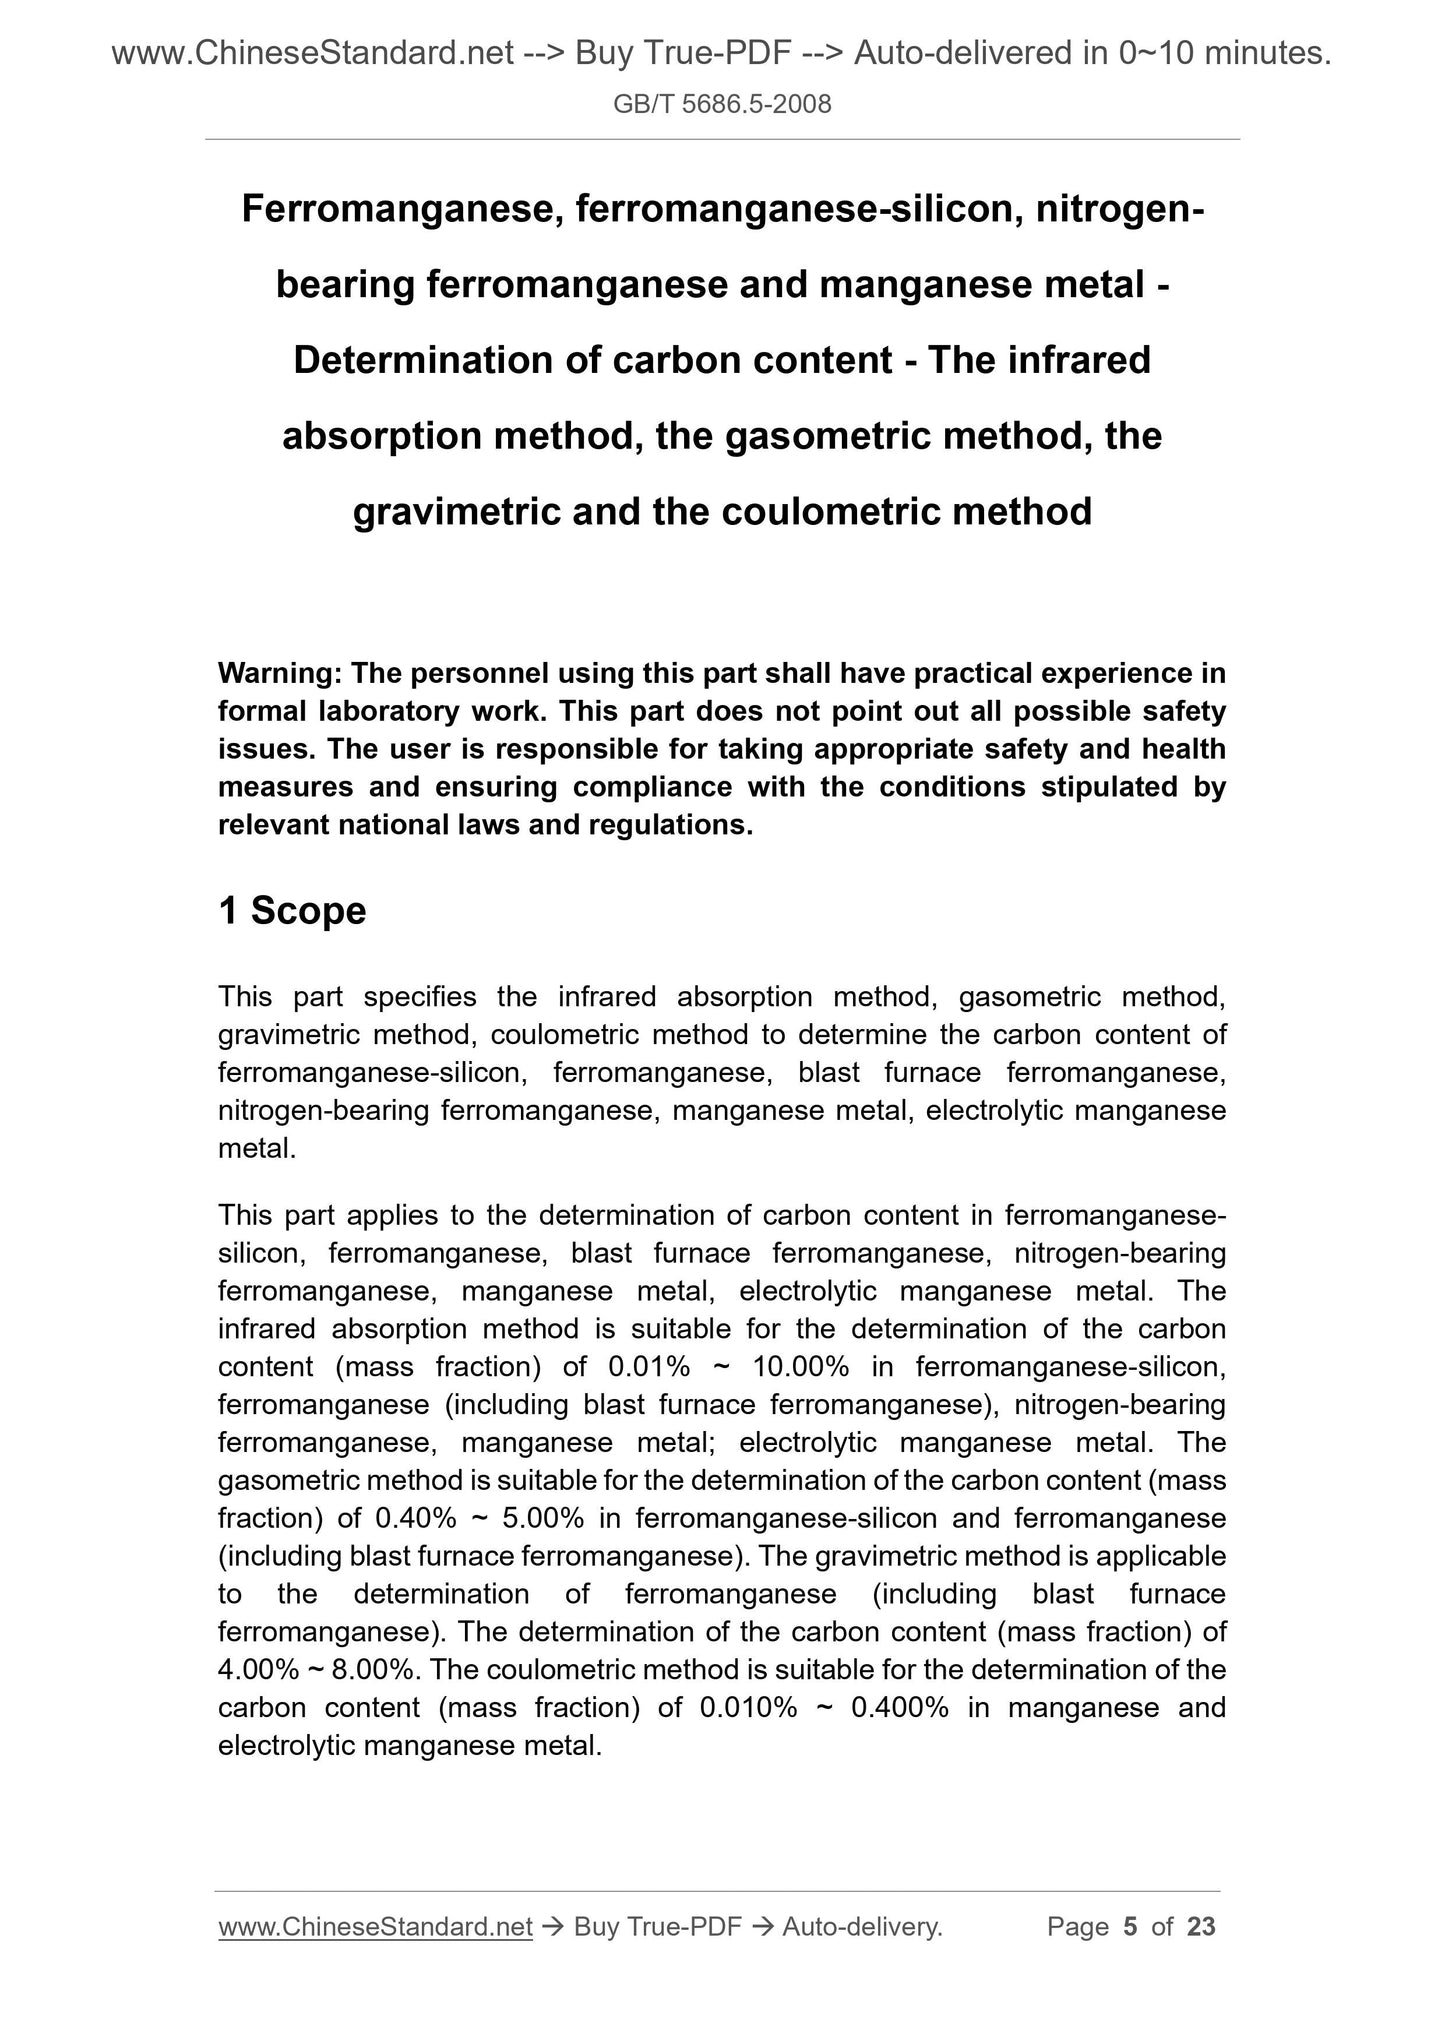
Ferromanganese, ferromanganese-silicon, nitrogen-
bearing ferromanganese and manganese metal -
Determination of carbon content - The infrared
absorption method, the gasometric method, the
gravimetric and the coulometric method
Warning: The personnel using this part shall have practical experience in
formal laboratory work. This part does not point out all possible safety
issues. The user is responsible for taking appropriate safety and health
measures and ensuring compliance with the conditions stipulated by
relevant national laws and regulations.
1 Scope
This part specifies the infrared absorption method, gasometric method,
gravimetric method, coulometric method to determine the carbon content of
ferromanganese-silicon, ferromanganese, blast furnace ferromanganese,
nitrogen-bearing ferromanganese, manganese metal, electrolytic manganese
metal.
This part applies to the determination of carbon content in ferromanganese-
silicon, ferromanganese, blast furnace ferromanganese, nitrogen-bearing
ferromanganese, manganese metal, electrolytic manganese metal. The
infrared absorption method is suitable for the determination of the carbon
content (mass fraction) of 0.01% ~ 10.00% in ferromanganese-silicon,
ferromanganese (including blast furnace ferromanganese), nitrogen-bearing
ferromanganese, manganese metal; electrolytic manganese metal. The
gasometric method is suitable for the determination of the carbon content (mass
fraction) of 0.40% ~ 5.00% in ferromanganese-silicon and ferromanganese
(including blast furnace ferromanganese). The gravimetric method is applicable
to the determination of ferromanganese (including blast furnace
ferromanganese). The determination of the carbon content (mass fraction) of
4.00% ~ 8.00%. The coulometric method is suitable for the determination of the
carbon content (mass fraction) of 0.010% ~ 0.400% in manganese and
electrolytic manganese metal.
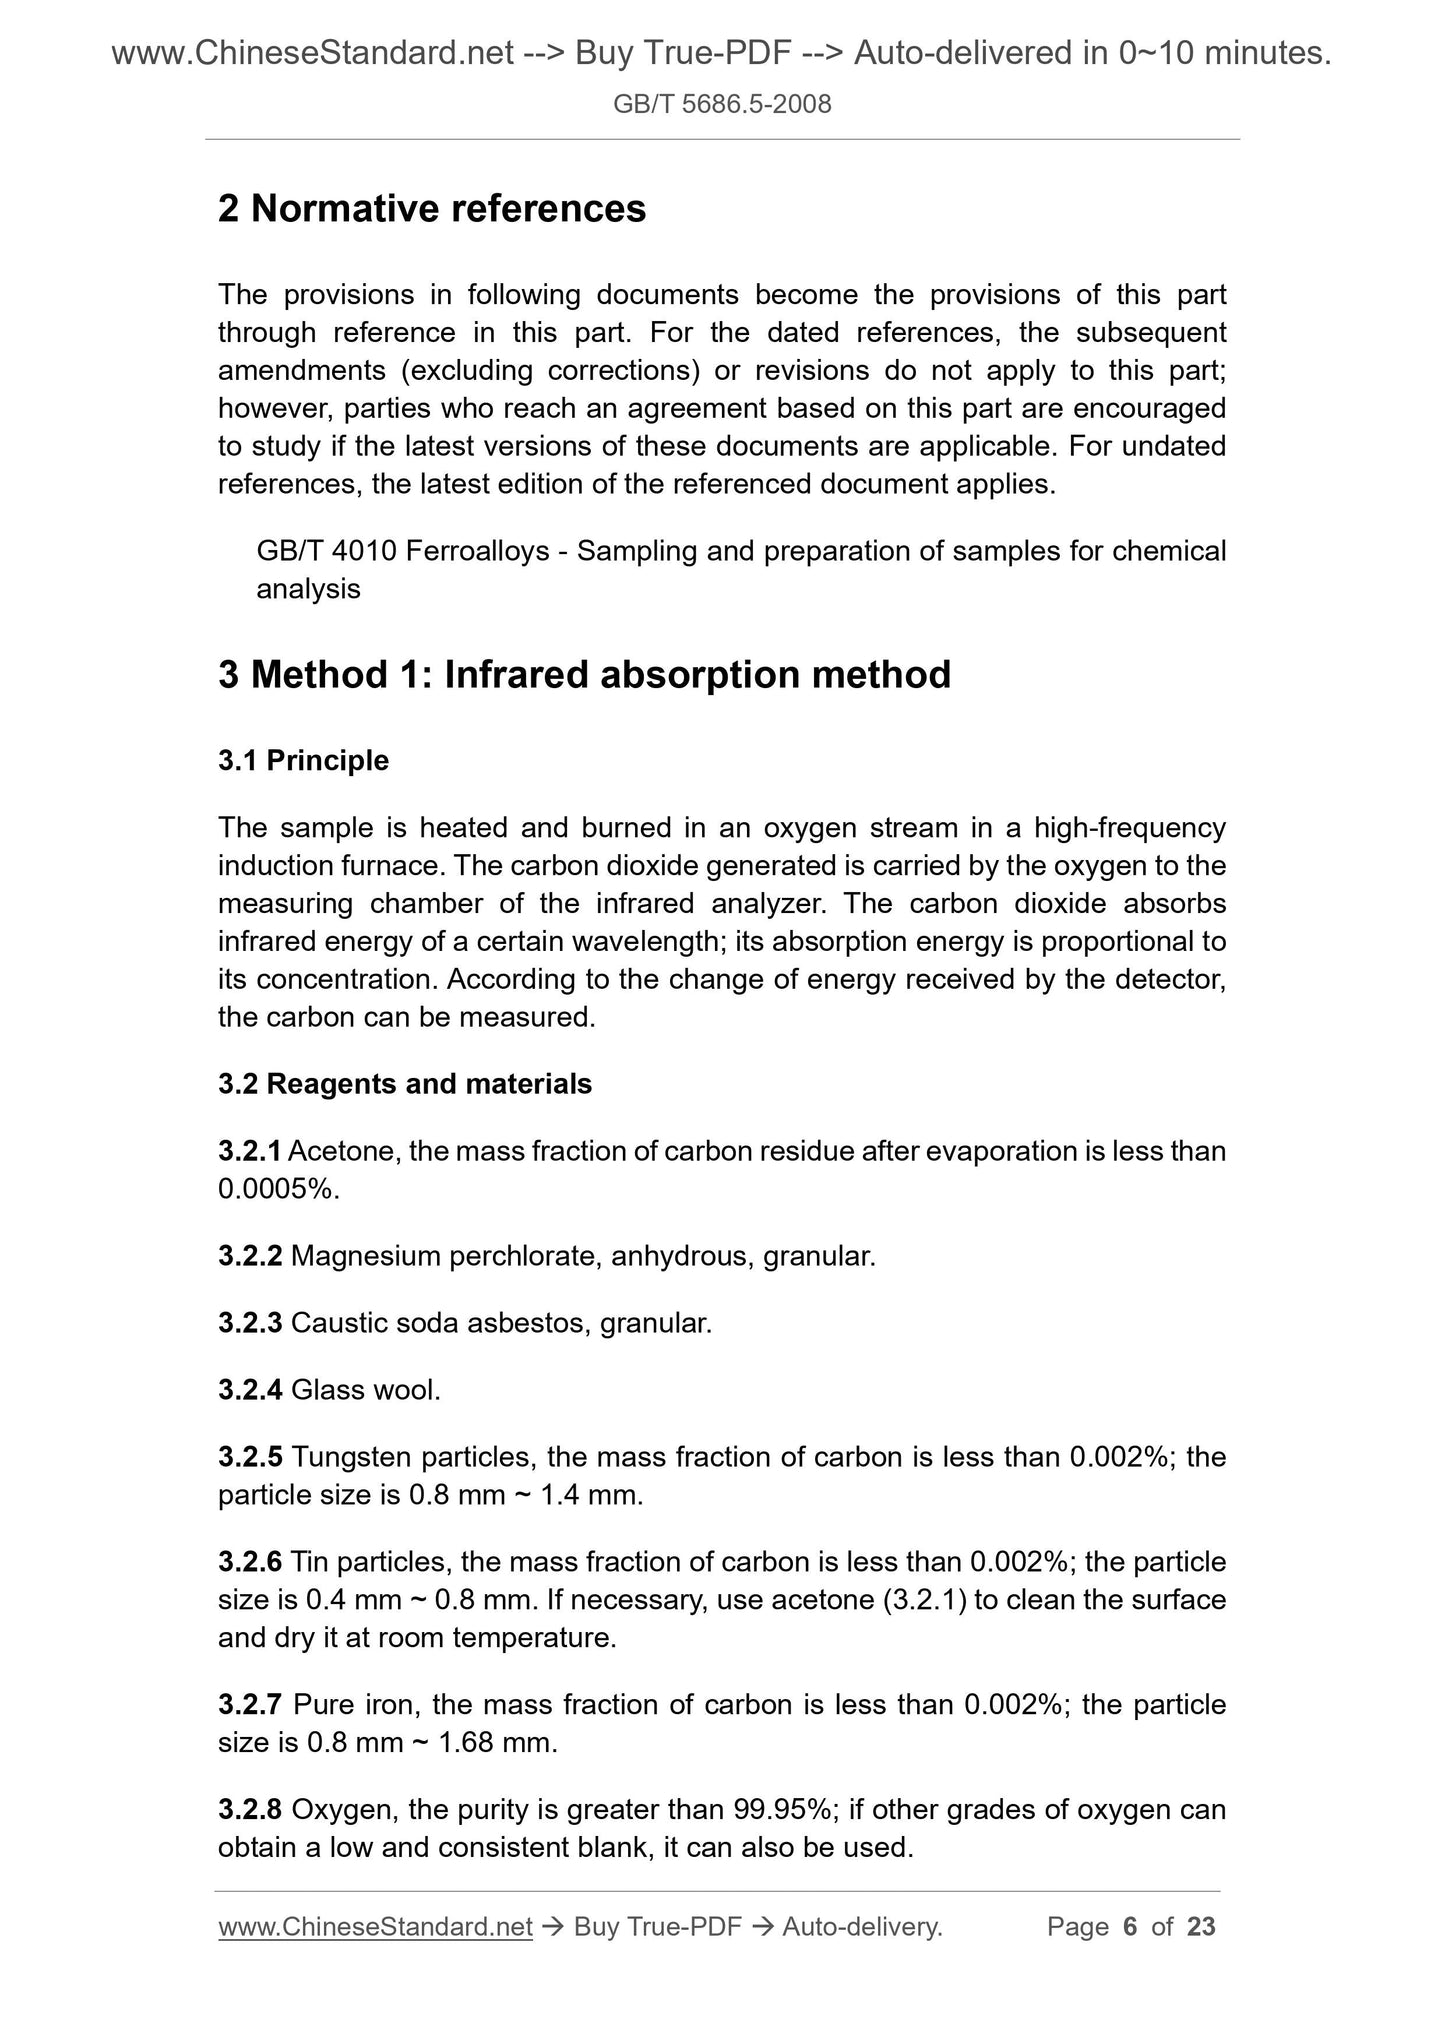
2 Normative references
The provisions in following documents become the provisions of this part
through reference in this part. For the dated references, the subsequent
amendments (excluding corrections) or revisions do not apply to this part;
however, parties who reach an agreement based on this part are encouraged
to study if the latest versions of these documents are applicable. For undated
references, the latest edition of the referenced document applies.
GB/T 4010 Ferroalloys - Sampling and preparation of samples for chemical
analysis
3 Method 1: Infrared absorption method
3.1 Principle
The sample is heated and burned in an oxygen stream in a high-frequency
induction furnace. The carbon dioxide generated is carried by the oxygen to the
measuring chamber of the infrared analyzer. The carbon dioxide absorbs
infrared energy of a certain wavelength; its absorption energy is proportional to
its concentration. According to the change of energy received by the detector,
the carbon can be measured.
3.2 Reagents and materials
3.2.1 Acetone, the mass fraction of carbon residue after evaporation is less than
0.0005%.
3.2.2 Magnesium perchlorate, anhydrous, granular.
3.2.3 Caustic soda asbestos, granular.
3.2.4 Glass wool.
3.2.5 Tungsten particles, the mass fraction of carbon is less than 0.002%; the
particle size is 0.8 mm ~ 1.4 mm.
3.2.6 Tin particles, the mass fraction of carbon is less than 0.002%; the particle
size is 0.4 mm ~ 0.8 mm. If necessary, use acetone (3.2.1) to clean the surface
and dry it at room temperature.
3.2.7 Pure iron, the mass fraction of carbon is less than 0.002%; the particle
size is 0.8 mm ~ 1.68 mm.
3.2.8 Oxygen, the purity is greater than 99.95%; if other grades of oxygen can
obtain a low and consistent blank, it can also be used.
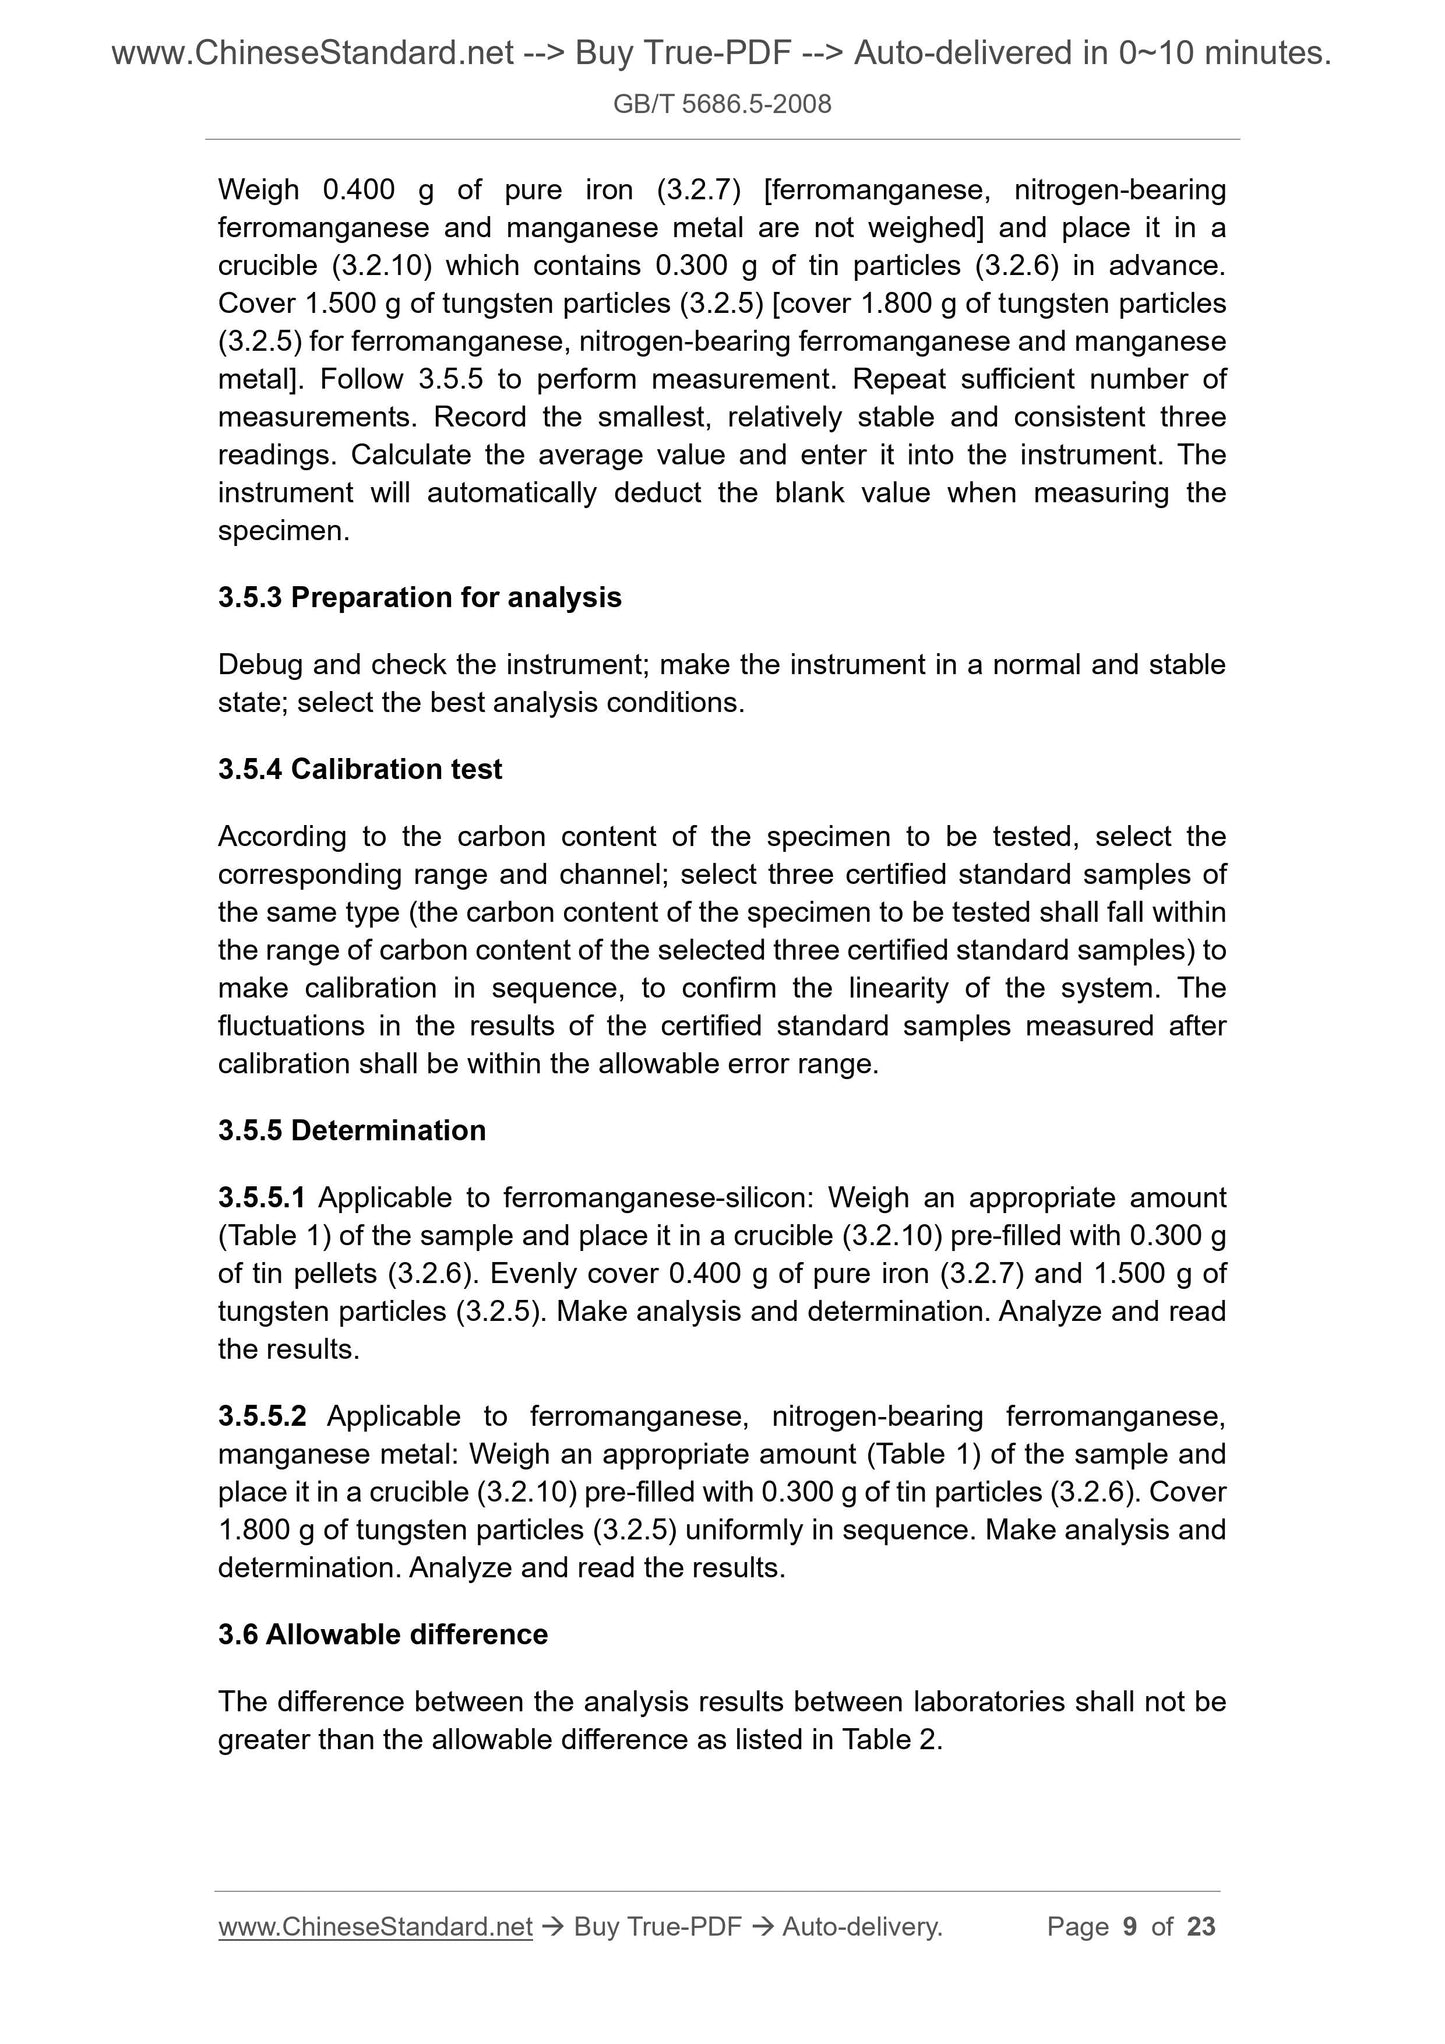
Weigh 0.400 g of pure iron (3.2.7) [ferromanganese, nitrogen-bearing
ferromanganese and manganese metal are not weighed] and place it in a
crucible (3.2.10) which contains 0.300 g of tin particles (3.2.6) in advance.
Cover 1.500 g of tungsten particles (3.2.5) [cover 1.800 g of tungsten particles
(3.2.5) for ferromanganese, nitrogen-bearing ferromanganese and manganese
metal]. Follow 3.5.5 to perform measurement. Repeat sufficient number of
measurements. Record the smallest, relatively stable and consistent three
readings. Calculate the average value and enter it into the instrument. The
instrument will automatically deduct the blank value when measuring the
specimen.
3.5.3 Preparation for analysis
Debug and check the instrument; make the instrument in a normal and stable
state; select the best analysis conditions.
3.5.4 Calibration test
According to the carbon content of the specimen to be tested, select the
corresponding range and channel; select three certified standard samples of
the same type (the carbon content of the specimen to be tested shall fall within
the range of carbon content of the selected three certified standard samples) to
make calibration in sequence, to confirm the linearity of the system. The
fluctuations in the results of the certified standard samples measured after
calibration shall be within the allowable error range.
3.5.5 Determination
3.5.5.1 Applicable to ferromanganese-silicon: Weigh an appropriate amount
(Table 1) of the sample and place it in a crucible (3.2.10) pre-filled with 0.300 g
of tin pellets (3.2.6). Evenly cover 0.400 g of pure iron (3.2.7) and 1.500 g of
tungsten particles (3.2.5). Make analysis and determination. Analyze and read
the results.
3.5.5.2 Applicable to ferromanganese, nitrogen-bearing ferromanganese,
manganese metal: Weigh an appropriate amount (Table 1) of the sample and
place it in a crucible (3.2.10) pre-filled with 0.300 g of tin particles (3.2.6). Cover
1.800 g of tungsten particles (3.2.5) uniformly in sequence. Make analysis and
determination. Analyze and read the results.
3.6 Allowable difference
The difference between the analysis results between laboratories shall not be
greater than the allowable difference as listed in Table 2.
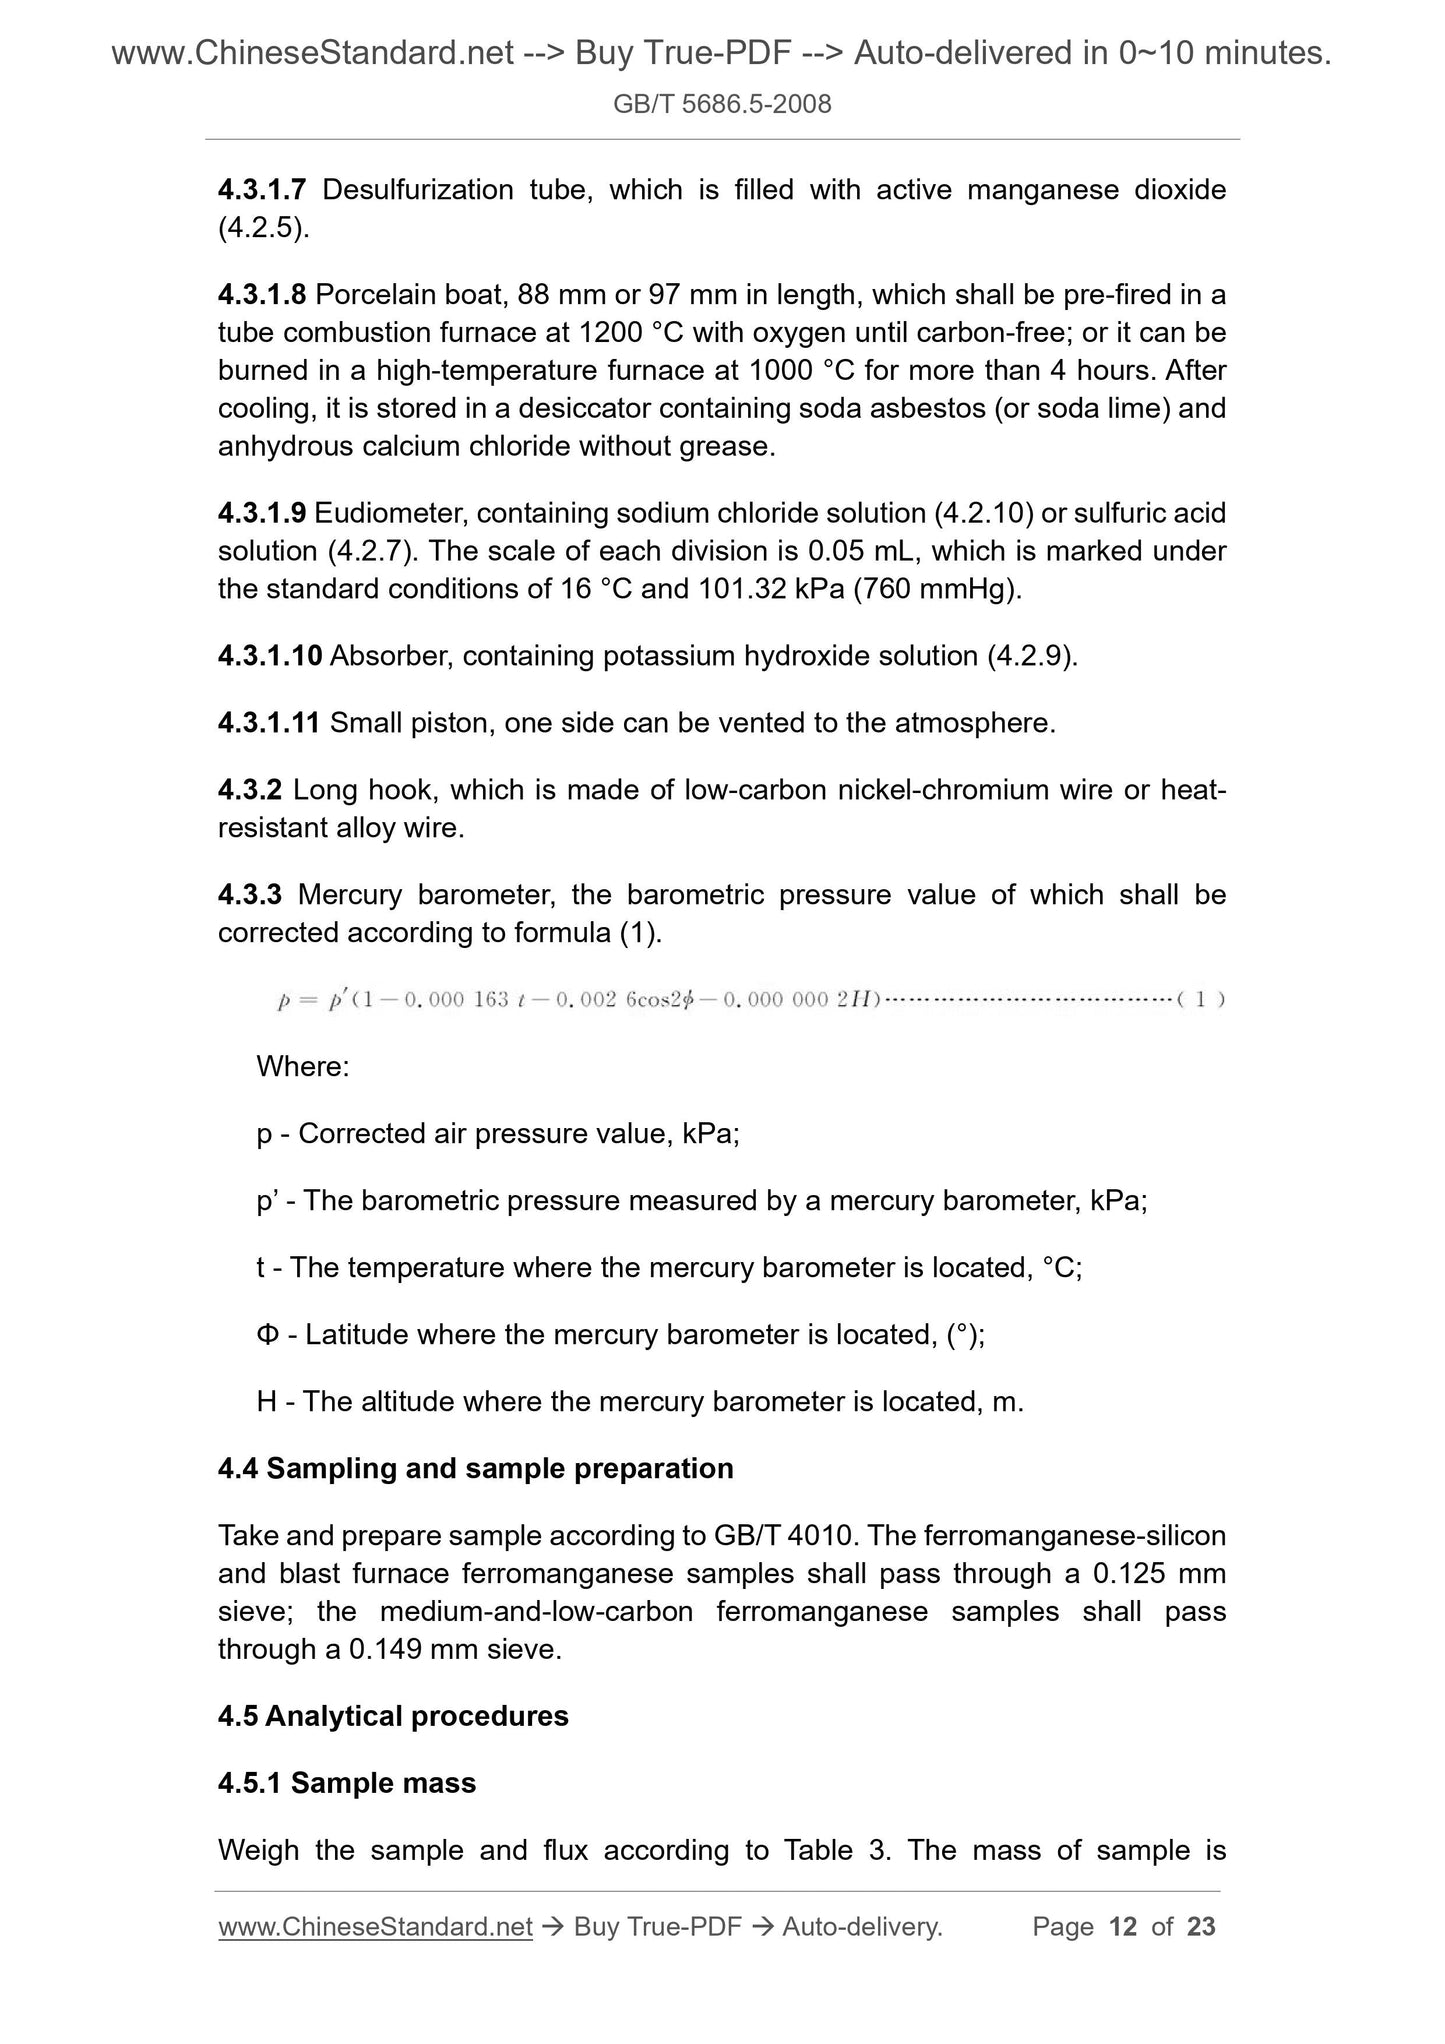
4.3.1.7 Desulfurization tube, which is filled with active manganese dioxide
(4.2.5).
4.3.1.8 Porcelain boat, 88 mm or 97 mm in length, which shall be pre-fired in a
tube combustion furnace at 1200 °C with oxygen until carbon-free; or it can be
burned in a high-temperature furnace at 1000 °C for more than 4 hours. After
cooling, it is stored in a desiccator containing soda asbestos (or soda lime) and
anhydrous calcium chloride without grease.
4.3.1.9 Eudiometer, containing sodium chloride solution (4.2.10) or sulfuric acid
solution (4.2.7). The s...
Share
