1
/
of
7
www.ChineseStandard.us -- Field Test Asia Pte. Ltd.
GB/T 6379.6-2009 English PDF (GB/T6379.6-2009)
GB/T 6379.6-2009 English PDF (GB/T6379.6-2009)
Regular price
$290.00
Regular price
Sale price
$290.00
Unit price
/
per
Shipping calculated at checkout.
Couldn't load pickup availability
GB/T 6379.6-2009: Accuracy (trueness and precision) of measurement methods and results -- Part 6: Use in practice of accuracy values
Delivery: 9 seconds. Download (& Email) true-PDF + Invoice.
Get Quotation: Click GB/T 6379.6-2009 (Self-service in 1-minute)
Historical versions (Master-website): GB/T 6379.6-2009
Preview True-PDF (Reload/Scroll-down if blank)
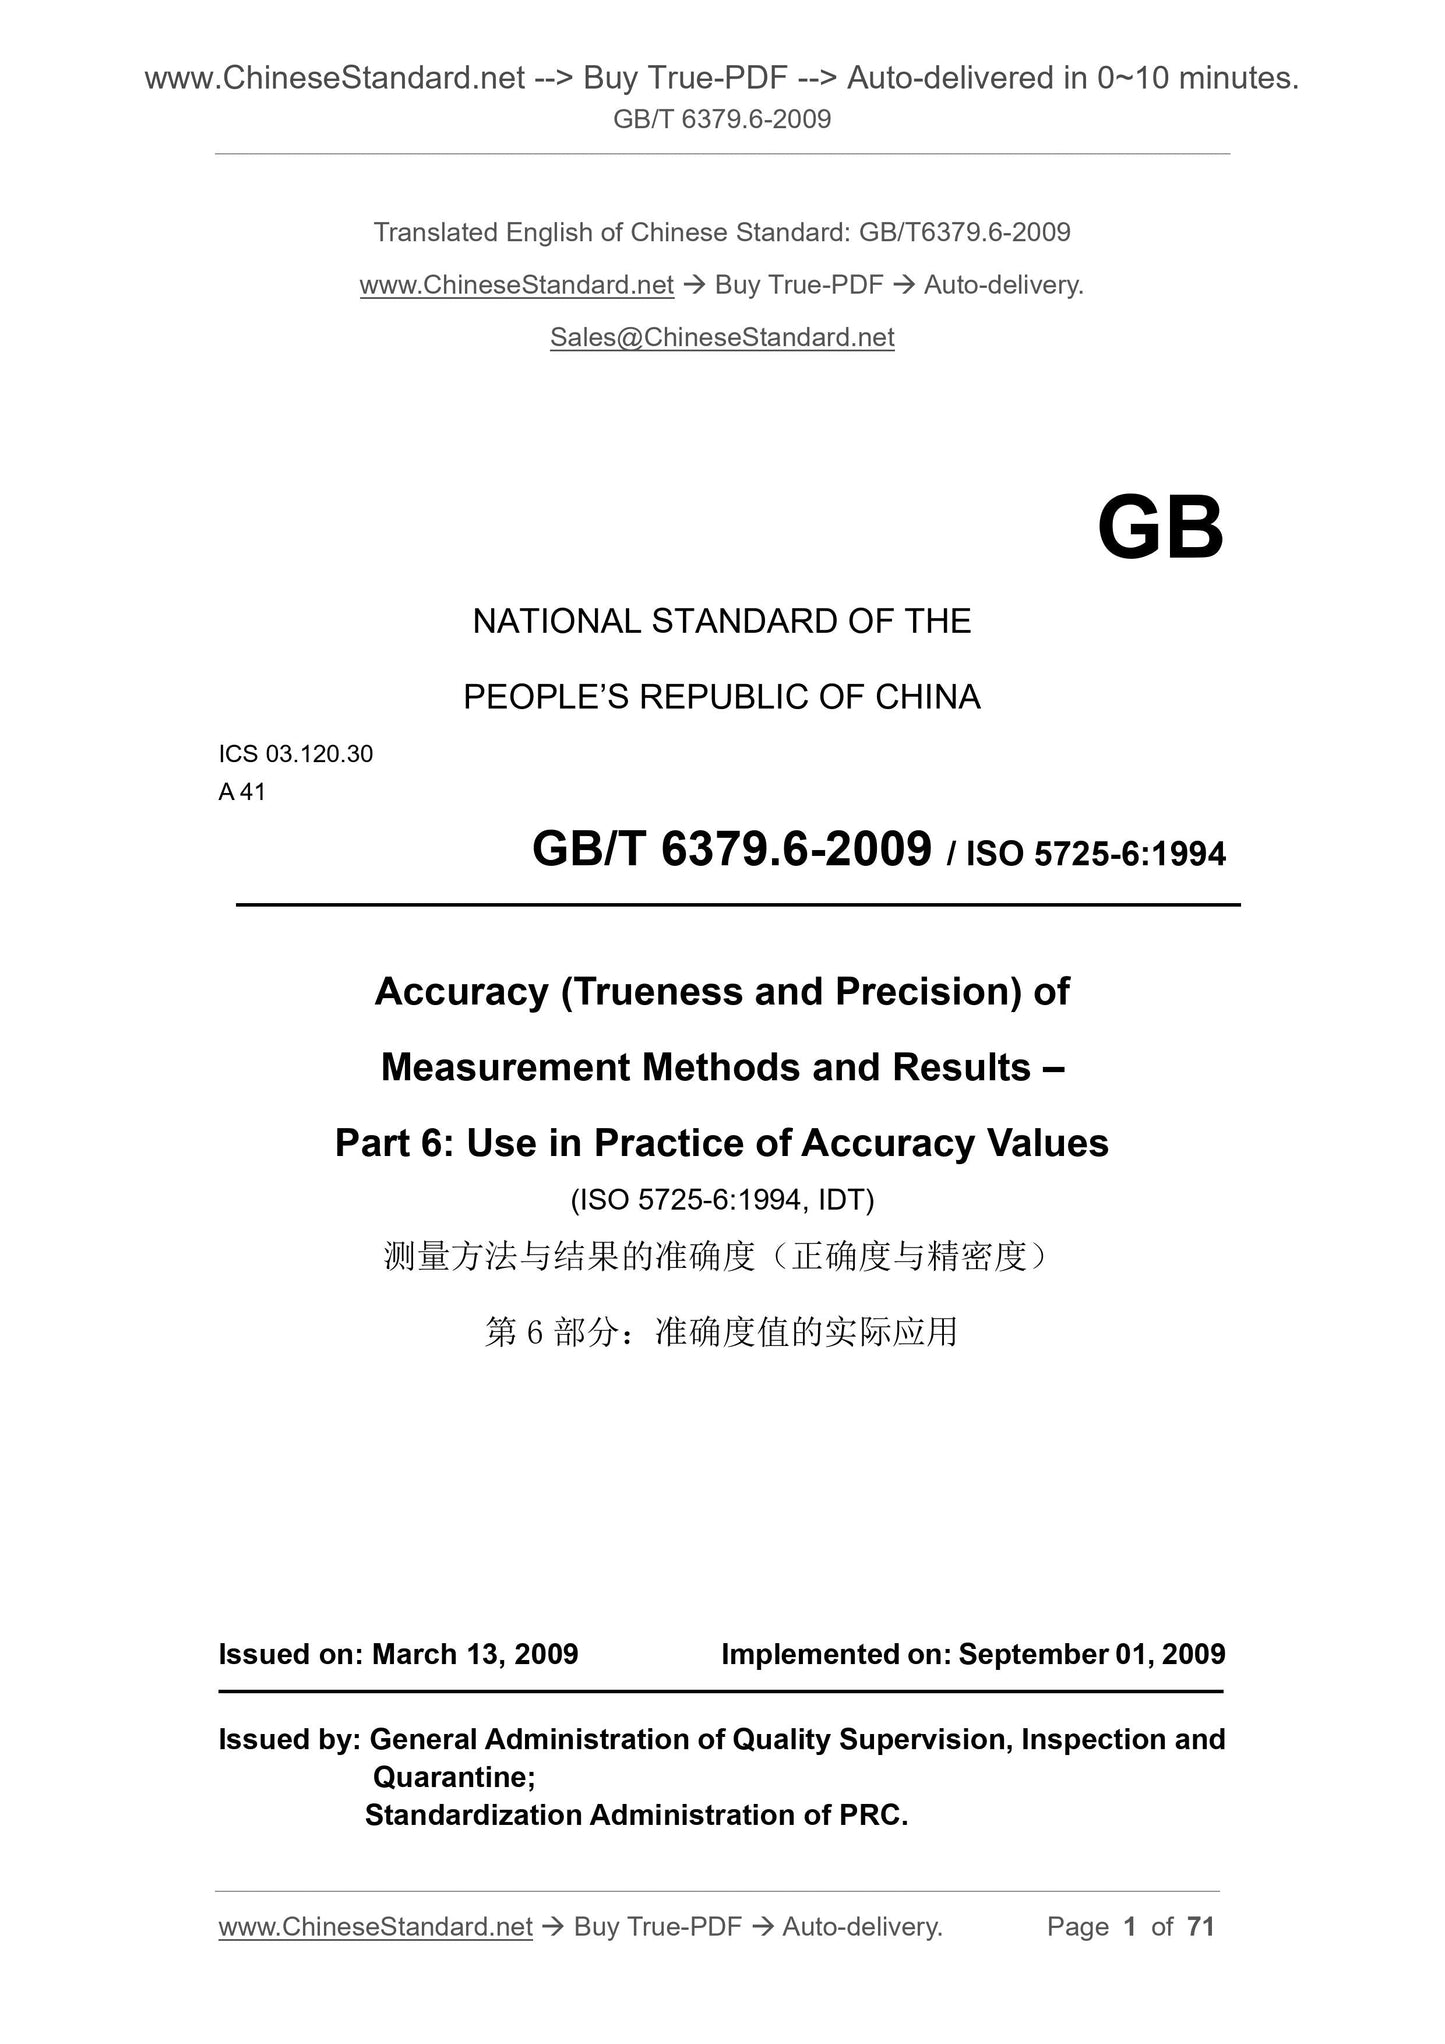
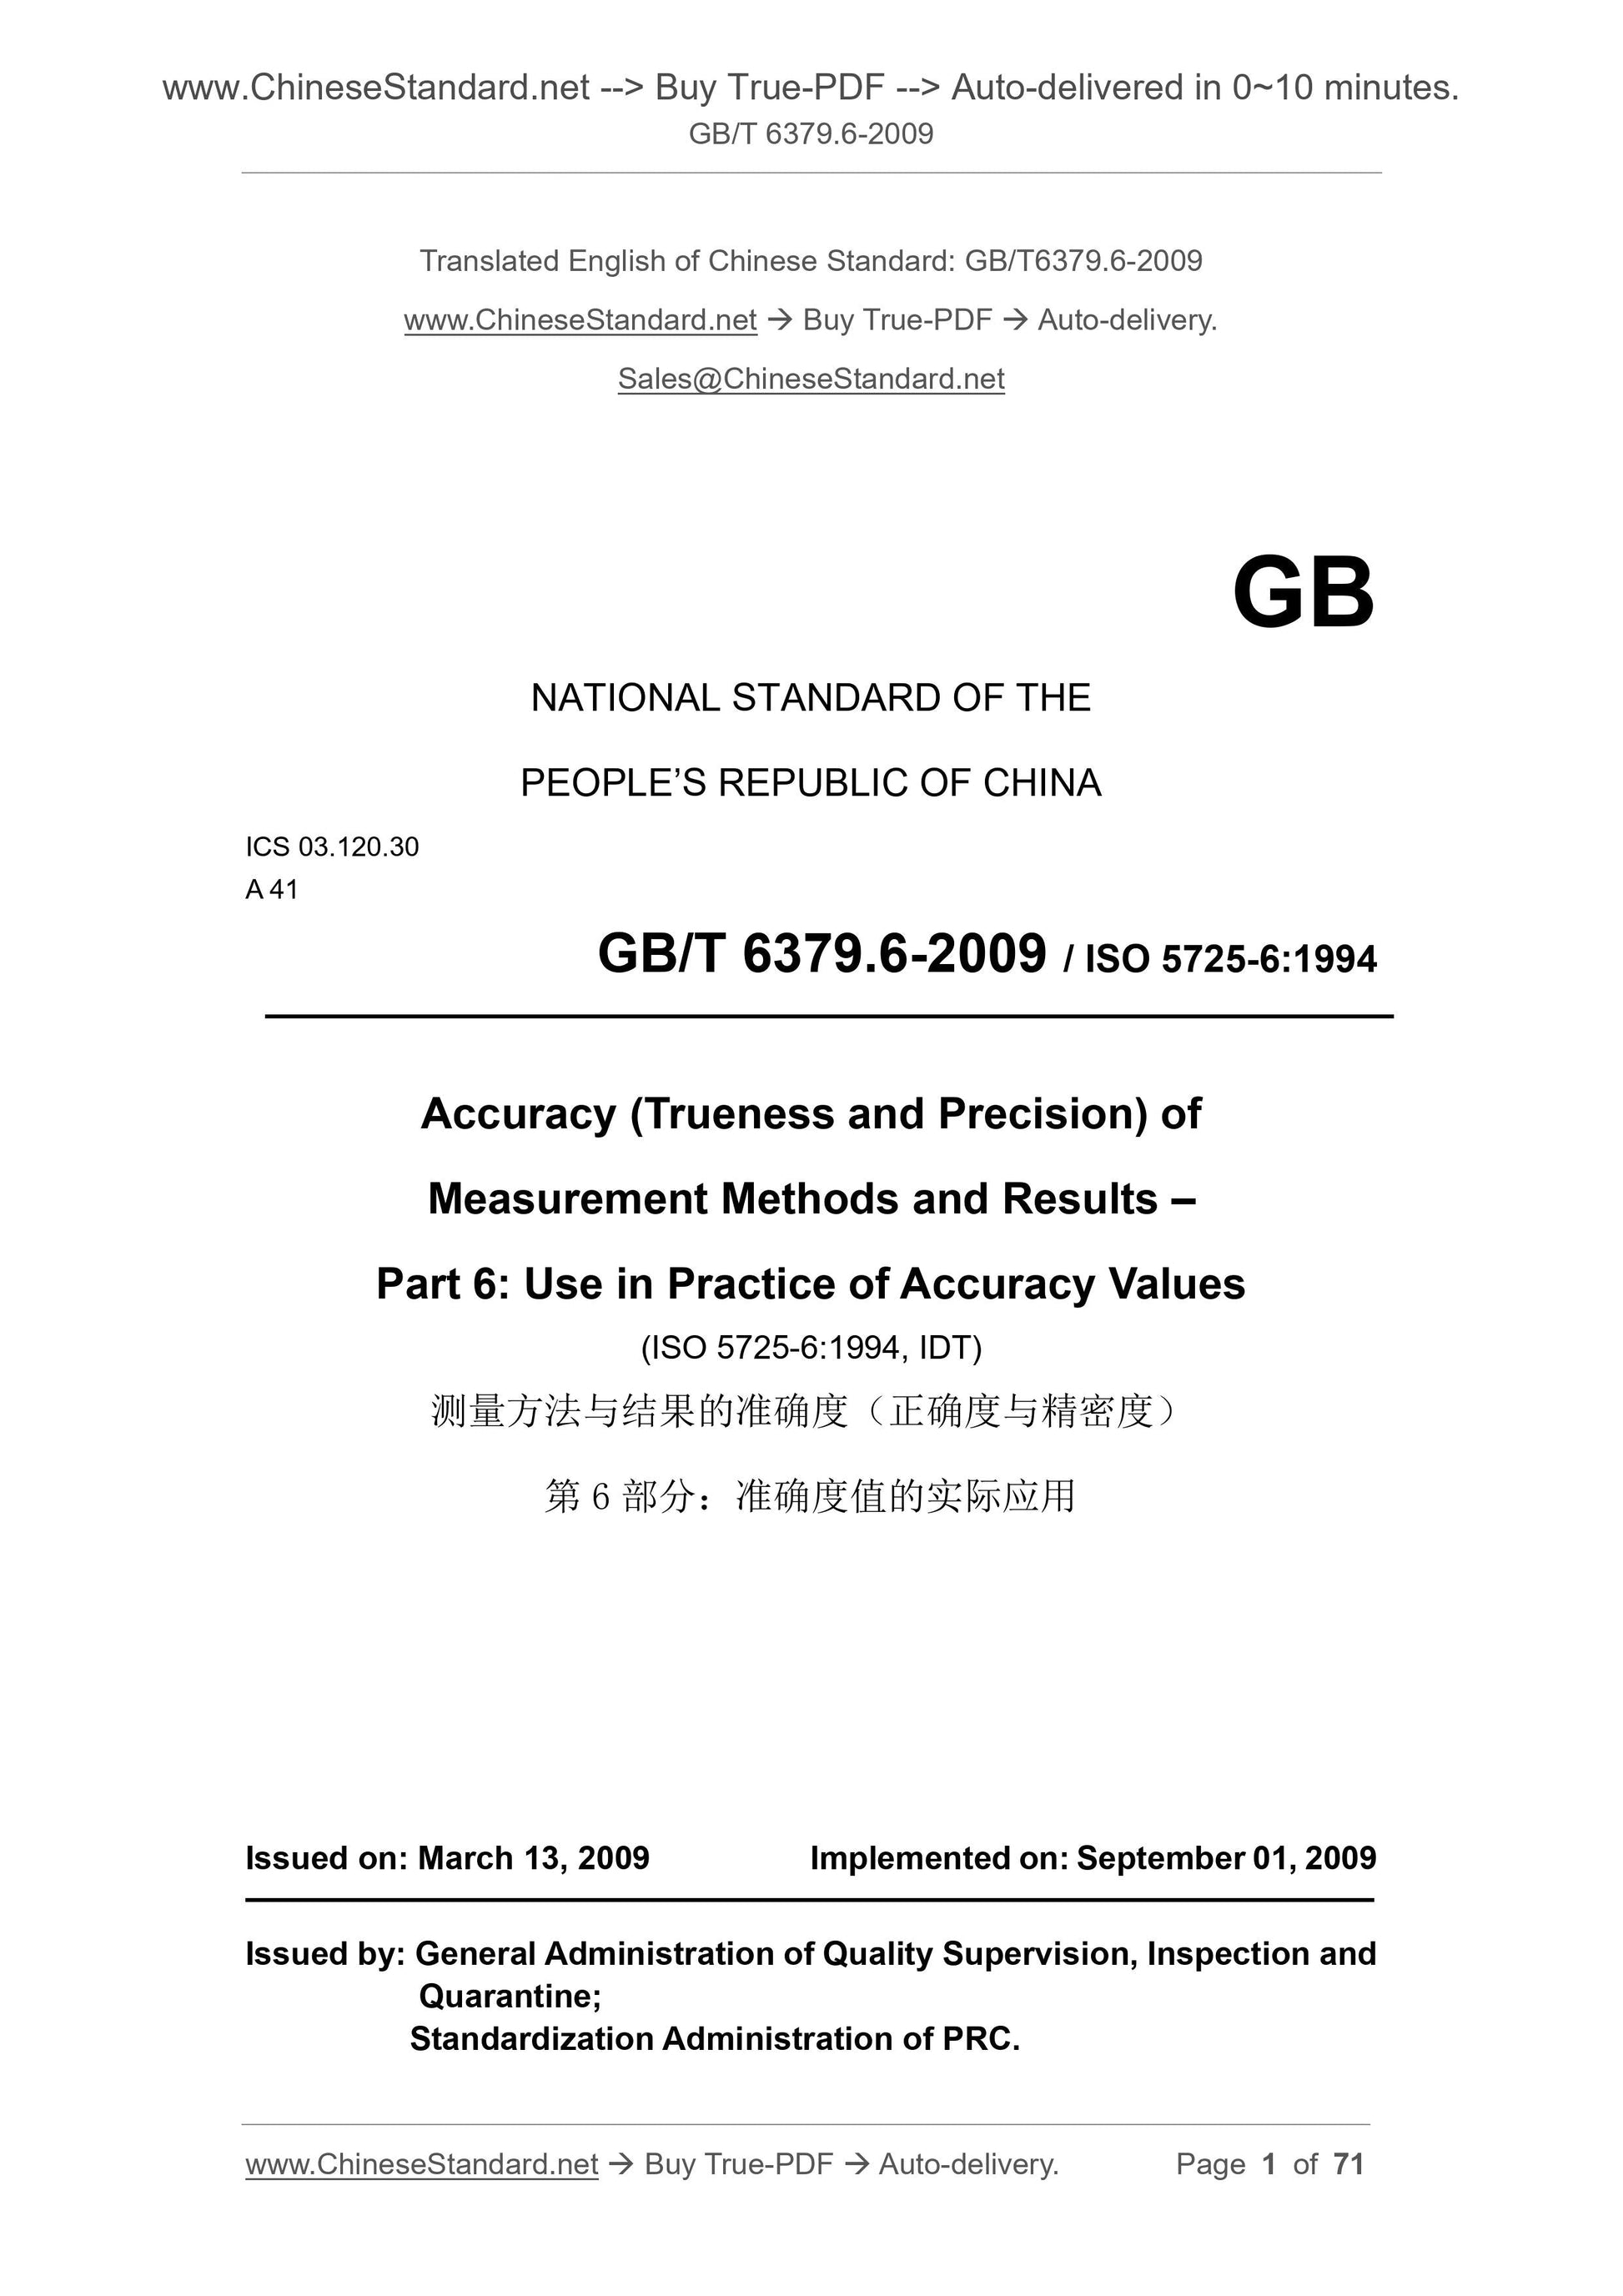
GB/T 6379.6-2009
Accuracy (trueness and precision) of measurement methods and results.Part 6. Use in practice of accuracy values
ICS 03.120.30
A41
National Standards of People's Republic of China
GB/T 6379.6-2009/ISO 5725-6.1994
Measurement method and accuracy of results
(correctness and precision)
Part 6. Practical application of accuracy values
(ISO 5725-6.1994, IDT)
Released on.2009-03-13
2009-09-01 implementation
General Administration of Quality Supervision, Inspection and Quarantine of the People's Republic of China
China National Standardization Administration issued
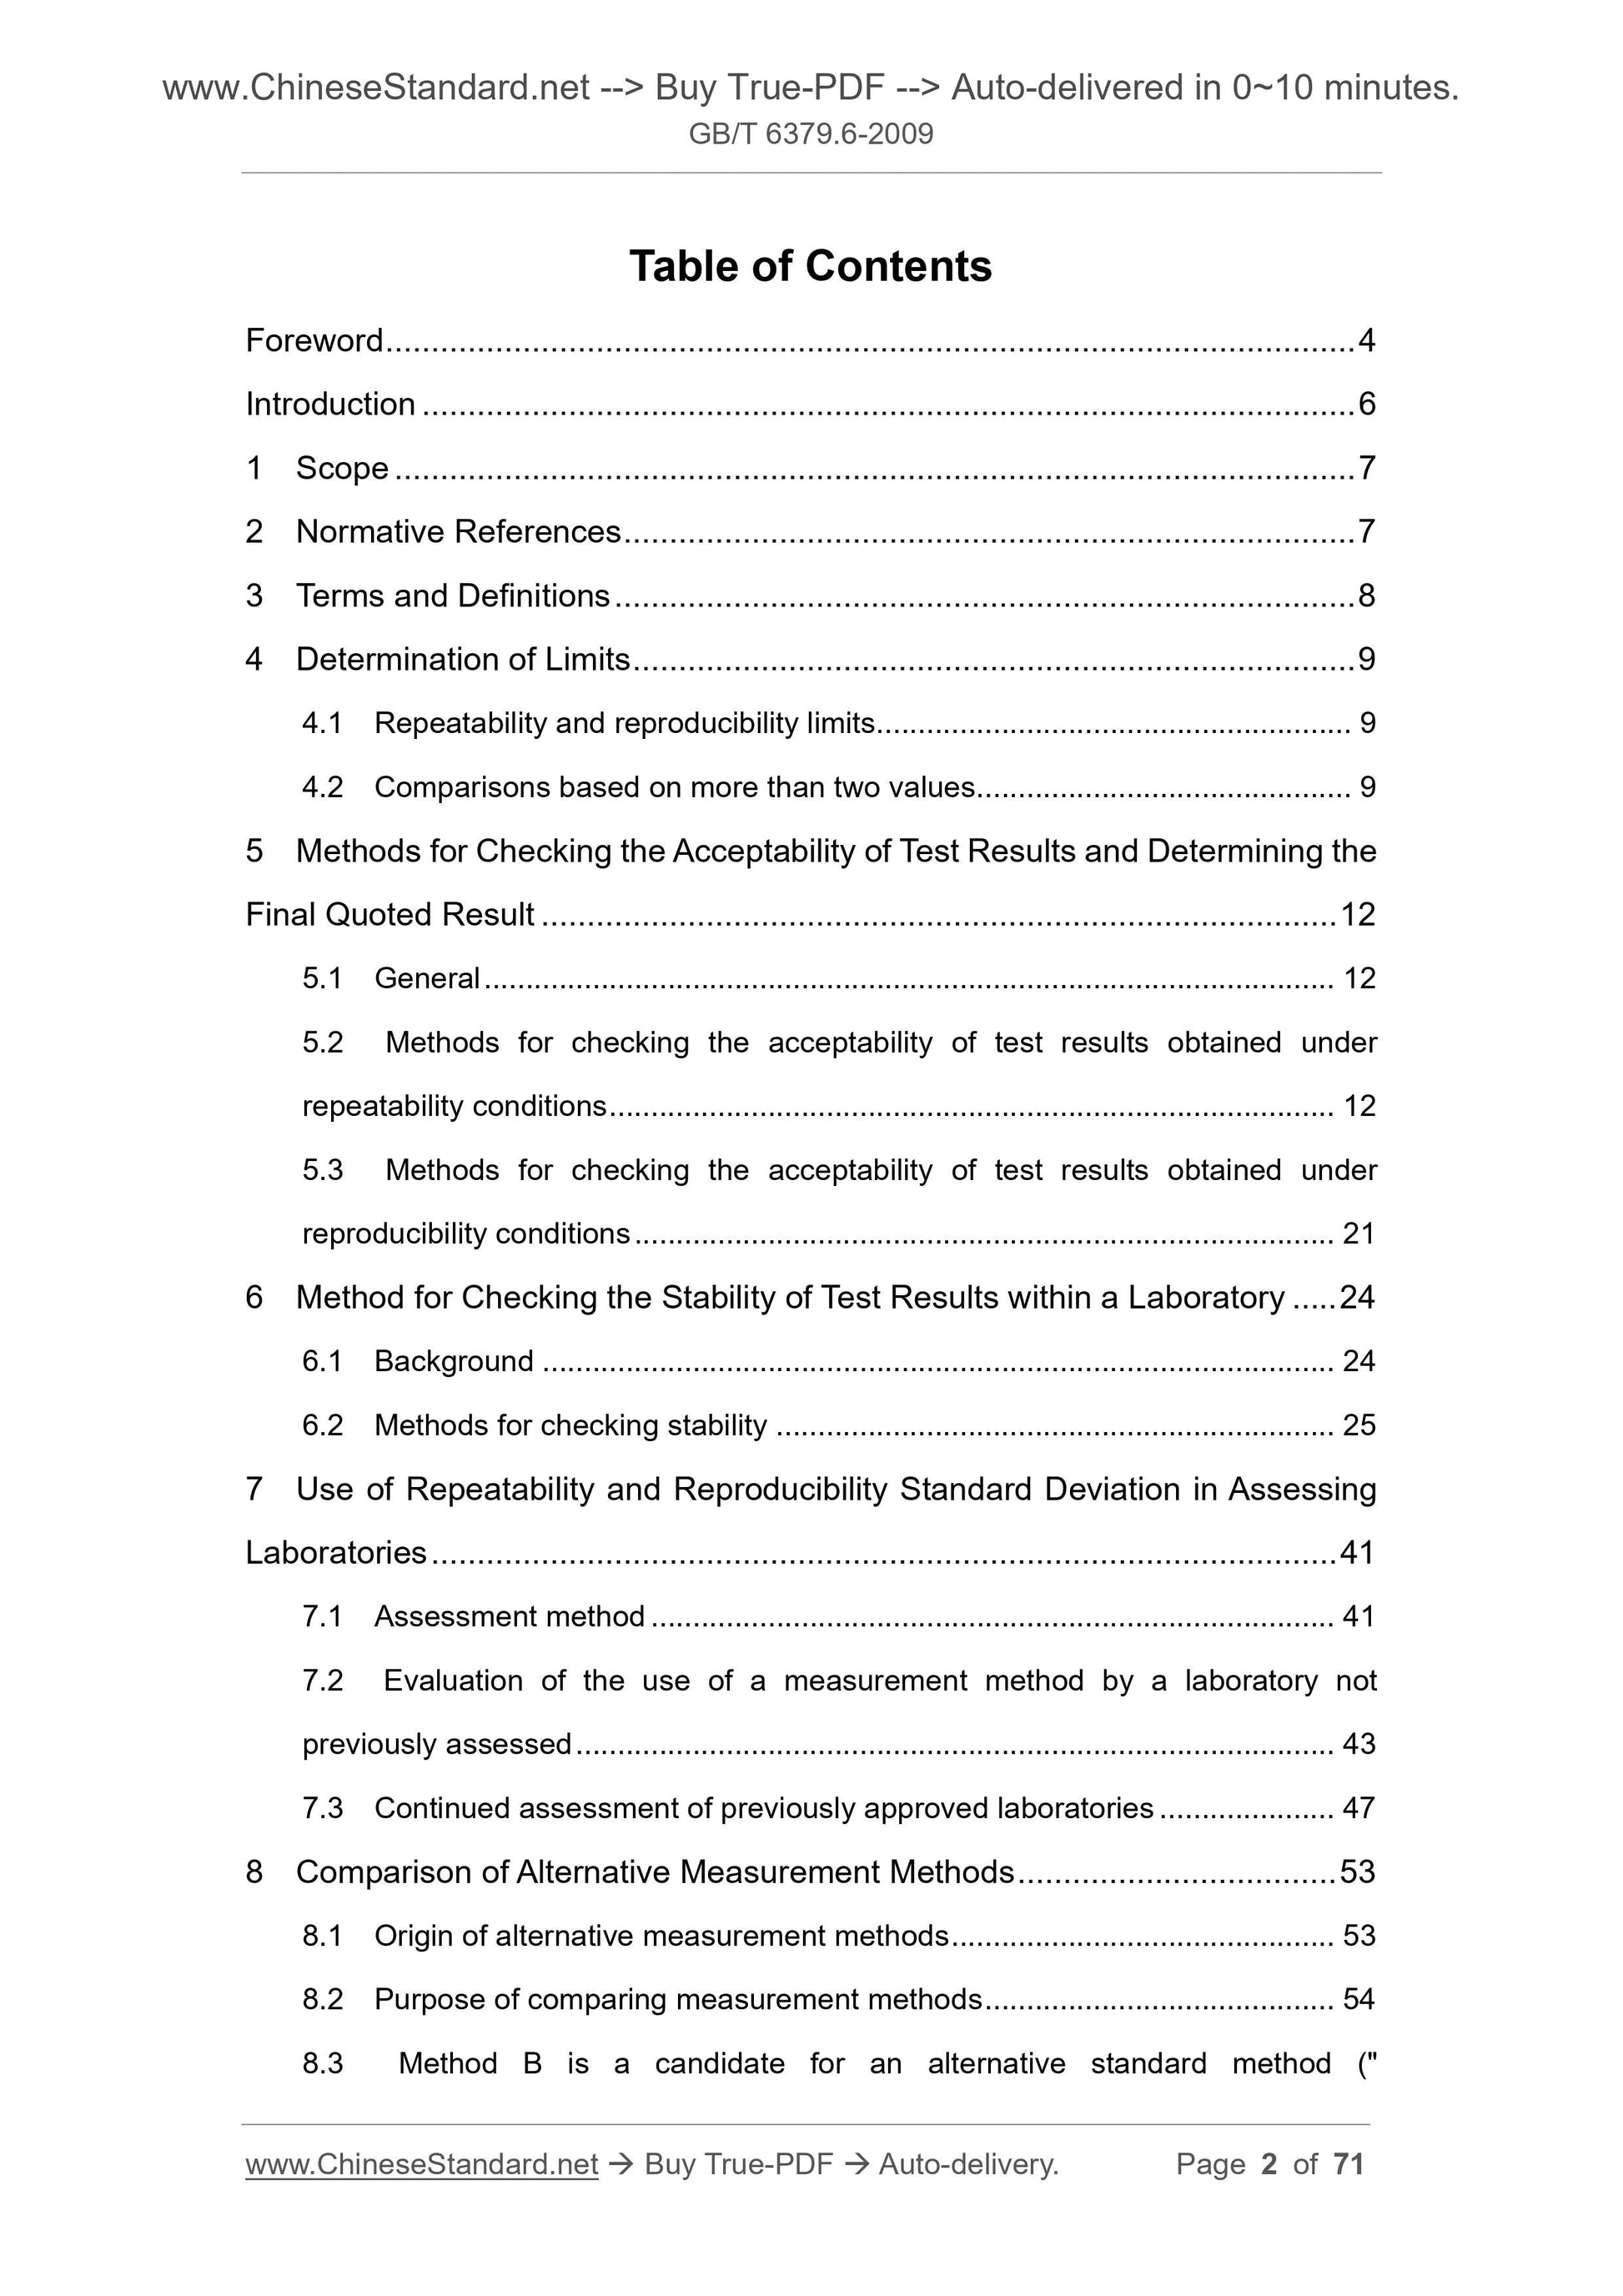
Content
Foreword I
Introduction II
1 range 1
2 Normative references 1
3 Terms and Definitions 2
4 limit determination 2
4.1 Repeatability and Reproducibility Limit 2
4.2 Comparison based on more than two values 2
5 Methods for checking the acceptability of test results and determining the final report results 3
5.1 General 3
5.2 Acceptable test results for test results obtained under repetitive conditions 4
5.3 Acceptable test results for test results obtained under reproducible conditions 9
6 Method for checking the stability of test results in laboratory room 10
6.1 Background 10
6.2 Method of checking stability 11
7 Application of repeatability standard deviation and reproducibility standard deviation in laboratory evaluation 22
7.1 Assessment method 22
7.2 Assessment of measurement methods used by unassessed laboratories 23
7.3 Reassessment of accredited laboratories 25
8 Comparison with alternative measurement methods 29
8.1 Reasons for considering alternative measurement methods 29
8.2 Purpose of the comparison measurement method 29
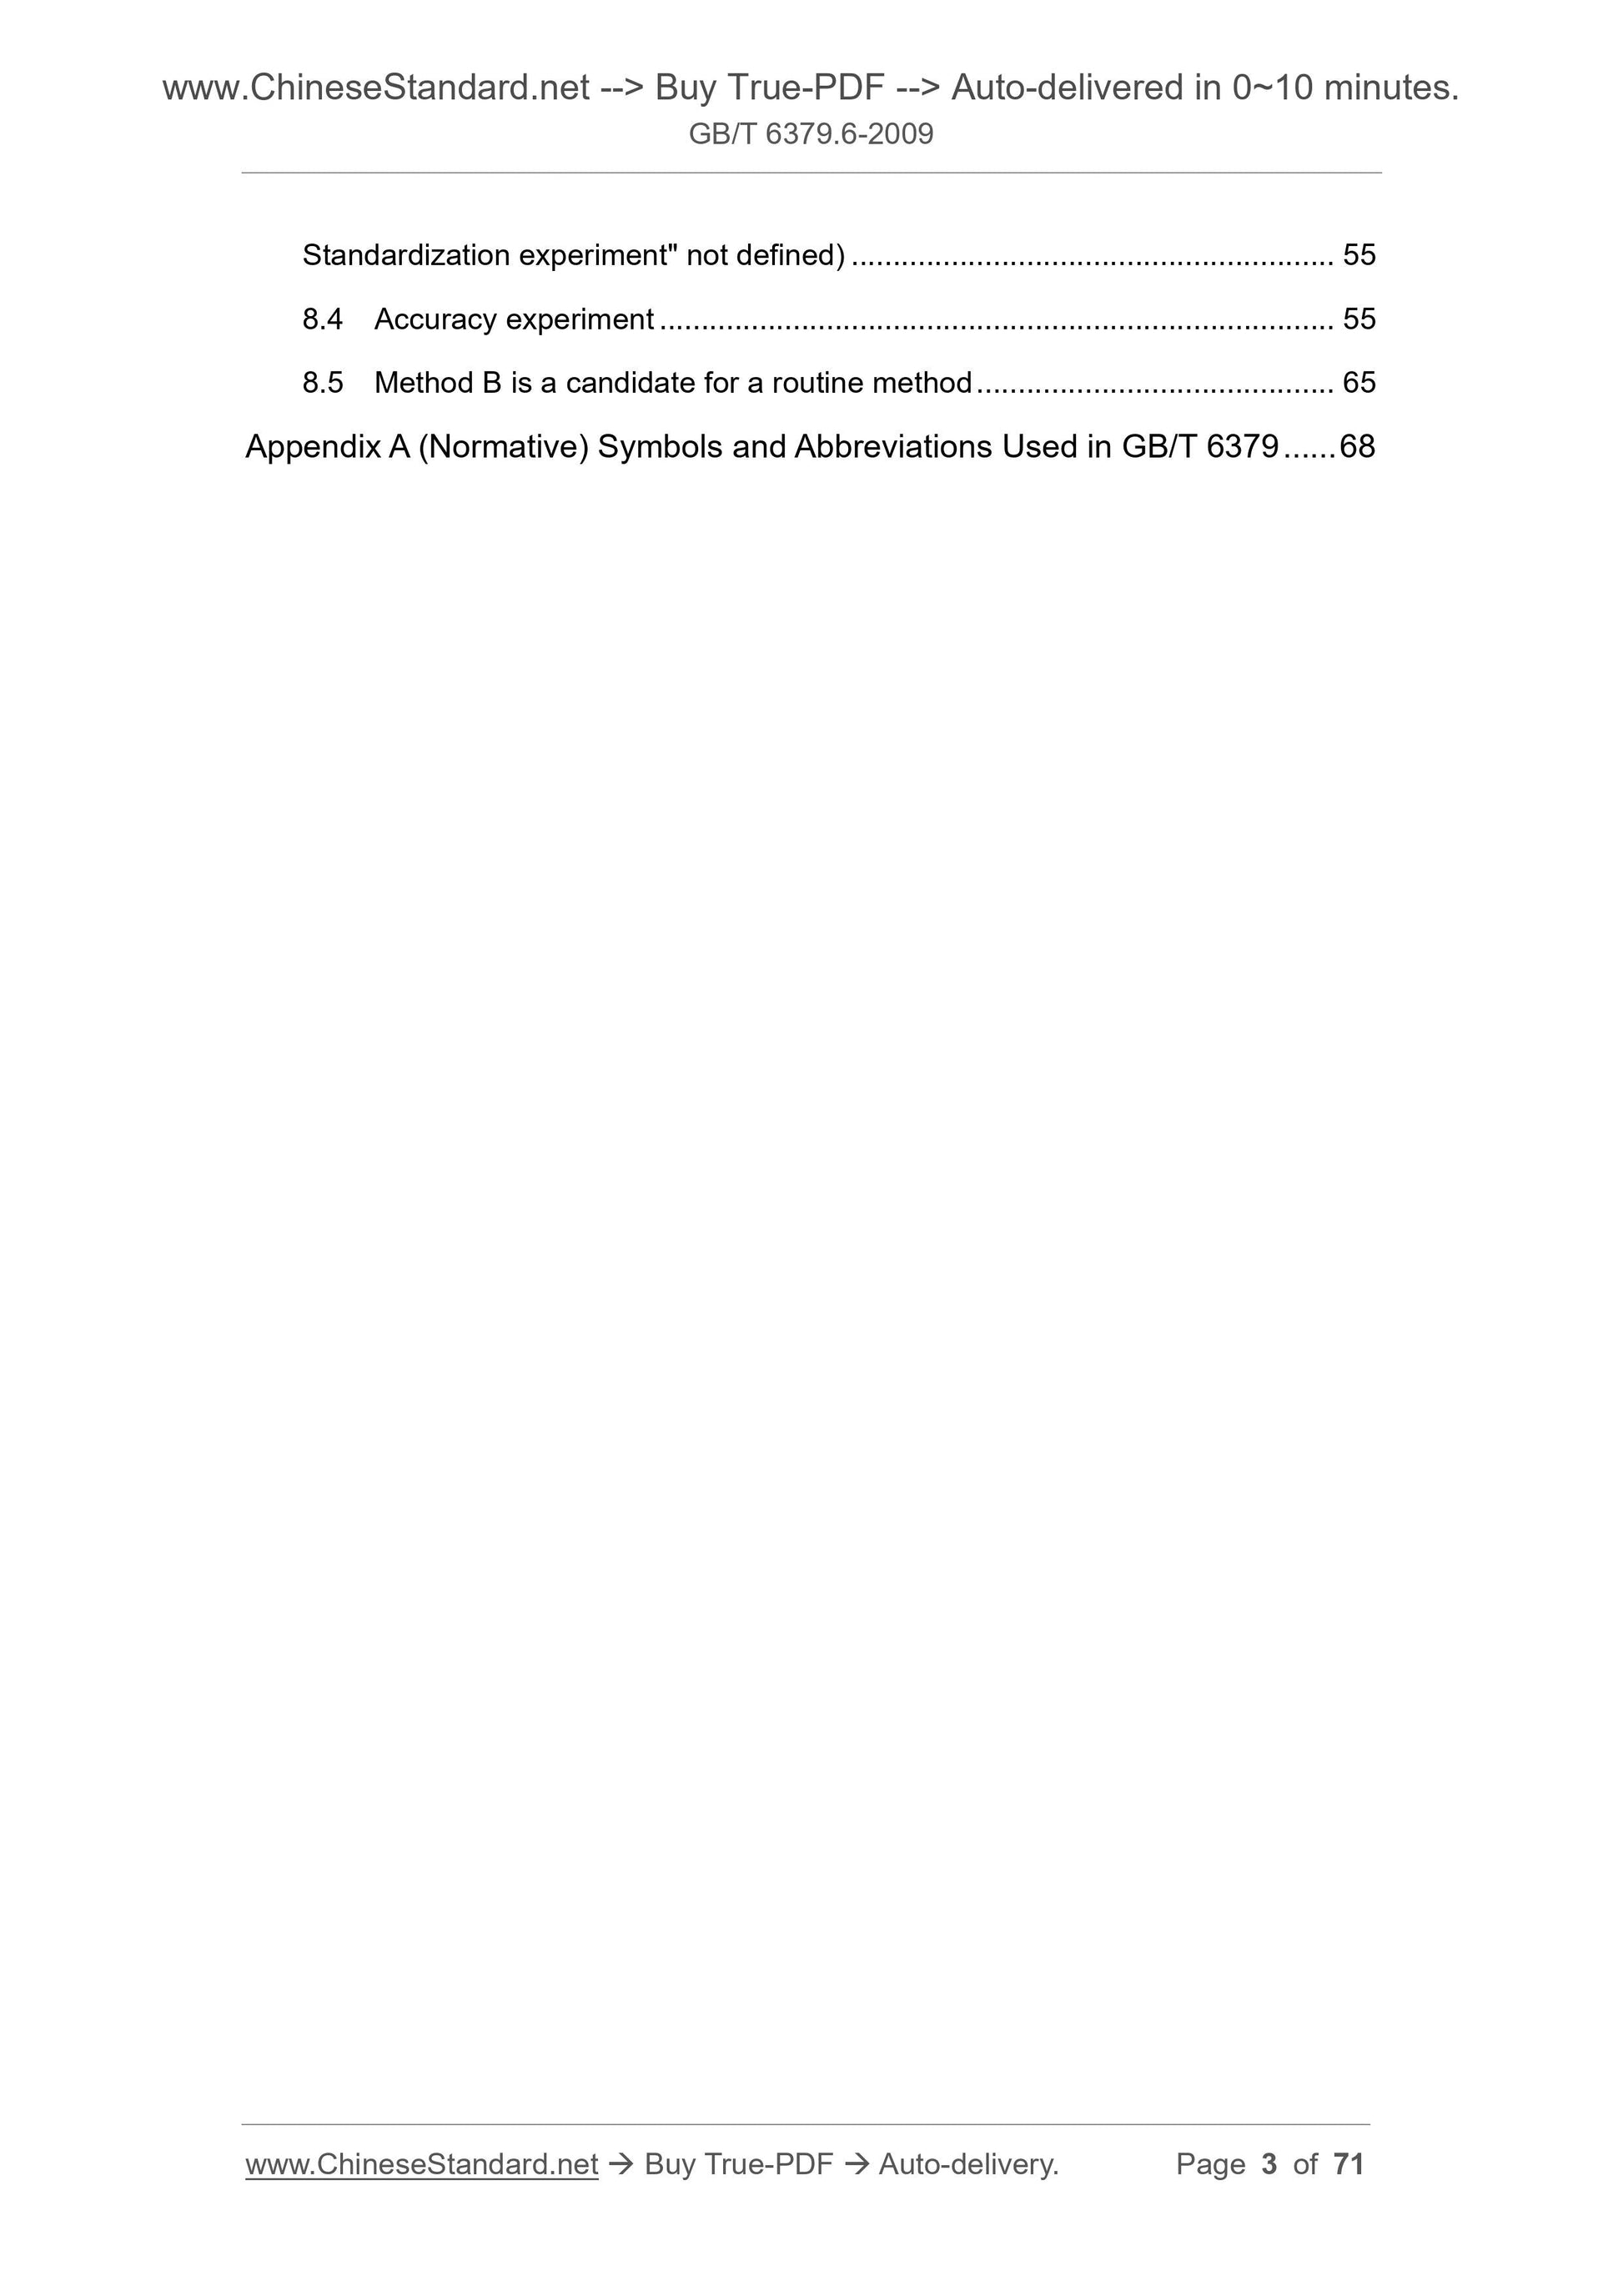
8.3 Method B. Alternative Standard Method as a Candidate (“Standardized Test” is not established) 29
8.4 Accuracy test 30
8.5 Method B as a candidate for conventional methods 35
Appendix A (Normative) Symbols and abbreviations used in GB/T 6379 37
GB/T 6379.6-2009/ISO 5725-6.1994
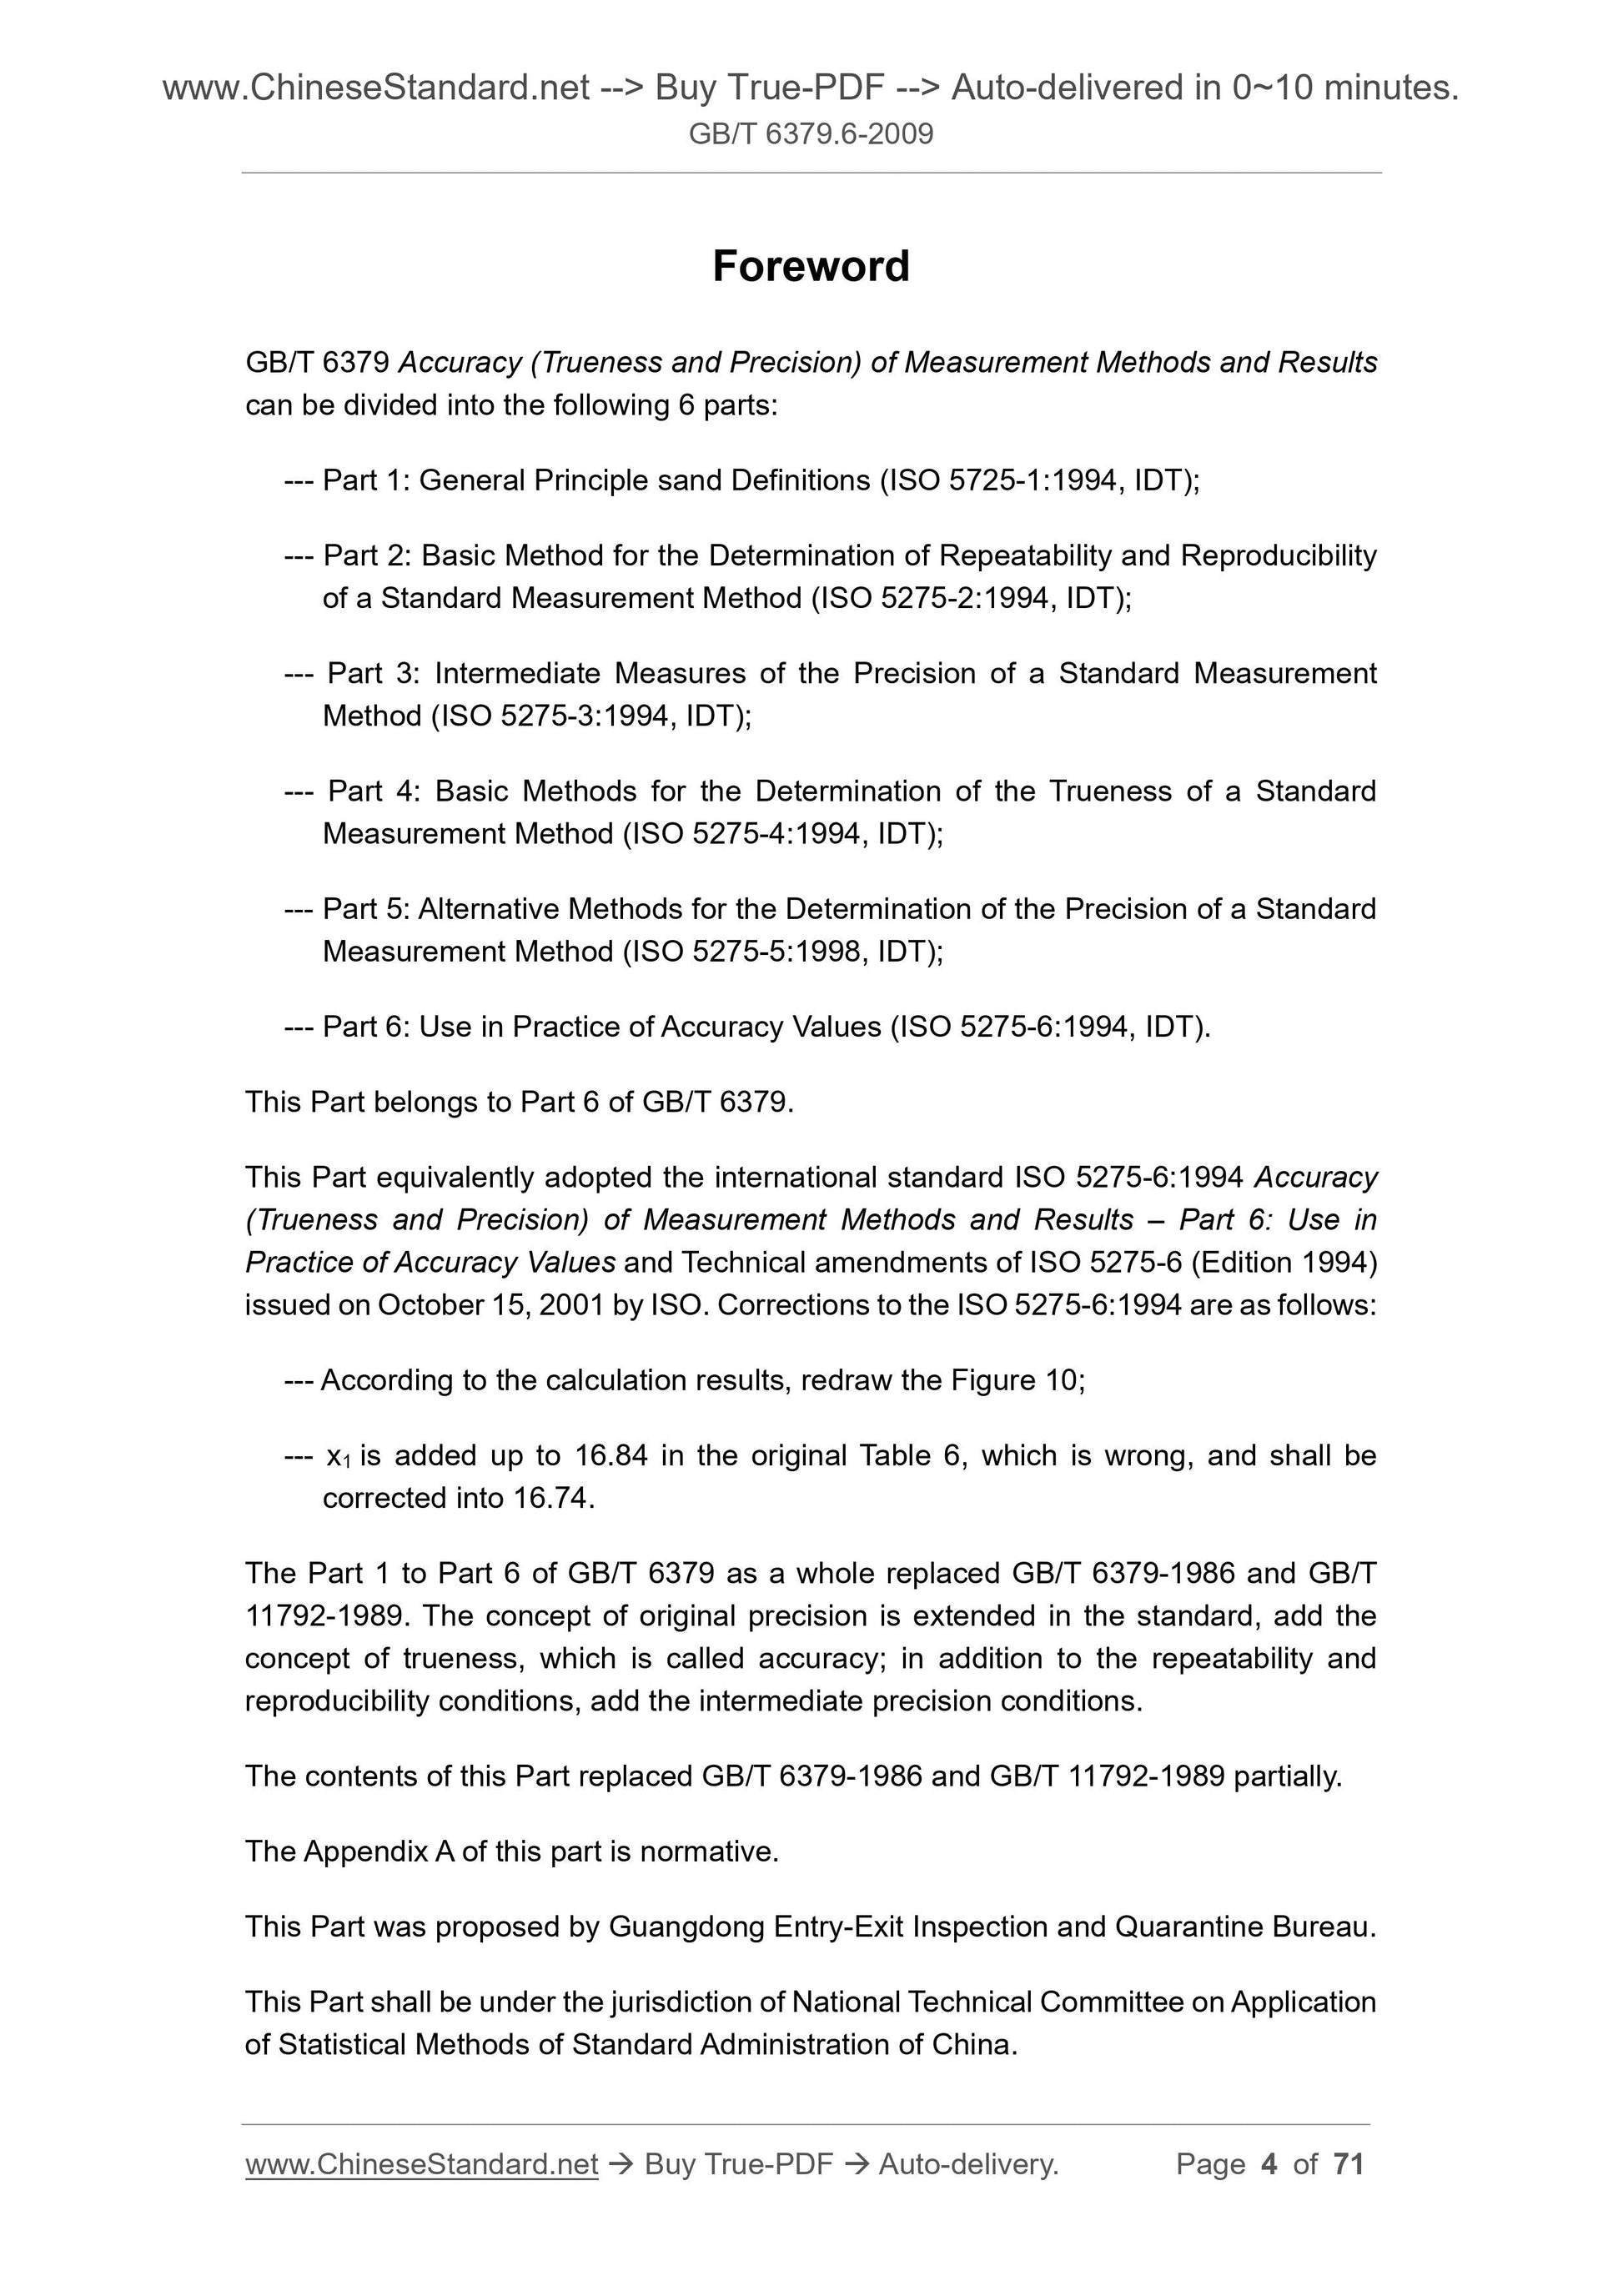
Foreword
GB/T 6379 "The accuracy of measurement methods and results (correctness and precision)" is divided into the following six parts, its structure and corresponding country
The standard is.
--- Part 1. General and definitions (ISO 5725-1.1994, IDT);
--- Part 2. Basic methods for determining the repeatability and reproducibility of standard measurement methods (ISO 5725-2.1994 IDT);
--- Part 3. Intermediate measure of precision of standard measurement methods (ISO 5725-3.1994, IDT);
--- Part 4. Basic methods for determining the accuracy of standard measurement methods (ISO 5725-4.1994, IDT);
--- Part 5. Alternative methods for determining the precision of standard measurement methods (ISO 5725-5.1998, IDT);
--- Part 6. Practical application of accuracy values (ISO 5725-6.1994, IDT).
This part is the sixth part of GB/T 6379.
This part is equivalent to the international standard ISO 5725-6.1994 "The accuracy of measurement methods and results (correctness and precision) Part 6
Points. Practical Application of Accuracy Values and ISO Technical Revisions for the.1994 version of ISO 5725-6 issued by ISO .2001-10-15. Correct
The error of ISO 5725-6.1994 was corrected as follows.
--- According to the calculation results, re-drawn Figure 10;
--- In the original table 6, 狓1 totaled 16.84 a calculation error, changed to 16.74.
Part 1 to Part 6 of GB/T 6379 replaces GB/T 6379-1986 and GB/T 11792-1989 as a whole. Standard
The quasi-middle-scale extension of the original precision concept adds to the concept of accuracy, collectively referred to as accuracy; in addition to repetitive conditions and reproducibility conditions,
The intermediate precision condition.
The contents of this section partially replace GB/T 6379-1986 and GB/T 11792-1989.
Appendix A of this section is a normative appendix.
This part was proposed by the Guangdong Entry-Exit Inspection and Quarantine Bureau.
This part is under the jurisdiction of the National Statistical Method Application Standardization Technical Committee.
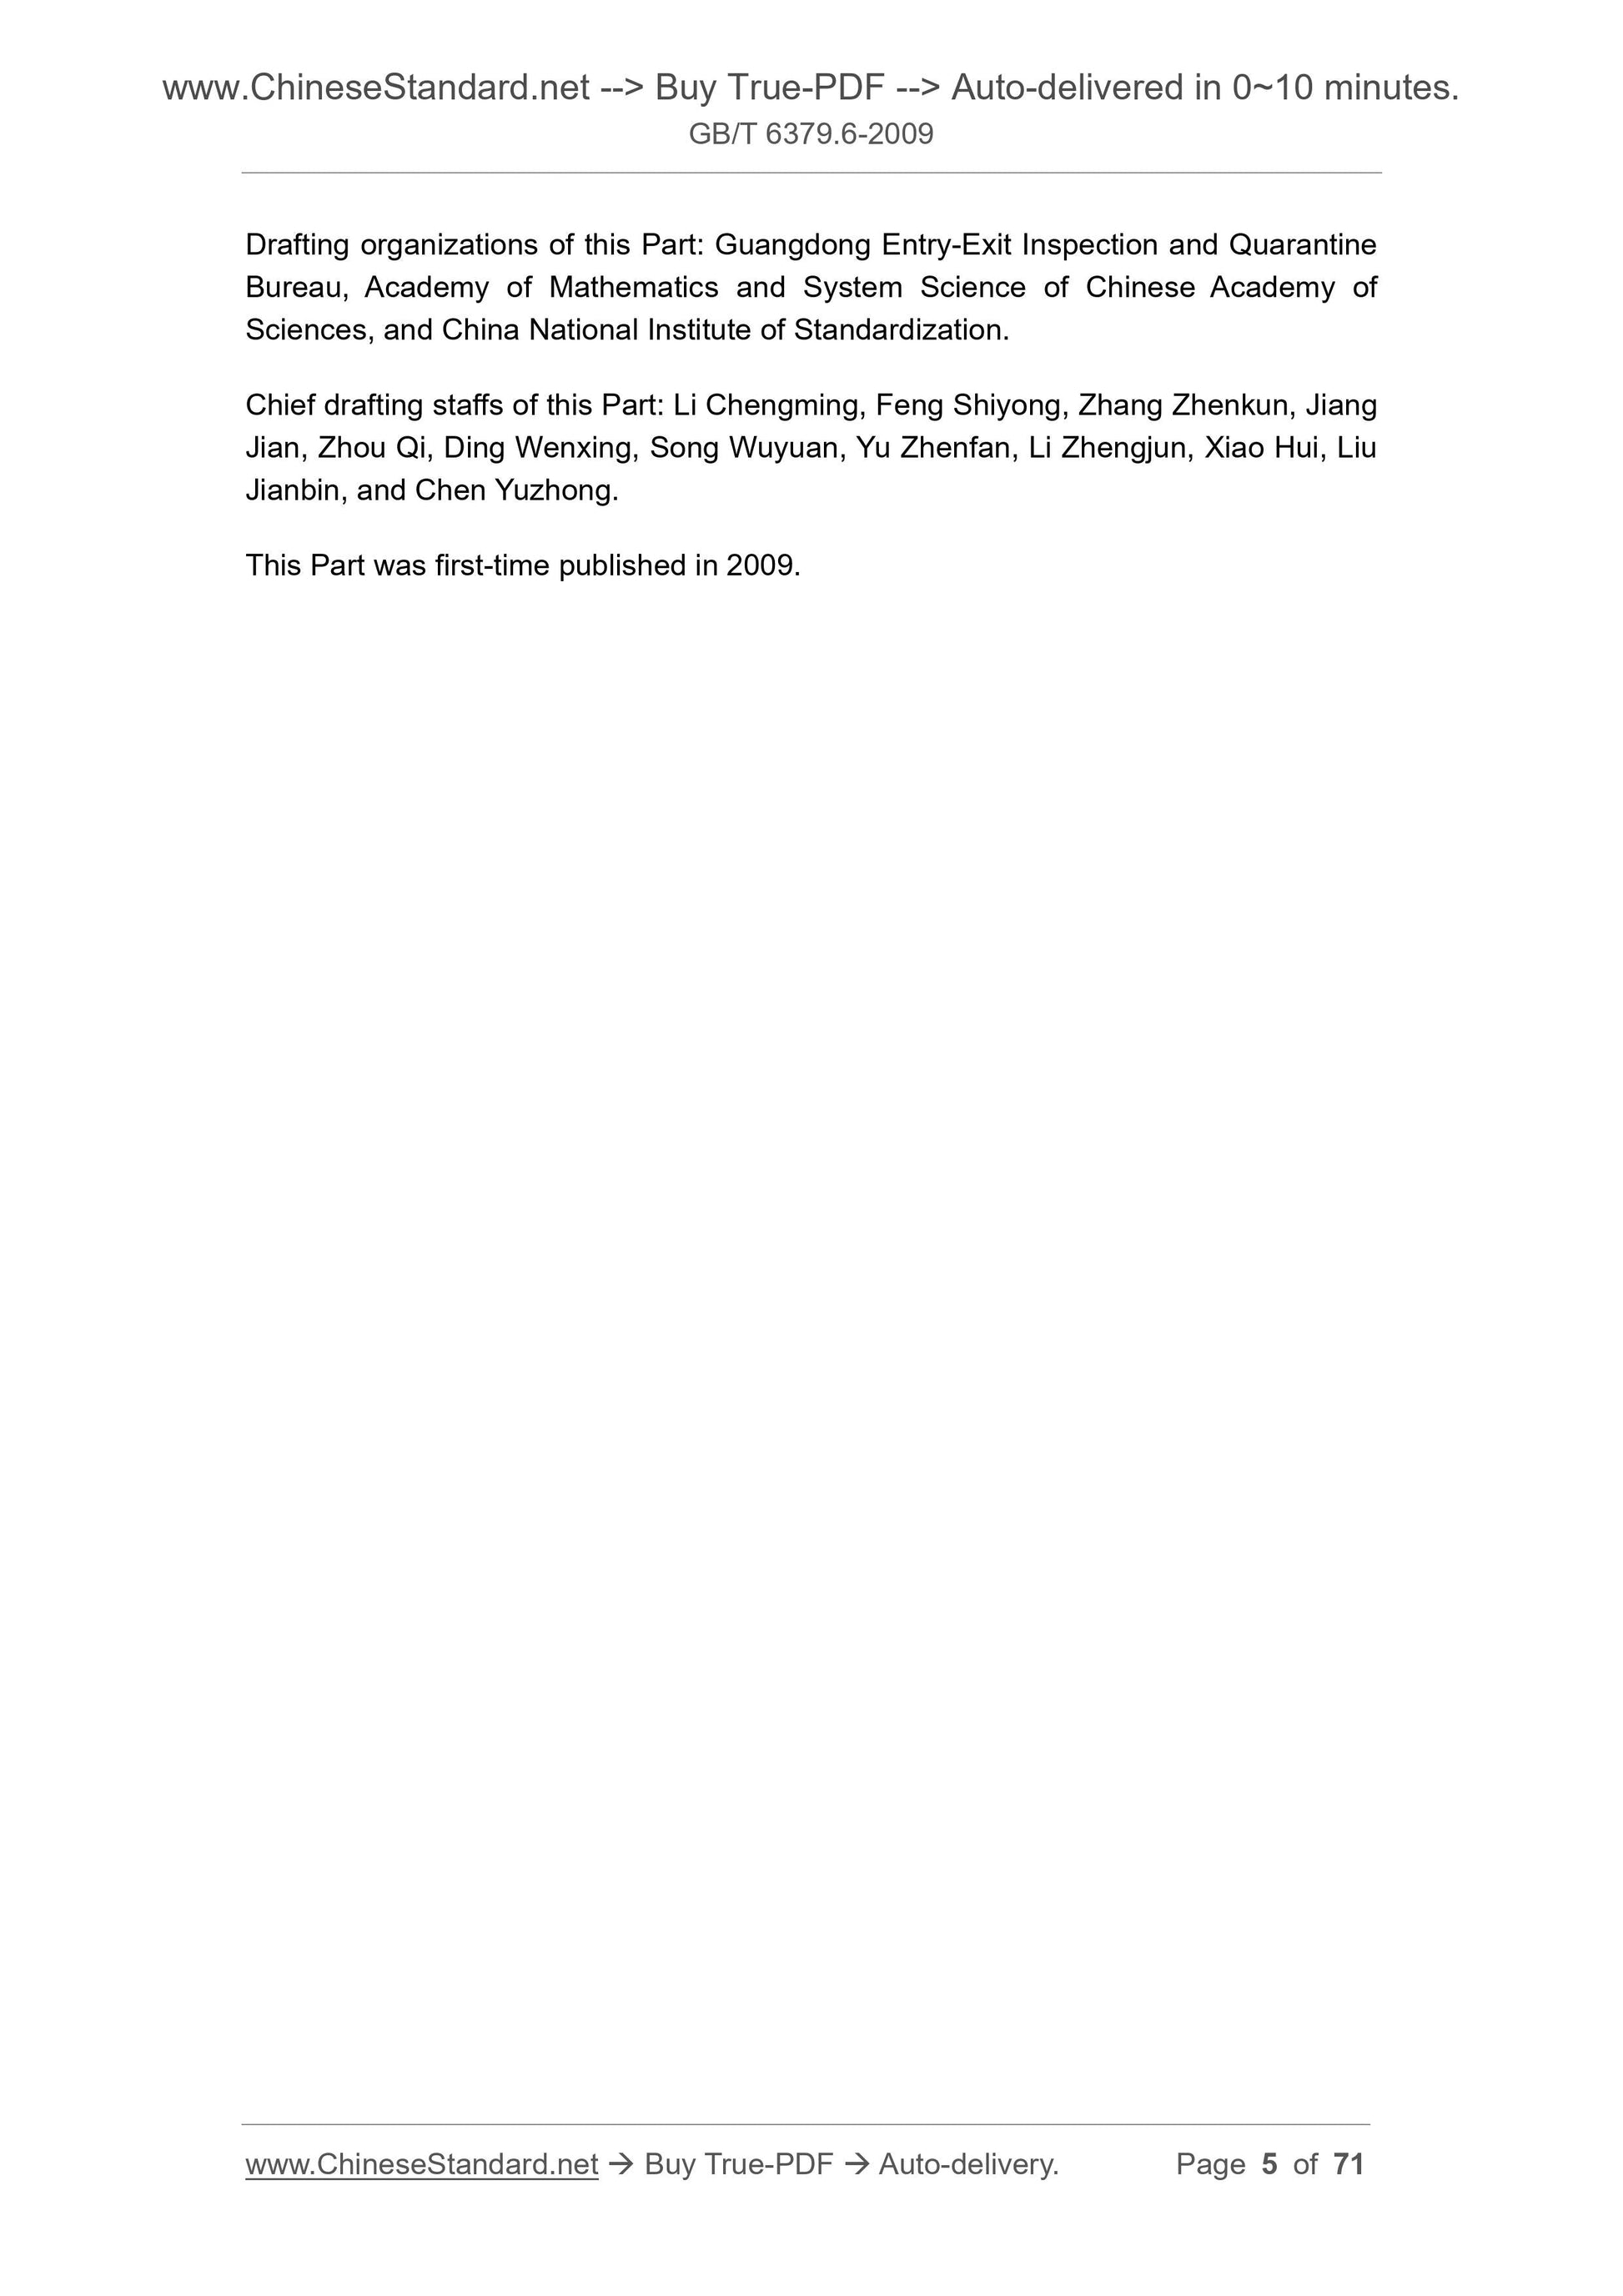
This section drafted by. Guangdong Entry-Exit Inspection and Quarantine Bureau, Academy of Mathematics and Systems Science, Chinese Academy of Sciences, China Institute of Standardization.
The main drafters of this section. Li Chengming, Feng Shizhen, Zhang Zhenkun, Jiang Jian, Zhou Qi, Ding Wenxing, Song Wuyuan, Yu Zhenfan, Li Zhengjun, Xiao Hui,
Liu Jianbin, Chen Yuzhong.
This section was first released in.2009.
GB/T 6379.6-2009/ISO 5725-6.1994
introduction
0.1 GB/T 6379 uses two terms “correctness” and “precision” to describe the accuracy of a measurement method. Correctness refers to a large number of tests
The degree of agreement between the (arithmetic) mean of the result and the true or accepted reference value; and precision refers to the degree of agreement between the test results.
0.2 The reason for considering precision is mainly because it is assumed that the same material (material/material) that is the same or considered to be the same under the same conditions
Testing, generally won't get the same result. This is mainly because random errors are inevitable in each measurement procedure, and those
Factors affecting measurement results are not fully controlled. This variation must be considered in the actual interpretation of the measured data. example
For example, the difference between the test result and the specified value may be within the unavoidable random error range. In this case, between the test value and the specified value
The true deviation is not certain. Similarly, when comparing the test results of two batches of materials, if the difference between them is from the measurement program
Intrinsic changes cannot reveal the essential difference between the two batches of materials.
Sections 1 through 5 of 0.3 GB/T 6379 discuss precision (represented by repeatability standard deviation and reproducibility standard deviation) and accuracy (using
The components of the bias represent the background of the assessment and give the test results obtained using a standard measurement method to the precision and accuracy.
Some methods of line assessment. However, if the assessment results cannot be used in practice, these assessment methods lose their meaning.
0.4 Once the accuracy of the measurement method is determined, this part of GB/T 6379 will use this knowledge to facilitate business and trade, while using
To supervise and improve the operation of the laboratory.
GB/T 6379.6-2009/ISO 5725-6.1994
Measurement method and accuracy of results
(correctness and precision)
Part 6. Practical application of accuracy values
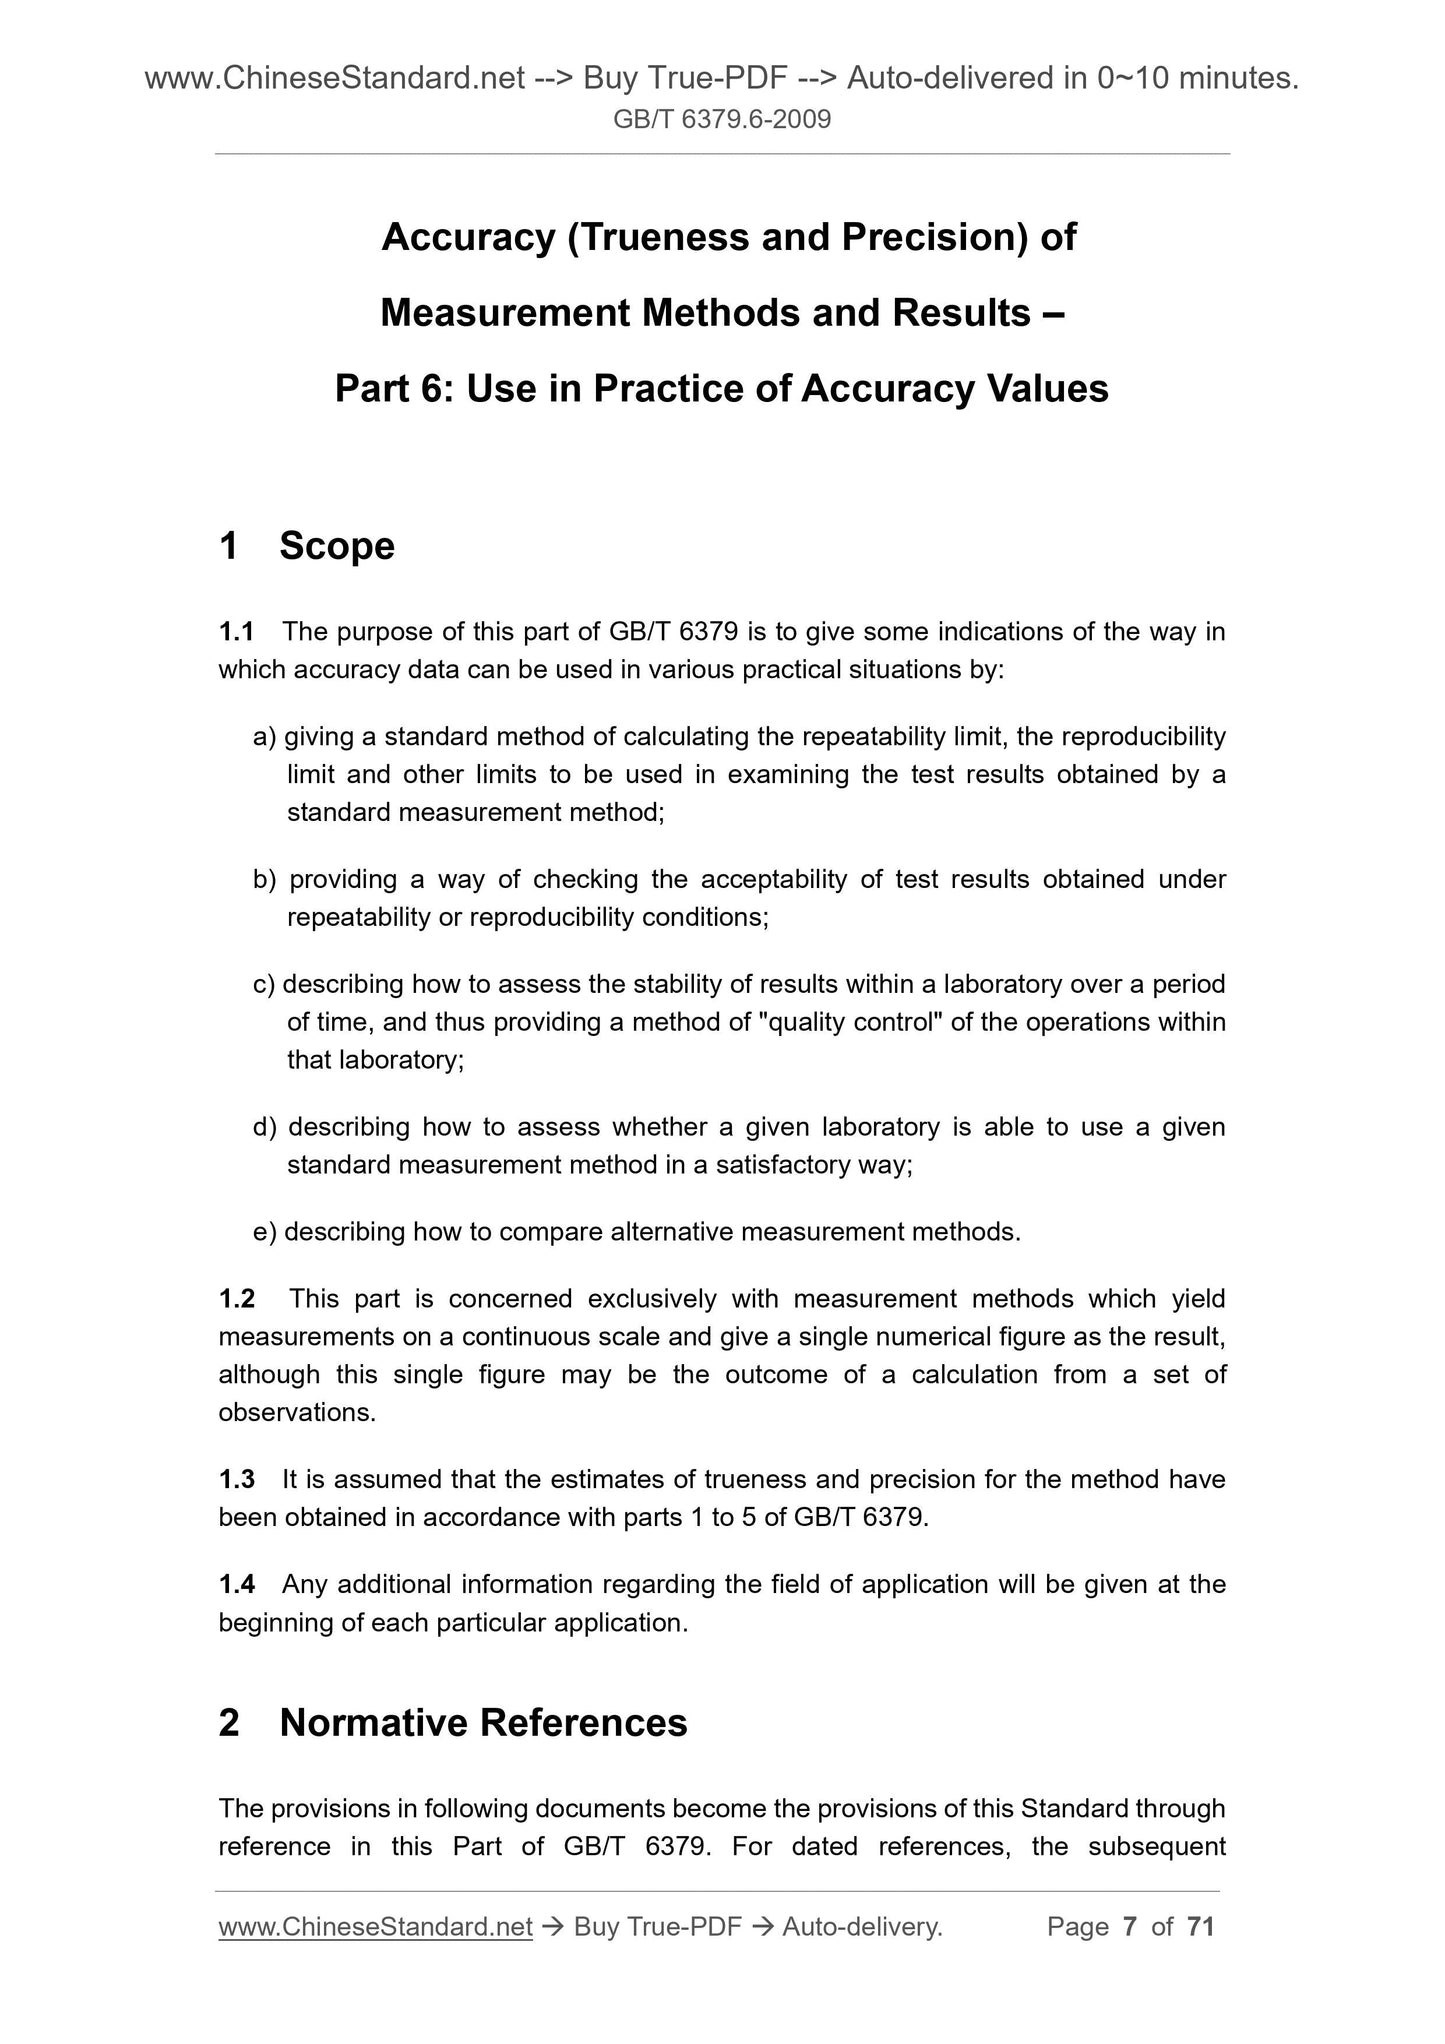
1 range
1.1 GB/T 6379 The purpose of this section is to illustrate the various practical situations in which accuracy data can be applied.
a) Given standard methods for calculating repeatability limits, reproducibility limits, and other limits, these calculated limits will be used to check the use criteria.
The test results obtained by the quasi-measurement method;
b) proposing a method for accepting the test results obtained under repetitive or reproducible conditions;
c) Describe how to assess the stability of a laboratory's test results over a period of time, thereby providing “quality control” for in-lab operations
Method
d) describe how to assess whether a particular laboratory has the ability to properly use a given standard measurement method;
e) Describe how to compare alternative measurement methods.
1.2 The measurement methods involved in this section refer to the measurement of continuous quantities, and only one measurement value is taken at a time as the measurement result.
Method, although this value may be the result of a set of observations.
1.3 This section assumes that the accuracy and precision of the measurement method have been measured in accordance with the methods of Part 1 to Part 5 of GB/T 6379.
obtain.
1.4 Any additional information about the use case should be given at the beginning of each specific use.
2 Normative references
The terms of the following documents become the provisions of this part by reference in this part of GB/T 6379. Quotations with dated
And all subsequent amendments (not including errata content) or revisions do not apply to this section, however, encouragement is based on this section.
The parties to the agreement study whether the latest versions of these documents can be used. For undated references, the latest edition applies to this
section.
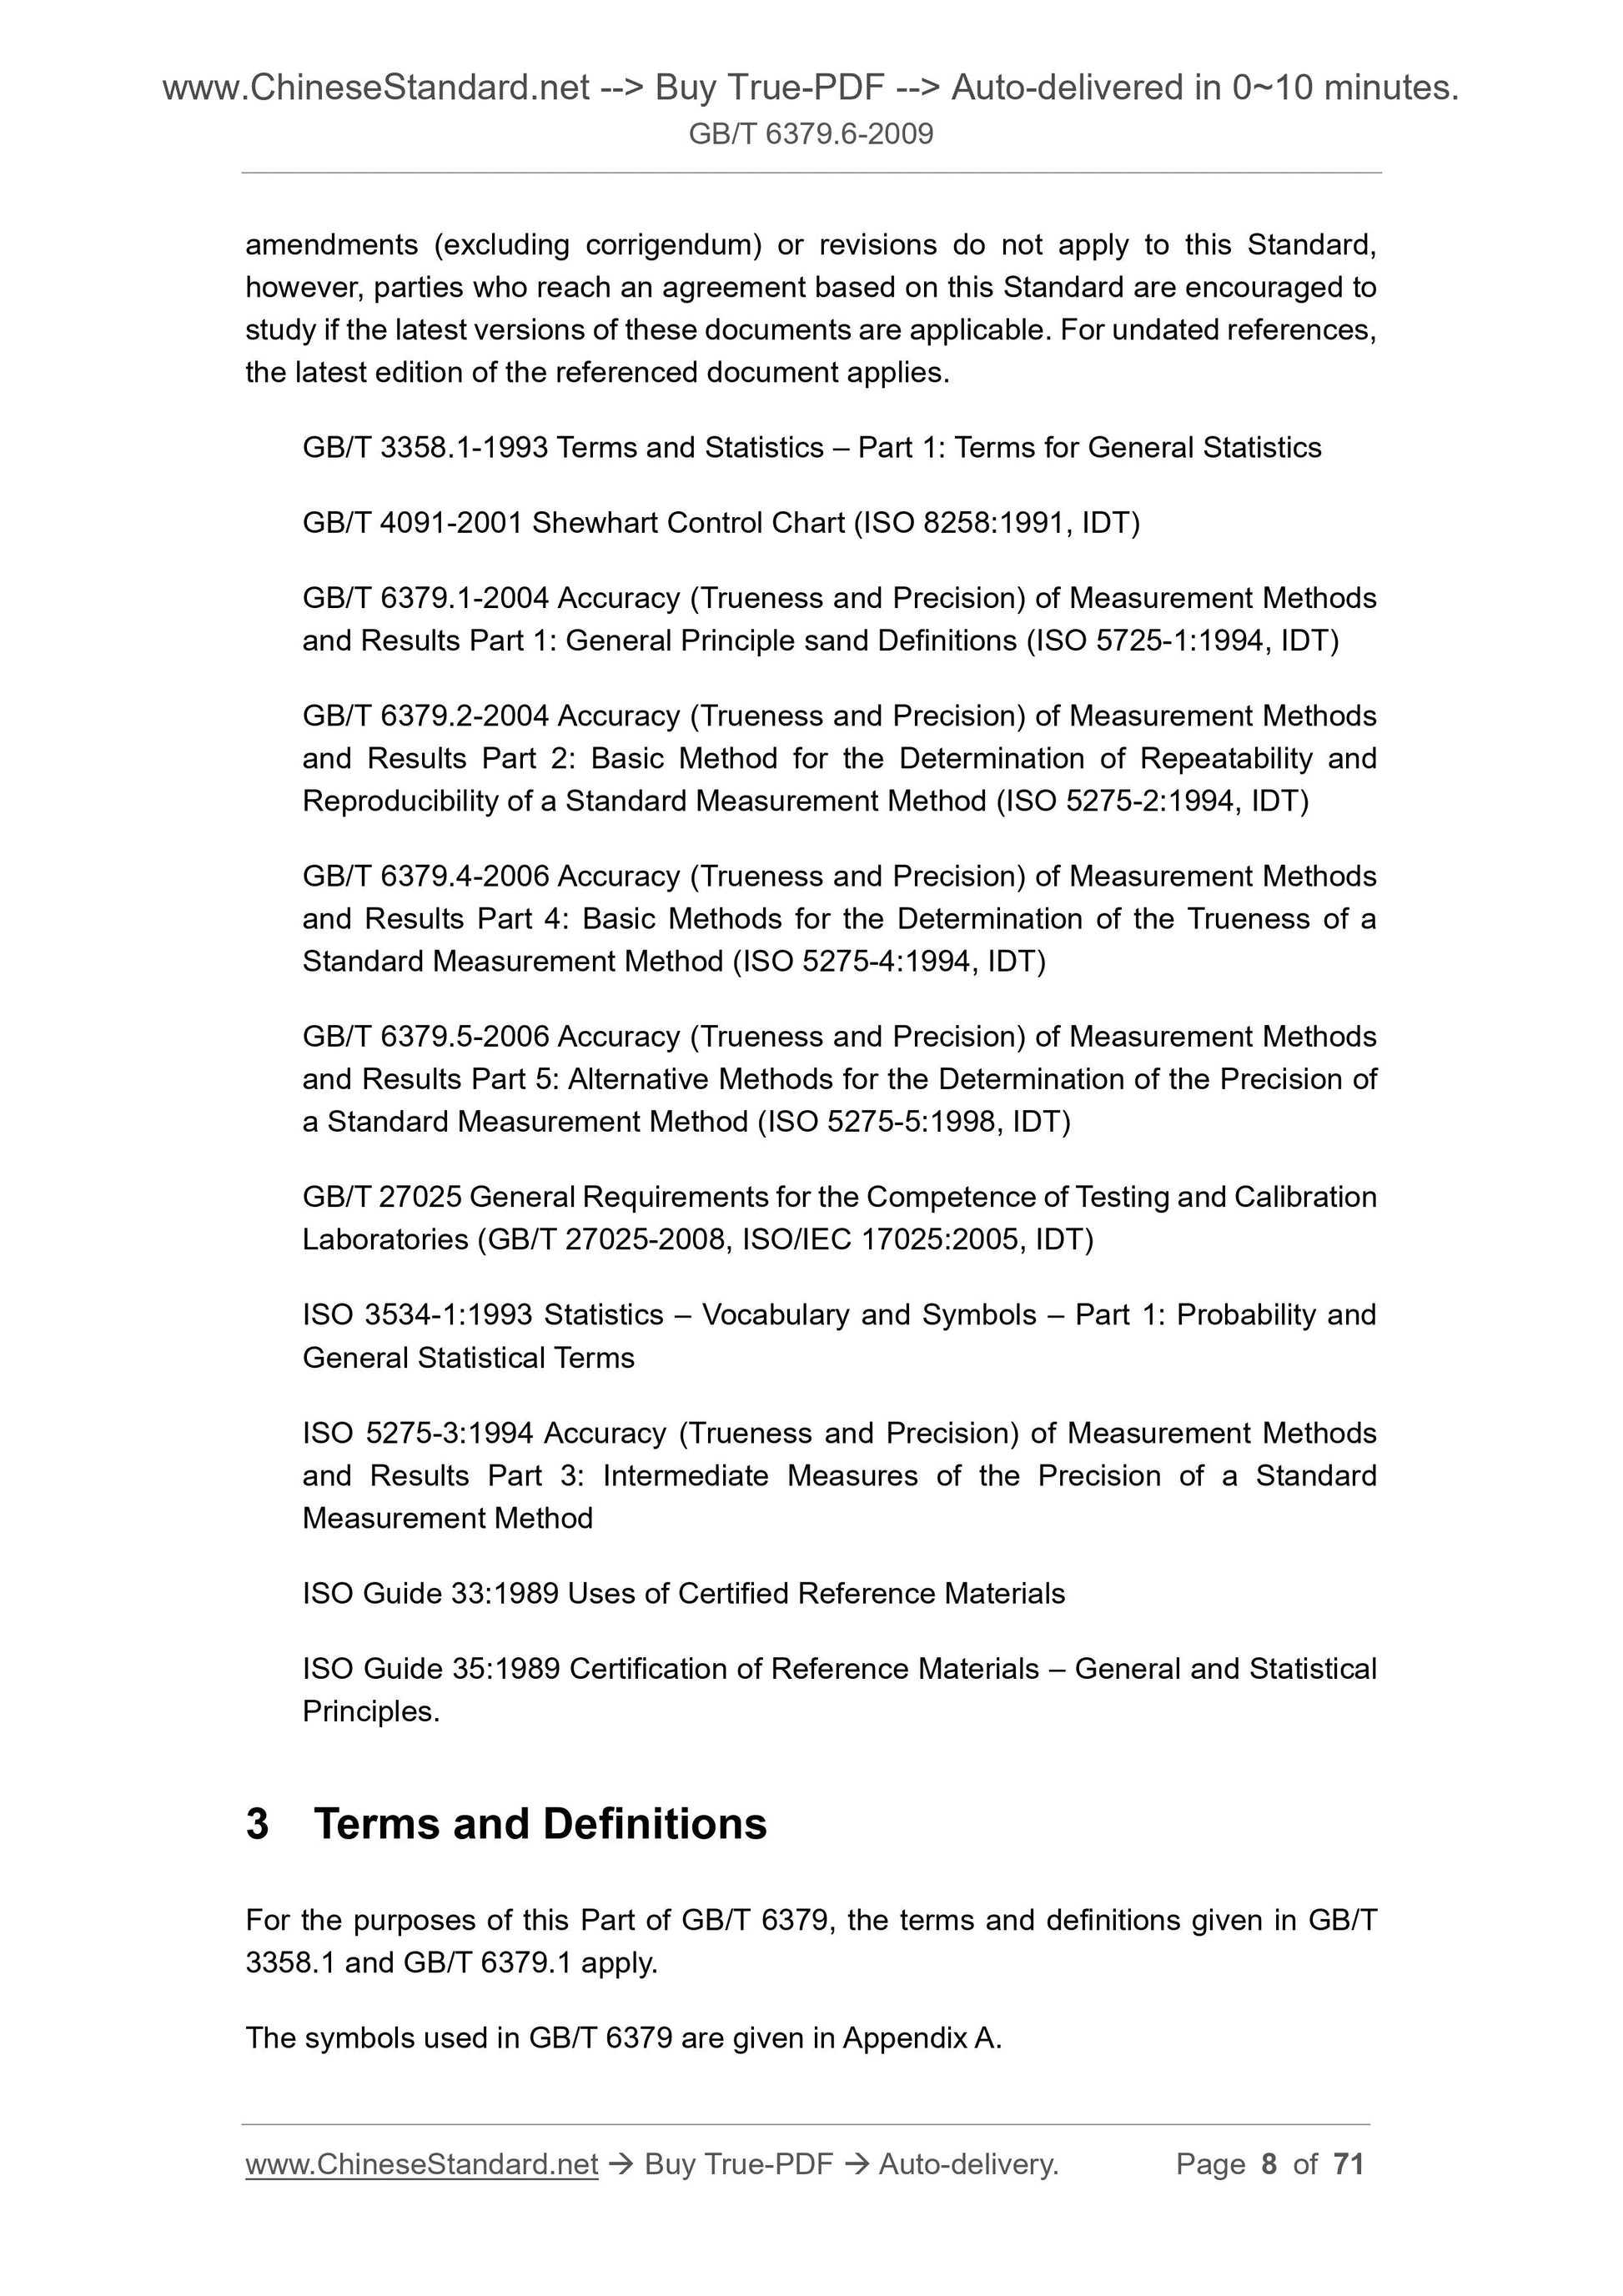
GB/T 3358.1-1993 Statistical terminology Part I General statistical terms
GB/T 4091-2001 Conventional Control Chart (ISO 8258.1991, IDT)
GB/T 6379.1-2004 Accuracy of measurement methods and results (accuracy and precision) Part 1. General and definition
(ISO 5725-1.1994, IDT)
GB/T 6379.2-2004 Accuracy of measurement methods and results (accuracy and precision) Part 2. Determination of standard measurement
Basic method of repeatability and reproducibility of law (ISO 5725-2.1994, IDT)
GB/T 6379.4-2006 Accuracy of measurement methods and results (accuracy and precision) Part 4. Determination of standard measurement
Basic method of correctness of law (ISO 5725-4.1994, IDT)
GB/T 6379.5-2006 Accuracy of measurement methods and results (accuracy and precision) Part 5. Determination of standard measurement
Alternative method of precision (ISO 5725-5.1998, IDT)
GB/T 27025 General requirements for testing and calibration laboratory capabilities (GB/T 27025-2008, ISO /IEC 17025.2005,
IDT)
ISO 3534-1.1993 Statistical vocabulary and symbols - Part 1. Probability and general statistical terms
ISO 5725-3.1994 Accuracy of measurement methods and results (accuracy and precision) Part 3. Standard measurement method precision
Intermediate metric
GB/T 6379.6-2009/ISO 5725-6.1994
ISO Guide 33. 1989 Use of Certified Reference Materials (Standard Substances)
ISO Guide 35.1989 General principles and statistical principles for reference materials (standard substances)
3 Terms and definitions
The terms and definitions given in GB/T 3358.1 and GB/T 6379.1 are still applicable in this part of GB/T 6379.
The symbols used in GB/T 6379 are given in Appendix A.
4 limit determination
4.1 Repeatability and reproducibility limits
4.1.1 GB/T 6379.2 focuses on the estimation of various standard deviations measured under repetitive conditions and reproducibility conditions. however
In the usual laboratory work, it is often required to check the difference between the observations of two (or more) test results.
A measure such as a critical difference, not just a standard deviation.
4.1.2 If an estimator is the sum or difference of the independent estimators, the standard deviation of each estimator is σ, then the standard deviation of the sum or difference
The limit is 95%. In the full analysis of GB/T 6379, it is assumed that the basic distribution is approximately normal. For a normal distribution, 95% probability level
4.1.3 As mentioned earlier, when the true value of the standard deviation is unknown, the result of the estimated precision gives an estimate of the standard deviation. In statistical practice,
The standard deviation is estimated using 狊 instead of σ. According to the procedures given in GB/T 6379.1 and GB/T 6379.2, these estimates are based.
A certain number of test results give us the best information about the true value of the standard deviation. Therefore, in other applications in the future, remember
狊 is an estimate based on the standard deviation of the relatively finite test results, and the value obtained by the full precision test is represented by σ and is taken as the value
The true value of the standard deviation is compared to other estimates.
4.1.4 From 4.1.1 to 4.1.3, when testing two single test results obtained under conditions of repeatability or reproducibility,
4.2 Based on comparison of more than two values
4.2.1 Comparison of two sets of results in a laboratory
In a laboratory, if two sets of measurements are taken under repetitive conditions, the first set of test results is a number 1, and the arithmetic mean is
珔狔1; the second group of test results is the shape 2, the arithmetic mean is 珔狔2, then the standard deviation of (珔狔1-珔狔2) is.
Shape 1+
Shape ( )槡2
At the 95% probability level, the critical difference between 珔狔1-珔狔2 is.
2 shape 1+
2 槡 2
4.2.2 Comparison of two sets of measurements in two laboratories
If the first laboratory test result is 1 in repeatability conditions, the arithmetic mean is 珔狔1; the second laboratory test result
The number is 2, and its arithmetic mean is 珔狔2; then the standard deviation of (珔狔1-珔狔2) is.
σ= σ2L+
Shape 1σ
Shape 2σ
Shape 1+
Shape ( )槡2
GB/T 6379.6-2009/ISO 5725-6.1994
2 shape 1-
2 ( ) 槡 2
At the 95% probability level, the critical difference between 珔狔1-珔狔2 is.
2 shape 1-
2 ( ) 槡 2
Note 2. If the shape 1 = shape 2 = 1, the above-mentioned critical difference is reduced to R = 2.8 σR.
4.2.3 Comparison of test results and reference values in a laboratory
If, under repetitive conditions, a laboratory has obtained a test result with an arithmetic mean of 珔狔, then it should be associated with a certain
The determined reference value μ0 is compared, and in the case where the biased laboratory component has not been determined, the standard deviation of (珔狔-μ0) is.
σ= σ2L+
Shape σ
=1
槡2
1( )
=1
槡2
Shape-1( )
At the 95% probability level, the critical difference of 珔狔-μ0 is.
CD0.95=
槡2
Shape-1( )
4.2.4 Comparison of test results and reference values in multiple laboratories
Comparing the total average with the reference value μ0, the standard deviation of (珕狔-μ0) is.
L+
= 1
= 1
Thus, at the 95% probability level, the critical difference of 珕狔-μ0 is.
CD0.95 =
4.2.5 Report comparison results
If the absolute difference of the test results exceeds the reasonable limits given in the above clauses, the corresponding absolute difference shall be considered suspicious. At this time, for counting
All measurements that count for this absolute difference should be considered suspicious and further review is required.
5 Methods for checking the acceptability of test results and determining the final report results
5.1 General
A case where σR is known. Therefo...
Share
