1
/
of
5
PayPal, credit cards. Download editable-PDF and invoice in 1 second!
JB/T 10235-2001 English PDF (JB/T10235-2001)
JB/T 10235-2001 English PDF (JB/T10235-2001)
Regular price
$270.00 USD
Regular price
Sale price
$270.00 USD
Unit price
/
per
Shipping calculated at checkout.
Couldn't load pickup availability
Delivery: 3 seconds. Download true-PDF + Invoice.
Get QUOTATION in 1-minute: Click JB/T 10235-2001
Historical versions: JB/T 10235-2001
Preview True-PDF (Reload/Scroll if blank)
JB/T 10235-2001: Rolling bearings. Tapered roller. Technical specifications
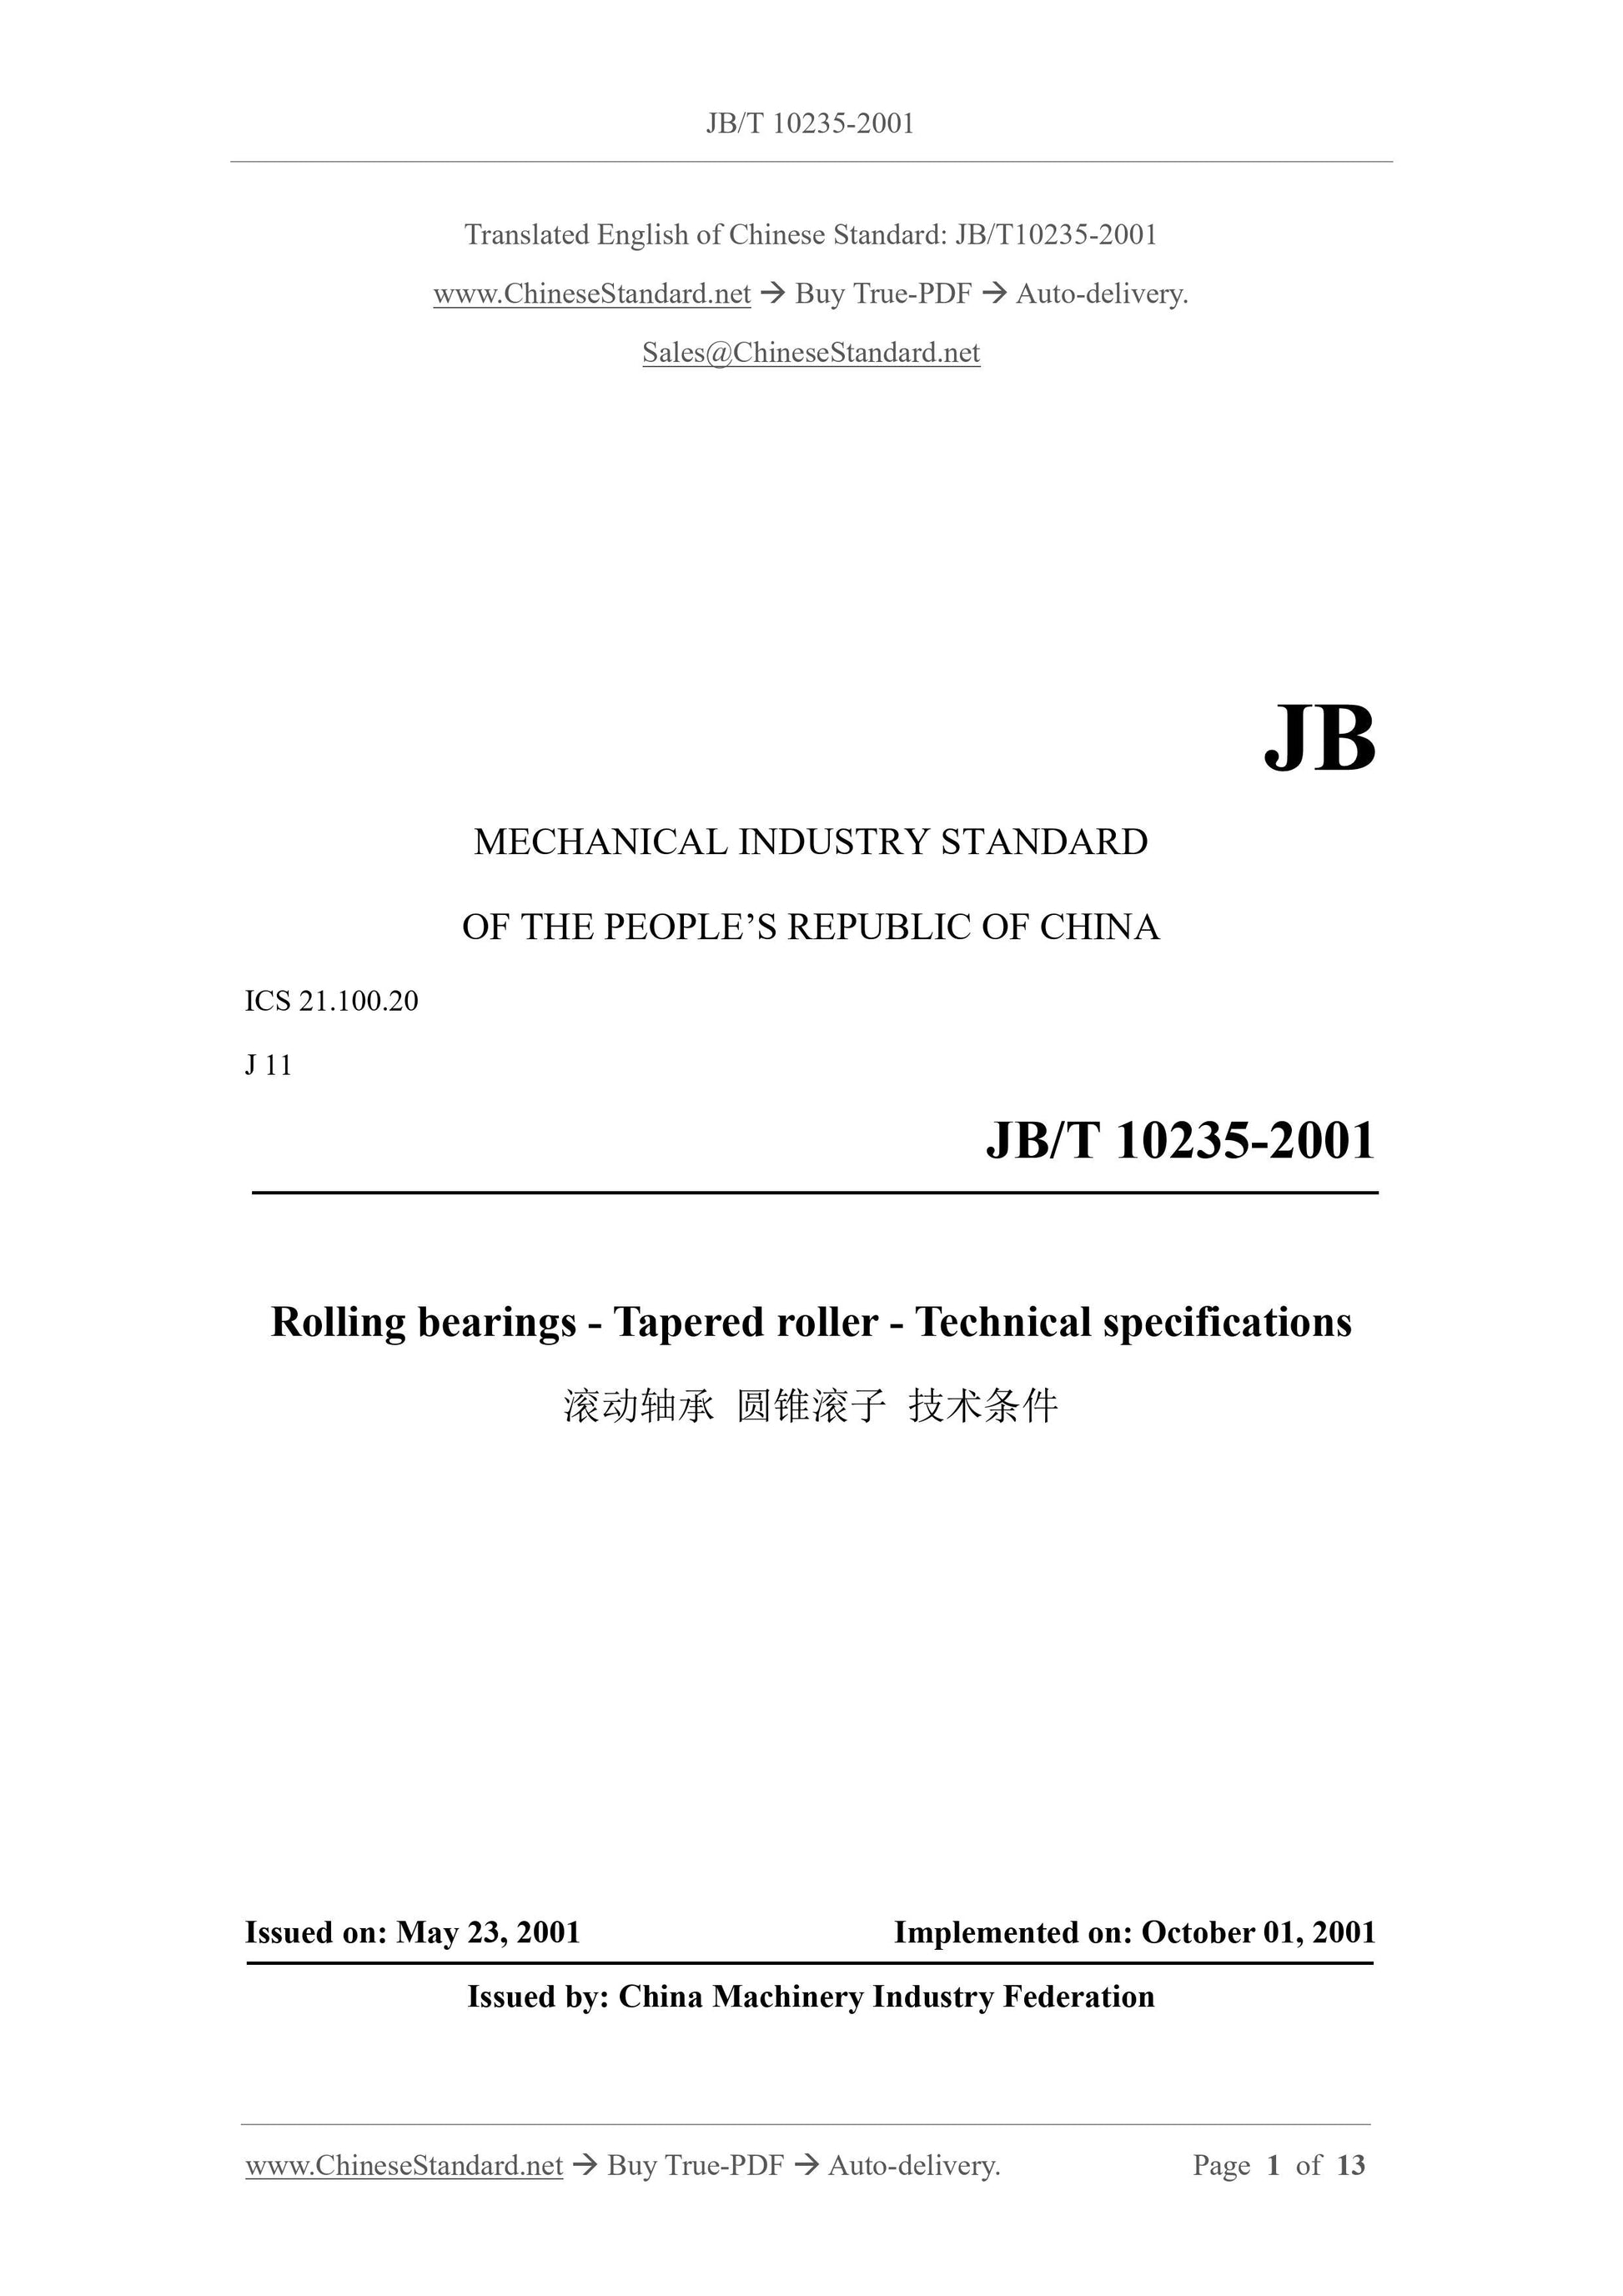
JB/T 10235-2001
MECHANICAL INDUSTRY STANDARD
OF THE PEOPLE’S REPUBLIC OF CHINA
ICS 21.100.20
J 11
Rolling bearings - Tapered roller - Technical specifications
ISSUED ON: MAY 23, 2001
IMPLEMENTED ON: OCTOBER 01, 2001
Issued by: China Machinery Industry Federation
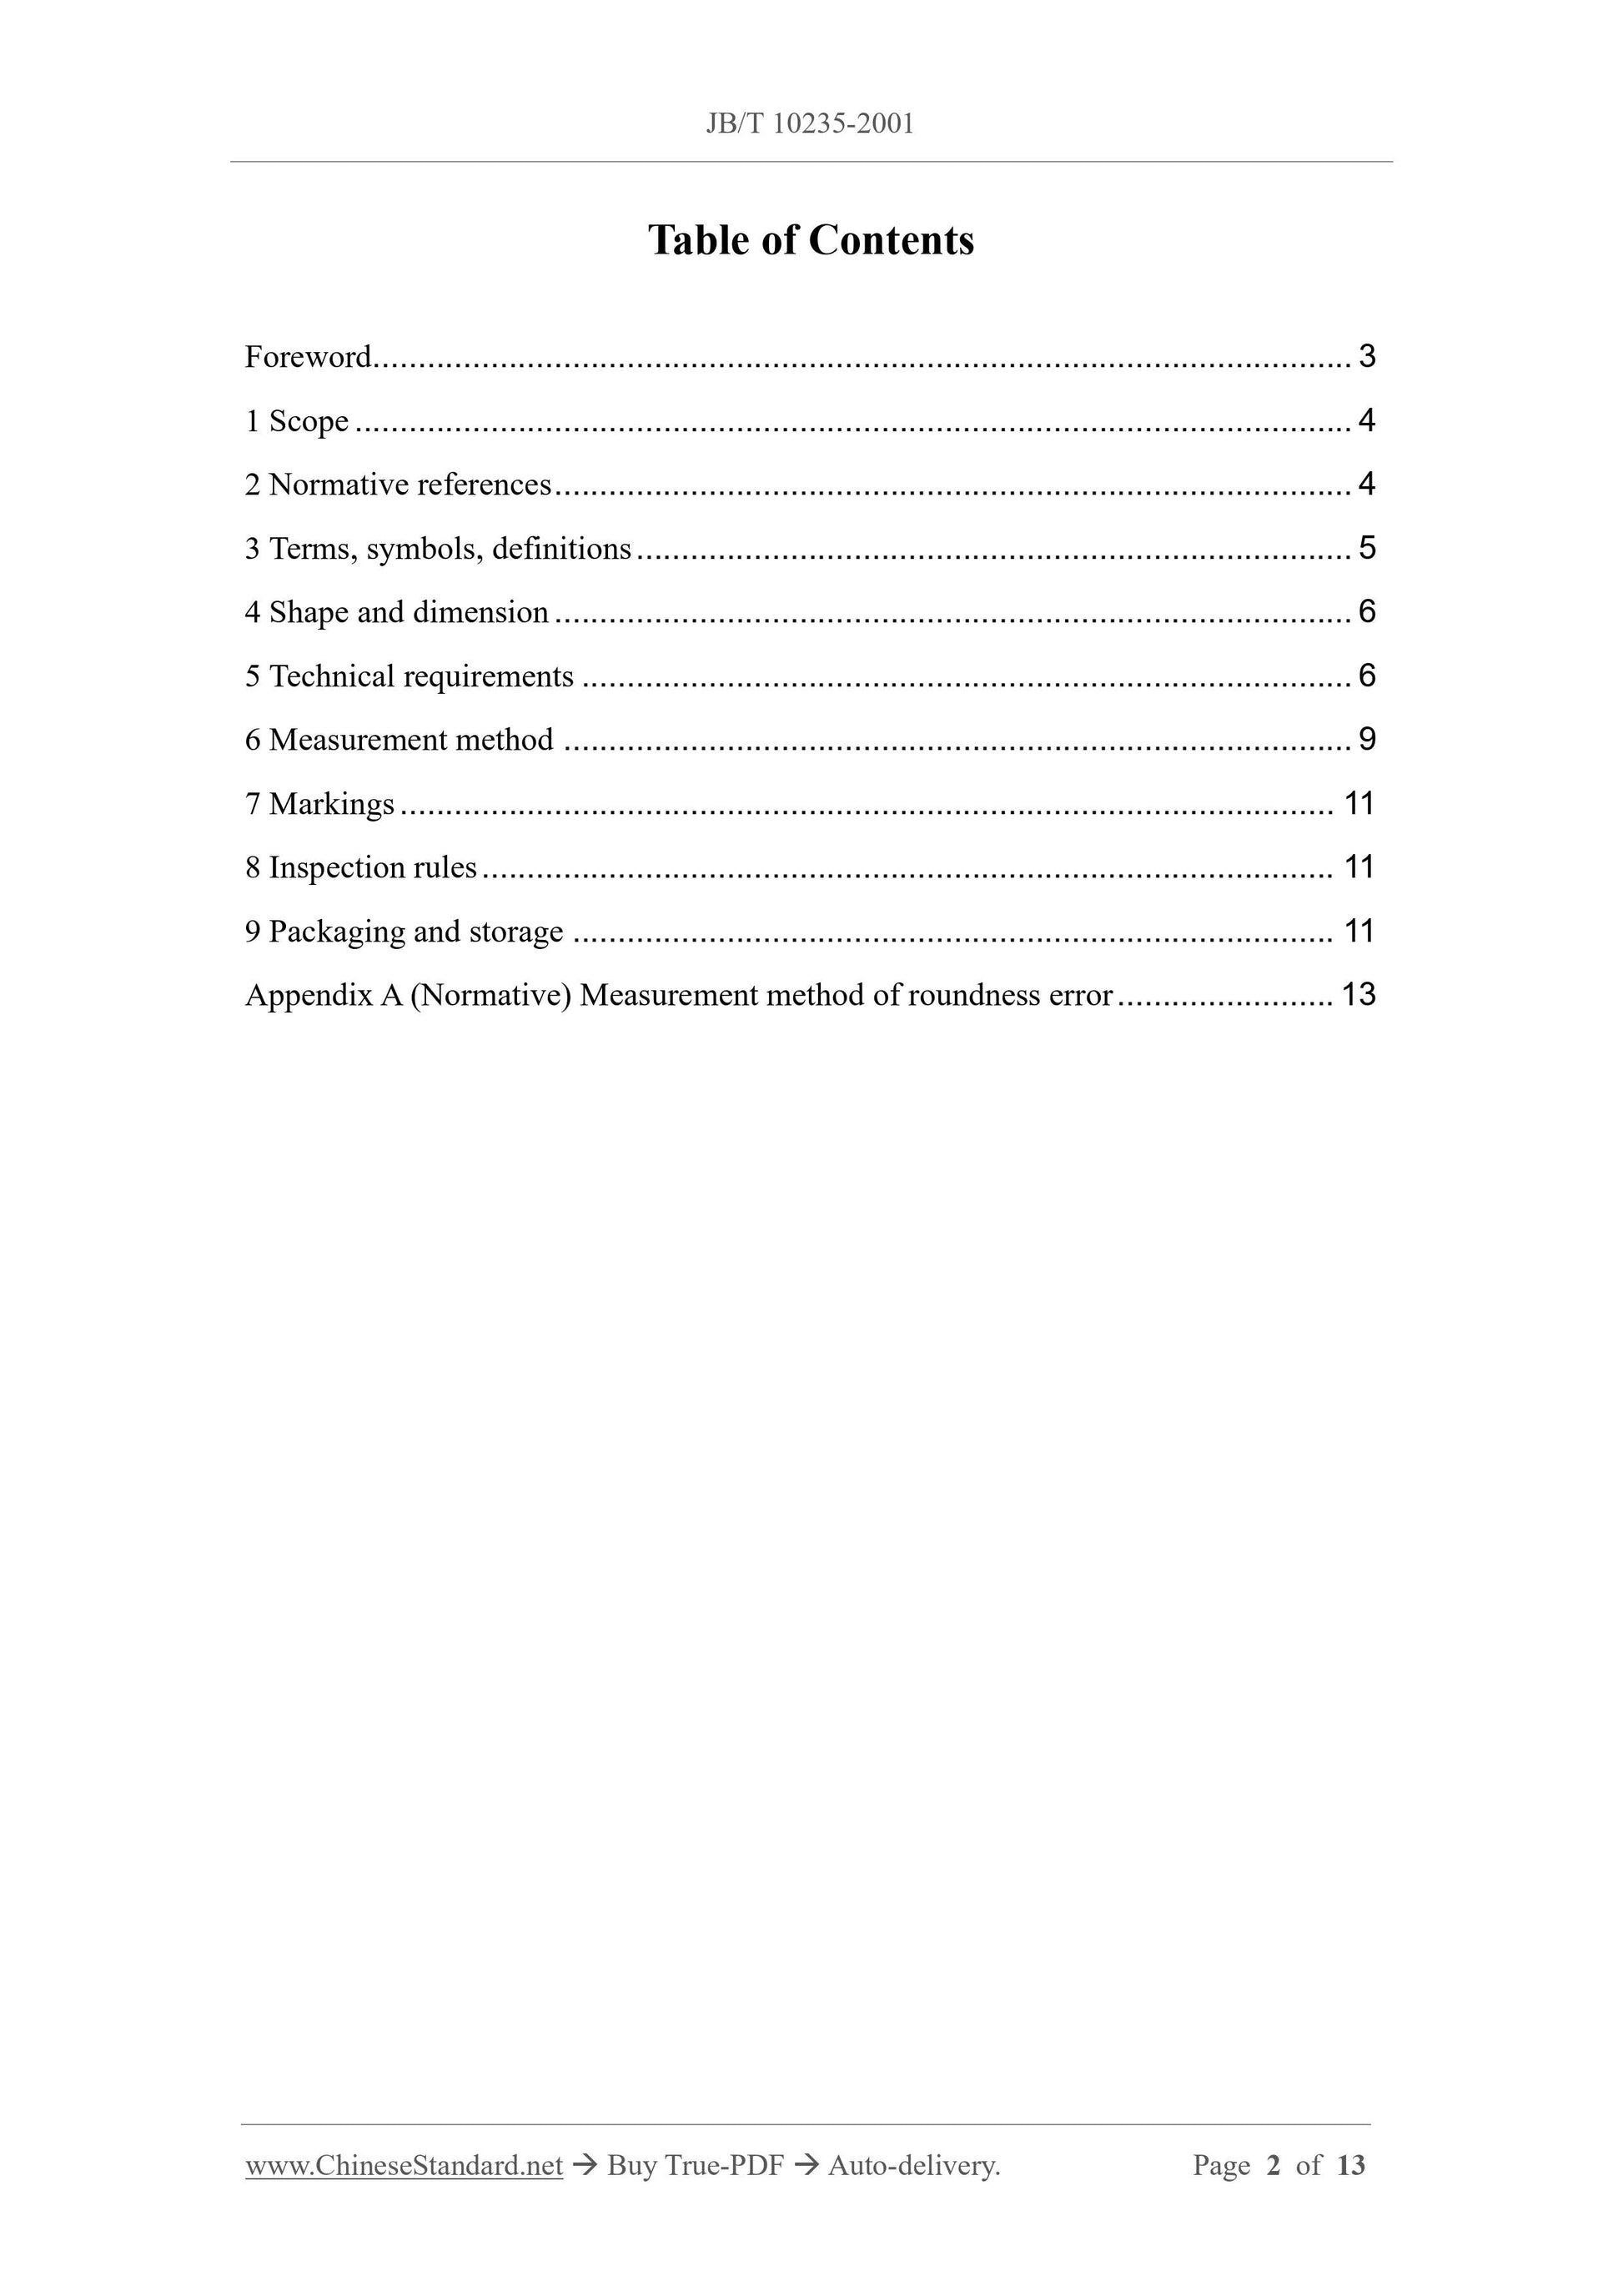
Table of Contents
Foreword ... 3
1 Scope ... 4
2 Normative references ... 4
3 Terms, symbols, definitions ... 5
4 Shape and dimension ... 6
5 Technical requirements ... 6
6 Measurement method ... 9
7 Markings ... 11
8 Inspection rules ... 11
9 Packaging and storage ... 11
Appendix A (Normative) Measurement method of roundness error ... 13
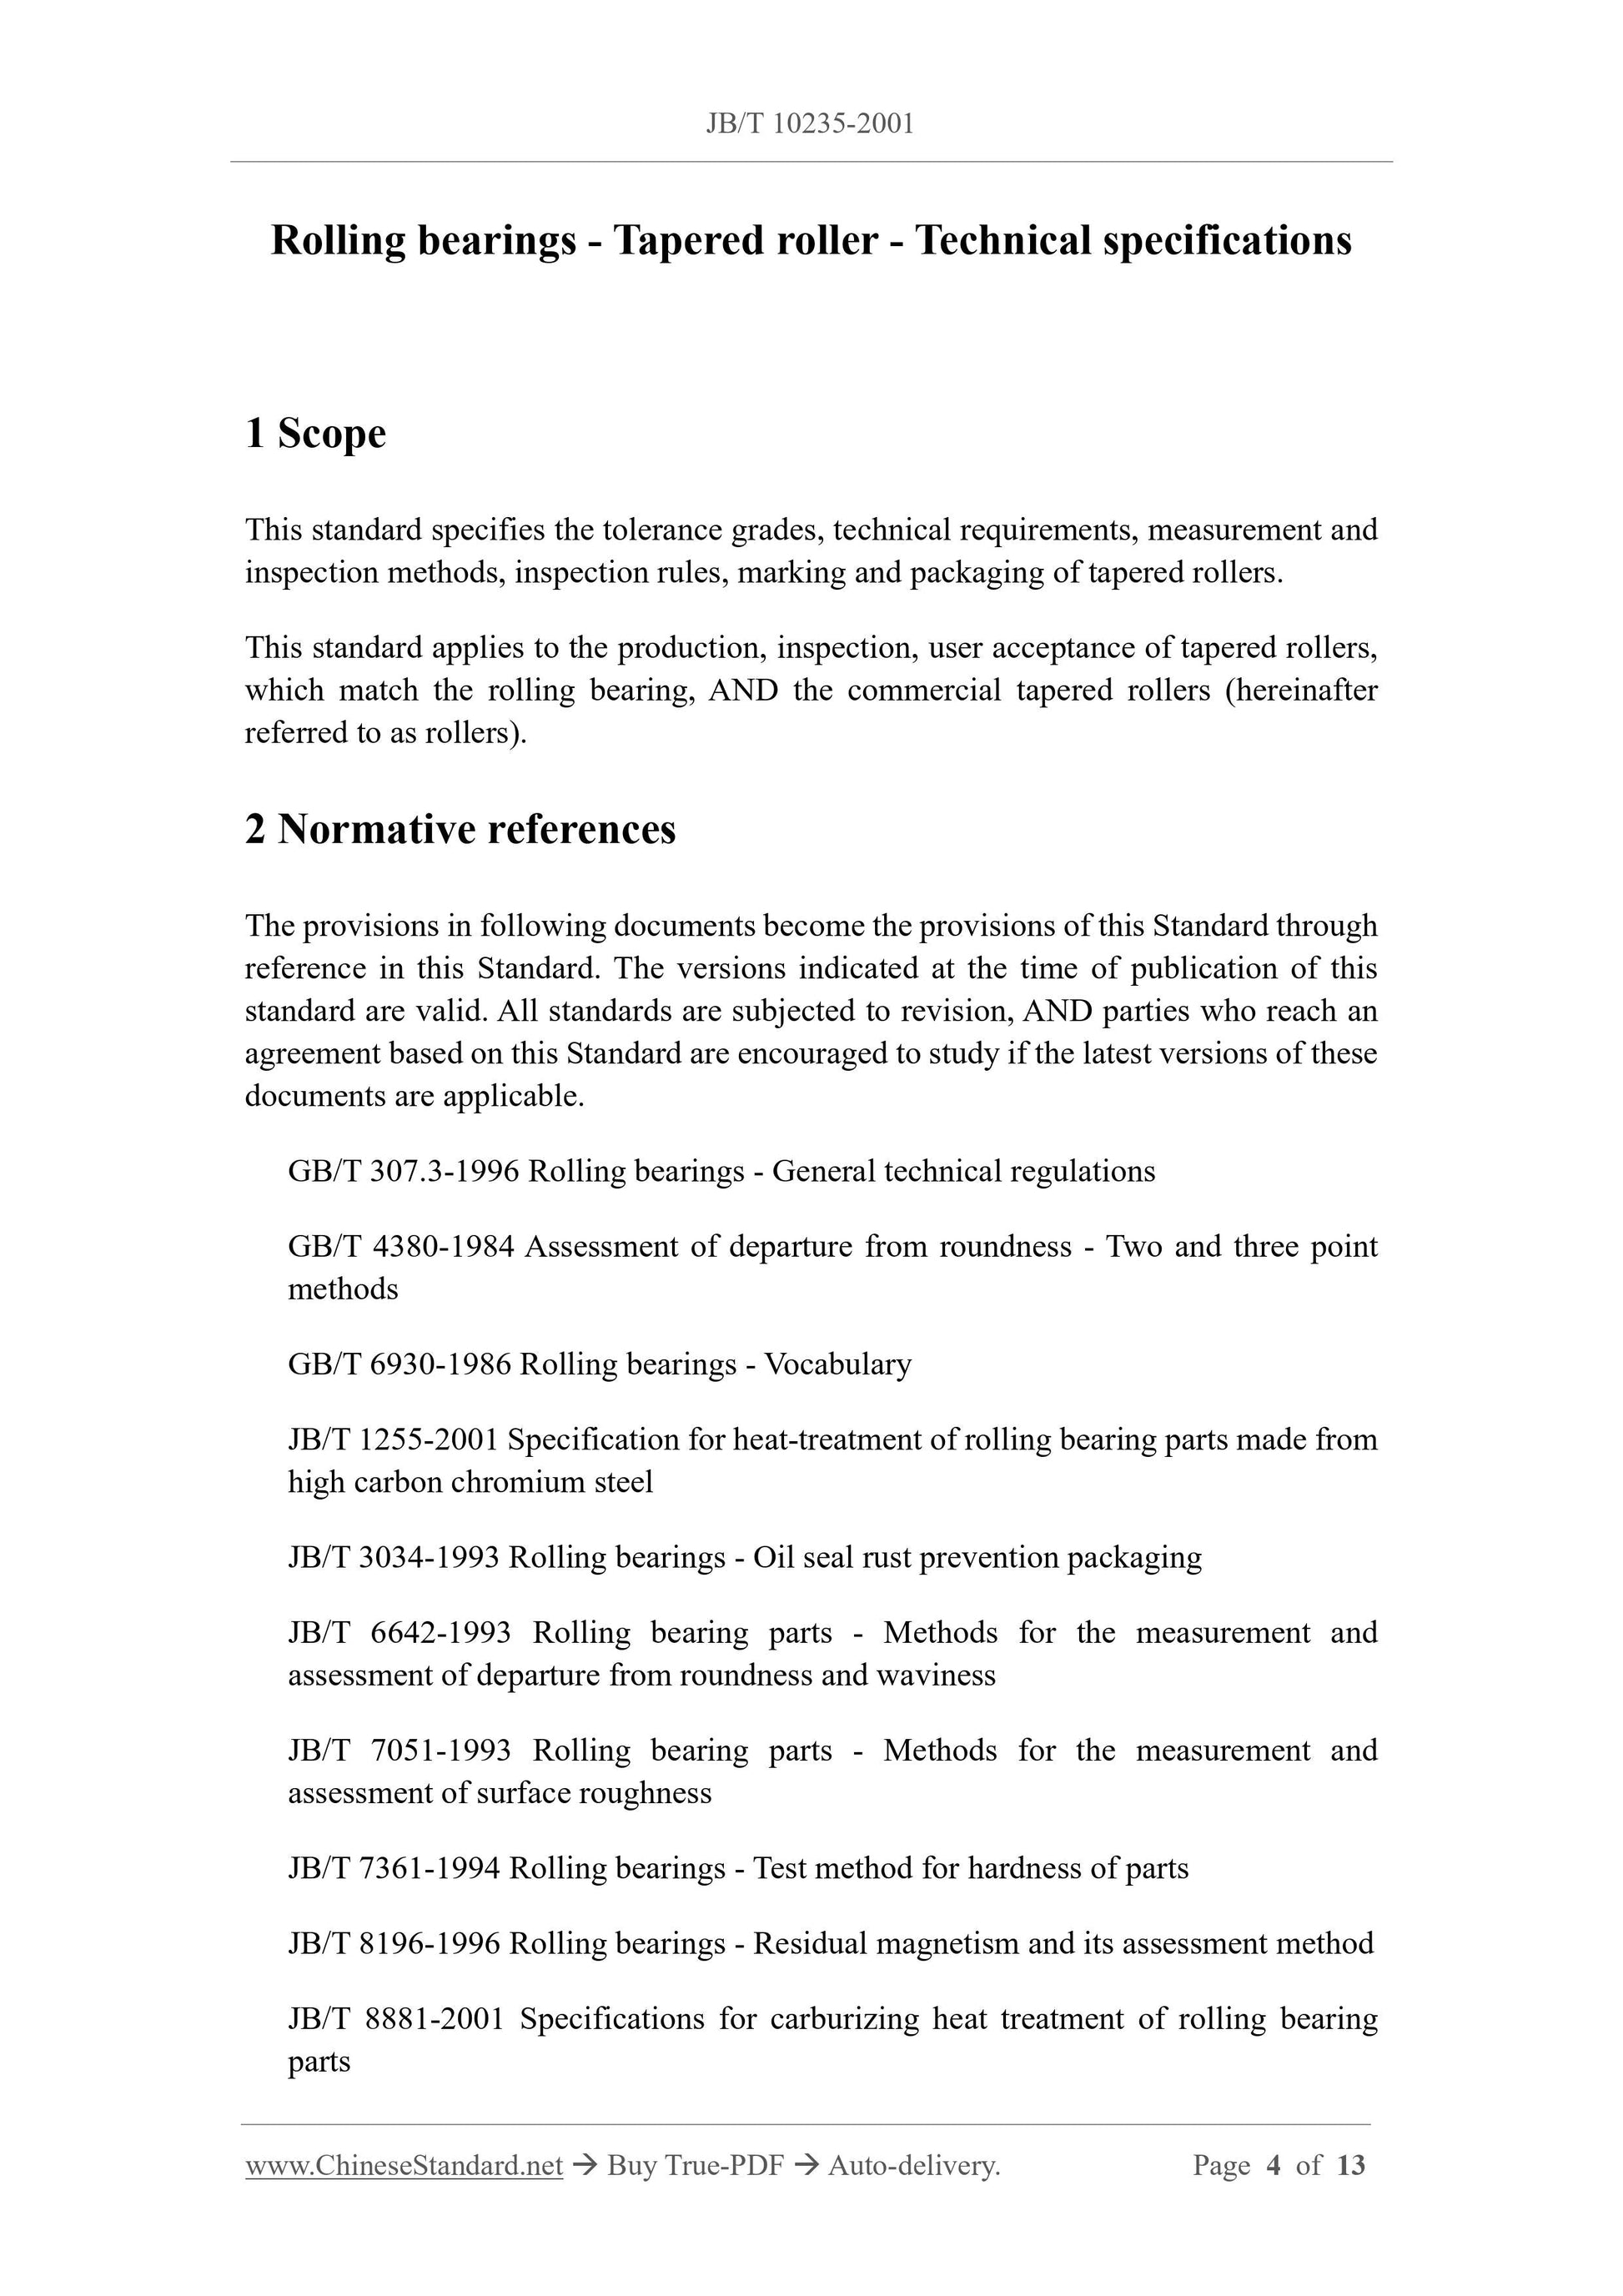
Rolling bearings - Tapered roller - Technical specifications
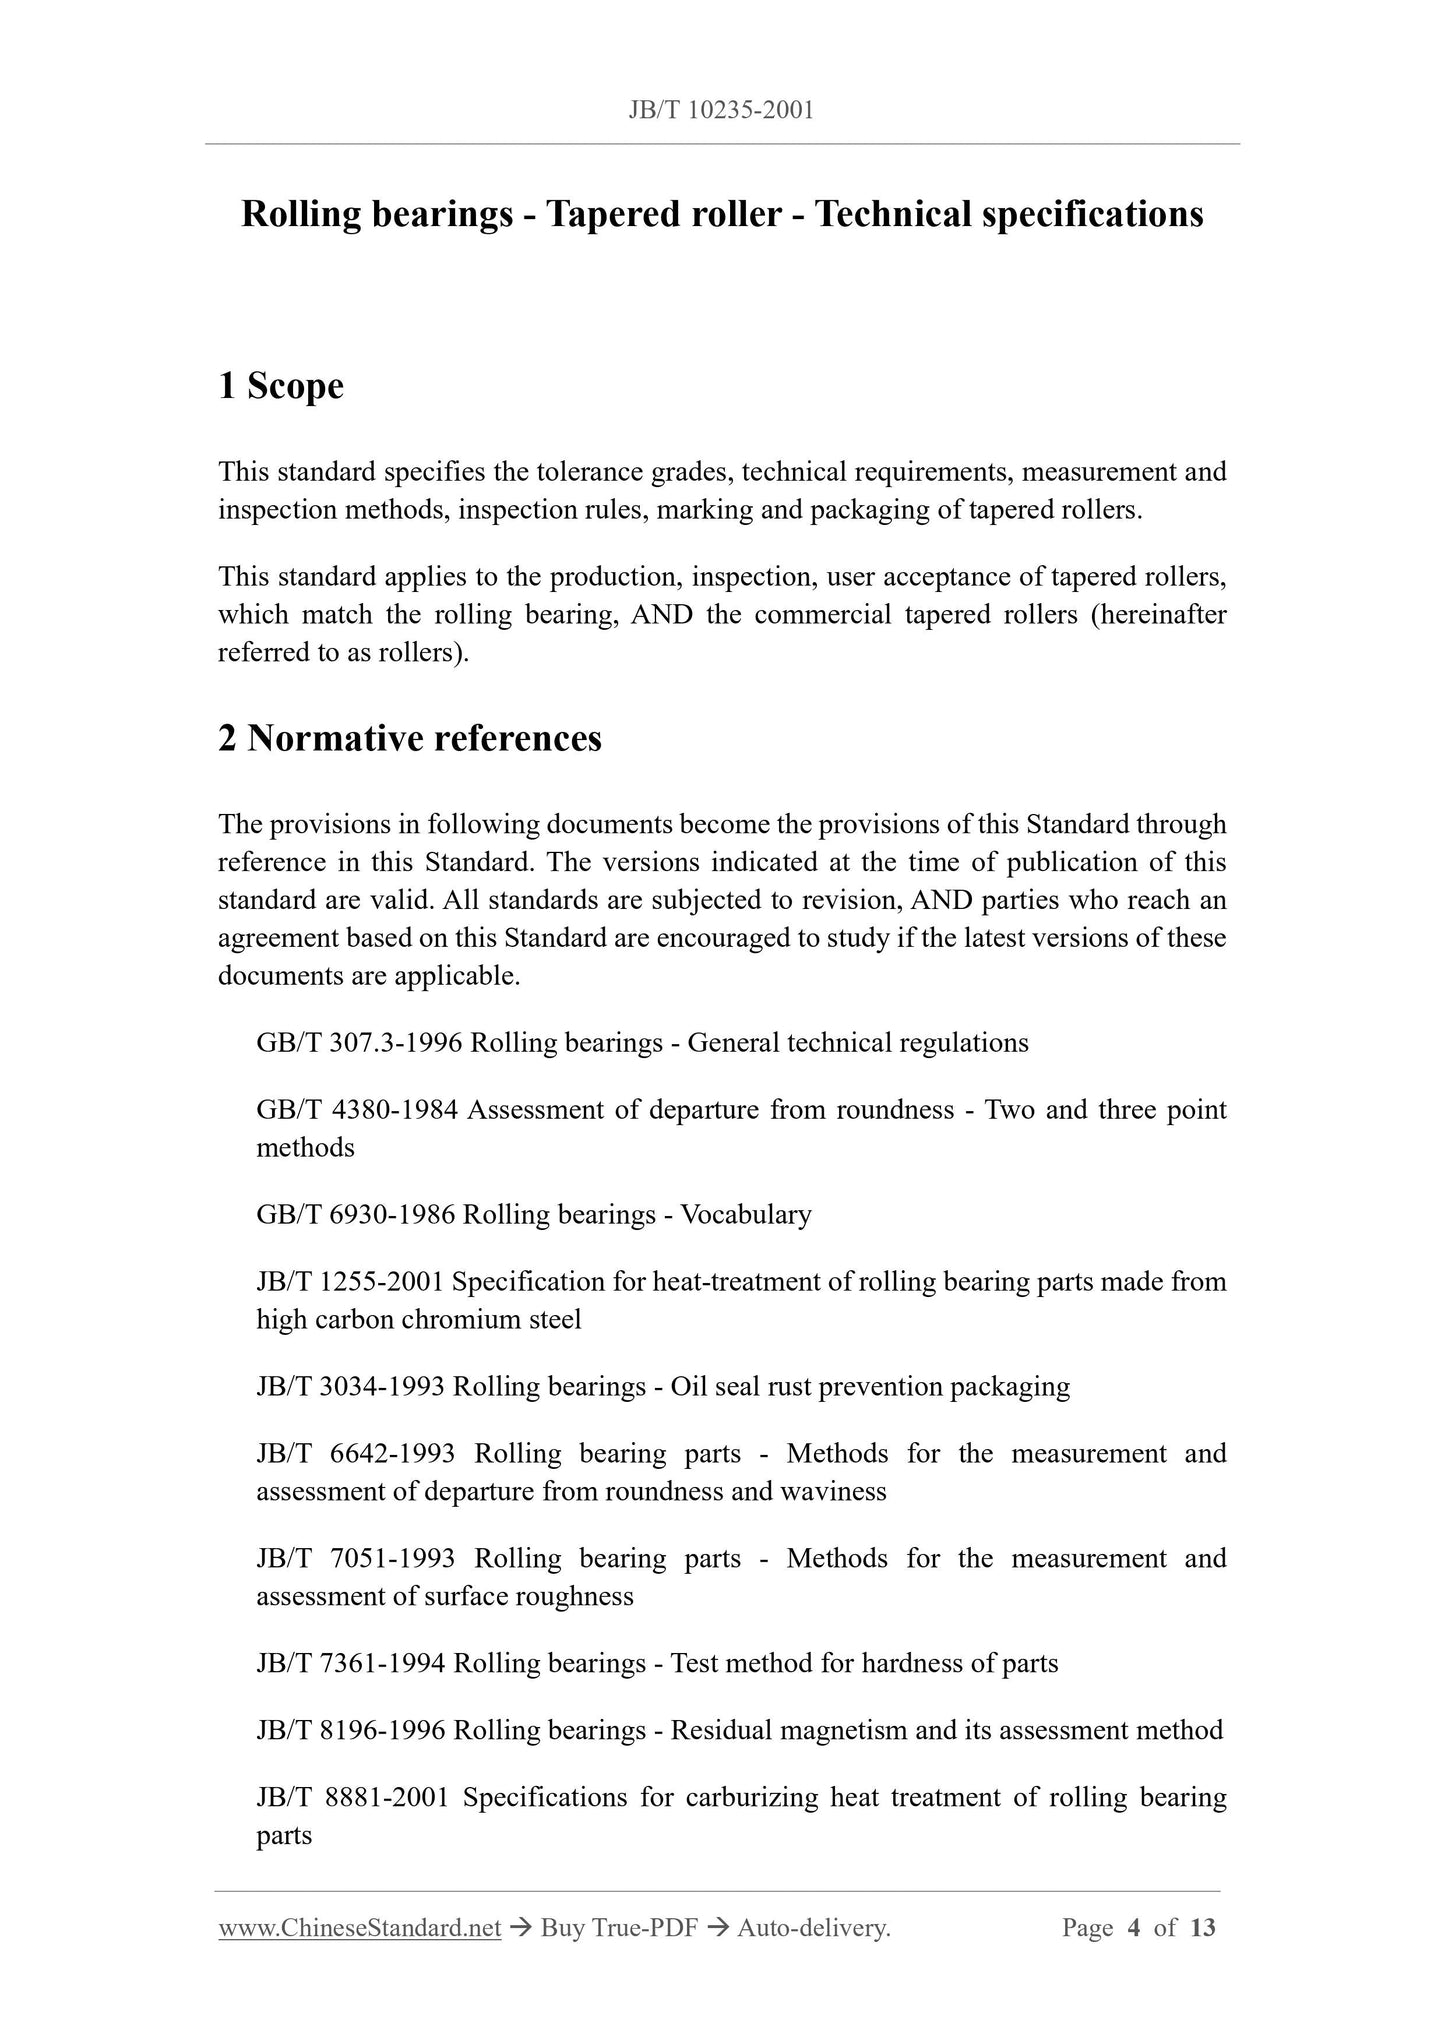
1 Scope
This standard specifies the tolerance grades, technical requirements, measurement and
inspection methods, inspection rules, marking and packaging of tapered rollers.
This standard applies to the production, inspection, user acceptance of tapered rollers,
which match the rolling bearing, AND the commercial tapered rollers (hereinafter
referred to as rollers).
2 Normative references
The provisions in following documents become the provisions of this Standard through
reference in this Standard. The versions indicated at the time of publication of this
standard are valid. All standards are subjected to revision, AND parties who reach an
agreement based on this Standard are encouraged to study if the latest versions of these
documents are applicable.
GB/T 307.3-1996 Rolling bearings - General technical regulations
GB/T 4380-1984 Assessment of departure from roundness - Two and three point
methods
GB/T 6930-1986 Rolling bearings - Vocabulary
JB/T 1255-2001 Specification for heat-treatment of rolling bearing parts made from
high carbon chromium steel
JB/T 3034-1993 Rolling bearings - Oil seal rust prevention packaging
JB/T 6642-1993 Rolling bearing parts - Methods for the measurement and
assessment of departure from roundness and waviness
JB/T 7051-1993 Rolling bearing parts - Methods for the measurement and
assessment of surface roughness
JB/T 7361-1994 Rolling bearings - Test method for hardness of parts
JB/T 8196-1996 Rolling bearings - Residual magnetism and its assessment method
JB/T 8881-2001 Specifications for carburizing heat treatment of rolling bearing
parts
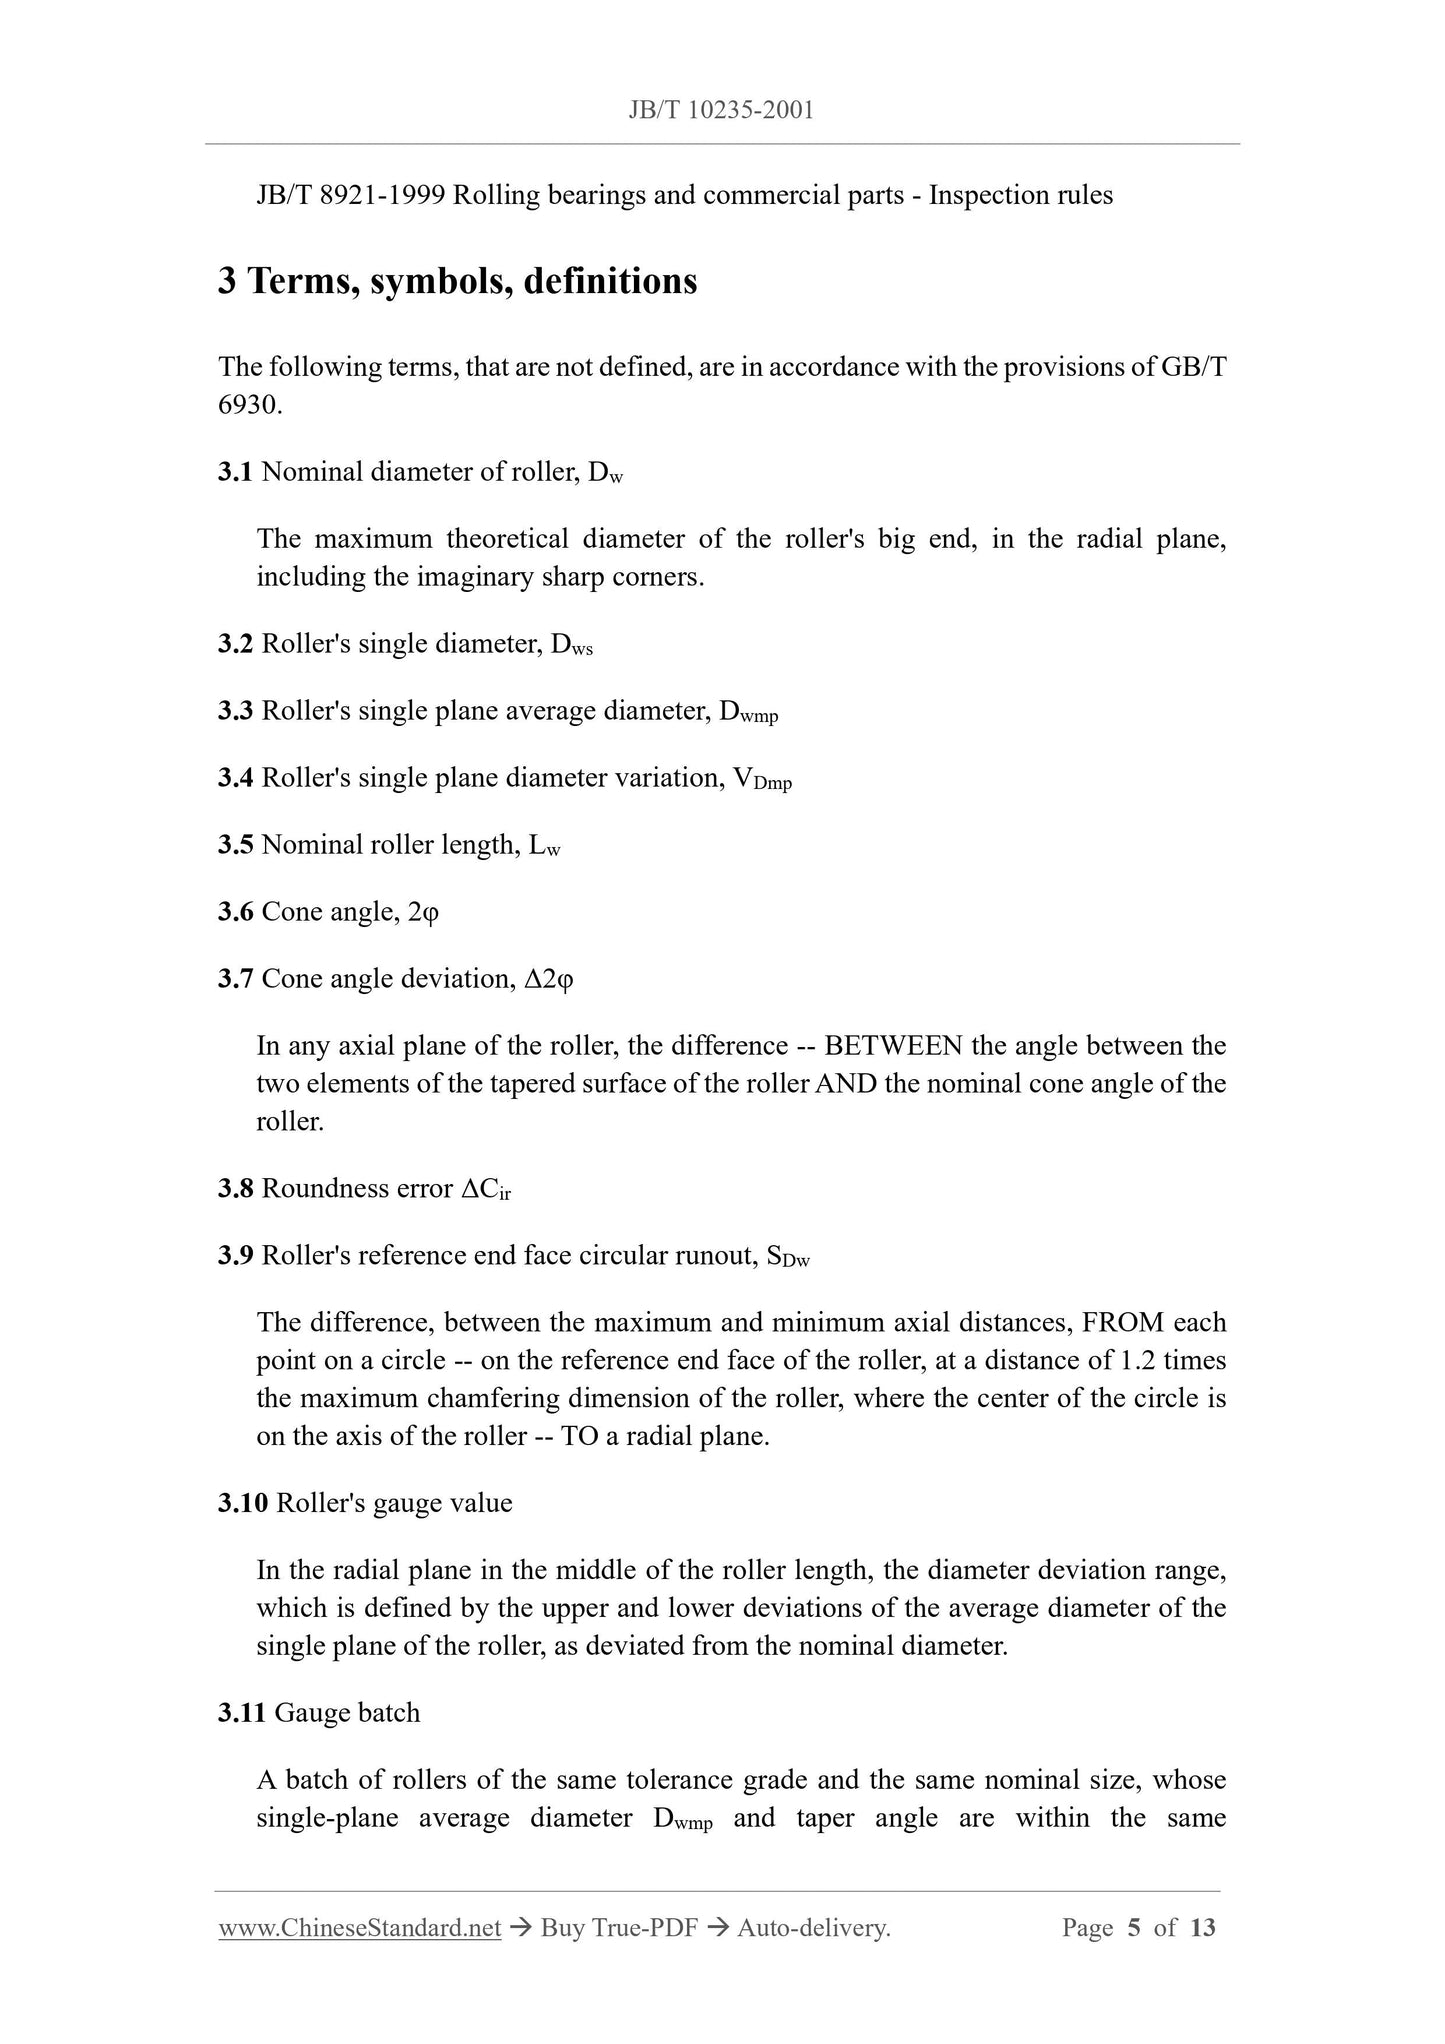
JB/T 8921-1999 Rolling bearings and commercial parts - Inspection rules
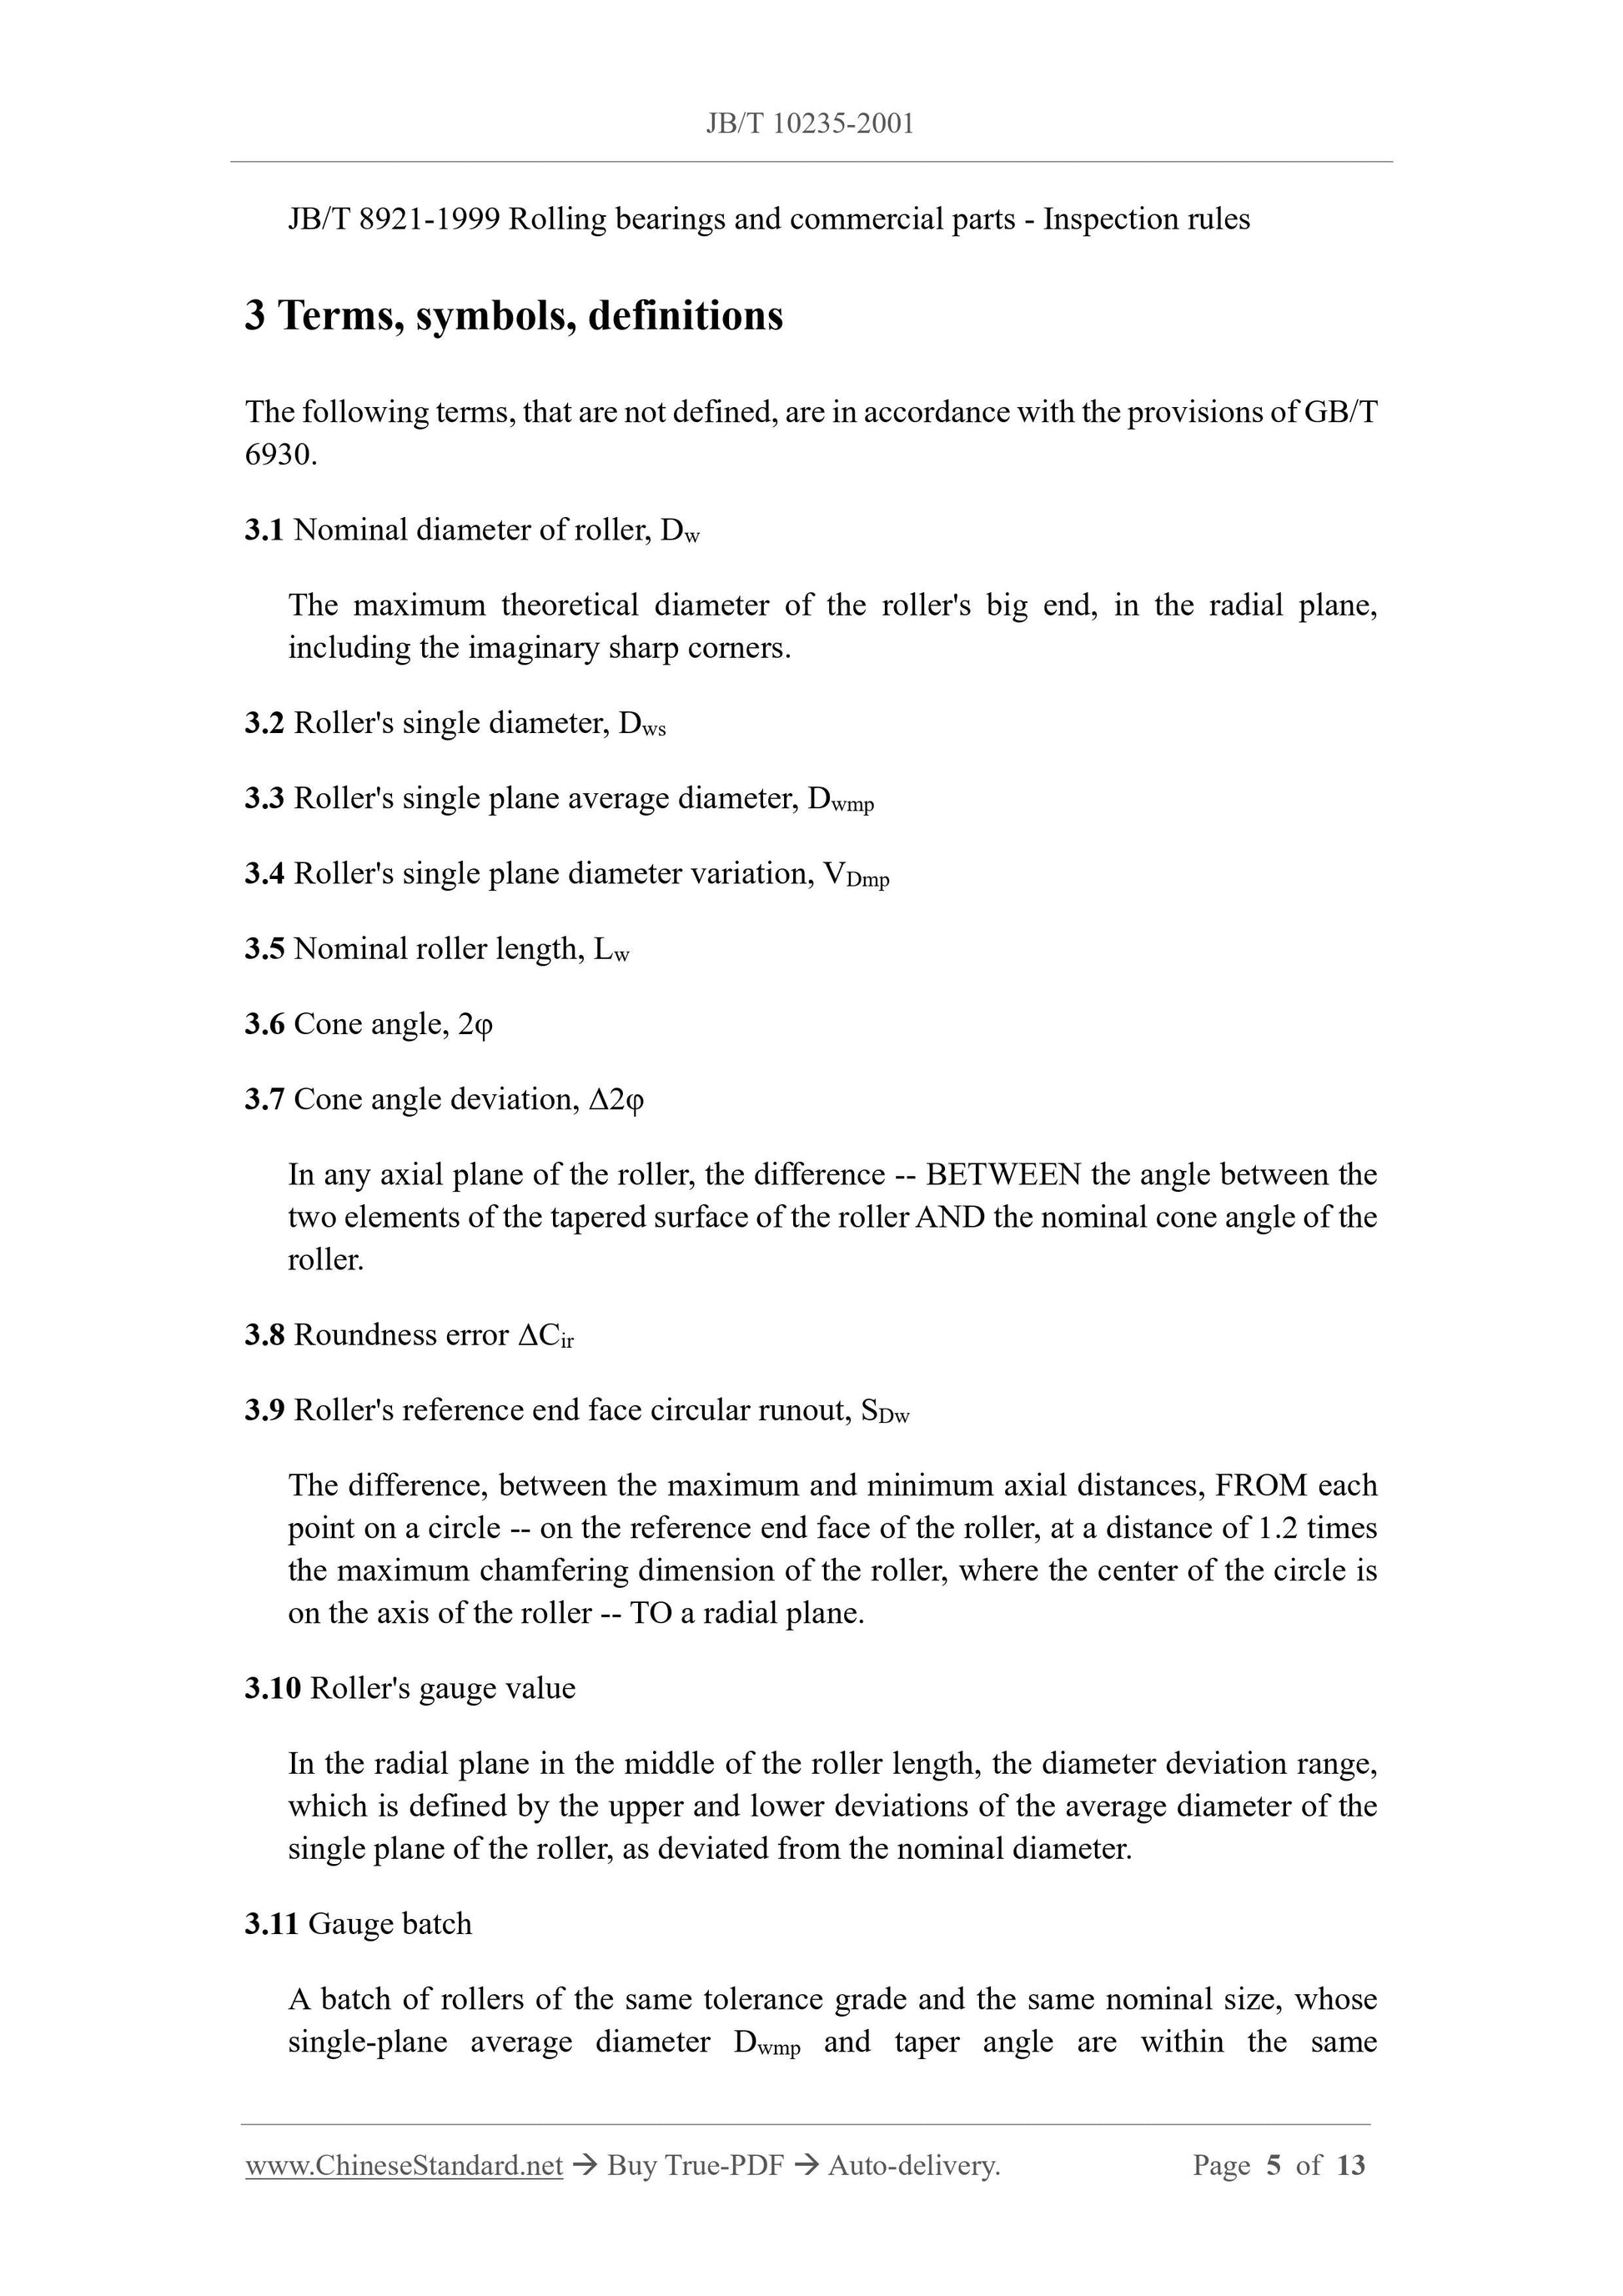
3 Terms, symbols, definitions
The following terms, that are not defined, are in accordance with the provisions of GB/T
6930.
3.1 Nominal diameter of roller, Dw
The maximum theoretical diameter of the roller's big end, in the radial plane,
including the imaginary sharp corners.
3.2 Roller's single diameter, Dws
3.3 Roller's single plane average diameter, Dwmp
3.4 Roller's single plane diameter variation, VDmp
3.5 Nominal roller length, Lw
3.6 Cone angle, 2φ
3.7 Cone angle deviation, Δ2φ
In any axial plane of the roller, the difference -- BETWEEN the angle between the
two elements of the tapered surface of the roller AND the nominal cone angle of the
roller.
3.8 Roundness error ΔCir
3.9 Roller's reference end face circular runout, SDw
The difference, between the maximum and minimum axial distances, FROM each
point on a circle -- on the reference end face of the roller, at a distance of 1.2 times
the maximum chamfering dimension of the roller, where the center of the circle is
on the axis of the roller -- TO a radial plane.
3.10 Roller's gauge value
In the radial plane in the middle of the roller length, the diameter deviation range,
which is defined by the upper and lower deviations of the average diameter of the
single plane of the roller, as deviated from the nominal diameter.
3.11 Gauge batch
A batch of rollers of the same tolerance grade and the same nominal size, whose
single-plane average diameter Dwmp and taper angle are within the same
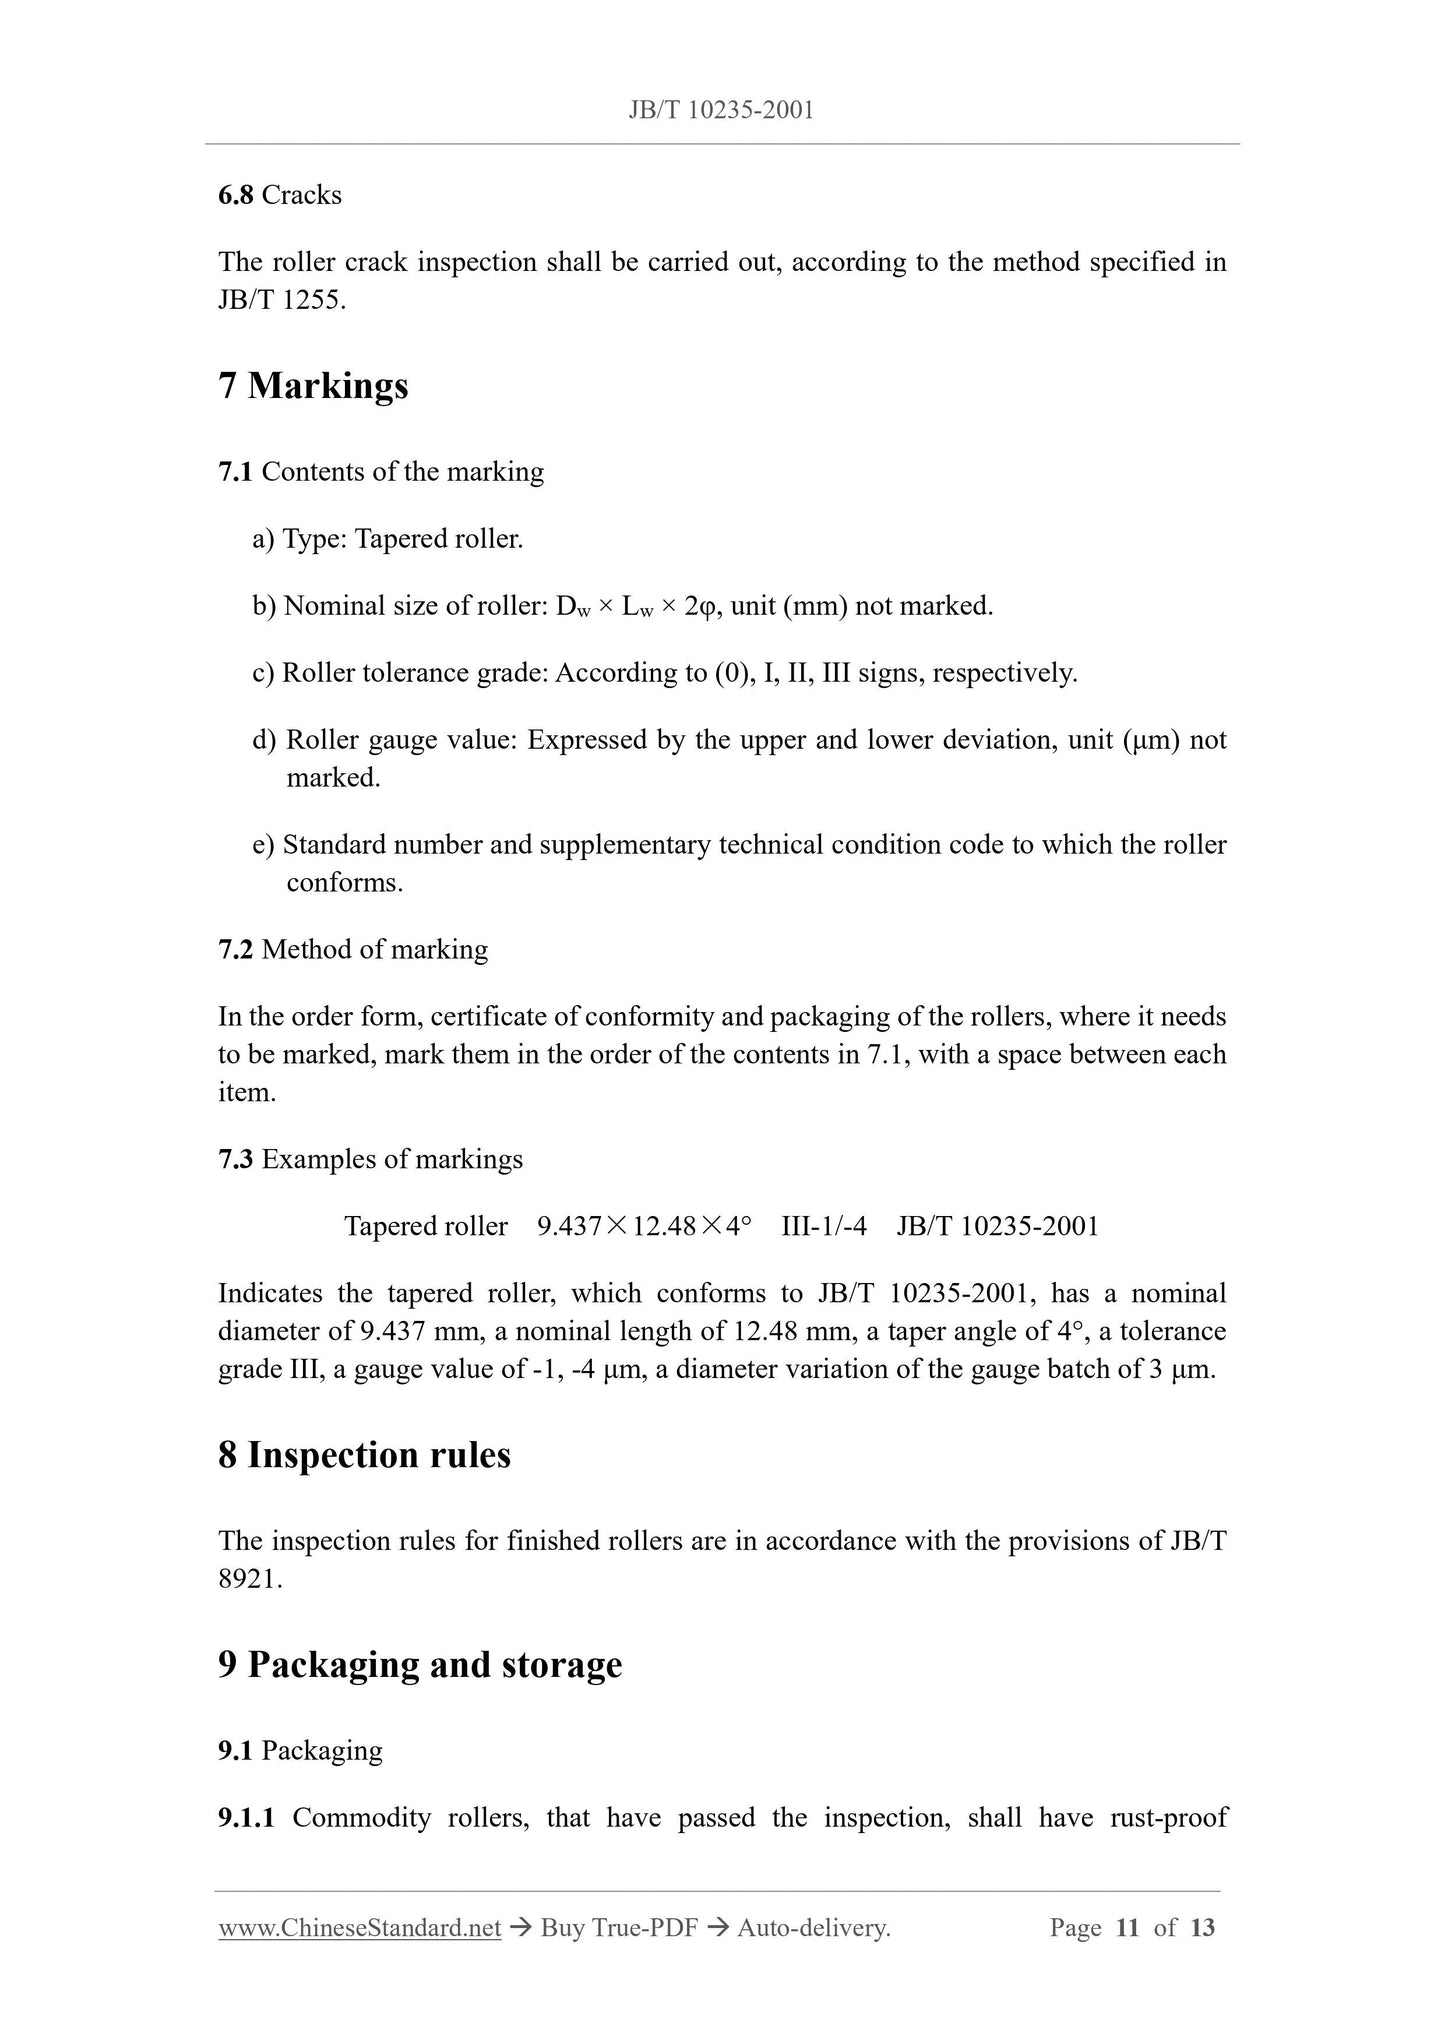
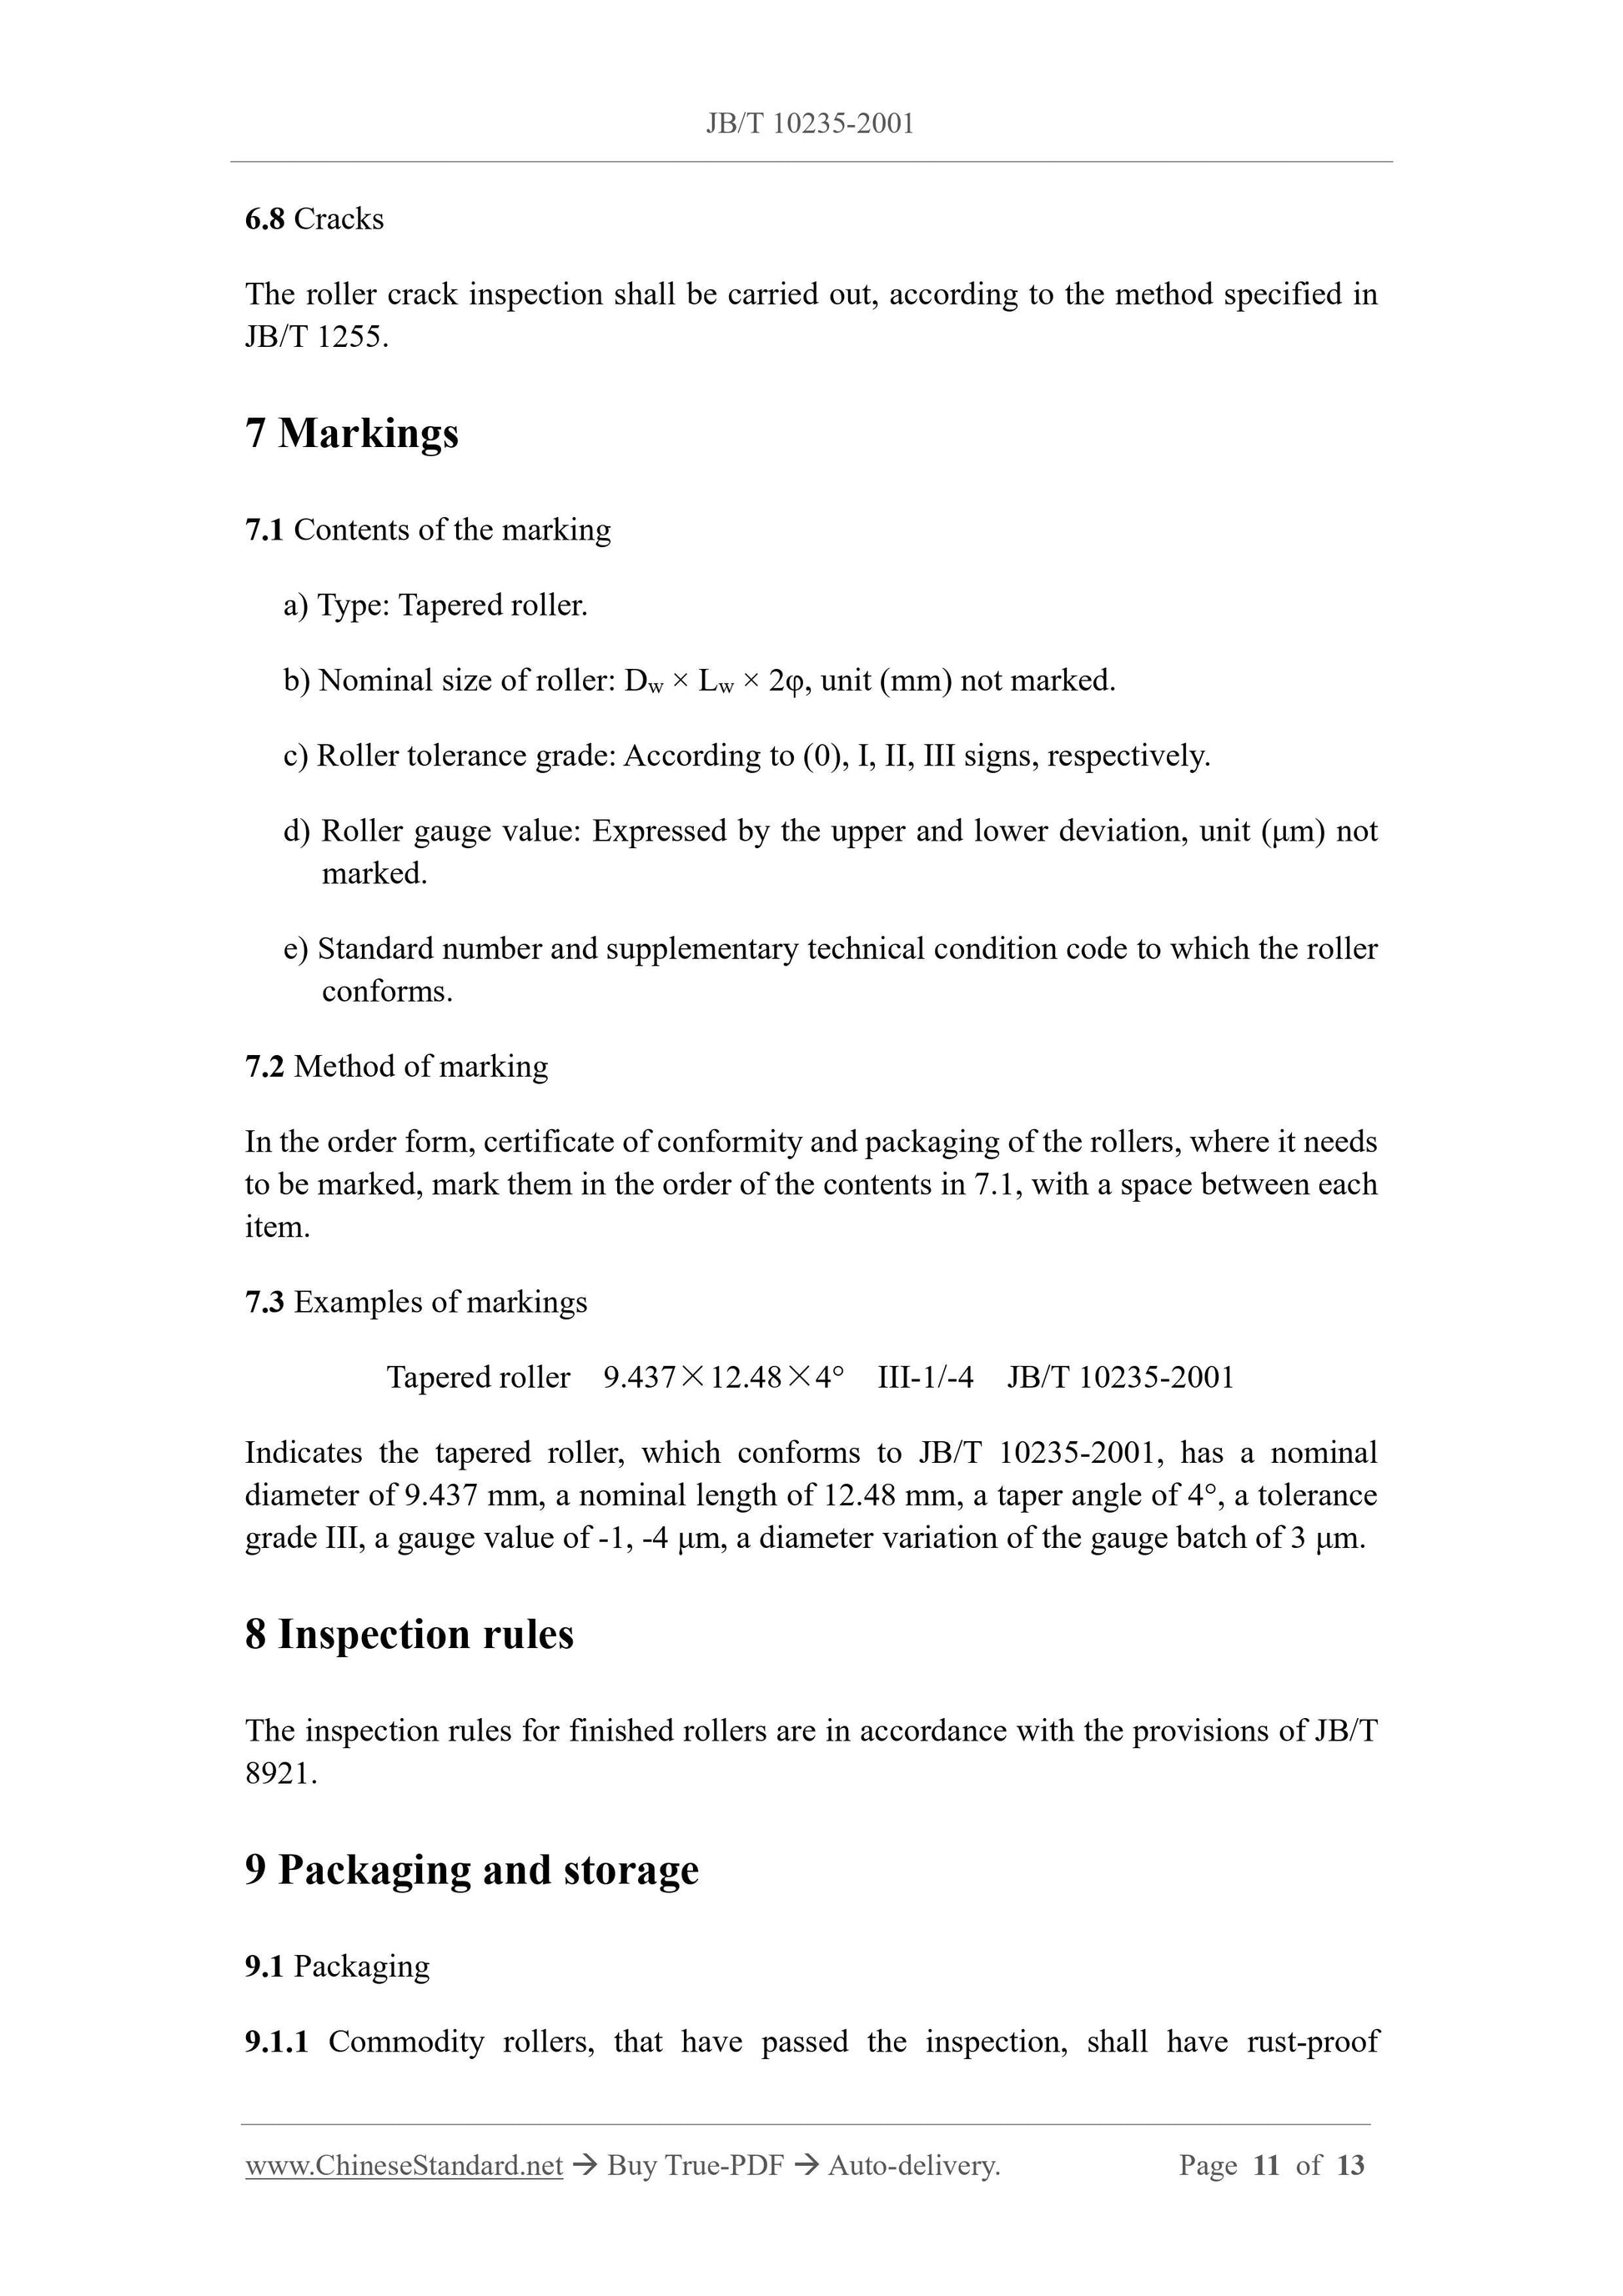
6.8 Cracks
The roller crack inspection shall be carried out, according to the method specified in
JB/T 1255.
7 Markings
7.1 Contents of the marking
a) Type: Tapered roller.
b) Nominal size of roller: Dw × Lw × 2φ, unit (mm) not marked.
c) Roller tolerance grade: According to (0), I, II, III signs, respectively.
d) Roller gauge value: Expressed by the upper and lower deviation, unit (μm) not
marked.
e) Standard number and supplementary technical condition code to which the roller
conforms.
7.2 Method of marking
In the order form, certificate of conformity and packaging of the rollers, where it needs
to be marked, mark them in the order of the contents in 7.1, with a space between each
item.
7.3 Examples of markings
Tapered roller 9.437×12.48×4° III-1/-4 JB/T 10235-2001
Indicates the tapered roller, which conforms to JB/T 10235-2001, has a nominal
diameter of 9.437 mm, a nominal length of 12.48 mm, a taper angle of 4°, a tolerance
grade III, a gauge value of -1, -4 μm, a diameter variation of the gauge batch of 3 μm.
8 Inspection rules
The inspection rules for finished rollers are in accordance with the provisions of JB/T
8921.
9 Packaging and storage
9.1 Packaging
9.1.1 Commodity rollers, that have passed the inspection, shall have rust-proof
Share


