1
/
of
4
PayPal, credit cards. Download editable-PDF and invoice in 1 second!
JB/T 7946.3-2017 English PDF (JB/T7946.3-2017)
JB/T 7946.3-2017 English PDF (JB/T7946.3-2017)
Regular price
$85.00 USD
Regular price
Sale price
$85.00 USD
Unit price
/
per
Shipping calculated at checkout.
Couldn't load pickup availability
Delivery: 3 seconds. Download true-PDF + Invoice.
Get QUOTATION in 1-minute: Click JB/T 7946.3-2017
Historical versions: JB/T 7946.3-2017
Preview True-PDF (Reload/Scroll if blank)
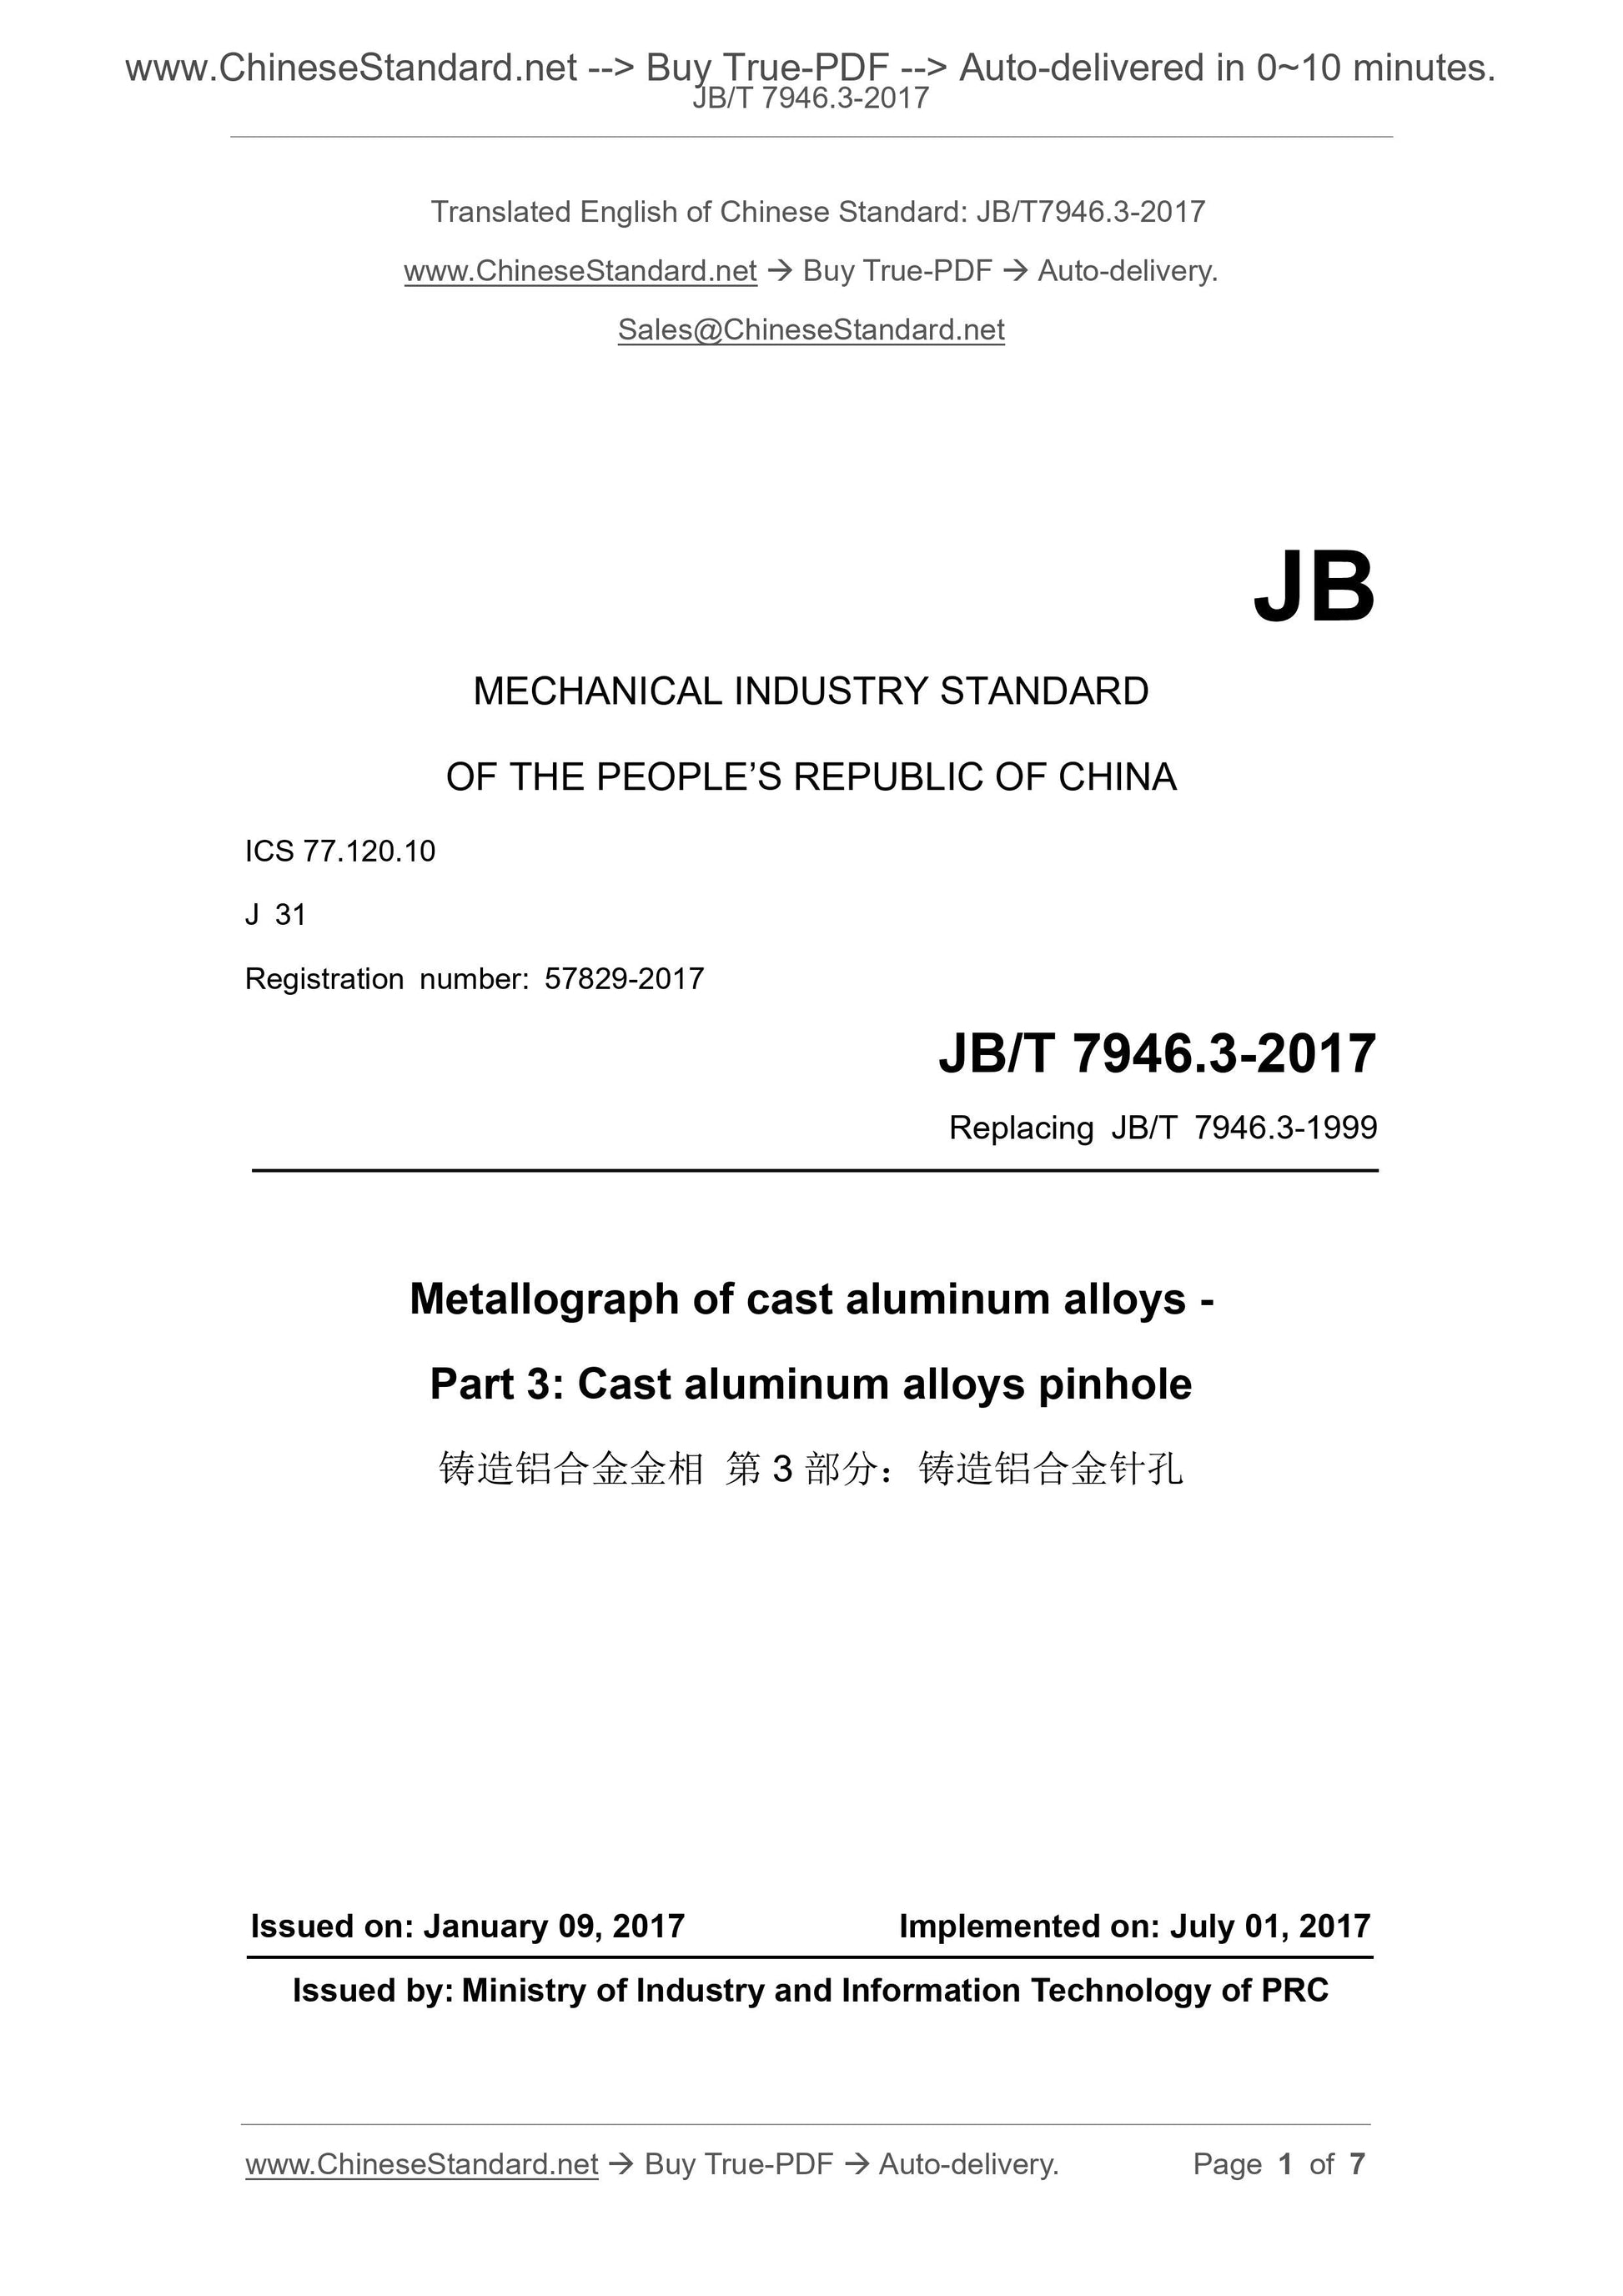
JB/T 7946.3-2017: Metallograph of cast aluminium alloys - Part 3: Cast aluminium alloys pinhole
JB/T 7946.3-2017
MECHANICAL INDUSTRY STANDARD
OF THE PEOPLE’S REPUBLIC OF CHINA
ICS 77.120.10
J 31
Registration number: 57829-2017
Replacing JB/T 7946.3-1999
Metallograph of cast aluminum alloys -
Part 3: Cast aluminum alloys pinhole
ISSUED ON: JANUARY 09, 2017
IMPLEMENTED ON: JULY 01, 2017
Issued by: Ministry of Industry and Information Technology of PRC
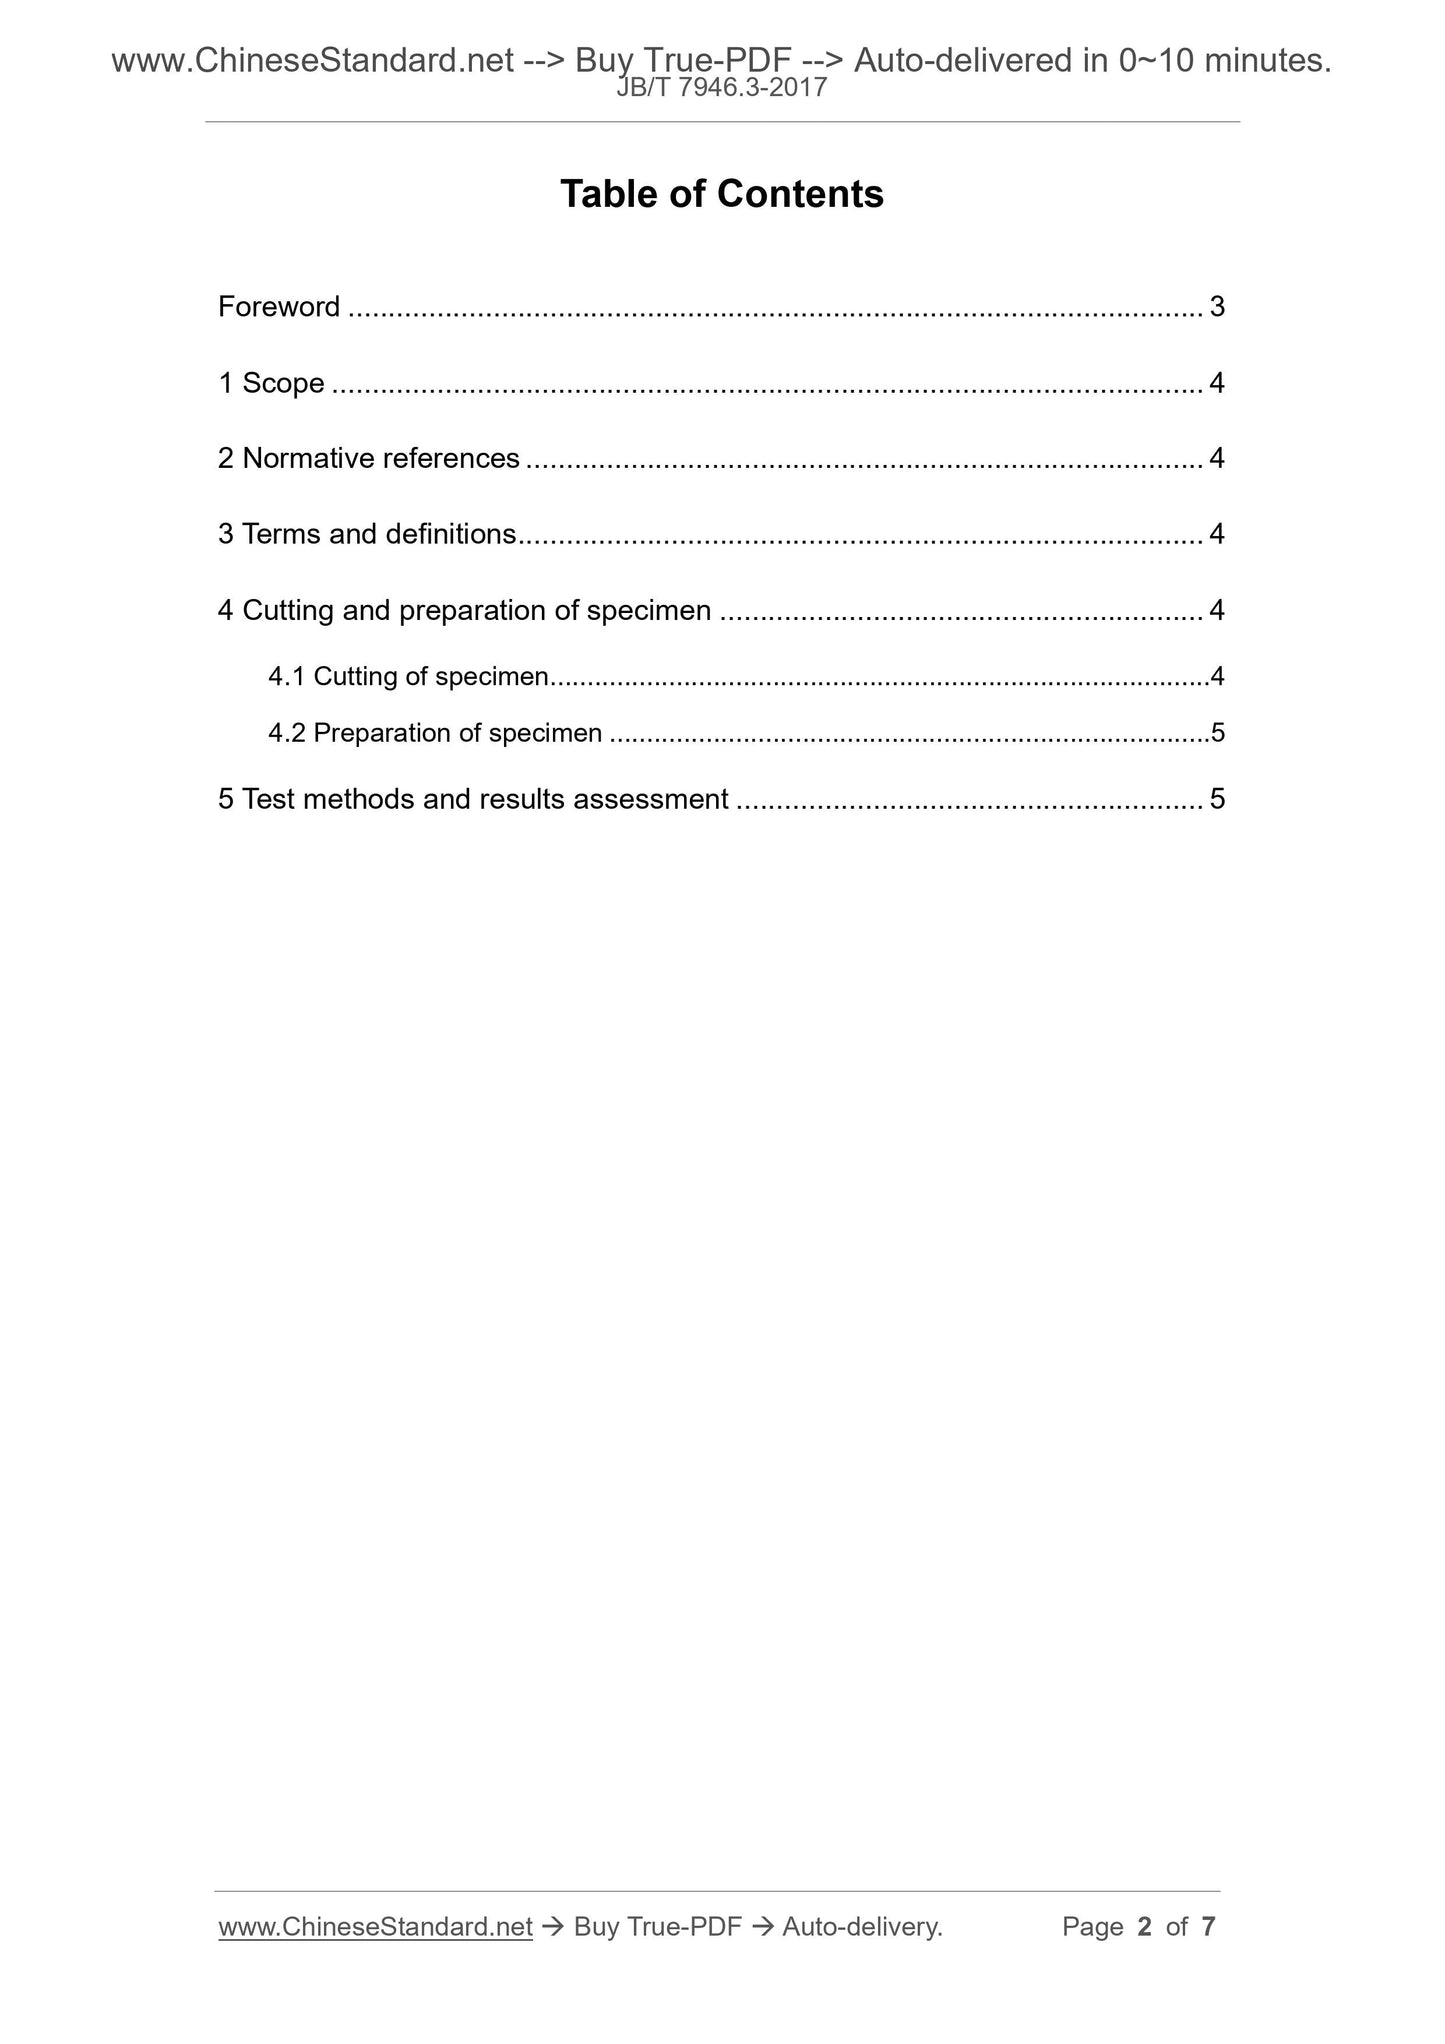
Table of Contents
Foreword ... 3
1 Scope ... 4
2 Normative references ... 4
3 Terms and definitions ... 4
4 Cutting and preparation of specimen ... 4
4.1 Cutting of specimen ... 4
4.2 Preparation of specimen ... 5
5 Test methods and results assessment ... 5
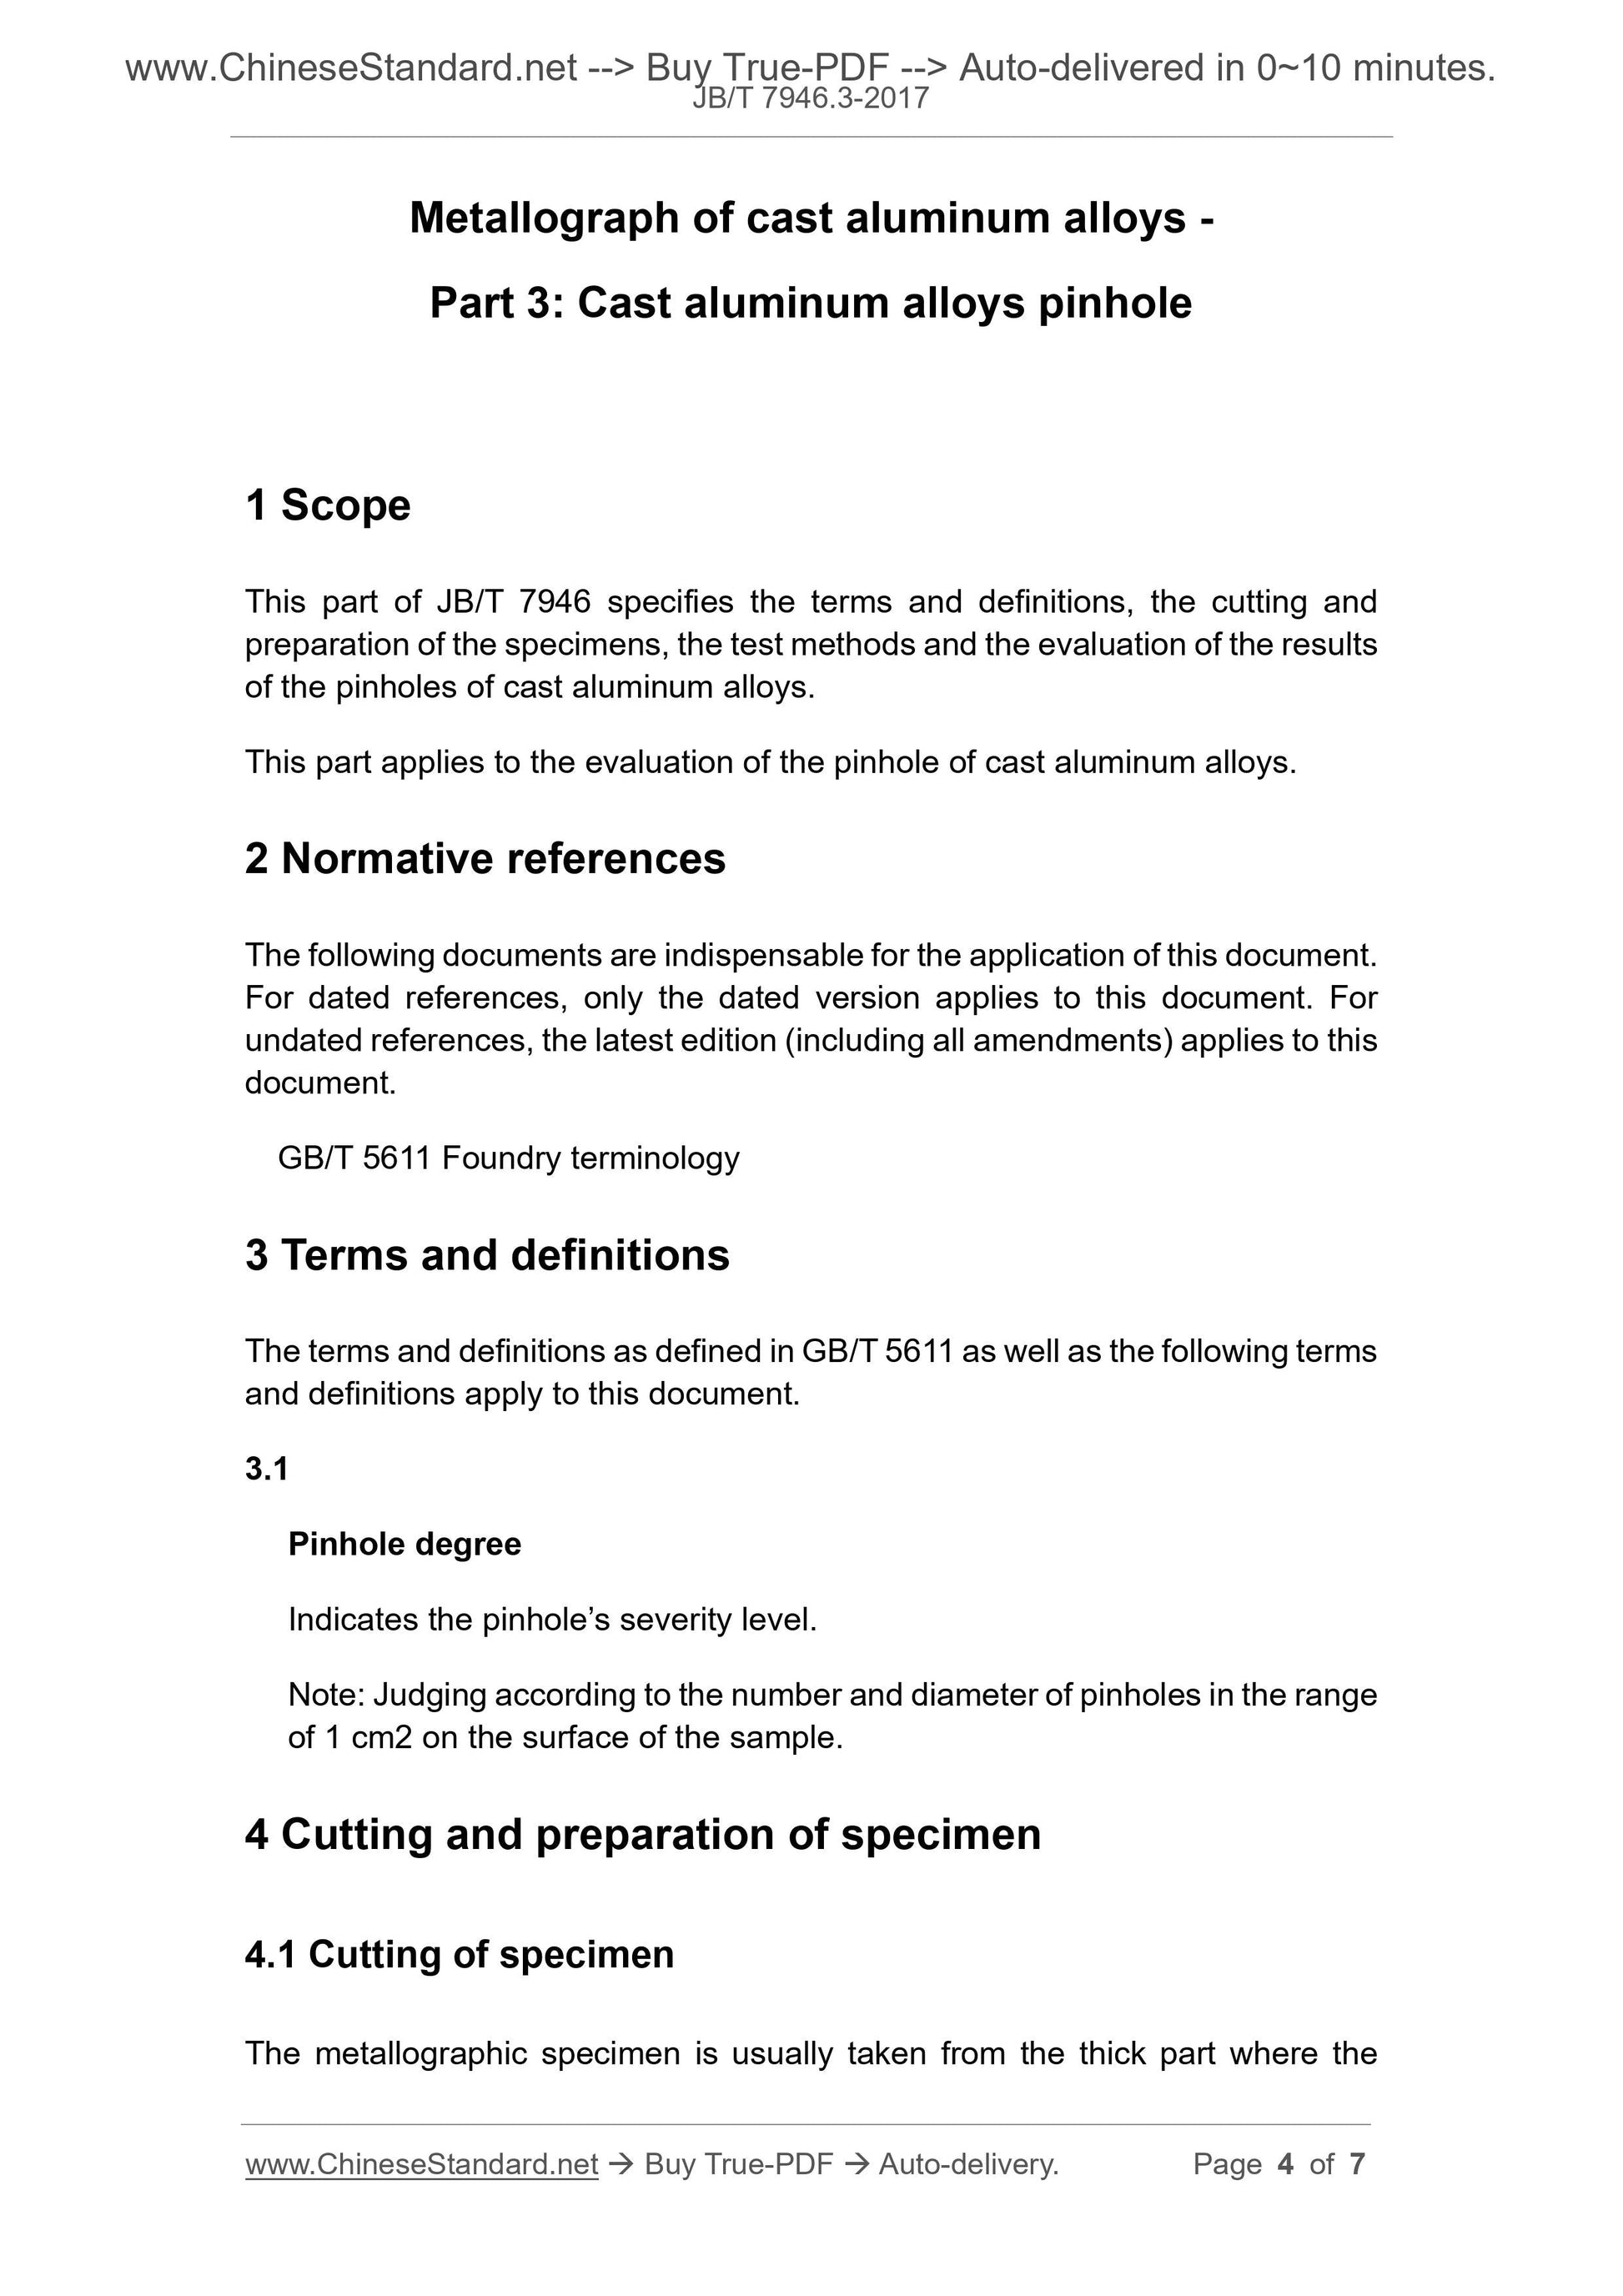
Metallograph of cast aluminum alloys -
Part 3: Cast aluminum alloys pinhole
1 Scope
This part of JB/T 7946 specifies the terms and definitions, the cutting and
preparation of the specimens, the test methods and the evaluation of the results
of the pinholes of cast aluminum alloys.
This part applies to the evaluation of the pinhole of cast aluminum alloys.
2 Normative references
The following documents are indispensable for the application of this document.
For dated references, only the dated version applies to this document. For
undated references, the latest edition (including all amendments) applies to this
document.
GB/T 5611 Foundry terminology
3 Terms and definitions
The terms and definitions as defined in GB/T 5611 as well as the following terms
and definitions apply to this document.
3.1
Pinhole degree
Indicates the pinhole’s severity level.
Note: Judging according to the number and diameter of pinholes in the range
of 1 cm2 on the surface of the sample.
4 Cutting and preparation of specimen
4.1 Cutting of specimen
The metallographic specimen is usually taken from the thick part where the
casting is solidified slowly, it may also be cut out from the designated part of the
casting according to the technical documents.
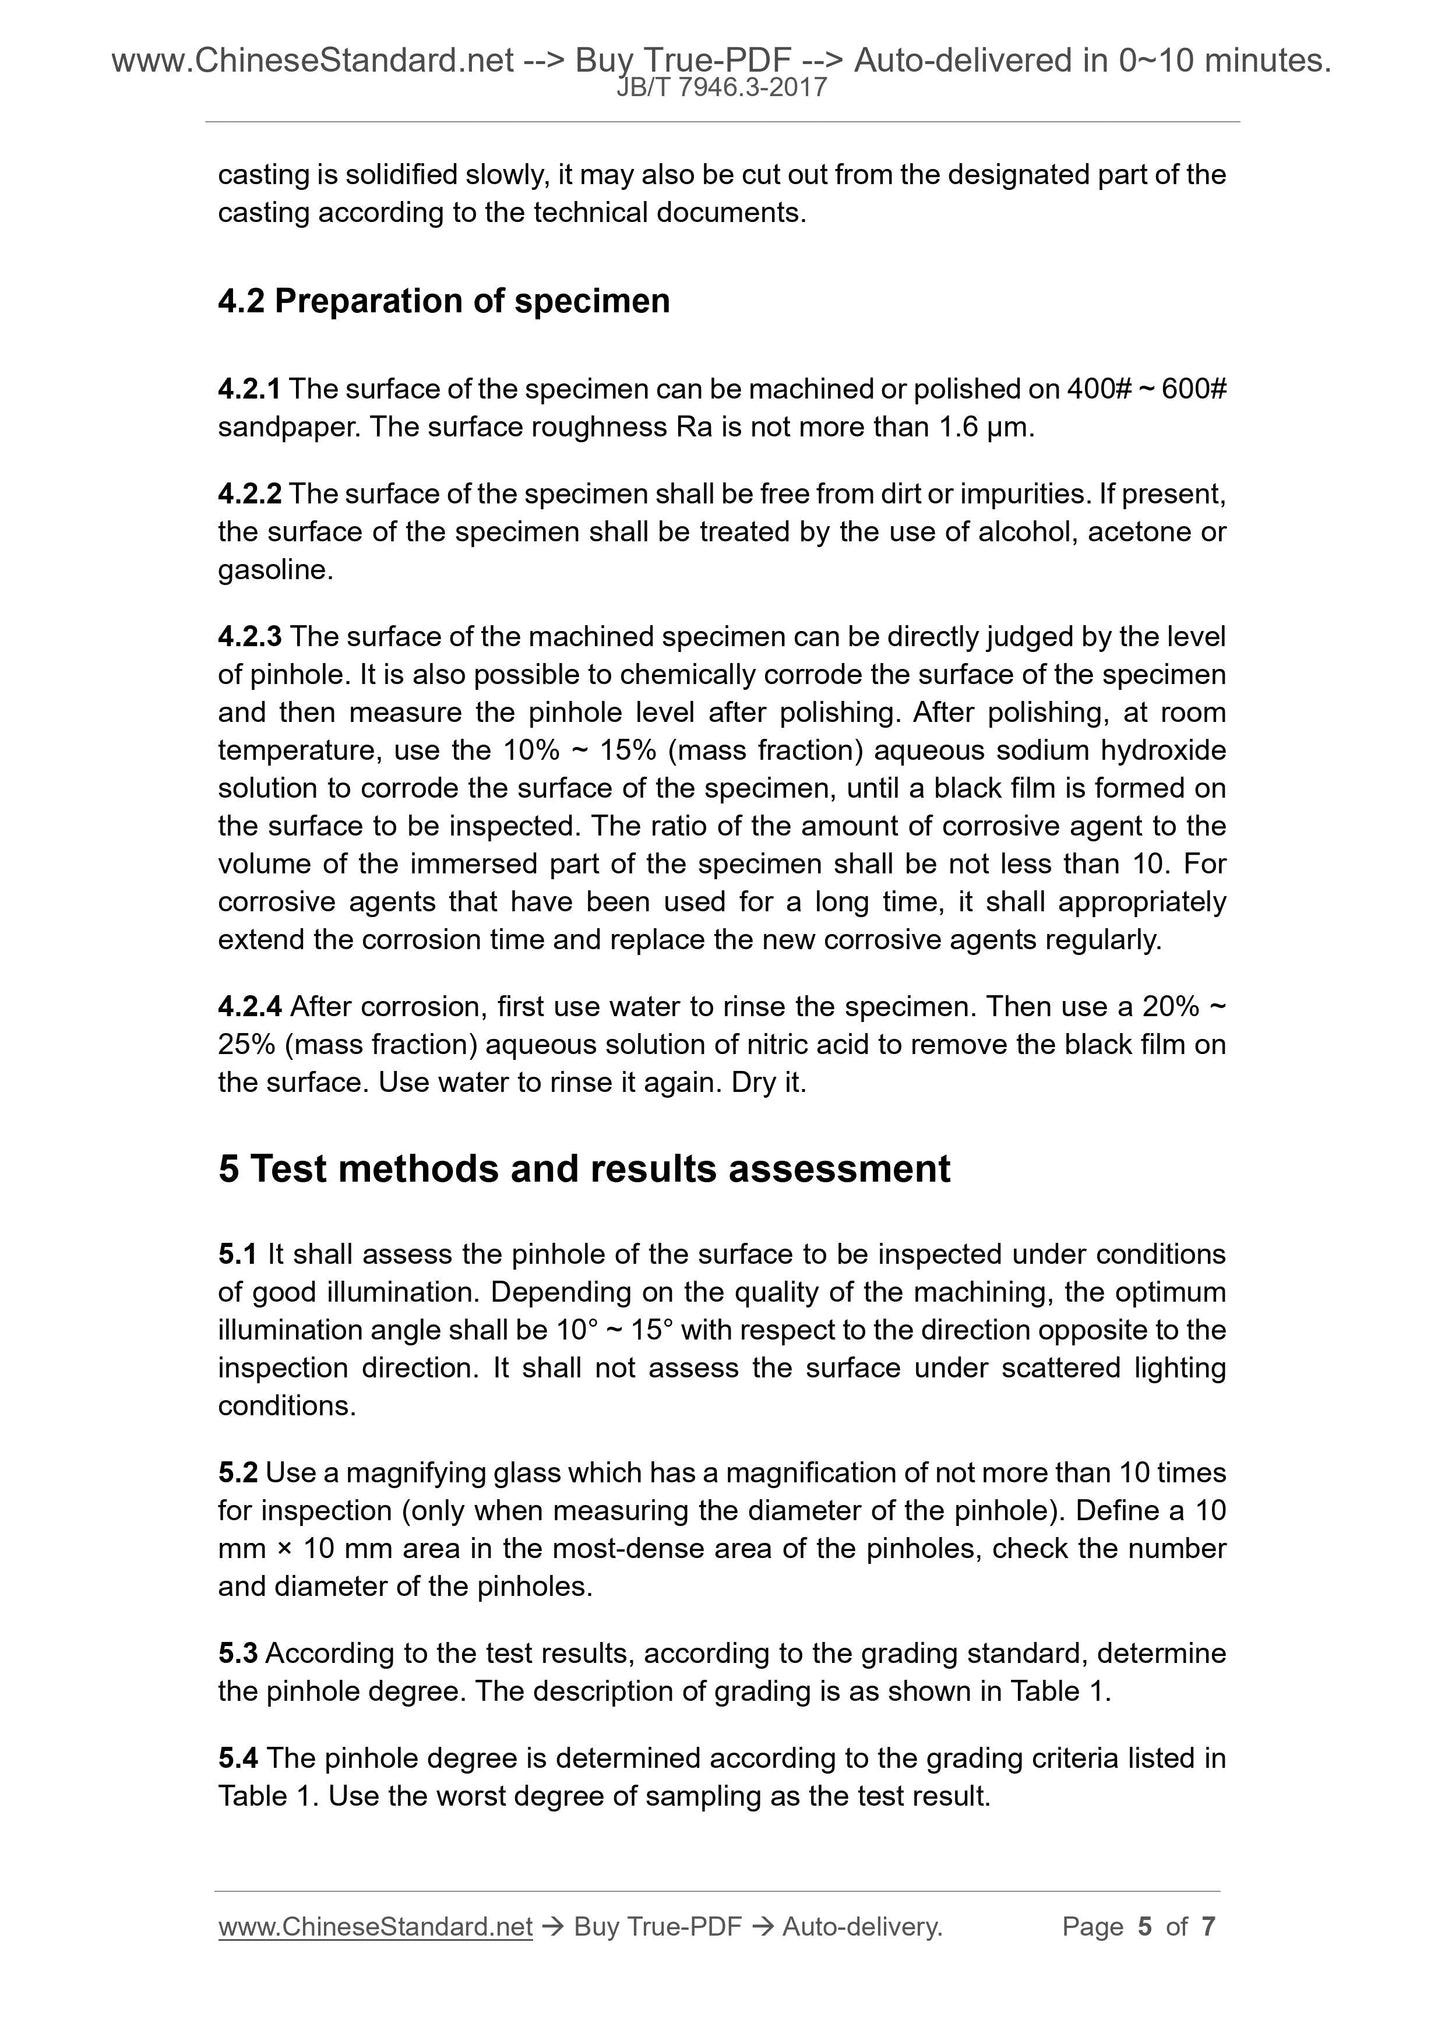
4.2 Preparation of specimen
4.2.1 The surface of the specimen can be machined or polished on 400# ~ 600#
sandpaper. The surface roughness Ra is not more than 1.6 μm.
4.2.2 The surface of the specimen shall be free from dirt or impurities. If present,
the surface of the specimen shall be treated by the use of alcohol, acetone or
gasoline.
4.2.3 The surface of the machined specimen can be directly judged by the level
of pinhole. It is also possible to chemically corrode the surface of the specimen
and then measure the pinhole level after polishing. After polishing, at room
temperature, use the 10% ~ 15% (mass fraction) aqueous sodium hydroxide
solution to corrode the surface of the specimen, until a black film is formed on
the surface to be inspected. The ratio of the amount of corrosive agent to the
volume of the immersed part of the specimen shall be not less than 10. For
corrosive agents that have been used for a long time, it shall appropriately
extend the corrosion time and replace the new corrosive agents regularly.
4.2.4 After corrosion, first use water to rinse the specimen. Then use a 20% ~
25% (mass fraction) aqueous solution of nitric acid to remove the black film on
the surface. Use water to rinse it again. Dry it.
5 Test methods and results assessment
5.1 It shall assess the pinhole of the surface to be inspected under conditions
of good illumination. Depending on the quality of the machining, the optimum
illumination angle shall be 10° ~ 15° with respect to the direction opposite to the
inspection direction. It shall not assess the surface under scattered lighting
conditions.
5.2 Use a magnifying glass which has a magnification of not more than 10 times
for inspection (only when measuring the diameter of the pinhole). Define a 10
mm × 10 mm area in the most-dense area of the pinholes, check the number
and diameter of the pinholes.
5.3 According to the test results, according to the grading standard, determine
the pinhole degree. The description of grading is as shown in Table 1.
5.4 The pinhole degree is determined according to the grading criteria listed in
Table 1. Use the worst degree of sampling as the test result.
Share


