1
/
of
4
PayPal, credit cards. Download editable-PDF and invoice in 1 second!
JC/T 644-1996 English PDF (JCT644-1996)
JC/T 644-1996 English PDF (JCT644-1996)
Regular price
$100.00 USD
Regular price
Sale price
$100.00 USD
Unit price
/
per
Shipping calculated at checkout.
Couldn't load pickup availability
Delivery: 3 seconds. Download true-PDF + Invoice.
Get QUOTATION in 1-minute: Click JC/T 644-1996
Historical versions: JC/T 644-1996
Preview True-PDF (Reload/Scroll if blank)
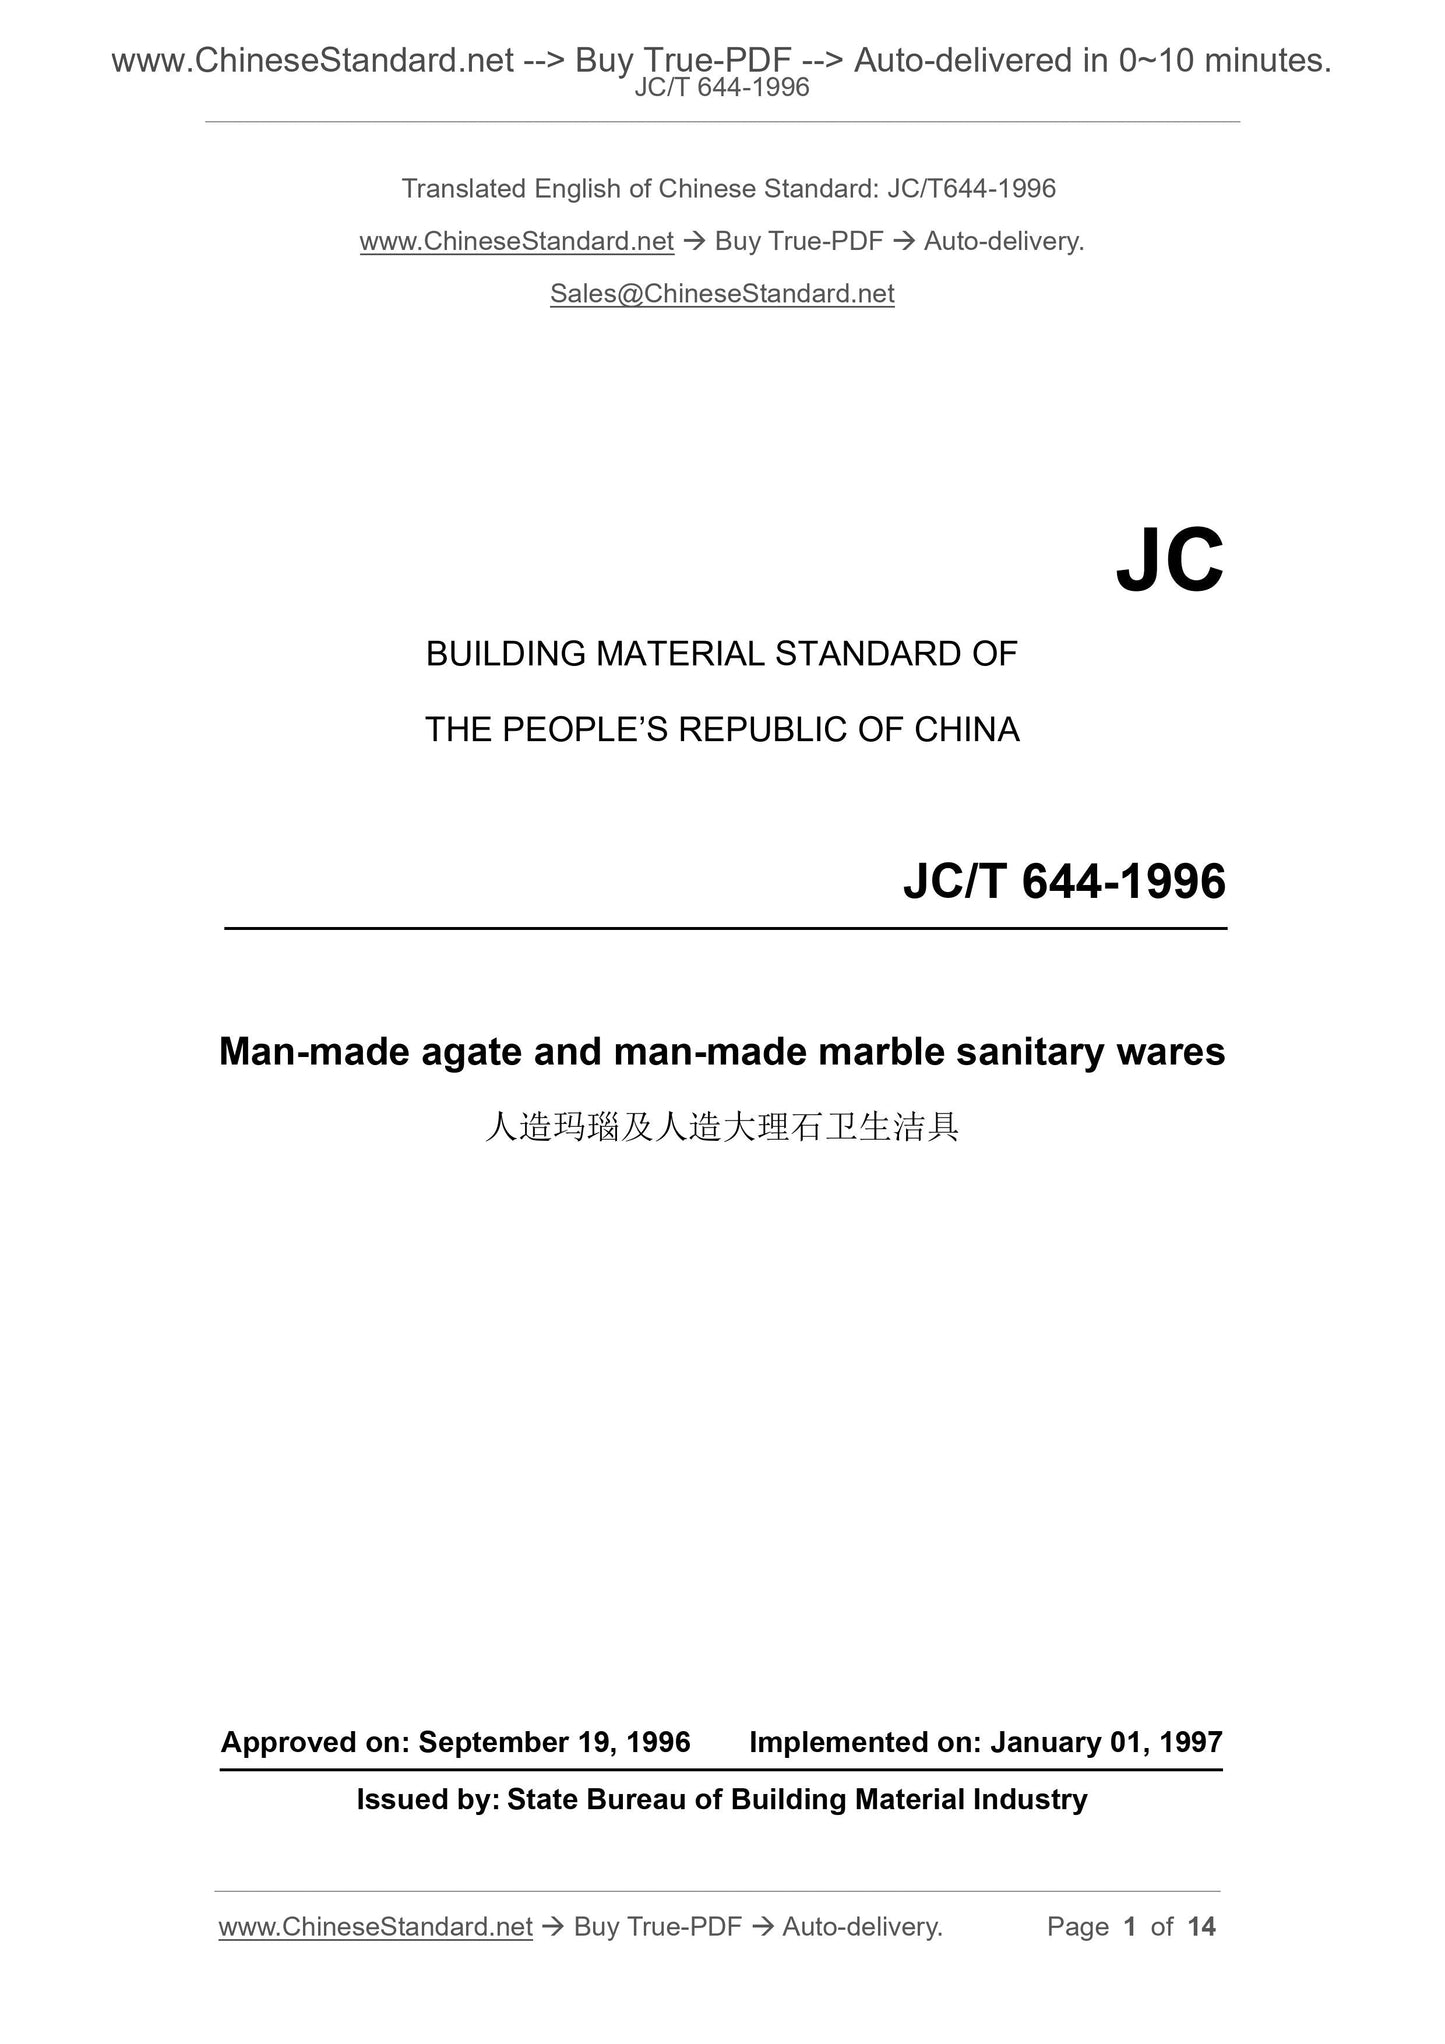
JC/T 644-1996: Man-made agate and man-made marble sanitary wares
JC/T 644-1996
BUILDING MATERIAL STANDARD OF
THE PEOPLE’S REPUBLIC OF CHINA
Man-made agate and man-made marble sanitary wares
人造玛瑙及人造大理石卫生洁具
APPROVED ON: SEPTEMBER 19, 1996
IMPLEMENTED ON: JANUARY 01, 1997
Issued by: State Bureau of Building Material Industry
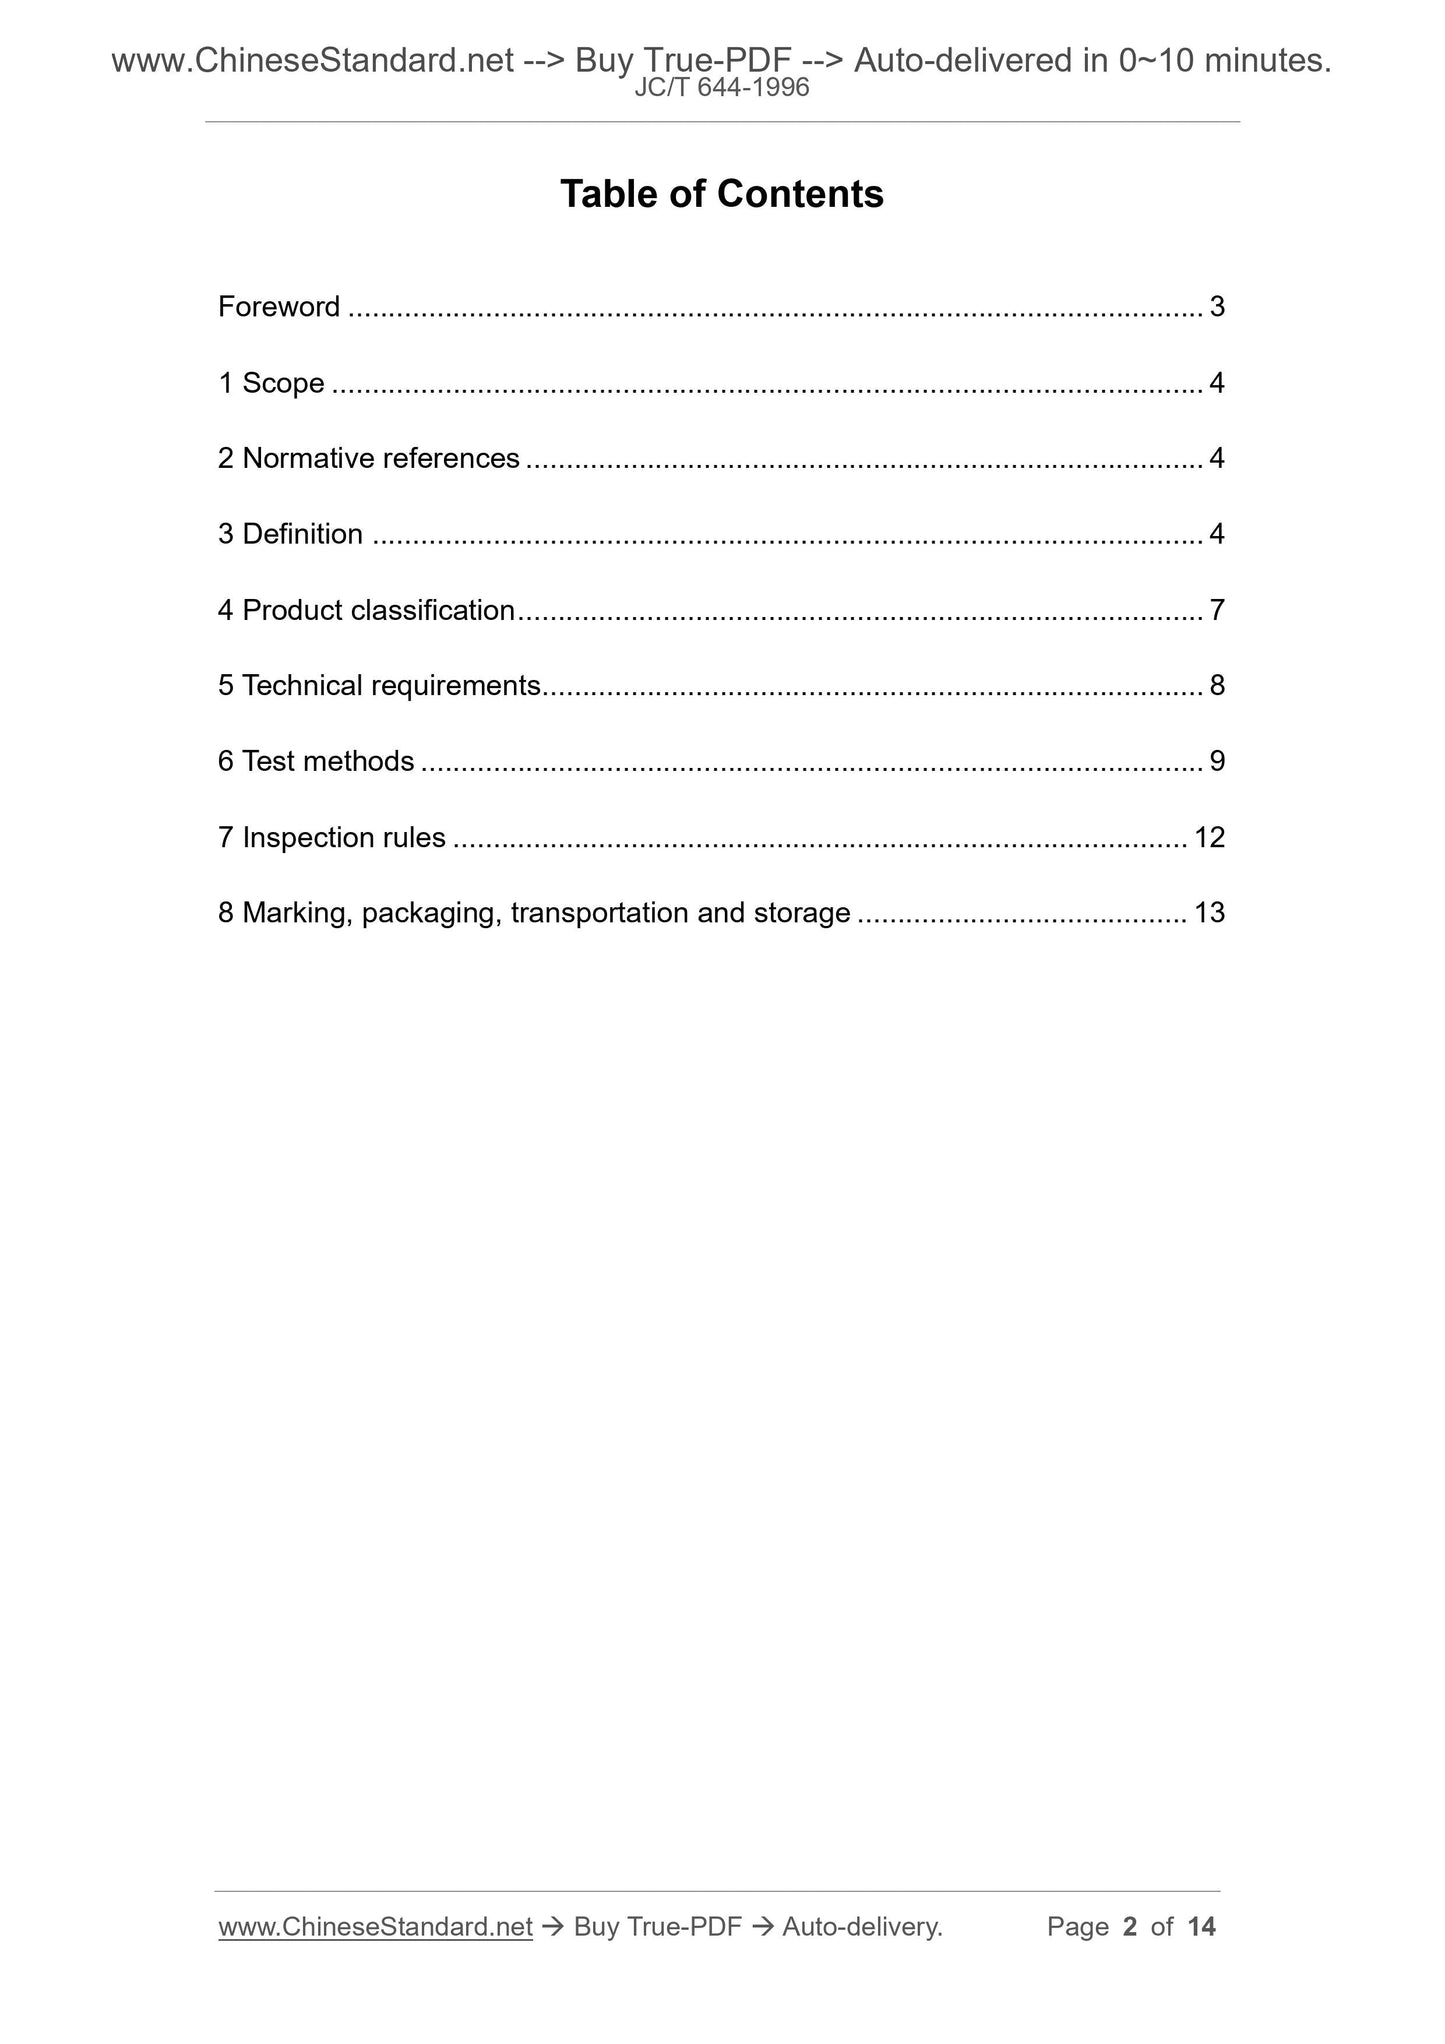
Table of Contents
Foreword ... 3
1 Scope ... 4
2 Normative references ... 4
3 Definition ... 4
4 Product classification ... 7
5 Technical requirements ... 8
6 Test methods ... 9
7 Inspection rules ... 12
8 Marking, packaging, transportation and storage ... 13
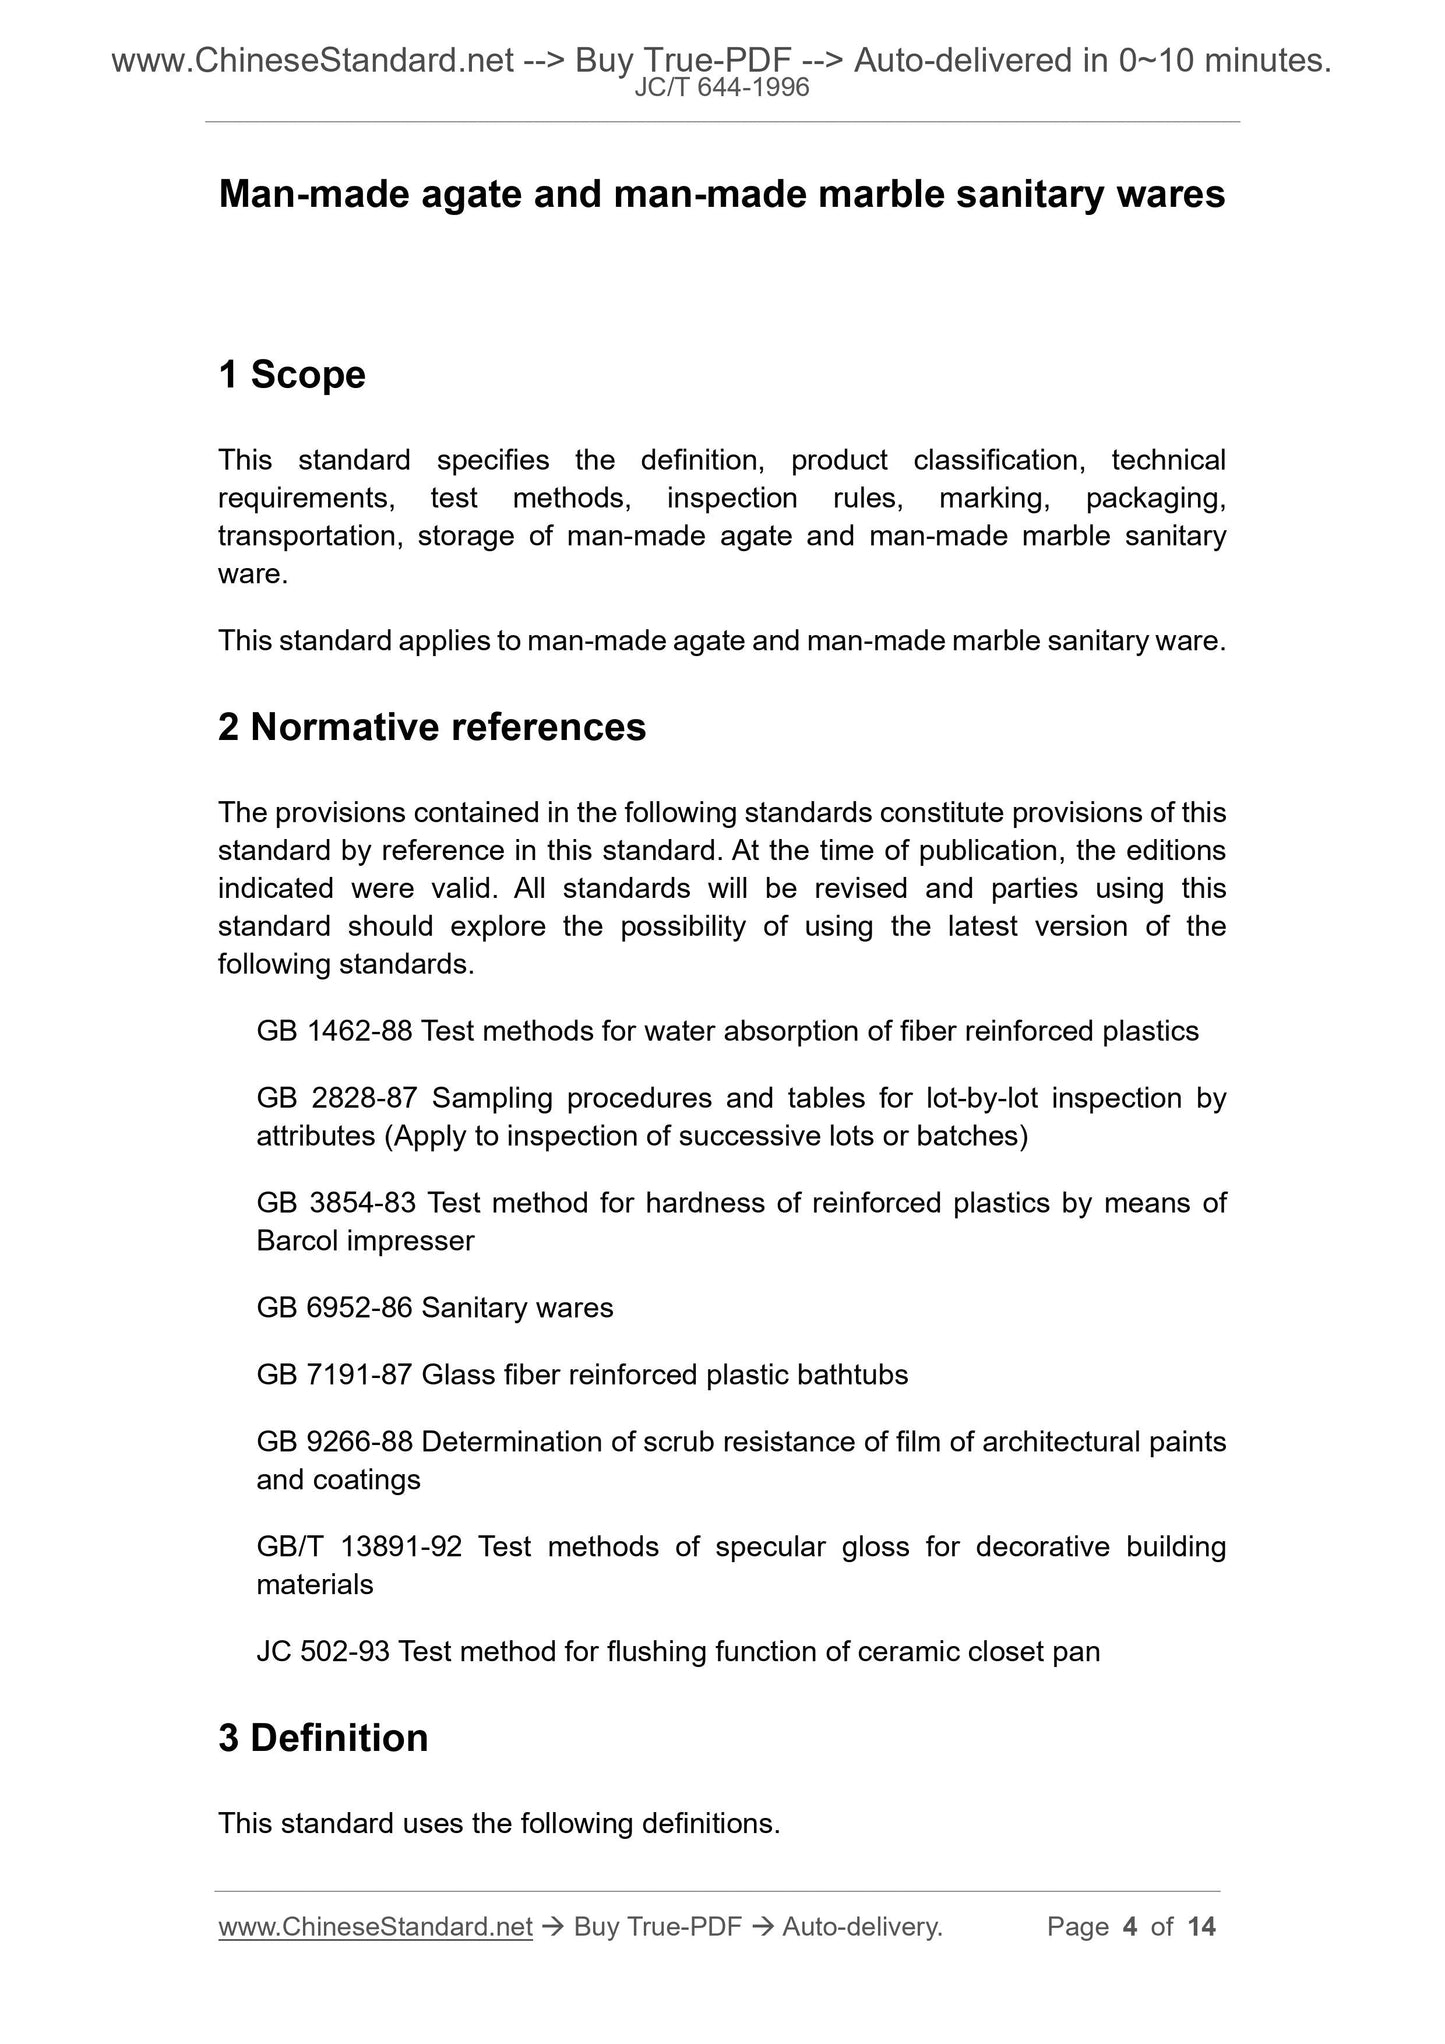
Man-made agate and man-made marble sanitary wares
1 Scope
This standard specifies the definition, product classification, technical
requirements, test methods, inspection rules, marking, packaging,
transportation, storage of man-made agate and man-made marble sanitary
ware.
This standard applies to man-made agate and man-made marble sanitary ware.
2 Normative references
The provisions contained in the following standards constitute provisions of this
standard by reference in this standard. At the time of publication, the editions
indicated were valid. All standards will be revised and parties using this
standard should explore the possibility of using the latest version of the
following standards.
GB 1462-88 Test methods for water absorption of fiber reinforced plastics
GB 2828-87 Sampling procedures and tables for lot-by-lot inspection by
attributes (Apply to inspection of successive lots or batches)
GB 3854-83 Test method for hardness of reinforced plastics by means of
Barcol impresser
GB 6952-86 Sanitary wares
GB 7191-87 Glass fiber reinforced plastic bathtubs
GB 9266-88 Determination of scrub resistance of film of architectural paints
and coatings
GB/T 13891-92 Test methods of specular gloss for decorative building
materials
JC 502-93 Test method for flushing function of ceramic closet pan
3 Definition
This standard uses the following definitions.
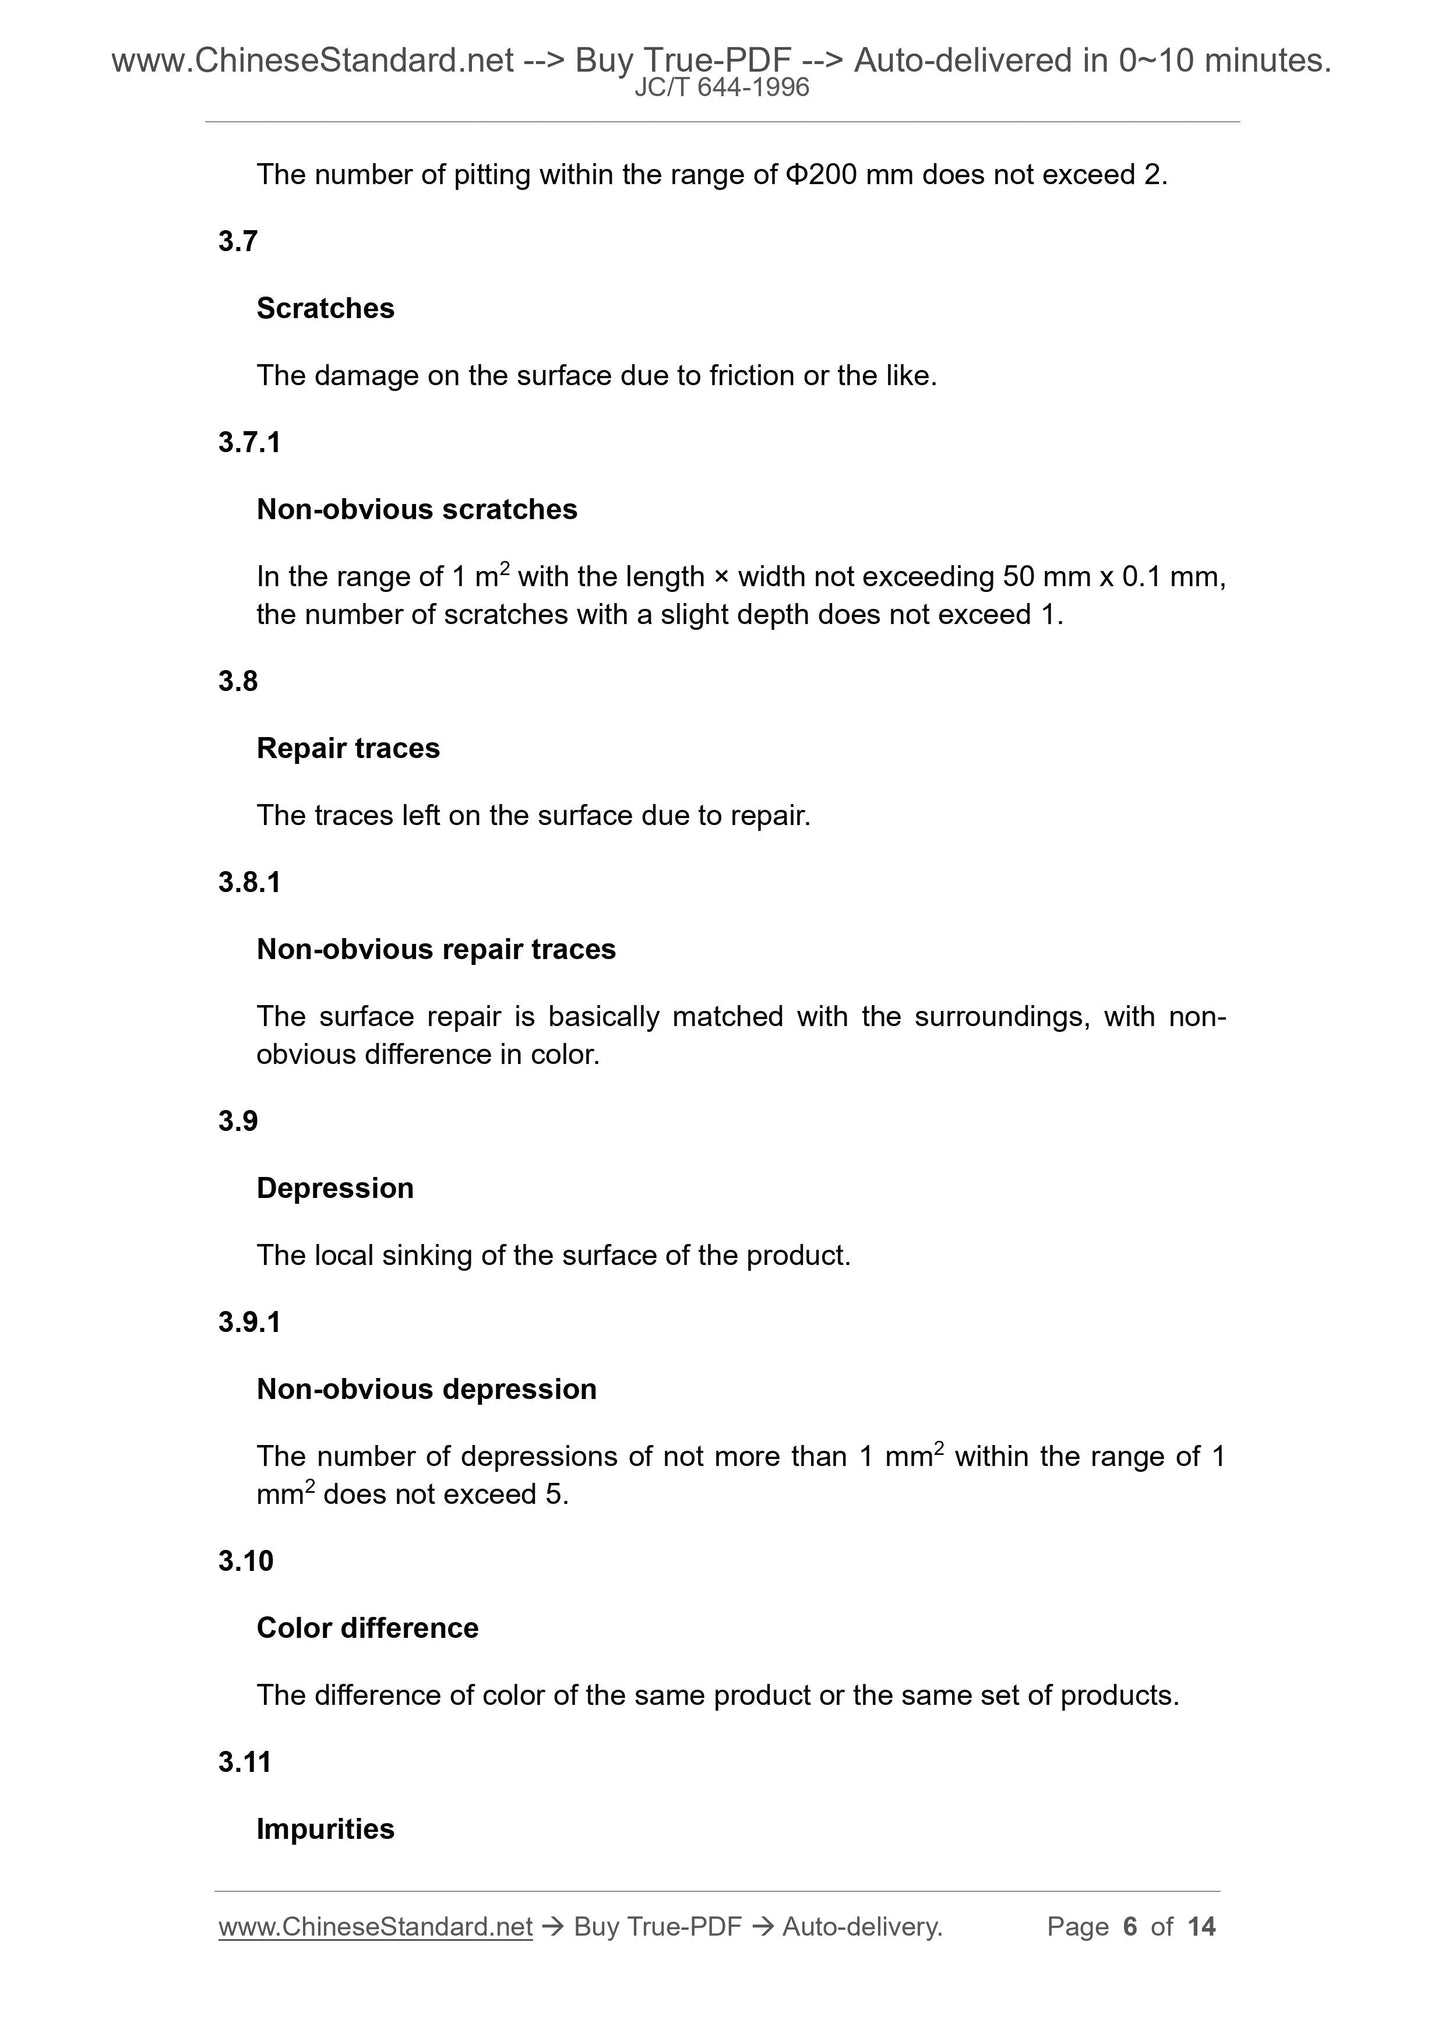
The number of pitting within the range of Φ200 mm does not exceed 2.
3.7
Scratches
The damage on the surface due to friction or the like.
3.7.1
Non-obvious scratches
In the range of 1 m2 with the length × width not exceeding 50 mm x 0.1 mm,
the number of scratches with a slight depth does not exceed 1.
3.8
Repair traces
The traces left on the surface due to repair.
3.8.1
Non-obvious repair traces
The surface repair is basically matched with the surroundings, with non-
obvious difference in color.
3.9
Depression
The local sinking of the surface of the product.
3.9.1
Non-obvious depression
The number of depressions of not more than 1 mm2 within the range of 1
mm2 does not exceed 5.
3.10
Color difference
The difference of color of the same product or the same set of products.
3.11
Impurities
6.4.2.1 Measuring tool
Steel ruler with a length of 500 mm or 1000 mm; a feeler gauge with a precision
of grade 2.
6.4.2.2 Measurement method
Place the steel ruler vertically on a flat surface in different directions of the
product. Insert the feeler gauge into the gap between the steel ruler and the
surface of the product. Record the thickness of the feeler gauge. Each product
is measured 3 times.
6.4.2.3 Calculation of results
Where:
F - Unevenness, %;
L - Measured length, mm;
D - Thickness measured by feeler gauge, mm.
Take the average of 3 data and record the maximum value, accurate to 0.01%.
6.4.3 Determination of Barcol hardness
According to GB 3854, the hardness tester's model is 934-1, which is carried
out on the flat part of the cleaned face or the visible face of the product.
6.4.4 Test of load-bearing capacity
It is carried according to 3.4 of GB 7191-87.
6.4.5 Test of impact resistance
Take 3 points at the flat position at the bottom of the bathtub. The distance
between each point is not less than 150 mm. Allow a steel ball which has a
diameter of 30 mm (about 110 g) to freely fall from the height of 750 mm. If there
is no crack at the point of impact, it is qualified.
6.4.6 Determination of water absorption
It is carried out according to GB 1462.
6.4.7 Determination of gel-coating thickness
6.4.7.1 Instrument
Reading microscope, which has a minimum division value of 0.02 mm.
6.4.7.2 Test methods
From each specimen, cut a test strip of about 50 mm x 4 mm perpendicular to
the gel-coating layer. Put the test strip on the specimen platform of the
microscope with the cutting surface upwards. Read the thickness of the gel-
coating. Make two measurements for each test strip. The thickness of the gel-
coating is expressed by the average of five specimens, accurate to 0.01 mm.
6.4.8 Determination of cleanability
It is carried out according to GB 9266. Remove the test plate after 10000 times
of cleaning. Check the surface wear.
6.4.9 Test of hot water resistance
6.4.9.1 Instruments
Super constant temperature bath or constant temperature water bath with an
accuracy of ±2 °C.
6.4.9.2 Test methods
Put the specimen in a thermostatic bath at a water temperature of 80 °C ± 2 °C.
After 100 h, take it out, to check whether the surface is cracked or bubbled.
6.4.10 Pollution resistance test
6.4.10.1 Reagent
Ethanol 3% hydrogen peroxide
Acetone Tea
2% red mercury solution Vinegar
2% iodine solution Black liquid shoe polish
Gentian violet Lipstick
6.4.10.2 Test method
Use the absorbent cotton to dip the substances as listed in 6.4.10.1,
respectively. Place it on the specimen. After 24h, wipe off the pollutant. Use
detergent to wash it clean and wipe it dry. Check whether the surface of the
specimen has color change.
6.4.11 Test of flushing function
It is carried out according to JC 502.
7.3.2 Type inspection shall be sampled and judged according to Table 6.
Table 6 -- Sampling inspection requirements of type inspection
Sample size
Category B
unqualified products
AQL = 6.5
Ac Re
Category B
unqualified products
AQL = 10
Ac Re
Classification of nonconformances
Category B nonconformances
Category C
nonconformances
3 (6)
0 2
1 2
0 2
1 2
Appearance quality, gloss, unevenness,
Barcol hardness, gel-coating thickness,
impact resistance, load-bearing capacity, hot
water resistance, flushing function
Dimensional deviation,
water absorption,
cleanability, pollution
resistance
8 Marking, packaging, transportation and storage
8.1 Marking
8.1.1 Product marking
At an eye-catching position on each product, it shall be attached a label which
contains the name of the manufacturer, the product marking, the date of
manufacture, the batch number of the production.
8.1.2 Package marking
On the outer packaging, there shall be a receipt and delivery marking, product
marking, as well as the letter or graphical markings of quality grade,
manufacturer name and address, gross weight, net weight, handle with care.
8.2 Packaging
The package shall be secure and use a shock pad. The product certificate and
instruction manual shall be accompanied in the packaging box.
8.3 Transportation
8.3.1 The product shall be handled with care.
8.3.2 The product be prevented from heavy pressure, mechanical collision,
strong vibration during transportation.
8.4 Storage
8.4.1 The stacking height of the bathtubs and the toilets shall not exceed four.
The stacking height of the washbasin shall...
Share


