1
/
of
7
PayPal, credit cards. Download editable-PDF & invoice in 1 second!
QC/T 1154-2021 English PDF (QCT1154-2021)
QC/T 1154-2021 English PDF (QCT1154-2021)
Regular price
$240.00 USD
Regular price
Sale price
$240.00 USD
Unit price
/
per
Shipping calculated at checkout.
Couldn't load pickup availability
Delivery: 3 seconds. Download true-PDF + Invoice.
Get QUOTATION in 1-minute: Click QC/T 1154-2021
Historical versions: QC/T 1154-2021
Preview True-PDF (Reload/Scroll if blank)
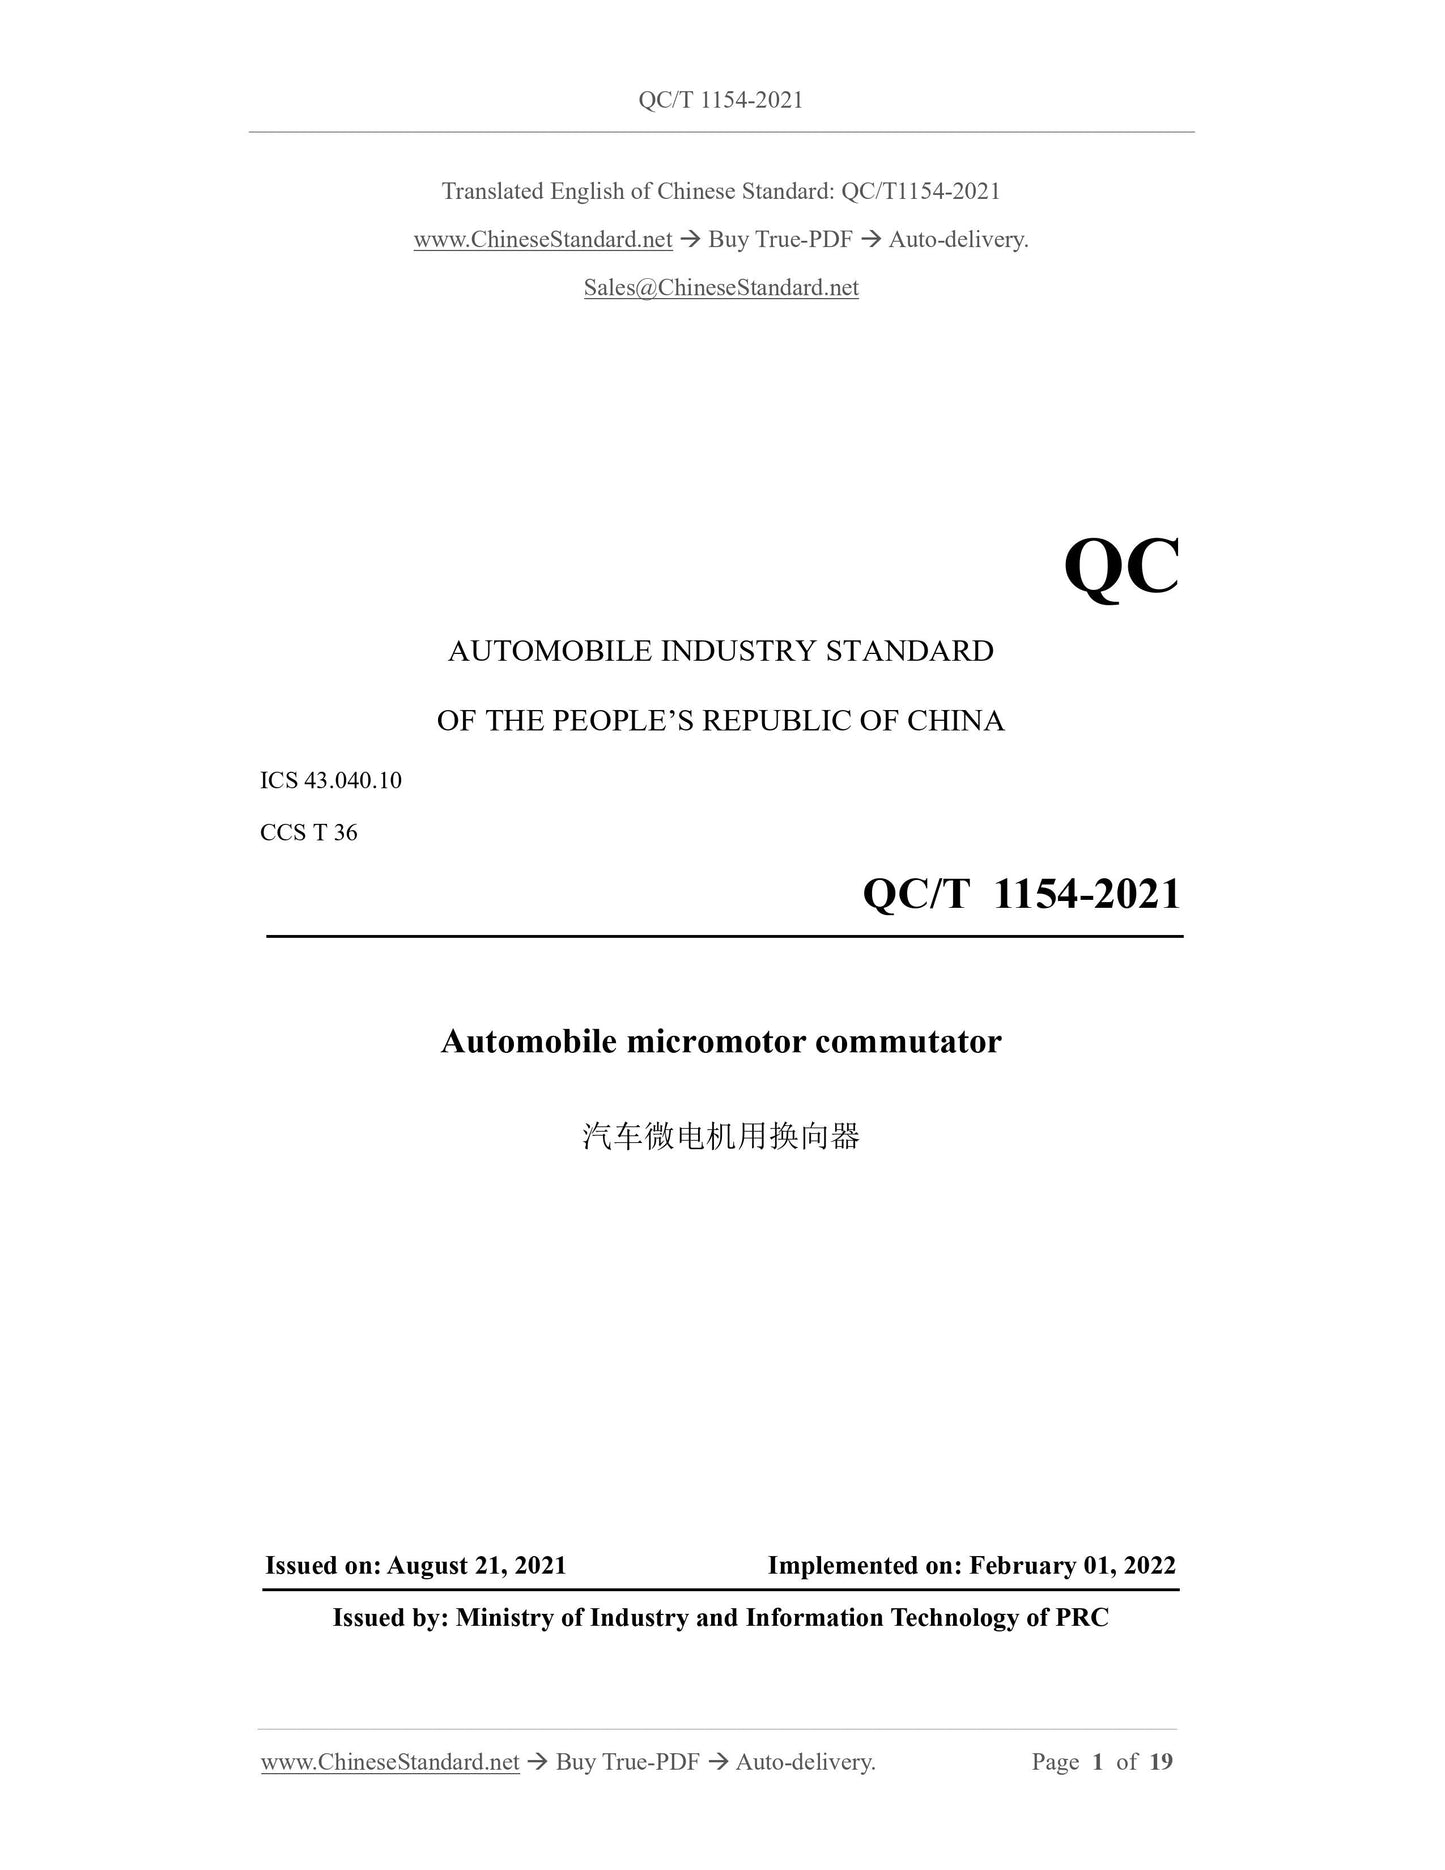
QC/T 1154-2021: Automobile micromotor commutator
QC/T 1154-2021
QC
AUTOMOBILE INDUSTRY STANDARD
ICS 43.040.10
CCS T 36
Automobile micromotor commutator
ISSUED ON. AUGUST 21, 2021
IMPLEMENTED ON. FEBRUARY 01, 2022
Issued by. Ministry of Industry and Information Technology of PRC
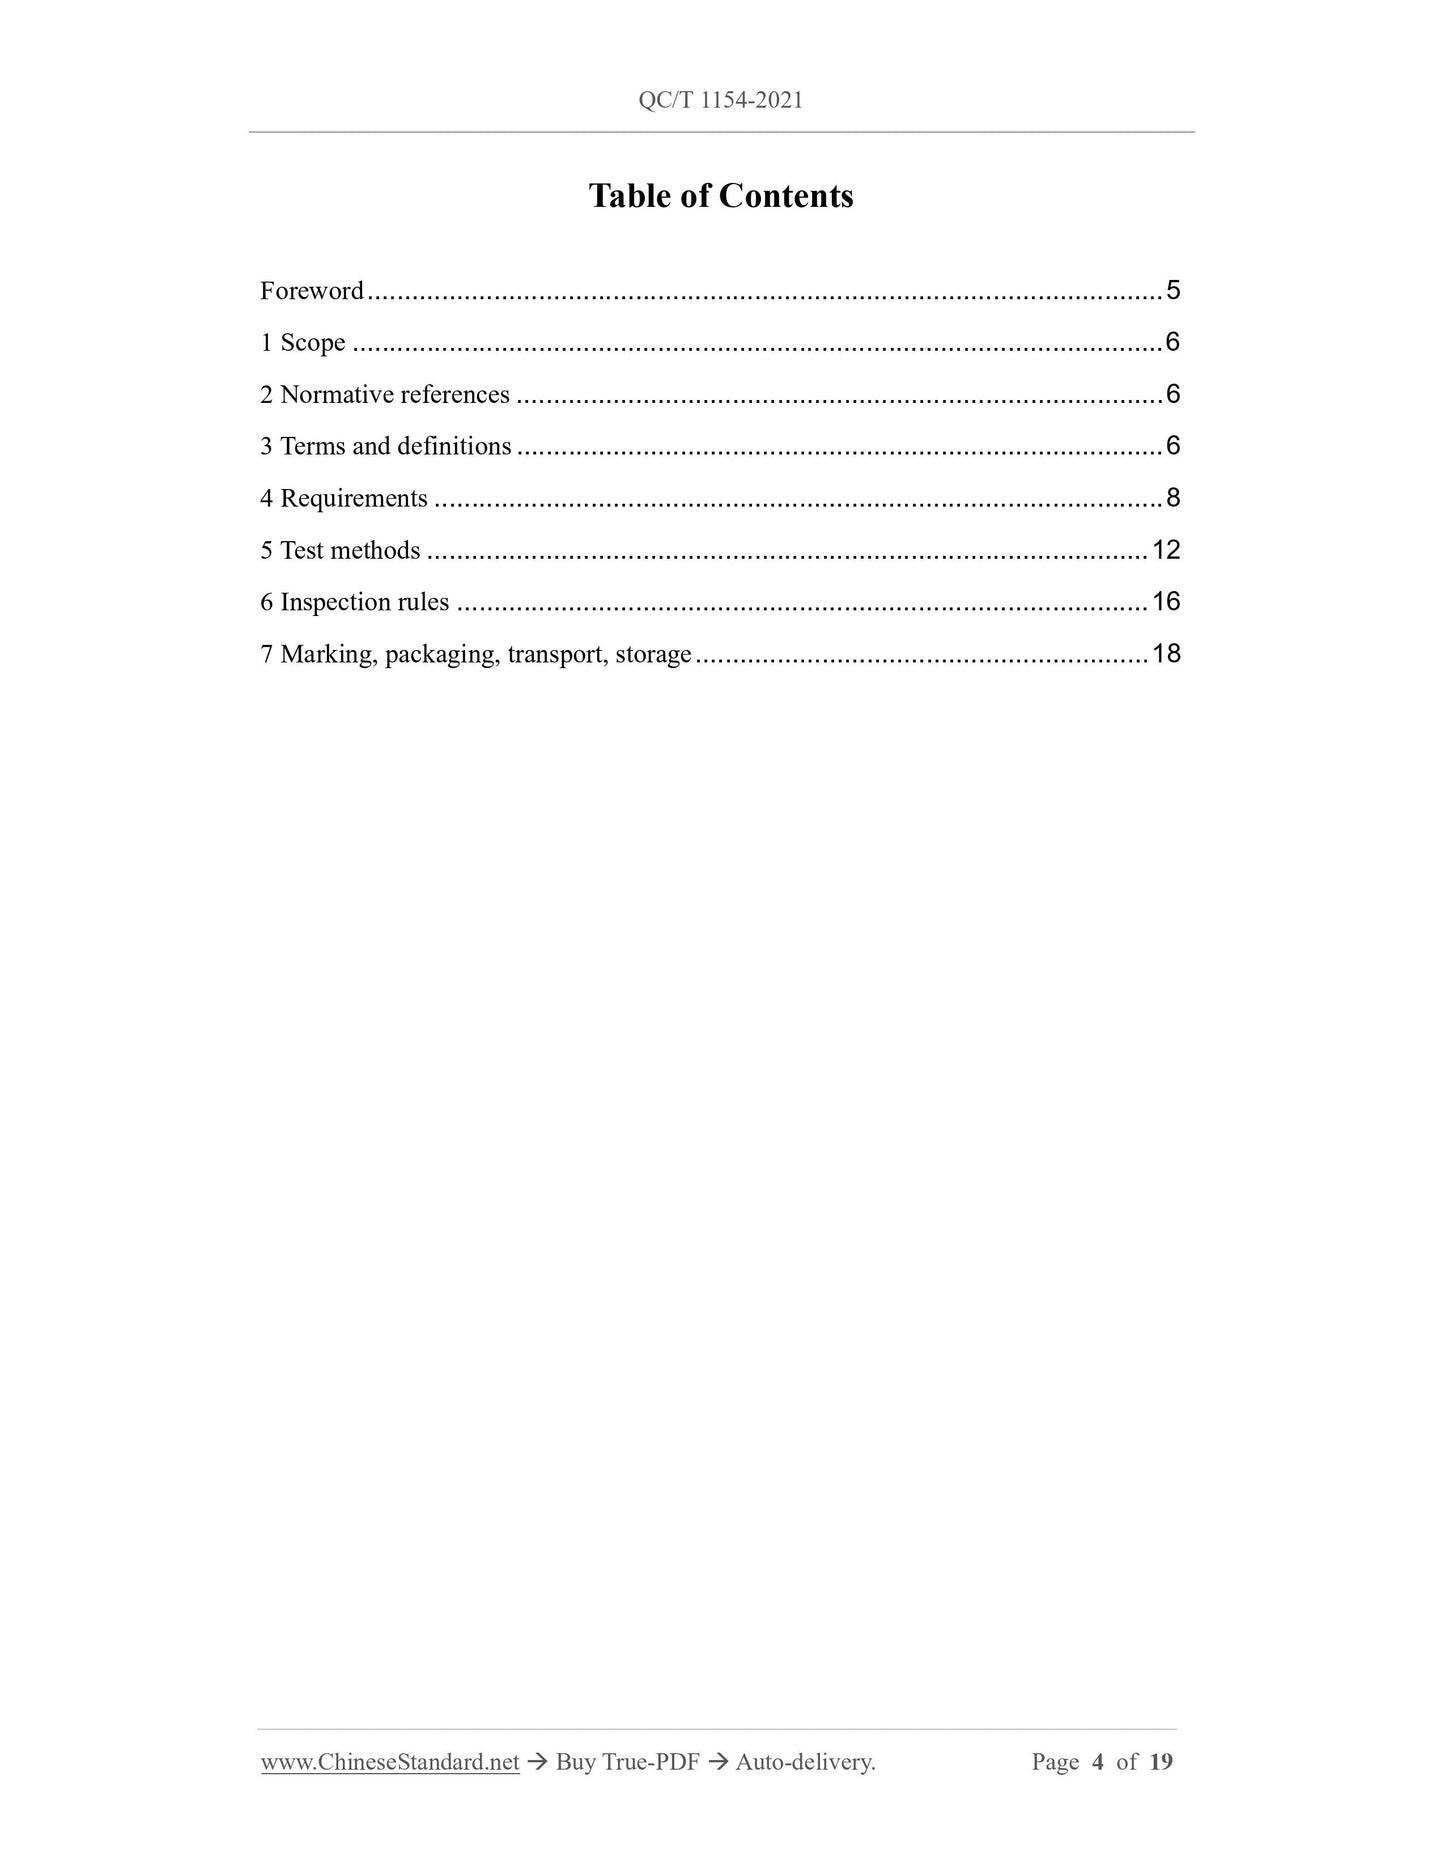
Table of Contents
Foreword... 5
1 Scope... 6
2 Normative references... 6
3 Terms and definitions... 6
4 Requirements... 8
5 Test methods... 12
6 Inspection rules... 16
7 Marking, packaging, transport, storage... 18
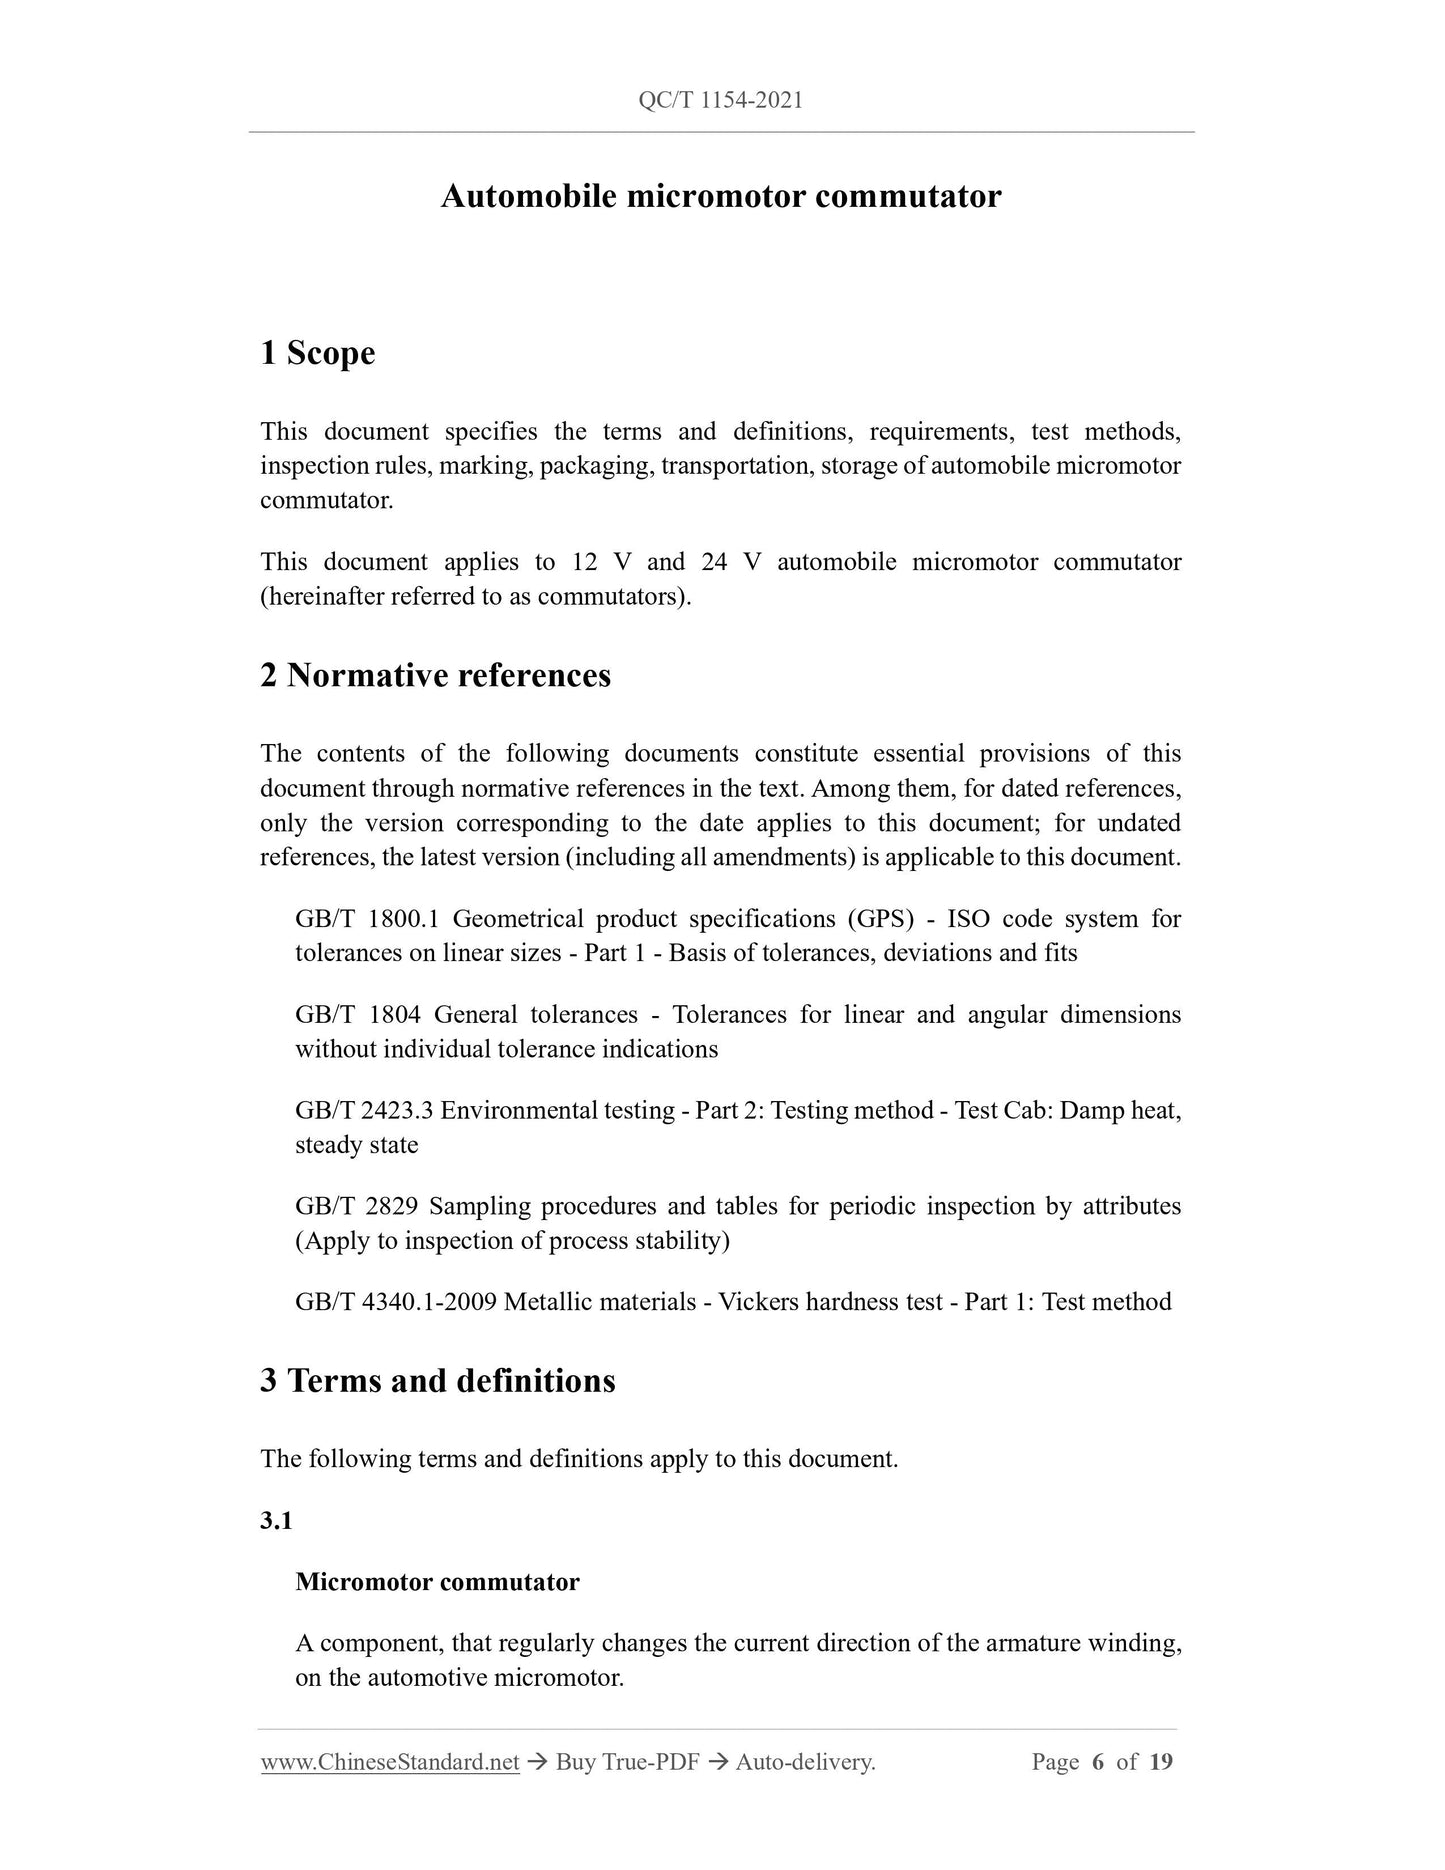
Automobile micromotor commutator
1 Scope
This document specifies the terms and definitions, requirements, test methods,
inspection rules, marking, packaging, transportation, storage of automobile micromotor
commutator.
This document applies to 12 V and 24 V automobile micromotor commutator
(hereinafter referred to as commutators).
2 Normative references
The contents of the following documents constitute essential provisions of this
document through normative references in the text. Among them, for dated references,
only the version corresponding to the date applies to this document; for undated
references, the latest version (including all amendments) is applicable to this document.
GB/T 1800.1 Geometrical product specifications (GPS) - ISO code system for
tolerances on linear sizes - Part 1 - Basis of tolerances, deviations and fits
GB/T 1804 General tolerances - Tolerances for linear and angular dimensions
without individual tolerance indications
GB/T 2423.3 Environmental testing - Part 2.Testing method - Test Cab. Damp heat,
steady state
GB/T 2829 Sampling procedures and tables for periodic inspection by attributes
(Apply to inspection of process stability)
GB/T 4340.1-2009 Metallic materials - Vickers hardness test - Part 1.Test method
3 Terms and definitions
The following terms and definitions apply to this document.
3.1
Micromotor commutator
A component, that regularly changes the current direction of the armature winding,
on the automotive micromotor.
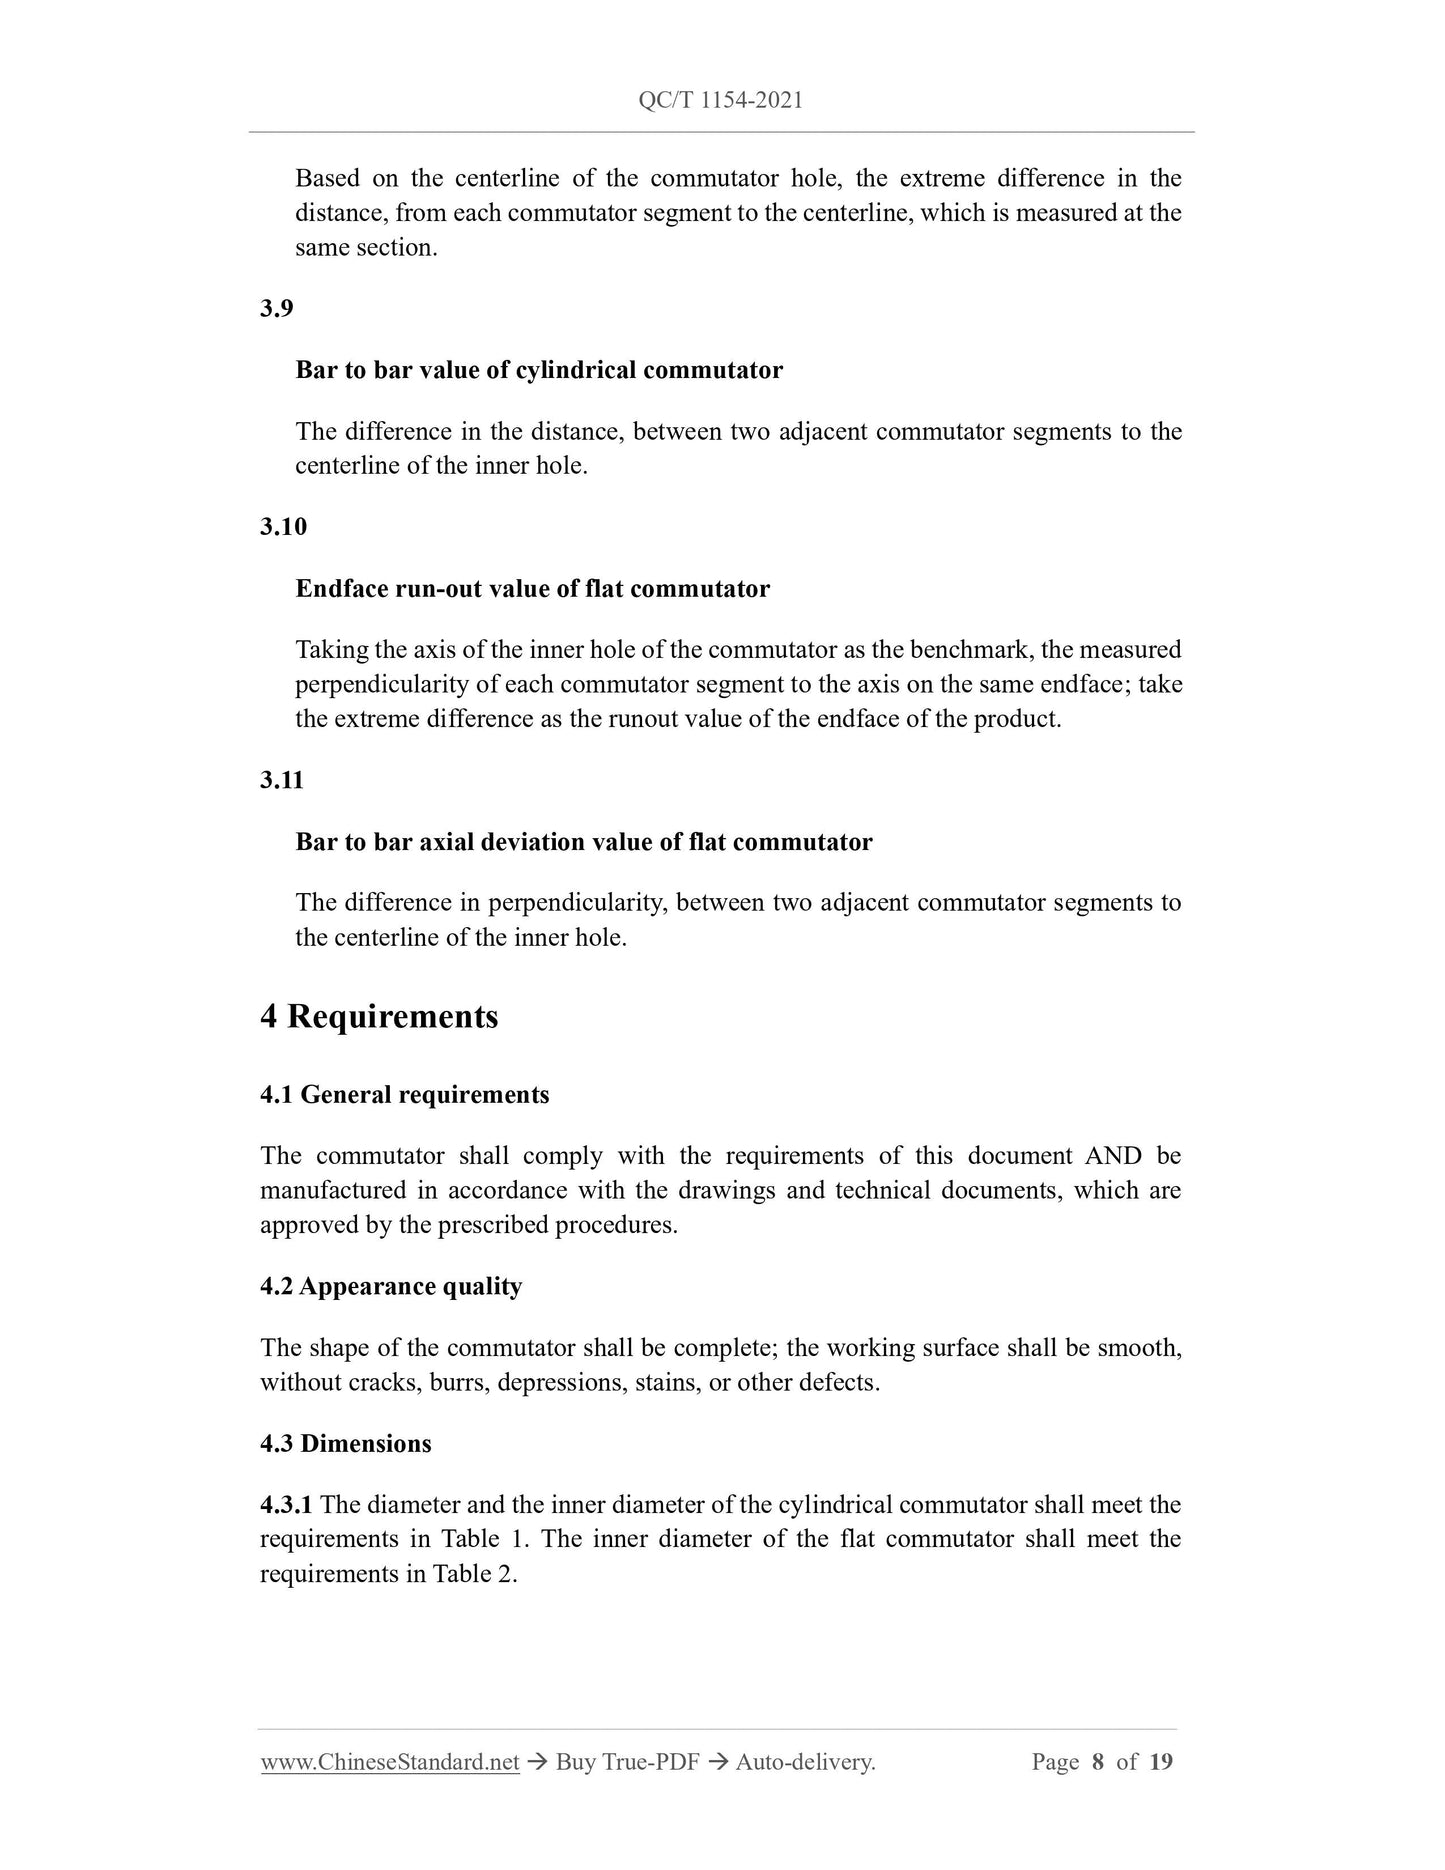
Based on the centerline of the commutator hole, the extreme difference in the
distance, from each commutator segment to the centerline, which is measured at the
same section.
3.9
Bar to bar value of cylindrical commutator
The difference in the distance, between two adjacent commutator segments to the
centerline of the inner hole.
3.10
Endface run-out value of flat commutator
Taking the axis of the inner hole of the commutator as the benchmark, the measured
perpendicularity of each commutator segment to the axis on the same endface; take
the extreme difference as the runout value of the endface of the product.
3.11
Bar to bar axial deviation value of flat commutator
The difference in perpendicularity, between two adjacent commutator segments to
the centerline of the inner hole.
4 Requirements
4.1 General requirements
The commutator shall comply with the requirements of this document AND be
manufactured in accordance with the drawings and technical documents, which are
approved by the prescribed procedures.
4.2 Appearance quality
The shape of the commutator shall be complete; the working surface shall be smooth,
without cracks, burrs, depressions, stains, or other defects.
4.3 Dimensions
4.3.1 The diameter and the inner diameter of the cylindrical commutator shall meet the
requirements in Table 1.The inner diameter of the flat commutator shall meet the
requirements in Table 2.
5.4 Test of copper surface hardness of commutator
It is carried out, according to the provisions of 6.7 in GB/T 4340.1-2009.Take 3 pieces
of commutator segments, randomly from the specimen, for surface treatment. It shall
be flat and smooth, without oil stains; the roughness is Ra0.4 µm. The applied force
during the test is 49.03 N; the diamond is 136° quadrangular pyramid Vickers indenter;
the pressure holding time is 15 s. Take the average value of 3 test data, as the final
hardness value.
5.5 Measurement of contact resistance
Use an electric bridge, micro-ohmmeter or other similar instruments, to make
measurement. One end of the instrument is clamped in the middle of the two insulating
grooves (that is, the middle position of the carbon sheet), whilst the other end is clamped
on the corresponding commutator hook, to carry out the testing. Directly read out the
data, which is the contact resistance value.
5.6 Insulation withstand voltage test
5.6.1 Insulation withstand voltage test between adjacent commutator segments
Place the commutator on the inter-segment withstand voltage tester. Keep the
commutator segment in good contact with the electrodes. Then apply the test voltage,
for a duration, which is specified in Table 3.
5.6.2 Dielectric withstand voltage test between commutator segment and inner hole
Insert the additional shaft into the inner hole of the commutator. Clamp it on the sheet
hole withstand voltage tester. Apply the test voltage, for a duration, which is specified
in Table 3, between the commutator segment and the additional shaft.
5.7 Overspeed test
5.7.1 Sample preparation
After the sample is finished, the radial runout value of the cylindrical commutator shall
not be greater than 0.01 mm; the bar to bar value shall not be greater than 0.002 mm;
the endface runout of the flat commutator shall be not more than 0.01 mm; the bar to
bar axial deviation value shall not be greater than 0.002 mm.
5.7.2 Test preparation
Load the sample into the guiding shaft. Choose one of the commutator segments as the
mark, for the starting point of measurement. Use the commutator inter-segment error
comprehensive tester (special testing equipment for the commutator industry) OR
roundness meter and other similar instruments, to record the measurement curve. The
cylindrical commutator reads out the radial circular runout value and the bar to bar
value. The flat commutator reads out the endface runout value and the bar to bar axial
deviation.
5.7.3 Normal temperature overspeed test
Install the sample on the connecting shaft of the overspeed test bench. Run it at the test
speed and test time, which is specified in Table 4, at room temperature. Remove the
commutator and place it for 30 minutes. Use a comprehensive tester or roundness tester
for the error between the commutator segments, or other similar instruments, to record
the measuring. The cylindrical commutator reads the radial circular runout value and
the bar to bar. The flat commutator reads the end face runout value and the bar to bar
axial deviation. Make a corresponding comparison with the measurement curve, before
the test. Take the maximum value of the change, before and after the test.
5.7.4 High temperature overspeed test
Put the sample into a thermal cycle oven, at the specified temperature. Take it out after
preheating for 30 min. Put it on the overspeed test bench, under the heat preservation
state. Then run it, according to the test speed and test time, which are specified in Table
5.Remove the commutator. Place it at room temperature for 45 minutes. Use a
comprehensive tester or roundness tester for the error between the commutator
segments, or other similar instruments, to record the measuring. Read out the radial
circular runout and the bar to bar value. Compare it with the measuring curve before
the test. Take the maximum value of the change, before and after the test.
5.8 Radial tension test of commutator segment
The test is carried out on a tensile testing machine. Clamp the hook position of ...
Share
