NaN
/
of
-Infinity
www.ChineseStandard.us -- Field Test Asia Pte. Ltd.
YY/T 0988.14-2016 English PDF (YY/T0988.14-2016)
YY/T 0988.14-2016 English PDF (YY/T0988.14-2016)
Regular price
$260.00
Regular price
Sale price
$260.00
Unit price
/
per
Shipping calculated at checkout.
Couldn't load pickup availability
YY/T 0988.14-2016: Coatings of surgical implants - Part 14: Stereological evaluation method of porous coatings
Delivery: 9 seconds. Download (& Email) true-PDF + Invoice.
Get Quotation: Click YY/T 0988.14-2016 (Self-service in 1-minute)
Historical versions (Master-website): YY/T 0988.14-2016
Preview True-PDF (Reload/Scroll-down if blank)
YY/T 0988.14-2016
YY
PHARMACEUTICAL INDUSTRY STANDARD
OF THE PEOPLE’S REPUBLIC OF CHINA
ICS 11.040.40
C 35
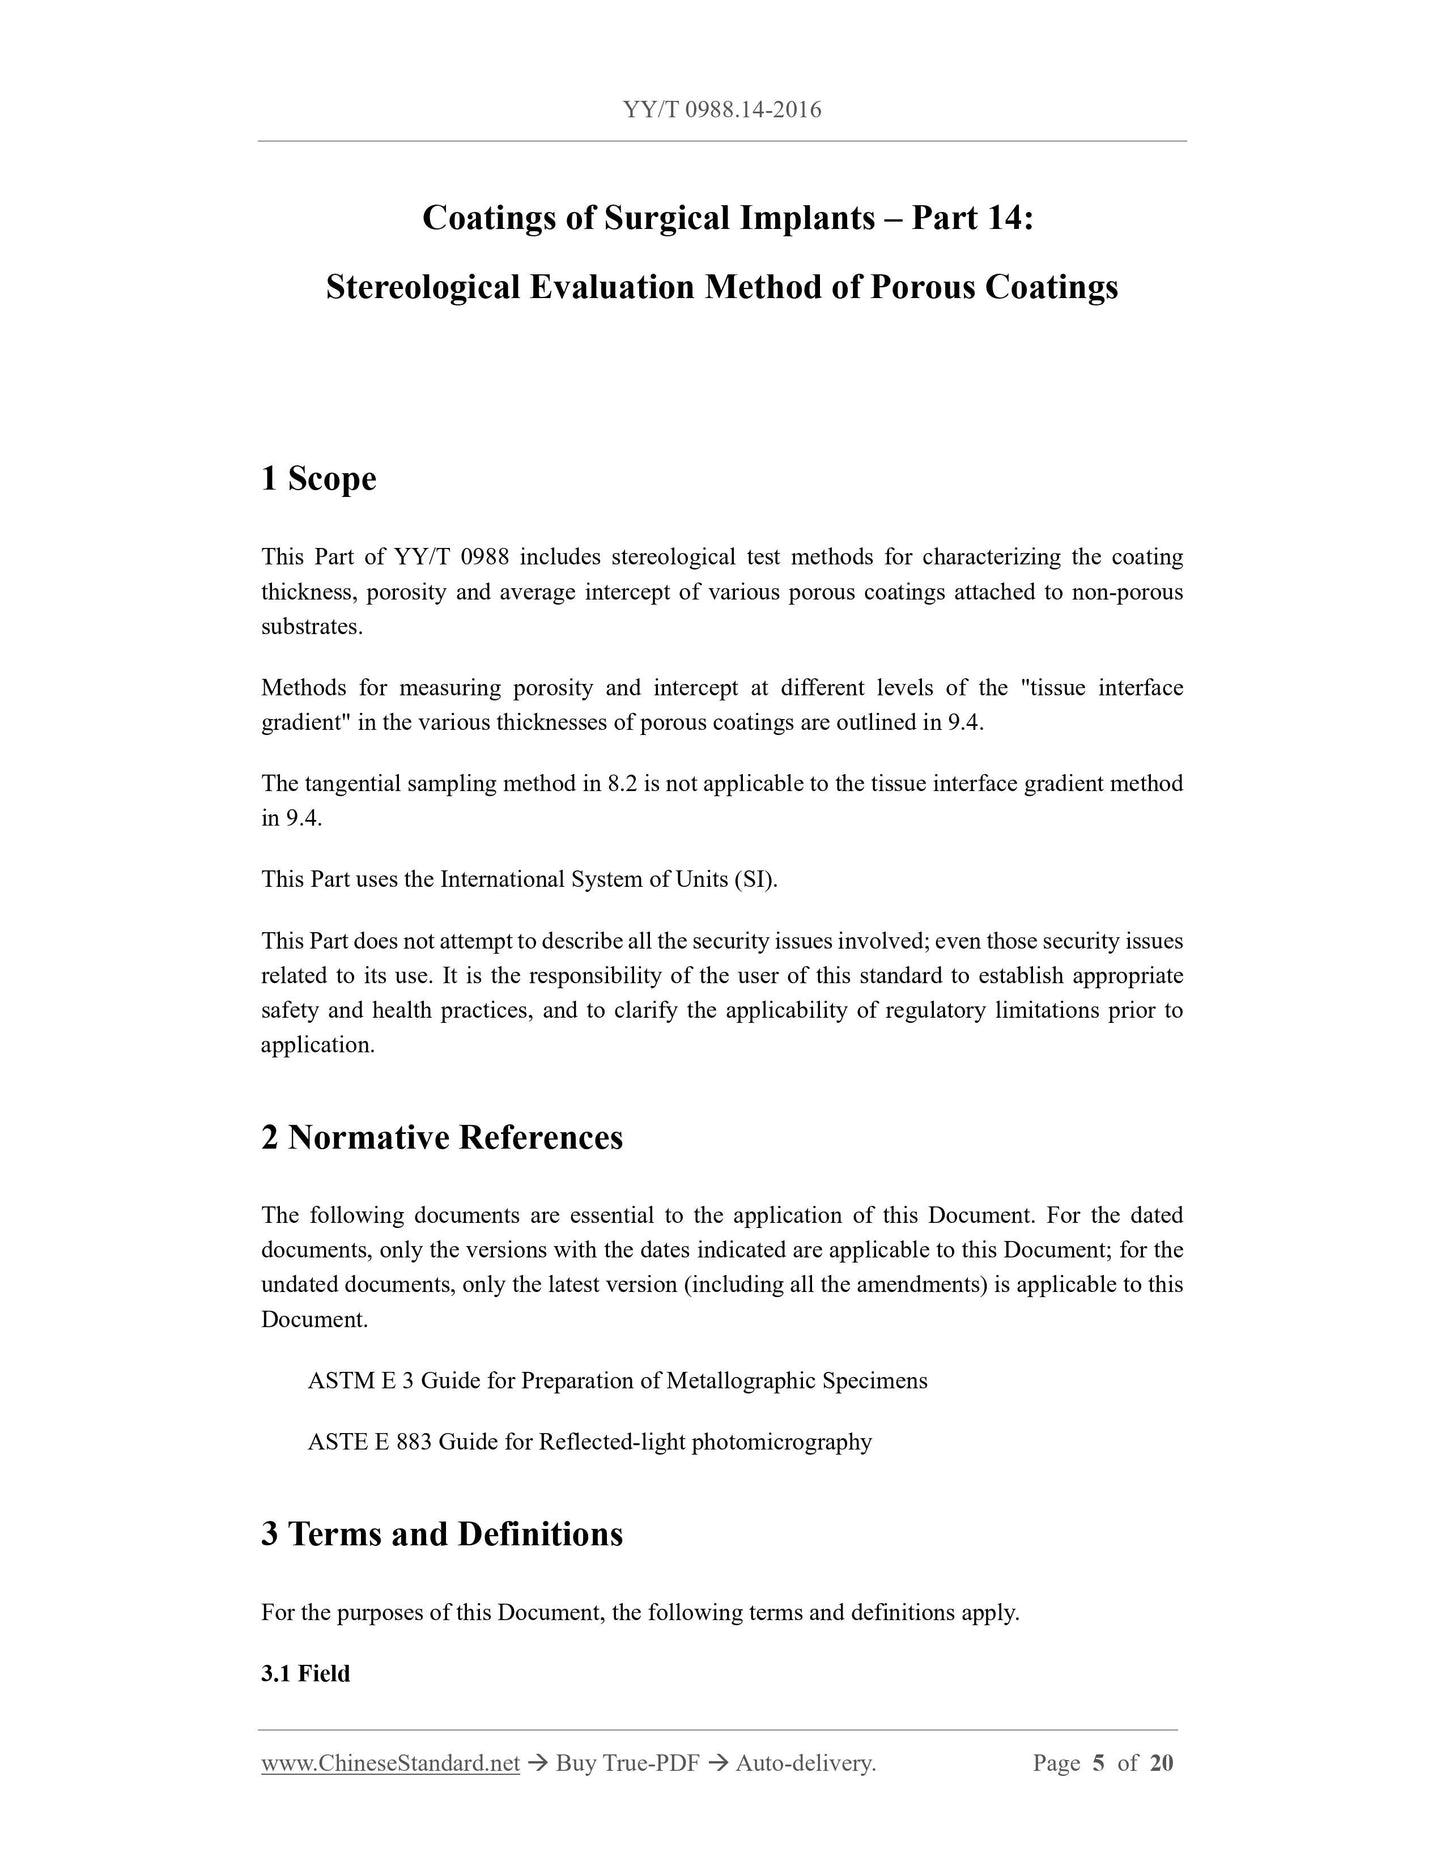
Coatings of Surgical Implants – Part 14:
Stereological Evaluation Method of Porous Coatings
ISSUED ON: MARCH 23, 2016
IMPLEMENTED ON: JANUARY 01, 2017
Issued by: China Food and Drug Administration
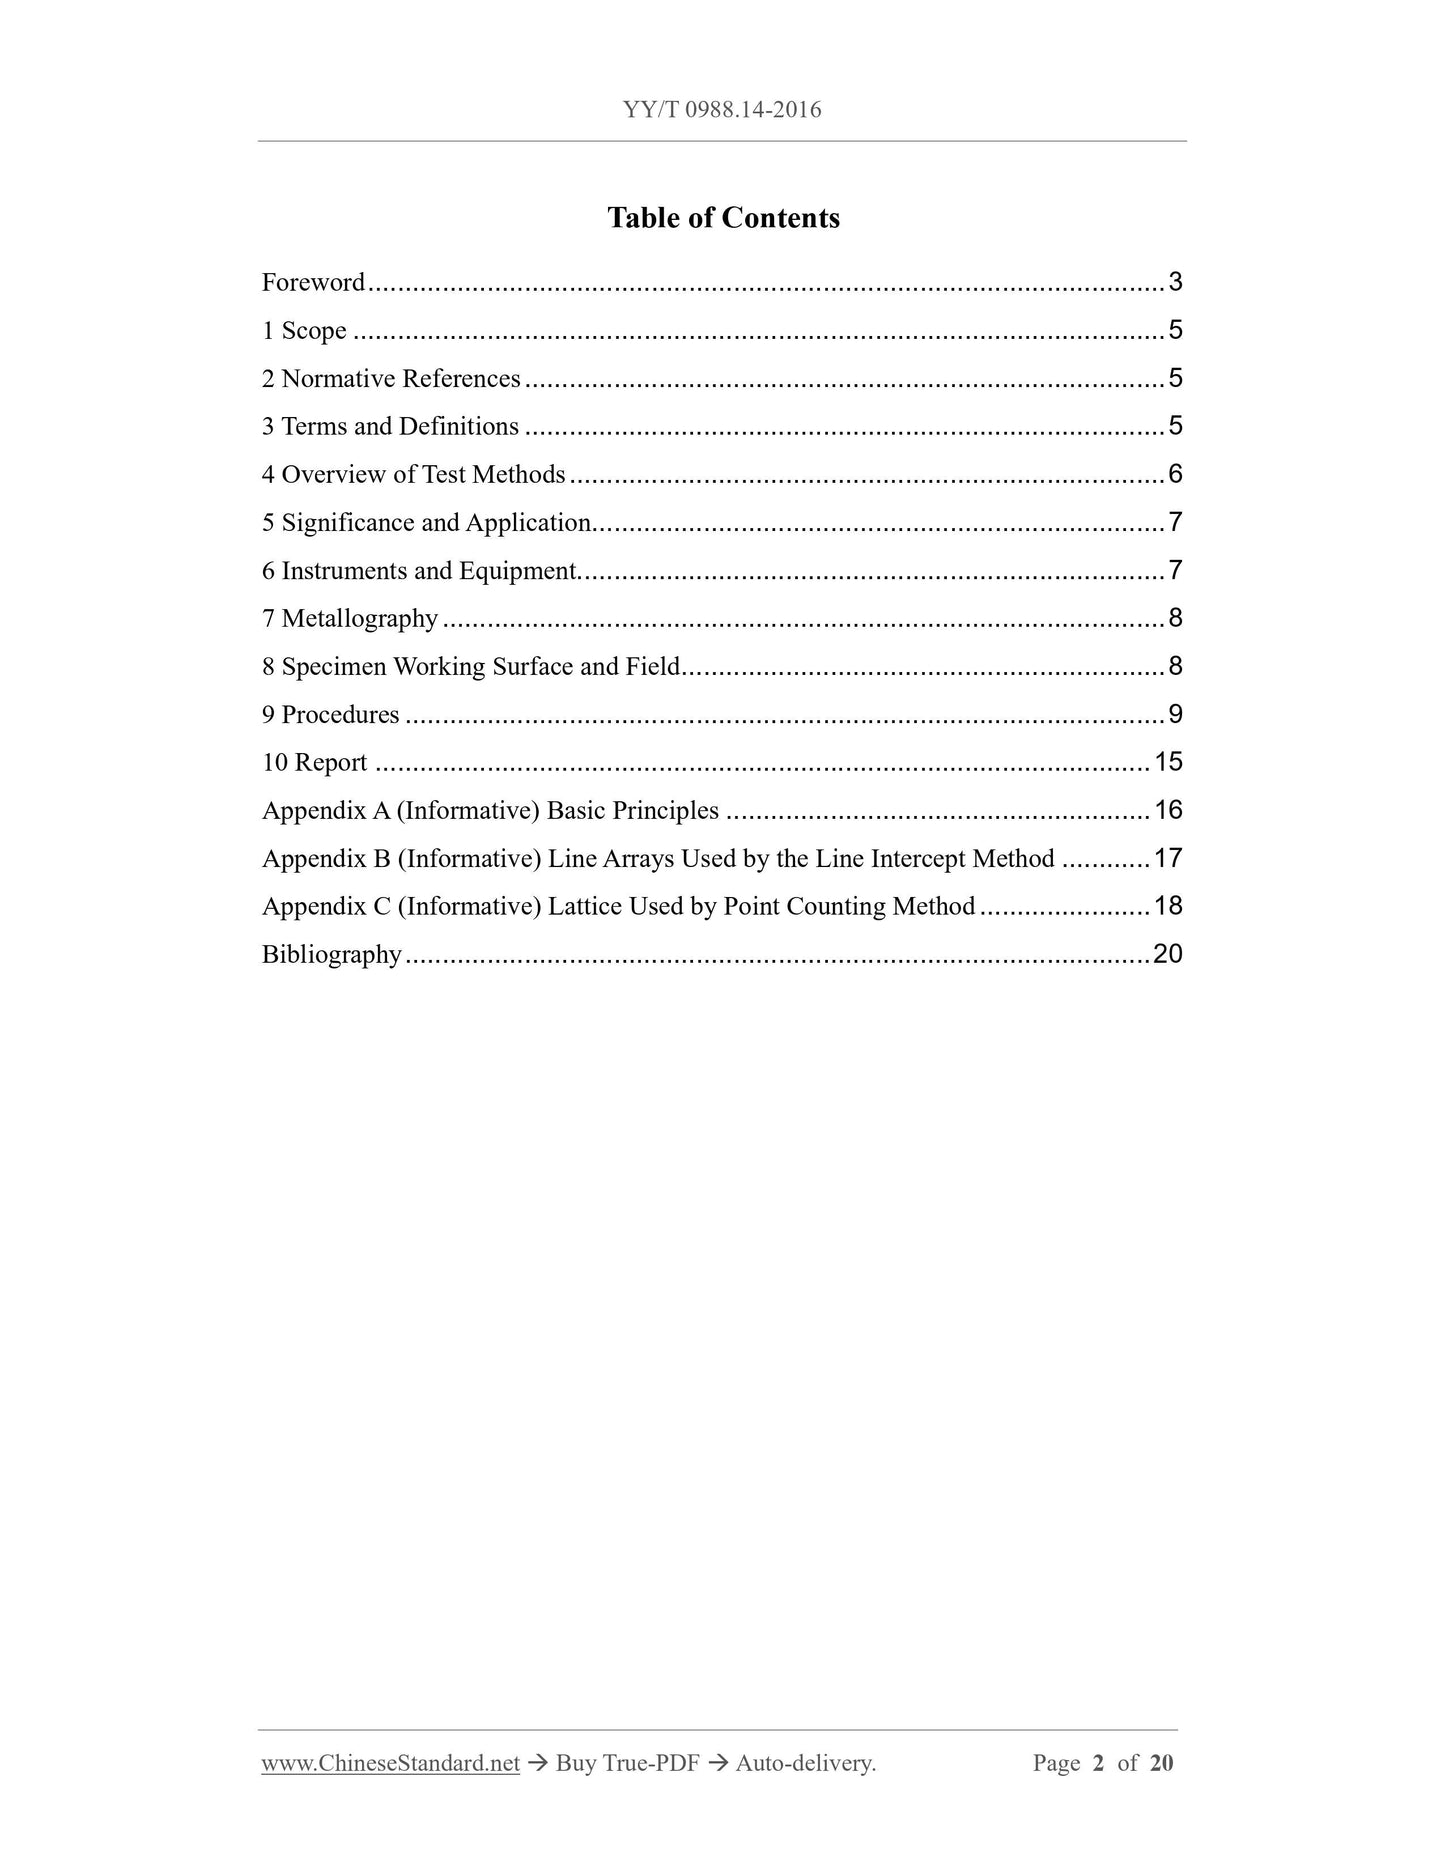
Table of Contents
Foreword ... 3
1 Scope ... 5
2 Normative References ... 5
3 Terms and Definitions ... 5
4 Overview of Test Methods ... 6
5 Significance and Application... 7
6 Instruments and Equipment... 7
7 Metallography ... 8
8 Specimen Working Surface and Field ... 8
9 Procedures ... 9
10 Report ... 15
Appendix A (Informative) Basic Principles ... 16
Appendix B (Informative) Line Arrays Used by the Line Intercept Method ... 17
Appendix C (Informative) Lattice Used by Point Counting Method ... 18
Bibliography ... 20
Coatings of Surgical Implants – Part 14:
Stereological Evaluation Method of Porous Coatings
1 Scope
This Part of YY/T 0988 includes stereological test methods for characterizing the coating
thickness, porosity and average intercept of various porous coatings attached to non-porous
substrates.
Methods for measuring porosity and intercept at different levels of the "tissue interface
gradient" in the various thicknesses of porous coatings are outlined in 9.4.
The tangential sampling method in 8.2 is not applicable to the tissue interface gradient method
in 9.4.
This Part uses the International System of Units (SI).
This Part does not attempt to describe all the security issues involved; even those security issues
related to its use. It is the responsibility of the user of this standard to establish appropriate
safety and health practices, and to clarify the applicability of regulatory limitations prior to
application.
2 Normative References
The following documents are essential to the application of this Document. For the dated
documents, only the versions with the dates indicated are applicable to this Document; for the
undated documents, only the latest version (including all the amendments) is applicable to this
Document.
ASTM E 3 Guide for Preparation of Metallographic Specimens
ASTE E 883 Guide for Reflected-light photomicrography
3 Terms and Definitions
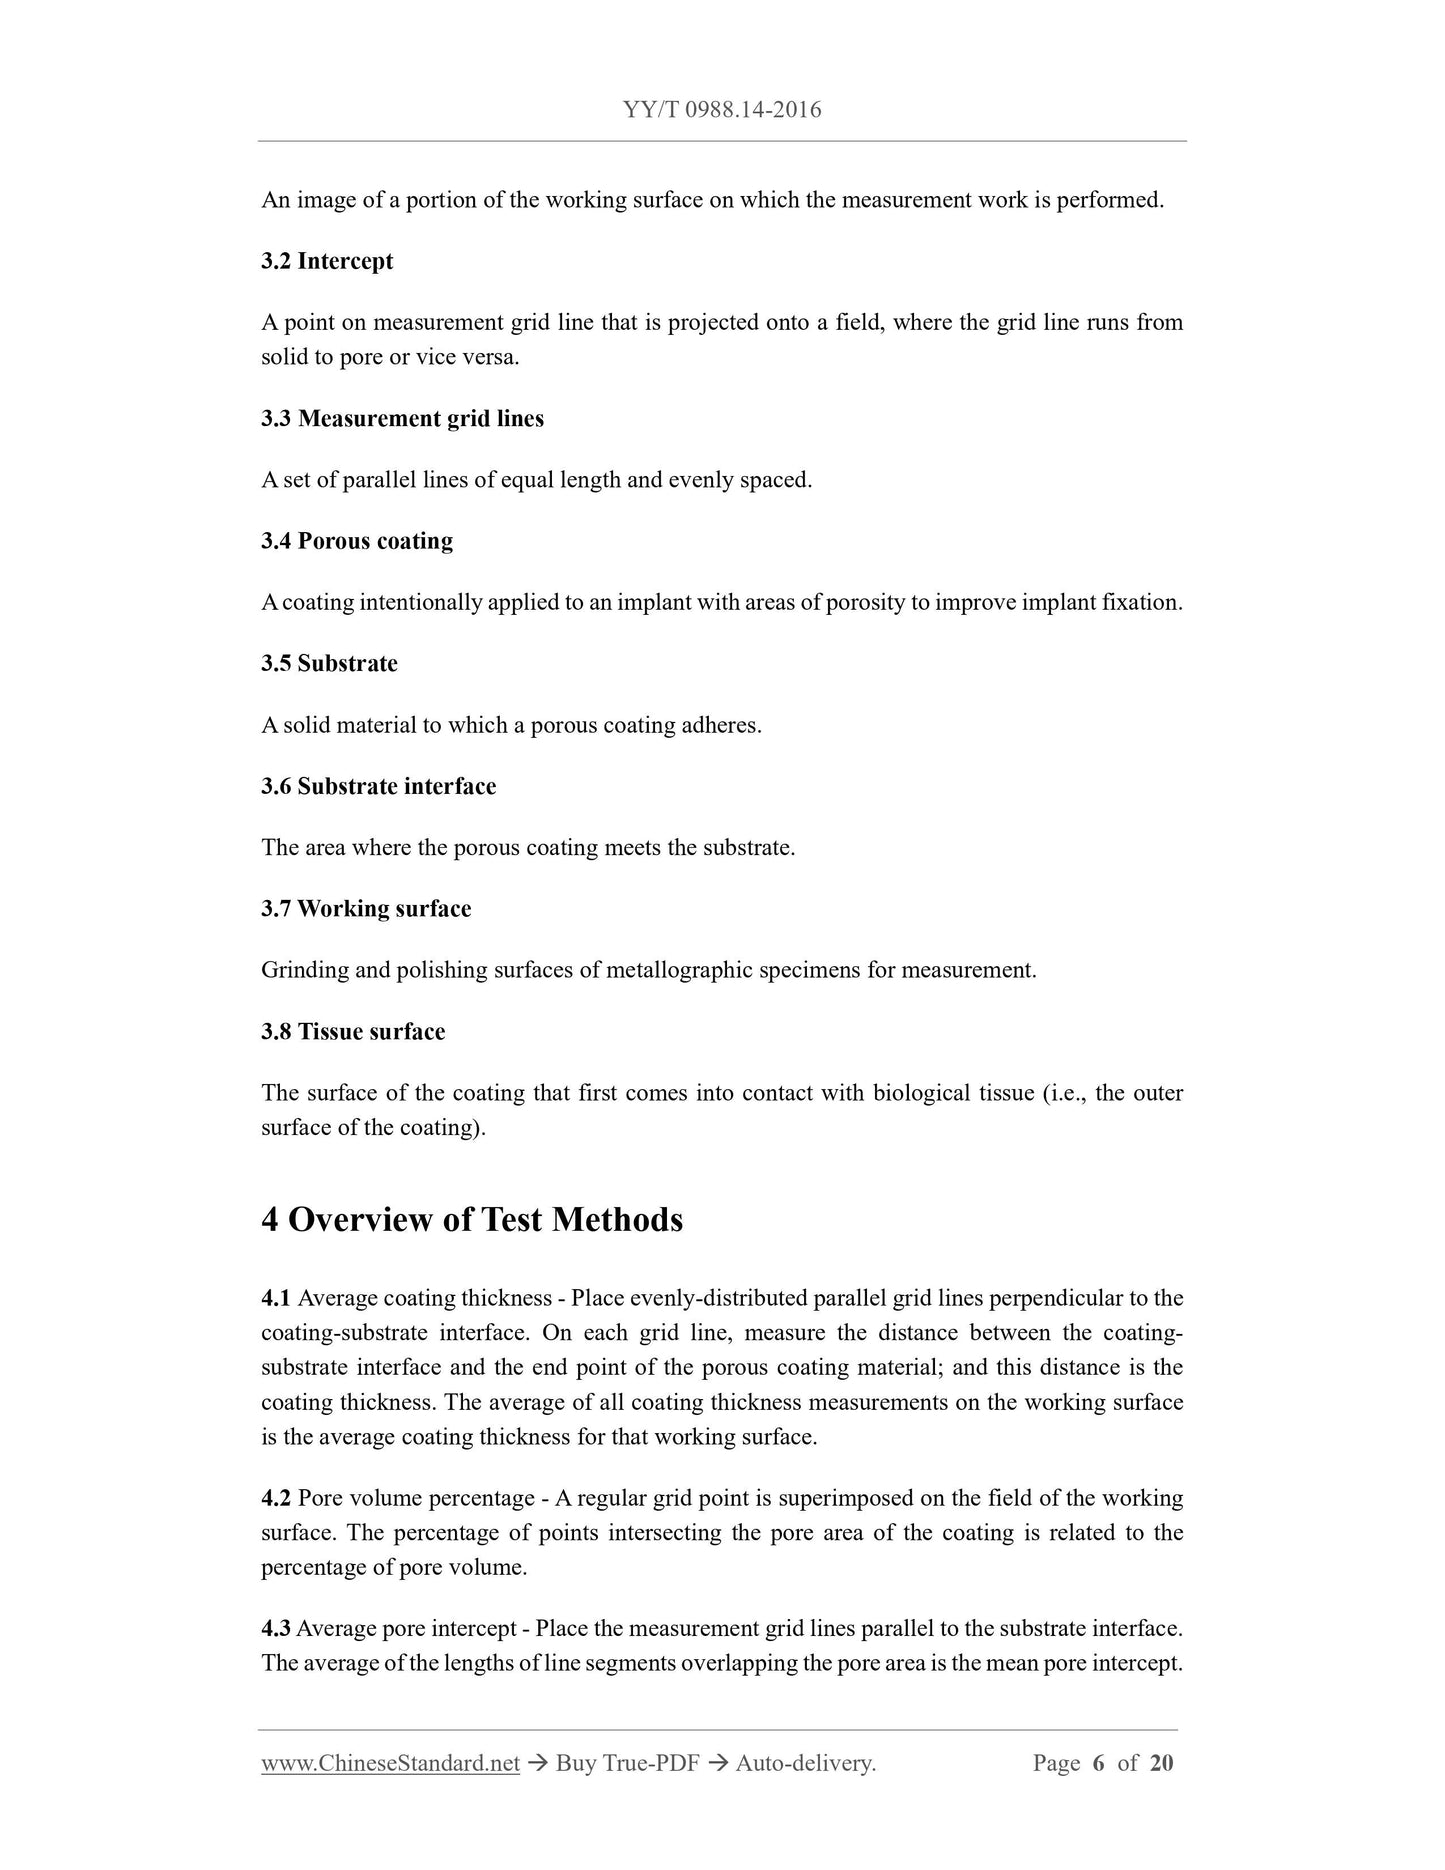
For the purposes of this Document, the following terms and definitions apply.
3.1 Field
It is a representative size of pores in a porous structure.
4.4 Tissue interface gradient - Describe the pore volume percentage and mean pore intercept in
the area about three 200-μm thickness below the tissue interface.
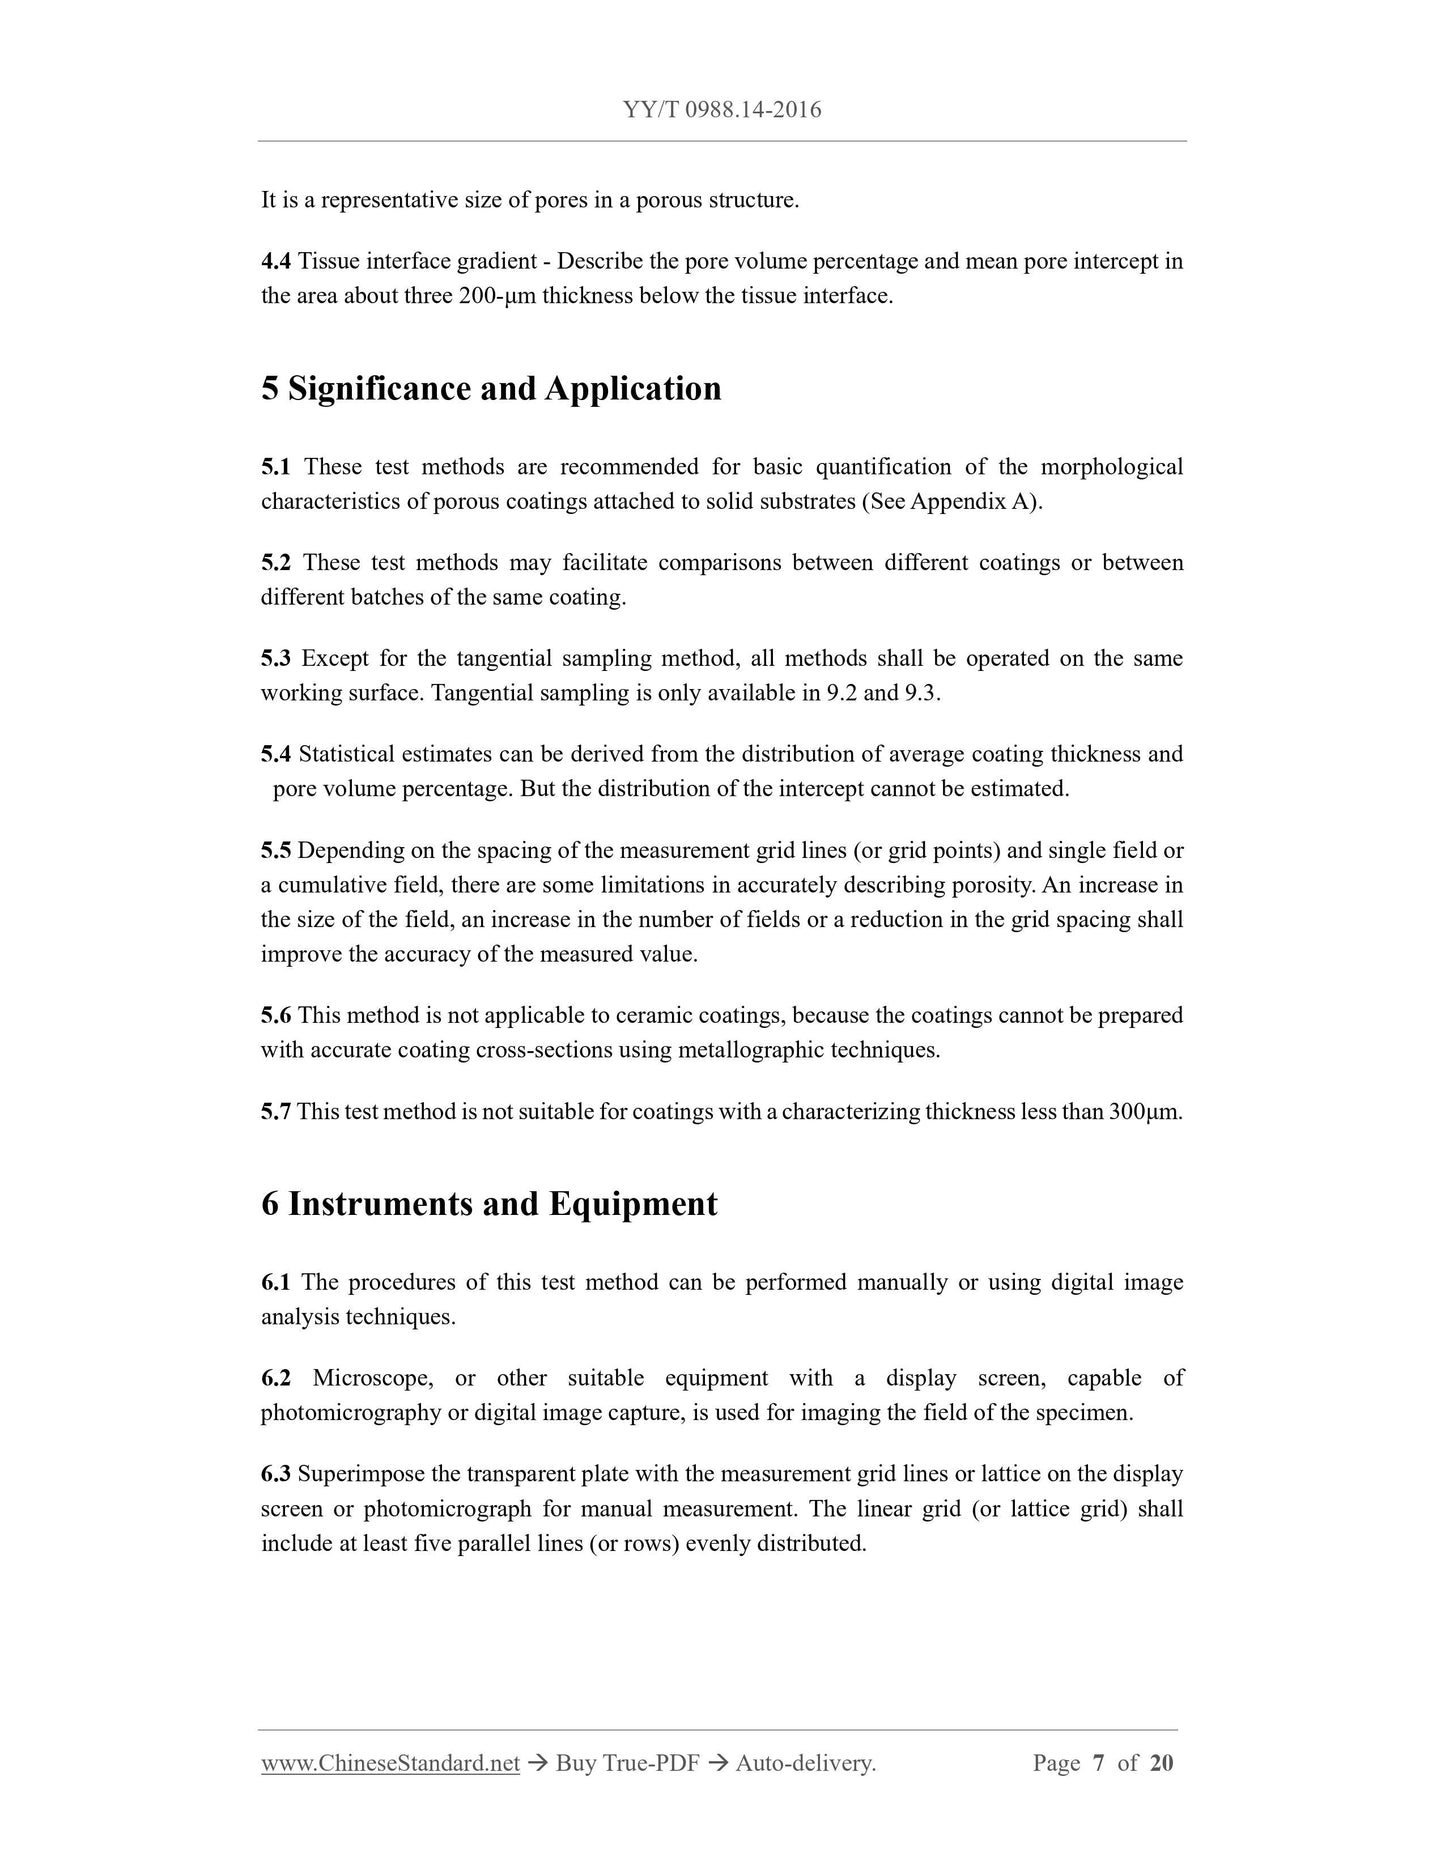
5 Significance and Application
5.1 These test methods are recommended for basic quantification of the morphological
characteristics of porous coatings attached to solid substrates (See Appendix A).
5.2 These test methods may facilitate comparisons between different coatings or between
different batches of the same coating.
5.3 Except for the tangential sampling method, all methods shall be operated on the same
working surface. Tangential sampling is only available in 9.2 and 9.3.
5.4 Statistical estimates can be derived from the distribution of average coating thickness and
pore volume percentage. But the distribution of the intercept cannot be estimated.
5.5 Depending on the spacing of the measurement grid lines (or grid points) and single field or
a cumulative field, there are some limitations in accurately describing porosity. An increase in
the size of the field, an increase in the number of fields or a reduction in the grid spacing shall
improve the accuracy of the measured value.
5.6 This method is not applicable to ceramic coatings, because the coatings cannot be prepared
with accurate coating cross-sections using metallographic techniques.
5.7 This test method is not suitable for coatings with a characterizing thickness less than 300μm.
6 Instruments and Equipment
6.1 The procedures of this test method can be performed manually or using digital image
analysis techniques.
6.2 Microscope, or other suitable equipment with a display screen, capable of
photomicrography or digital image capture, is used for imaging the field of the specimen.
6.3 Superimpose the transparent plate with the measurement grid lines or lattice on the display
screen or photomicrograph for manual measurement. The linear grid (or lattice grid) shall
include at least five parallel lines (or rows) evenly distributed.
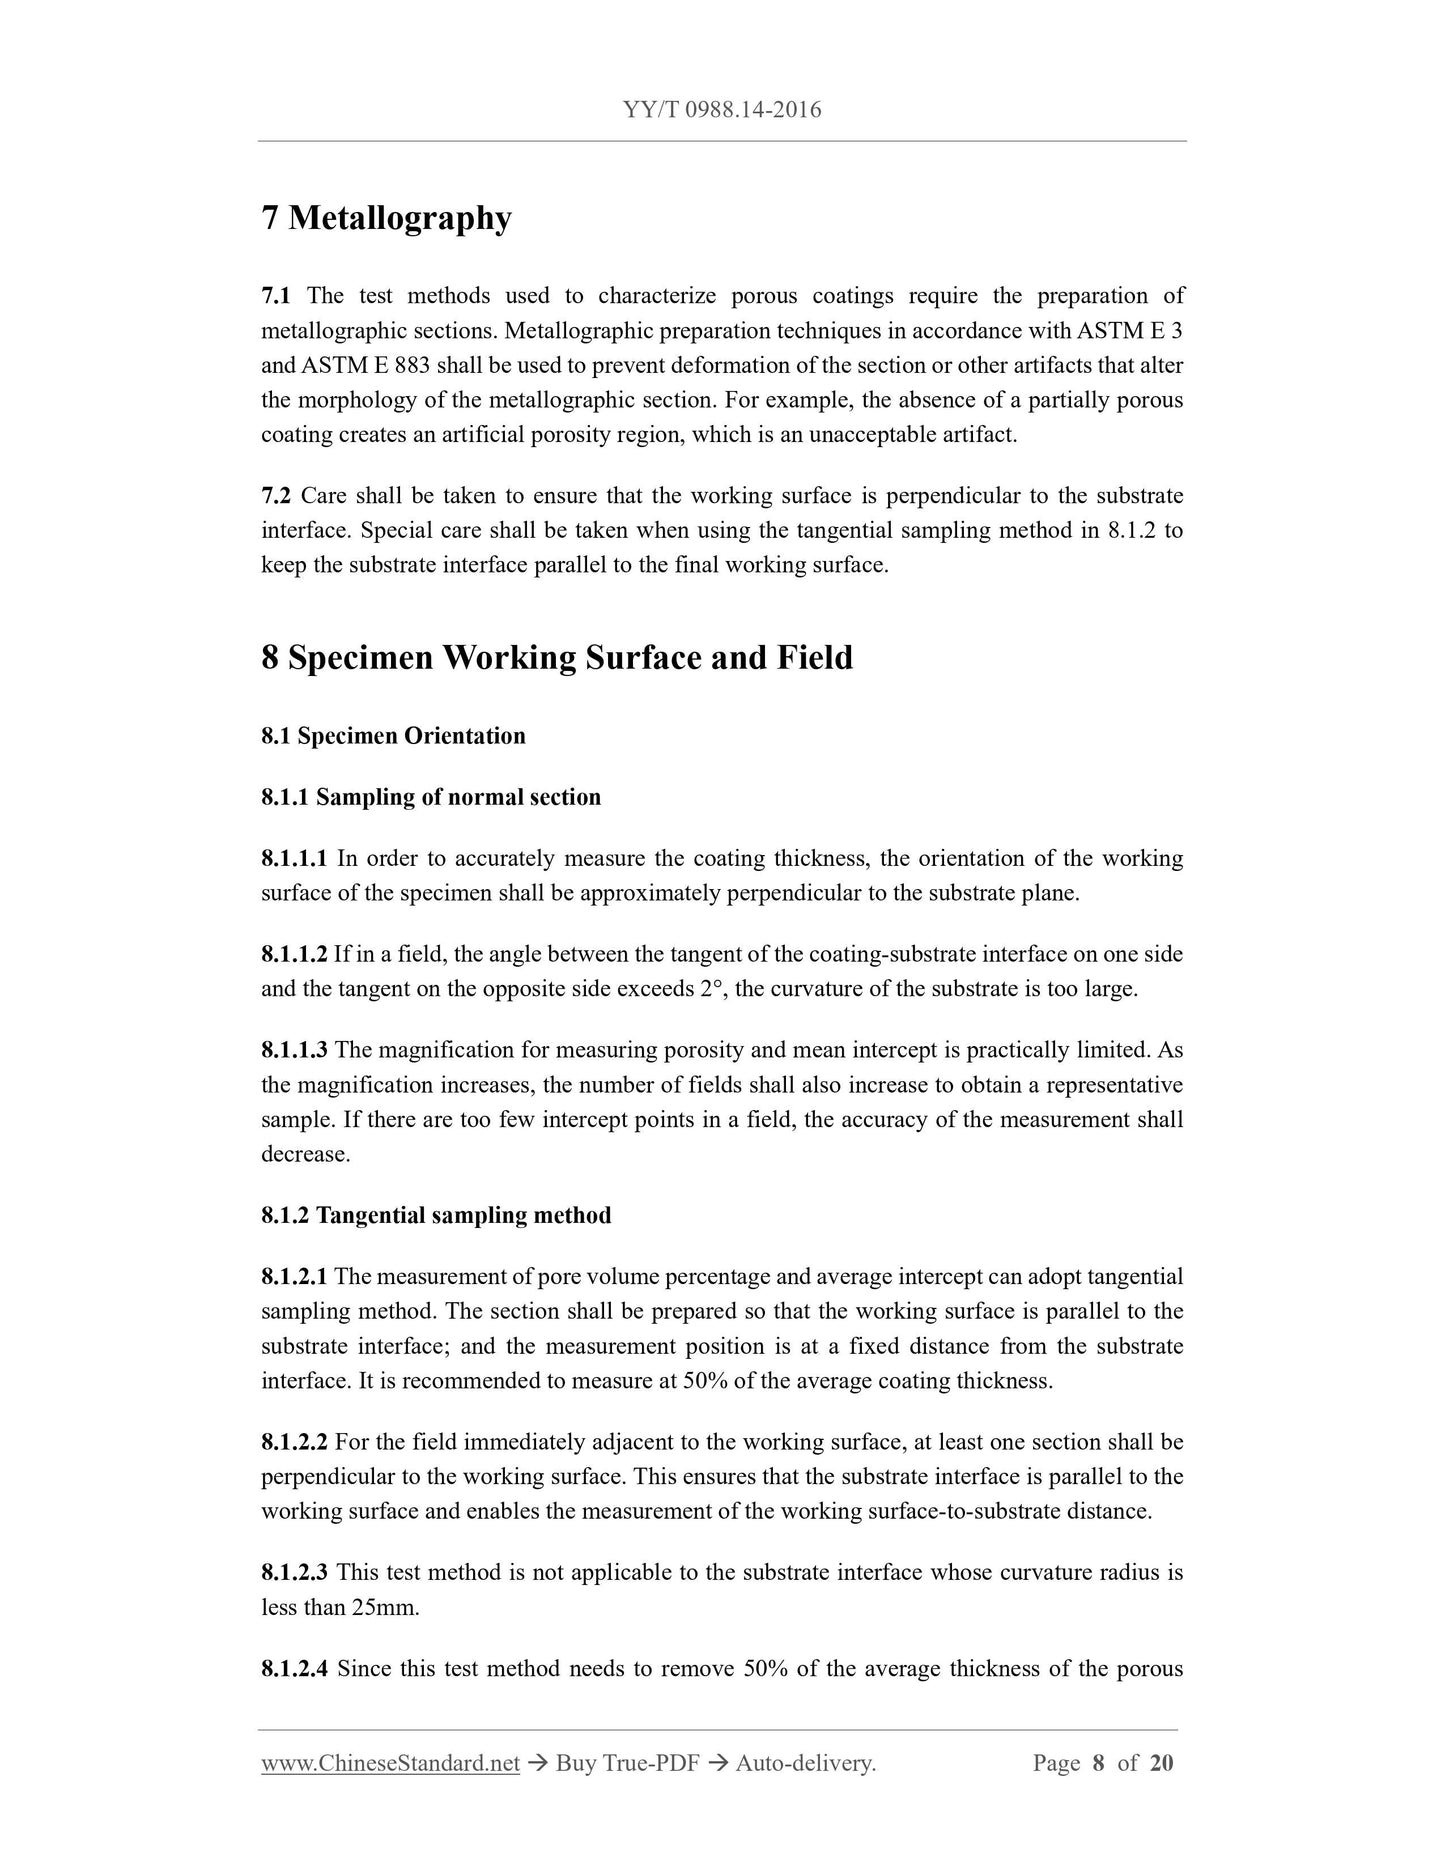
7 Metallography
7.1 The test methods used to characterize porous coatings require the preparation of
metallographic sections. Metallographic preparation techniques in accordance with ASTM E 3
and ASTM E 883 shall be used to prevent deformation of the section or other artifacts that alter
the morphology of the metallographic section. For example, the absence of a partially porous
coating creates an artificial porosity region, which is an unacceptable artifact.
7.2 Care shall be taken to ensure that the working surface is perpendicular to the substrate
interface. Special care shall be taken when using the tangential sampling method in 8.1.2 to
keep the substrate interface parallel to the final working surface.
8 Specimen Working Surface and Field
8.1 Specimen Orientation
8.1.1 Sampling of normal section
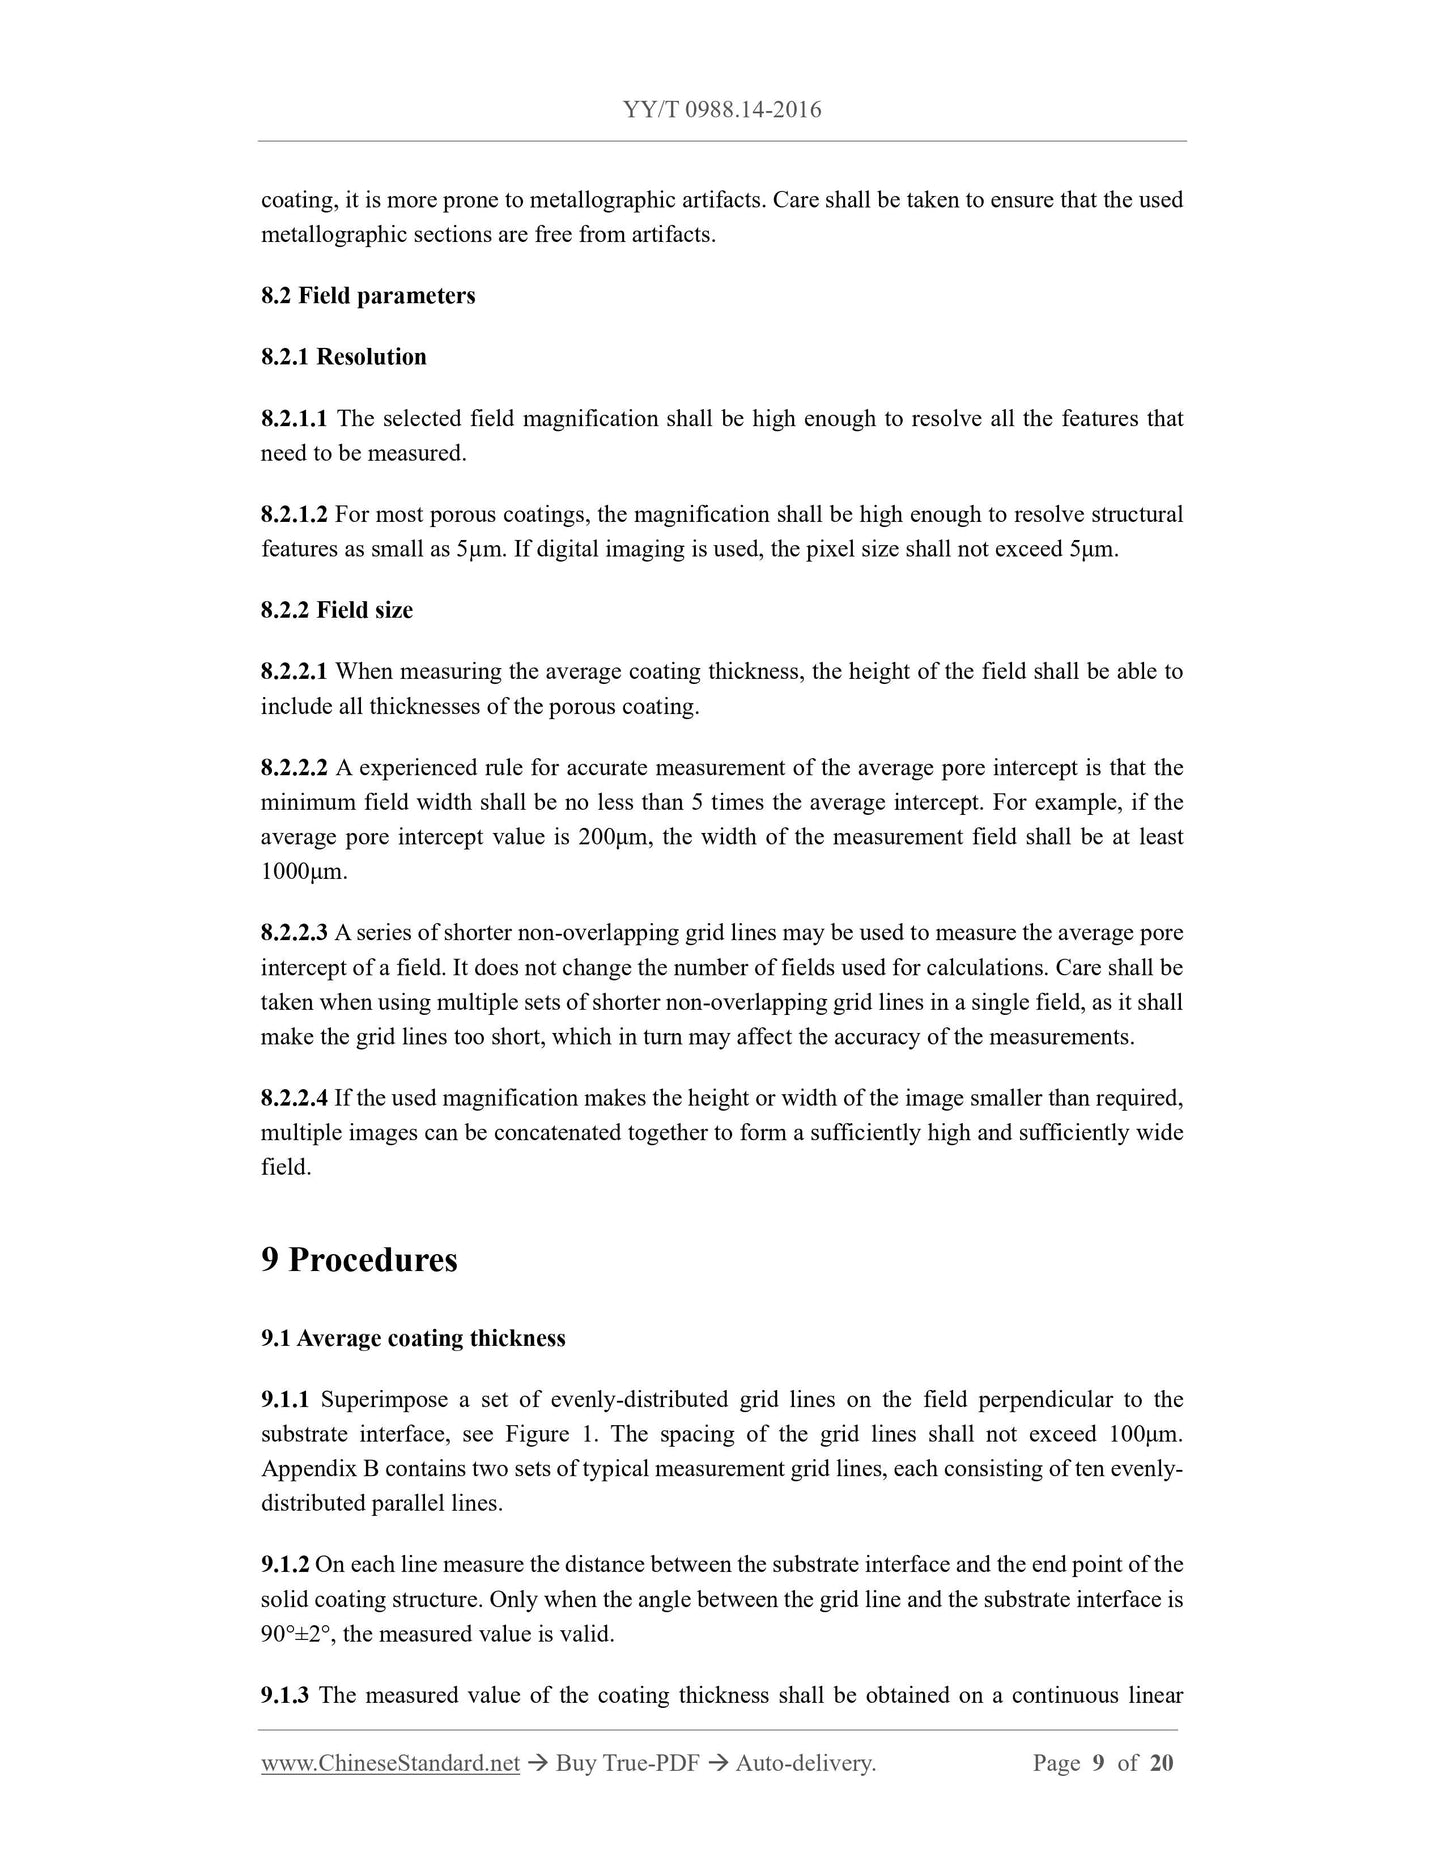
8.1.1.1 In order to accurately measure the coating thickness, the orientation of the working
surface of the specimen shall be approximately perpendicular to the substrate plane.
8.1.1.2 If in a field, the angle between the tangent of the coating-substrate interface on one side
and the tangent on the opposite side exceeds 2°, the curvature of the substrate is too large.
8.1.1.3 The magnification for measuring porosity and mean intercept is practically limited. As
the magnification increases, the number of fields shall also increase to obtain a representative
sample. If there are too few intercept points in a field, the accuracy of the measurement shall
decrease.
8.1.2 Tangential sampling method
8.1.2.1 The measurement of pore volume percentage and average intercept can adopt tangential
sampling method. The section shall be prepared so that the working surface is parallel to the
substrate interface; and the measurement position is at a fixed distance from the substrate
interface. It is recommended to measure at 50% of the average coating thickness.
8.1.2.2 For the field immediately adjacent to the working surface, at least one section shall be
perpendicular to the working surface. This ensures that the substrate interface is parallel to the
working surface and enables the measurement of the working surface-to-substrate distance.
8.1.2.3 This test method is not applicable to the substrate interface whose curvature radius is
less than 25mm.
8.1.2.4 Since this test method needs to remove 50% of the average thickness of the porous
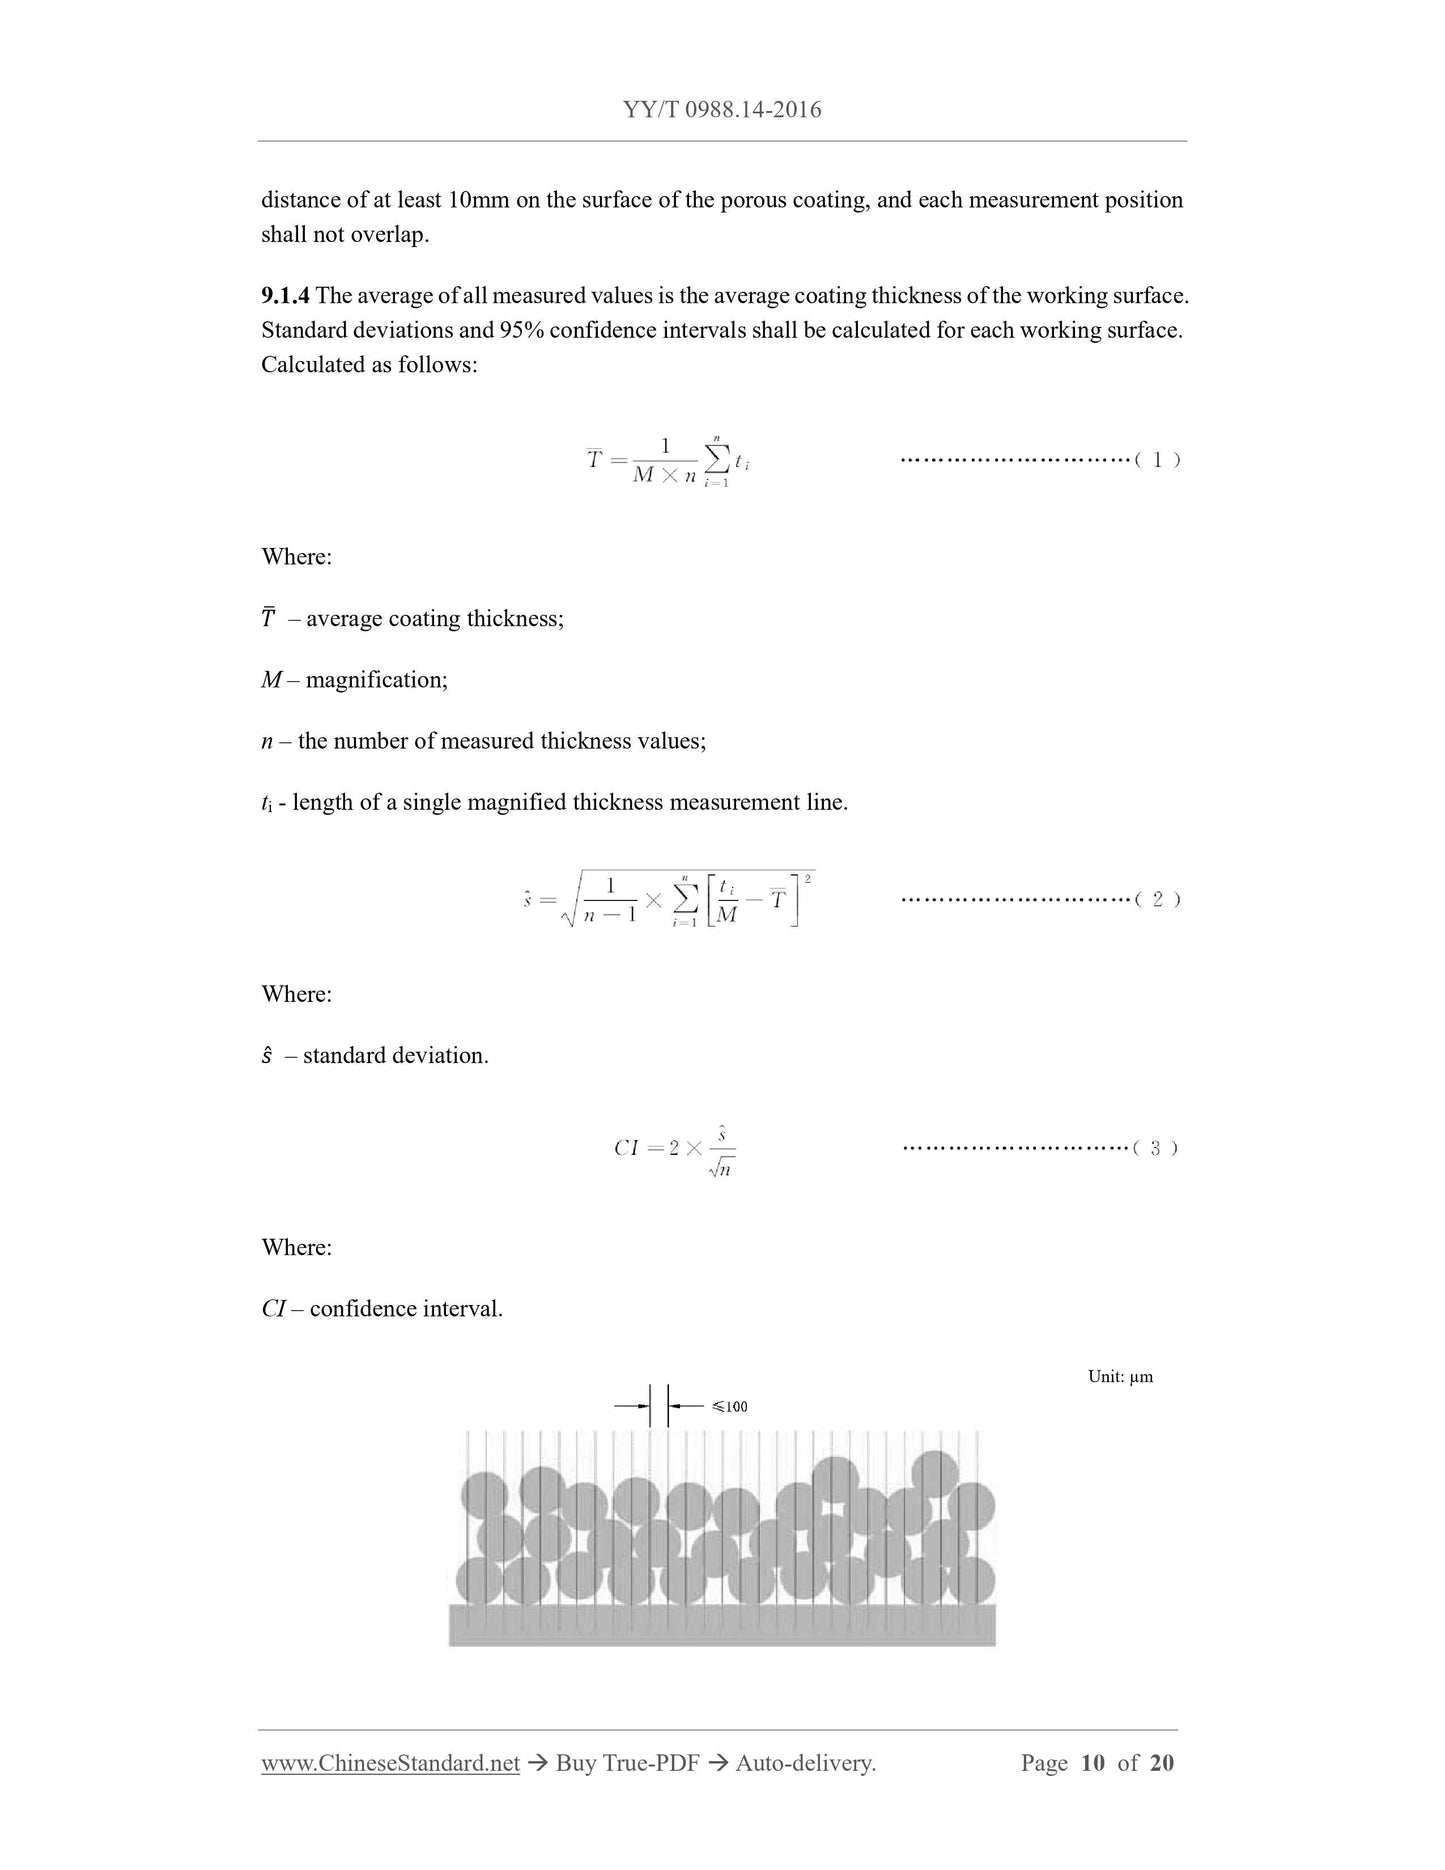
NOTE: the solid line is measured distance.
Figure 1 – Measurement of Coating Thickness
9.2 Pore volume percentage
9.2.1 In this measurement, the field shall include the entire area between the tissue interface
(see 9.4.1) and the matrix interface.
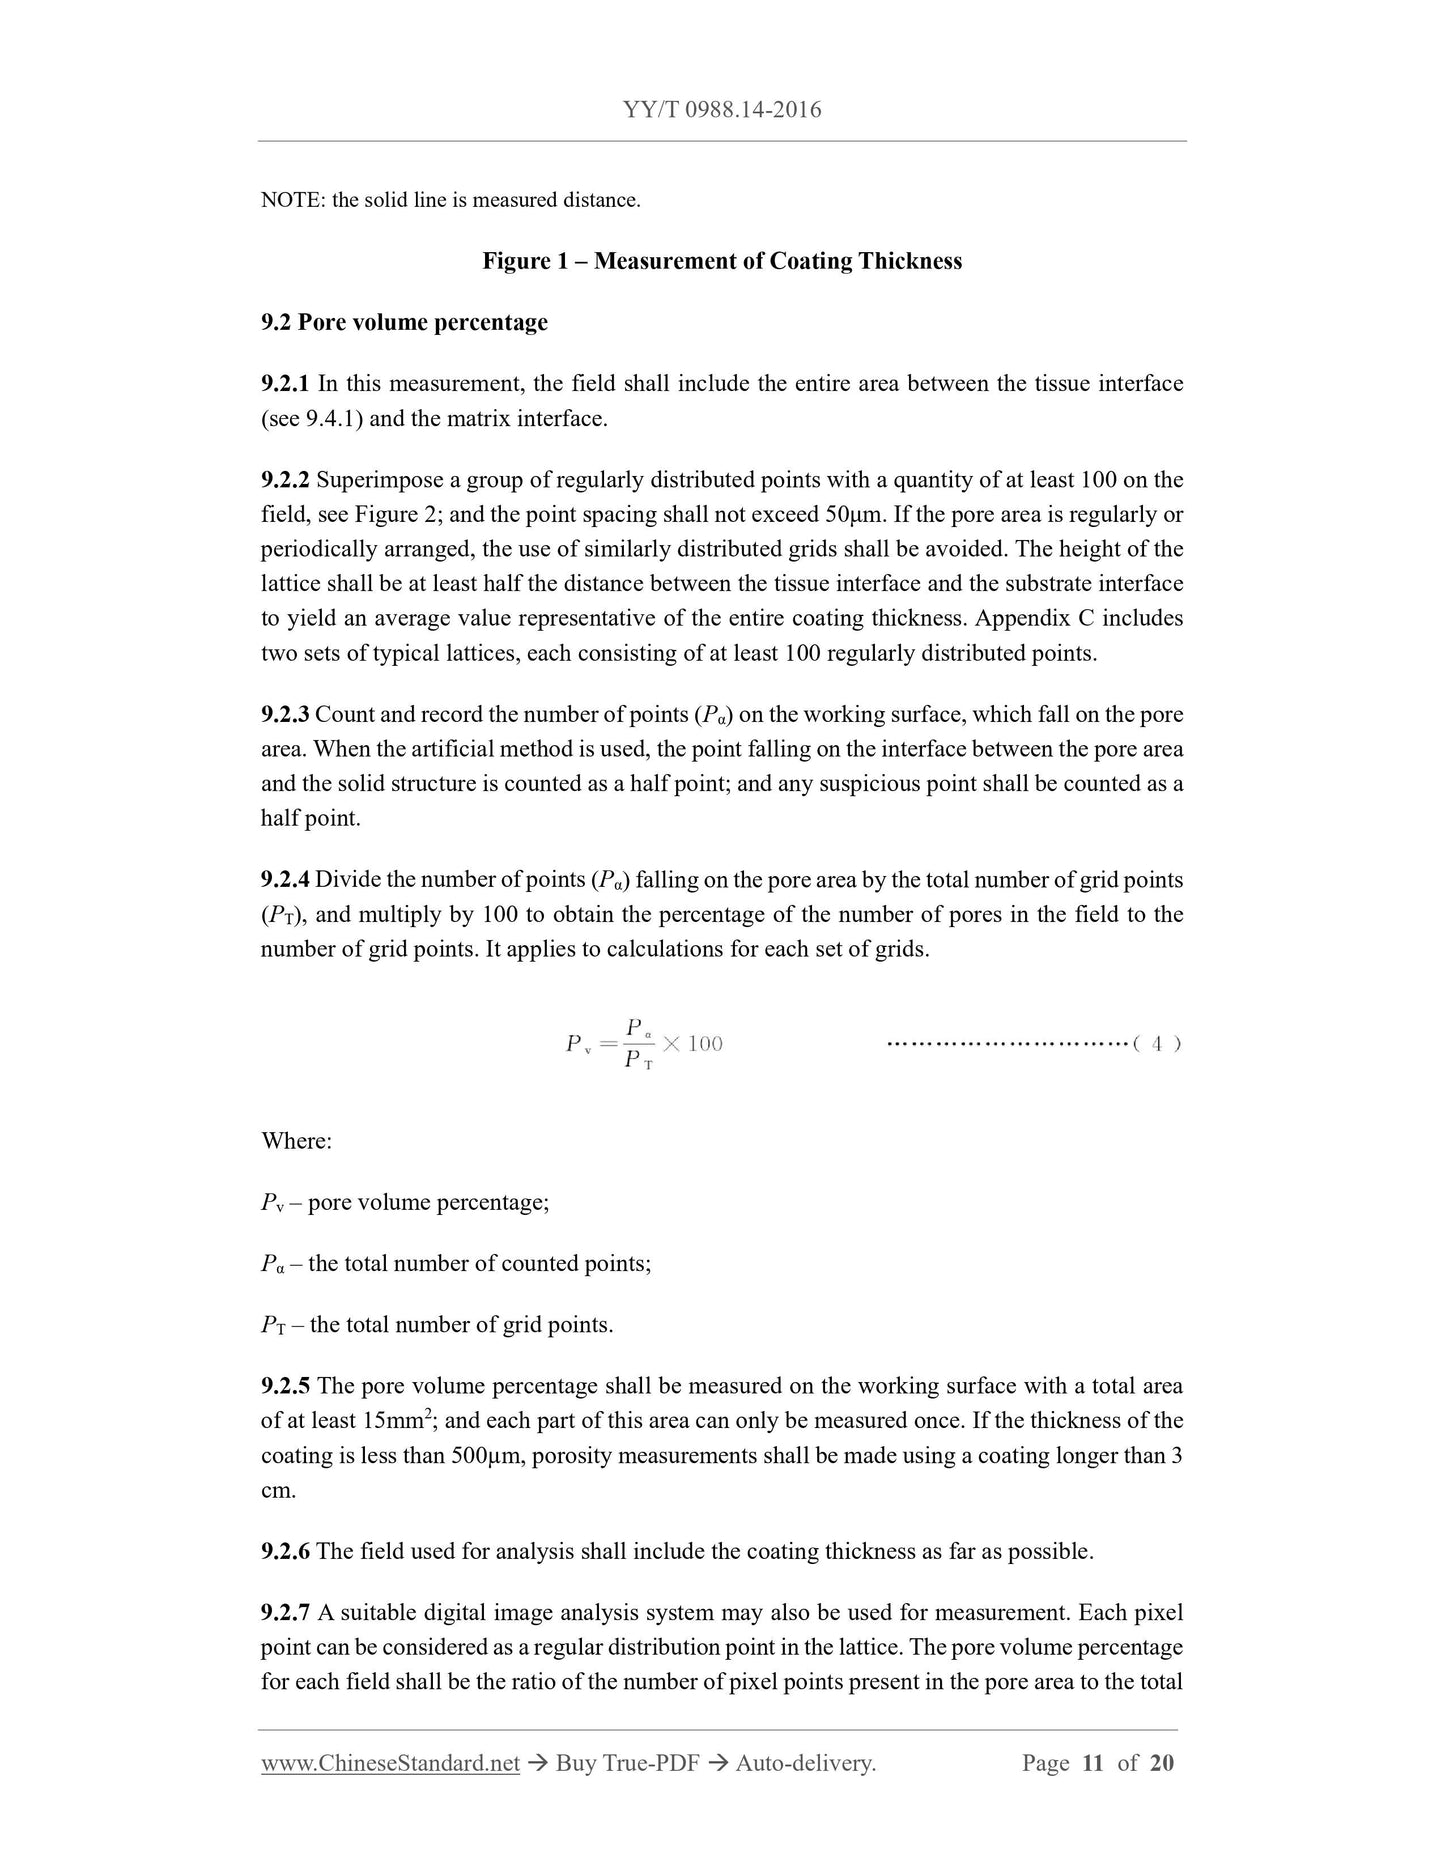
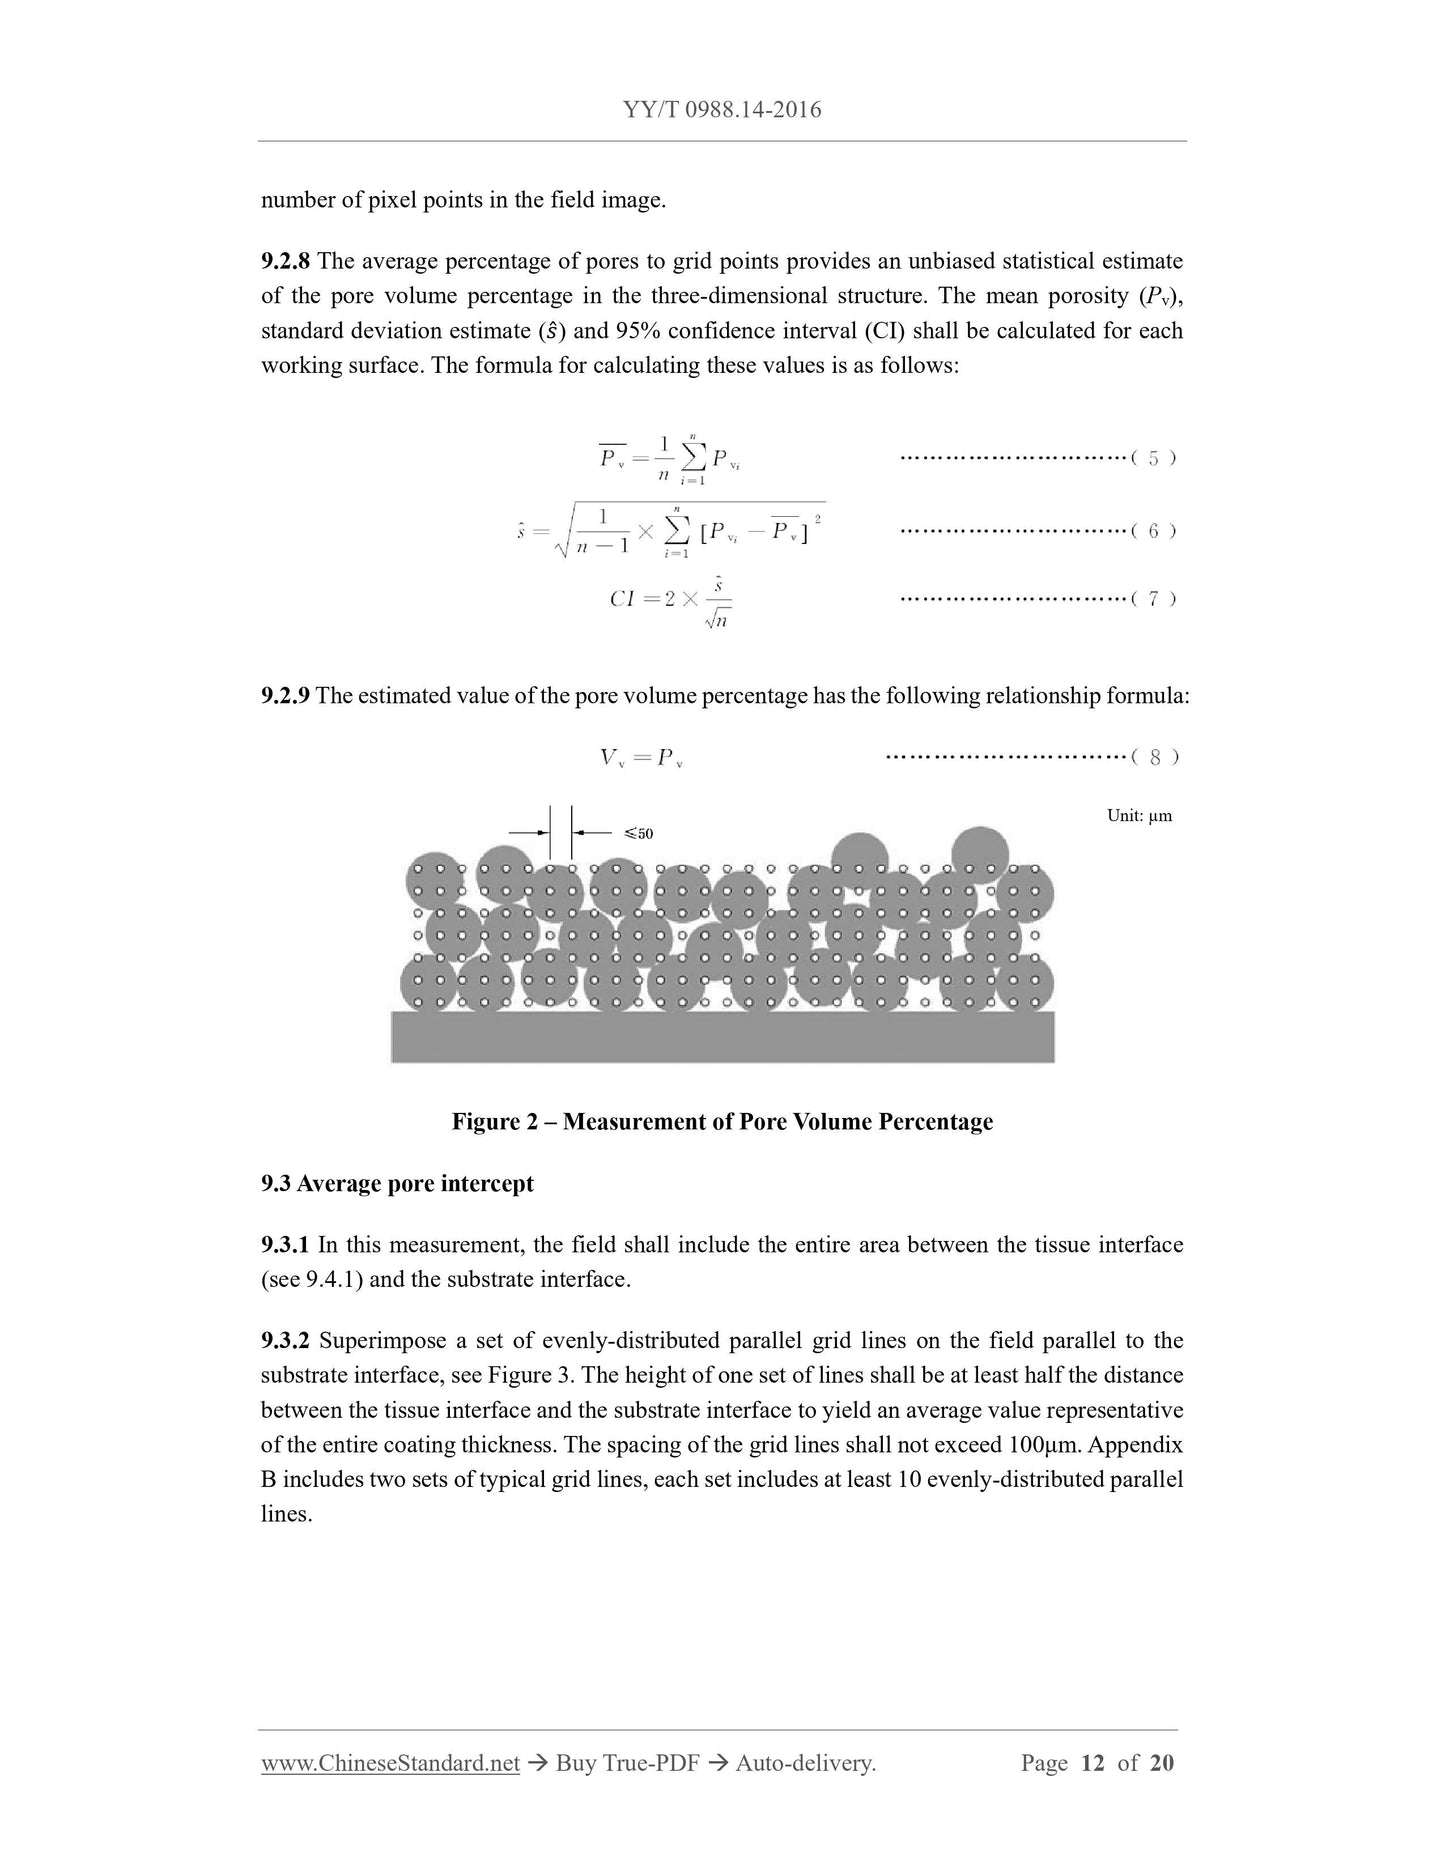
9.2.2 Superimpose a group of regularly distributed points with a quantity of at least 100 on the
field, see Figure 2; and the point spacing shall not exceed 50μm. If the pore area is regularly or
periodically arranged, the use of similarly distributed grids shall be avoided. The height of the
lattice shall be at least half the distance between the tissue interface and the substrate interface
to yield an average value representative of the entire coating thickness. Appendix C includes
two sets of typical lattices, each consisting of at least 100 regularly distributed points.
9.2.3 Count and record the number of points (Pα) on the working surface, which fall on the pore
area. When the artificial method is used, the point falling on the interface between the pore area
and the solid structure is counted as a half point; and any suspicious point shall be counted as a
half point.
9.2.4 Divide the number of points (Pα) falling on the pore area by the total number of grid points
(PT), and multiply by 100 to obtain the percentage of the number of pores in the field to the
number of grid points. It applies to calculations for each set of grids.
Where:
Pv – pore volume percentage;
Pα – the total number of counted points;
PT – the total number of grid points.
9.2.5 The pore volume percentage shall be measured on the working surface with a total area
of at least 15mm2; and each part of this area can only be measured once. If the thickness of the
coating is less than 500µm, porosity measurements shall be made using a coating longer than 3
cm.
9.2.6 The field used for analysis shall include the coating thickness as far as possible.
9.2.7 A suitable digital image analysis system may also be used for measurement. Each pixel
point can be considered as a regular distribution point in the lattice. The pore volume percentage
for each field shall be the ratio of the number of pixel points present in the pore area to the total
Appendix A
(Informative)
Basic Principles
A.1 Porous coatings are applied to the surface of medical implants. Standardized techniques
shall be used to characterize porous coatings. These techniques can be used to estimate the
homogeneity and reproducibility of these porous structures. In Practical Stereology, Russ and
Dehoff describe the term of average linear intercept measurement as "a measure that is
representative of all characteristics". "Average pore intercept" is not a special physical property,
unlike "pore diameter", but it is a mathematically valid measure of pores. It is affected by pore
size and geometry. To a lesser extent, it is also affected by the interconnectivity of the pores
and the surface roughness. There is no longer a valid mathematical measurement to characterize
three-dimensional pores whose shapes cannot be defined mathematically.
A.2 For porous coatings with a clear gradient of porosity from the substrate to the surface, the
test methods in 9.2 and 9.3 may not be able to measure accurately. The tangential sampling
method is not suitable for coatings with obvious gradients, because it is very difficult to keep
the direction of the measurement surface approximately parallel to the substrate and accurately
remove material to form a gradient surface.
A.3 The placement of metallographic specimens shall affect the measurement results. For most
cross-sections, however, errors caused by the specimen not being perfectly perpendicular to the
cross-section are minimal. If the specimens are not prepared perpendicular to the cross-section,
the coating thickness shall tend to increase. Although the amount of increase varies with the
cosine angle from vertical. Even with an angle of 10° between the specimen and the vertical,
the increase in coating thickness is only about 1.5%. Nevertheless, the angular tolerance of the
substrate is more stringent in the tissue interface gradient method; because the 200μm height
of the measurement area is narrow, and measurements are more likely to exceed the boundaries
of the measurement area if the tissue interface reference plane is not established with the
required accuracy.
A.4 With the advent of automated image analysis systems, these types of measurements have
become easier to perform. Automated image analysis can be used to perform these
measurements, but care shall be taken to ensure comparability between automated and manual
techniques.
YY/T 0988.14-2016
YY
PHARMACEUTICAL INDUSTRY STANDARD
OF THE PEOPLE’S REPUBLIC OF CHINA
ICS 11.040.40
C 35
Coatings of Surgical Implants – Part 14:
Stereological Evaluation Method of Porous Coatings
ISSUED ON: MARCH 23, 2016
IMPLEMENTED ON: JANUARY 01, 2017
Issued by: China Food and Drug Administration
Table of Contents
Foreword ... 3
1 Scope ... 5
2 Normative References ... 5
3 Terms and Definitions ... 5
4 Overview of Test Methods ... 6
5 Significance and Application... 7
6 Instruments and Equipment... 7
7 Metallography ... 8
8 Specimen Working Surface and Field ... 8
9 Procedures ... 9
10 Report ... 15
Appendix A (Informative) Basic Principles ... 16
Appendix B (Informative) Line Arrays Used by the Line Intercept Method ... 17
Appendix C (Informative) Lattice Used by Point Counting Method ... 18
Bibliography ... 20
Coatings of Surgical Implants – Part 14:
Stereological Evaluation Method of Porous Coatings
1 Scope
This Part of YY/T 0988 includes stereological test methods for characterizing the coating
thickness, porosity and average intercept of various porous coatings attached to non-porous
substrates.
Methods for measuring porosity and intercept at different levels of the "tissue interface
gradient" in the various thicknesses of porous coatings are outlined in 9.4.
The tangential sampling method in 8.2 is not applicable to the tissue interface gradient method
in 9.4.
This Part uses the International System of Units (SI).
This Part does not attempt to describe all the security issues involved; even those security issues
related to its use. It is the responsibility of the user of this standard to establish appropriate
safety and health practices, and to clarify the applicability of regulatory limitations prior to
application.
2 Normative References
The following documents are essential to the application of this Document. For the dated
documents, only the versions with the dates indicated are applicable to this Document; for the
undated documents, only the latest version (including all the amendments) is applicable to this
Document.
ASTM E 3 Guide for Preparation of Metallographic Specimens
ASTE E 883 Guide for Reflected-light photomicrography
3 Terms and Definitions
For the purposes of this Document, the following terms and definitions apply.
3.1 Field
It is a representative size of pores in a porous structure.
4.4 Tissue interface gradient - Describe the pore volume percentage and mean pore intercept in
the area about three 200-μm thickness below the tissue interface.
5 Significance and Applica...


